


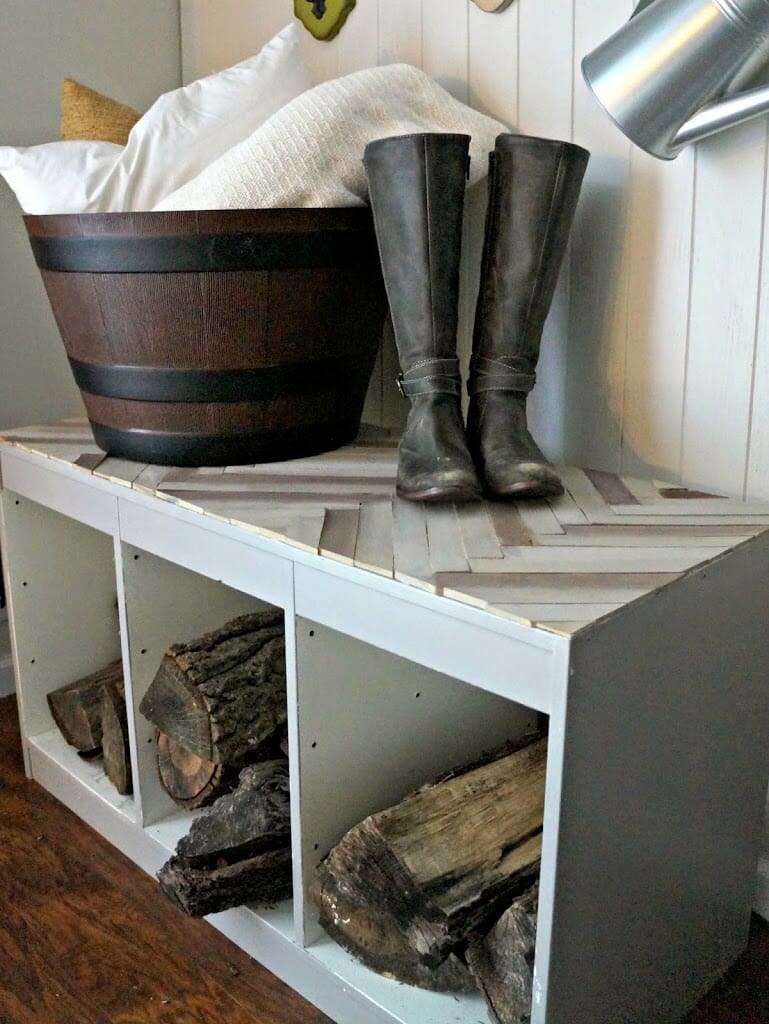
It’s no lie that herringbone is the big craze! Herringbone tiles, back splash, wood floors, tabletops, fabrics you name it! I have been wanting some herringbone in my life and the perfect opportunity opened up when my Ikea Hack fire wood holder decided to chip (thanks to the kids). So I needed a solution to cover up the top so that there was no chance of chipping again.
This project started wayy back when I turned an Ikea Toy storage bin into a log holder. Super easy just gave it a quick paint on the outside with some latex left over BM paint I had.
Here’s what the piece looked like before in our old house.
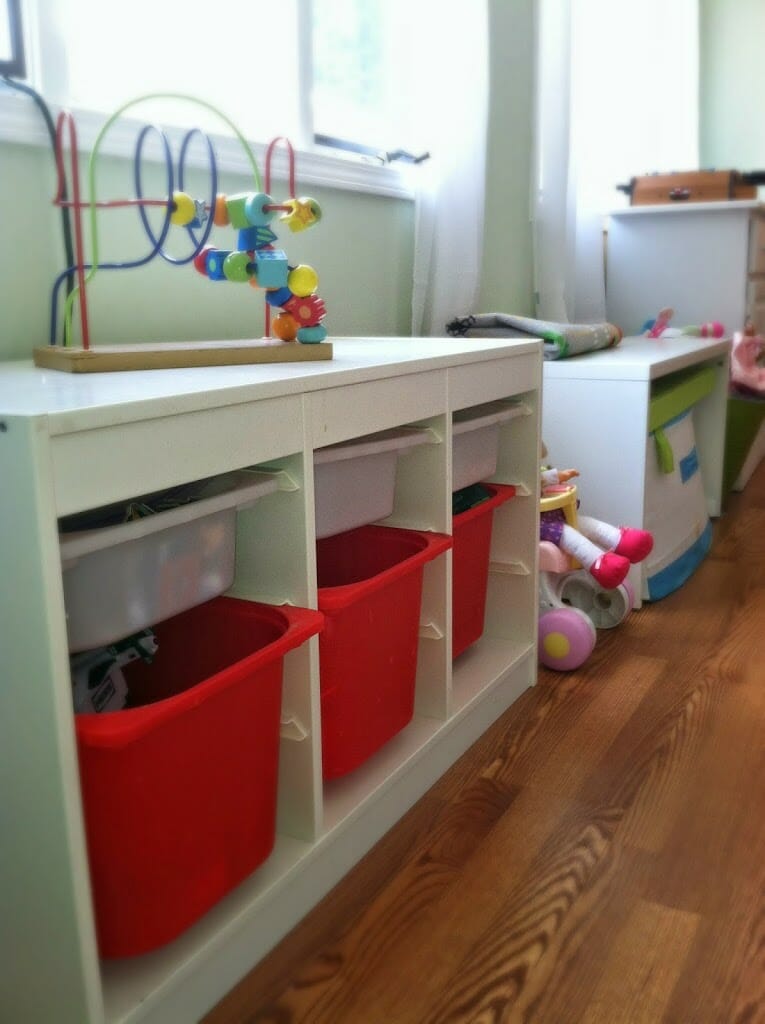
Here it is with the pain only..
Looked great and I was not planning on doing anything different with it…until the climbing began and the top became scuffed up. As any of you DIY Queens out there know…paint does not stick well to Ikea furniture unless you take a few extra steps…and get off your lazy butt to make it! Well I chose not to in this case and ended up with scuff marks (should have taken a pic to show you guys)
Well of course Herringbone had been on my brain for this project or any future project for the house (may not stop at this one…we will see). I got a glimpse at Genevieve Gordor’s apartment floors and wanted something like this in my life! Too bad I can not re-do all the floors in my house…if I could they would for sure look like these.
 |
| Genevieve’s Floors…amazing right..I mean the whole room! |
So wanted to replicate this as much as possible for the top of log holder. In a cheap and easy way. You know not bugging my husband too much…poor guy!
To Lowes we went to find cheap wood to add to the top. After weighing out our options we decided to purchase Shims. If any of you have no idea what these are…neither do I. The hubs recommended them and said contractors use them for something. Not the best quality and they have a slight angle to them, but would be great for something like this. I definitely would not recommend for a table top that you would use. In this case nothing sits on top other than my small displays. If you are on the hunt for them Lowes and Home Depot should have them in their lumber sections. They cost about $3-4 for a pack and I used two packs for this project.
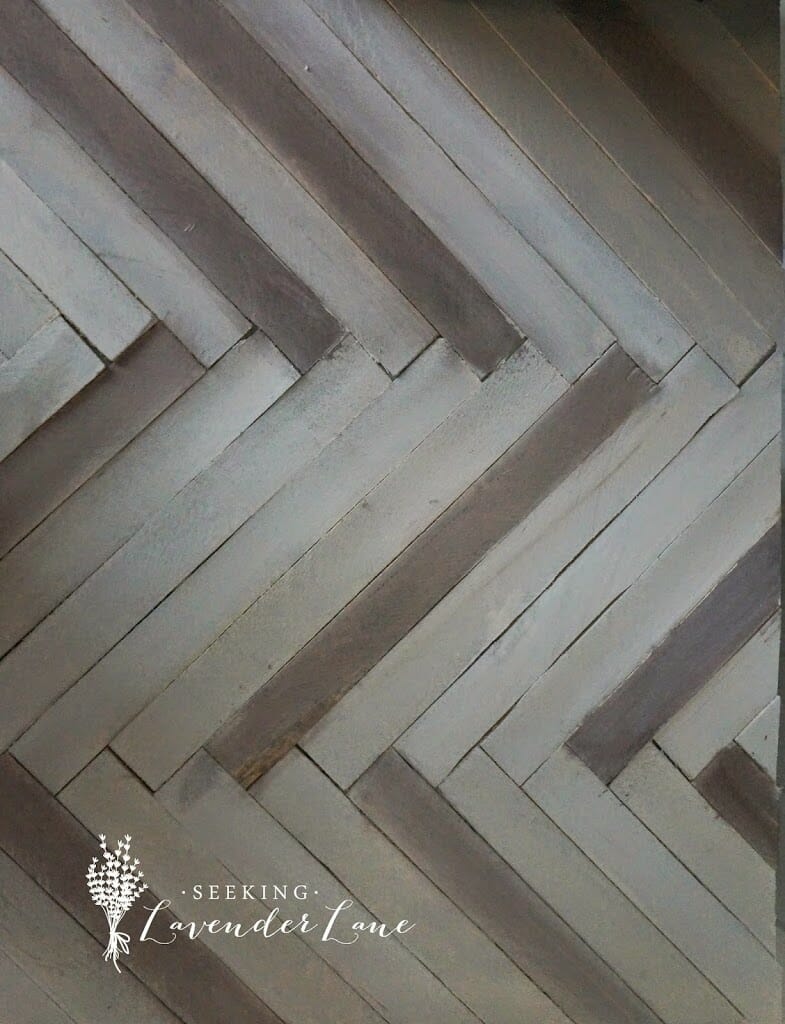
I simply lined these up on the top in the herringbone pattern starting left to right. After mark each piece with a pencil and cut as you go. I found this to be easiest or else you will become confused as to where each piece must go. It becomes like a puzzle in a way. Leave the ends last to do…this is where you need smaller pieces and the wood will not stay in place. Since the Shims are on an angle I tried pairing the thinner parts together with the other thinner parts and where it became thicker keeping that together. So this way it leaves the top as leveled as possible. Once again I totally would not recommend this for a table top.
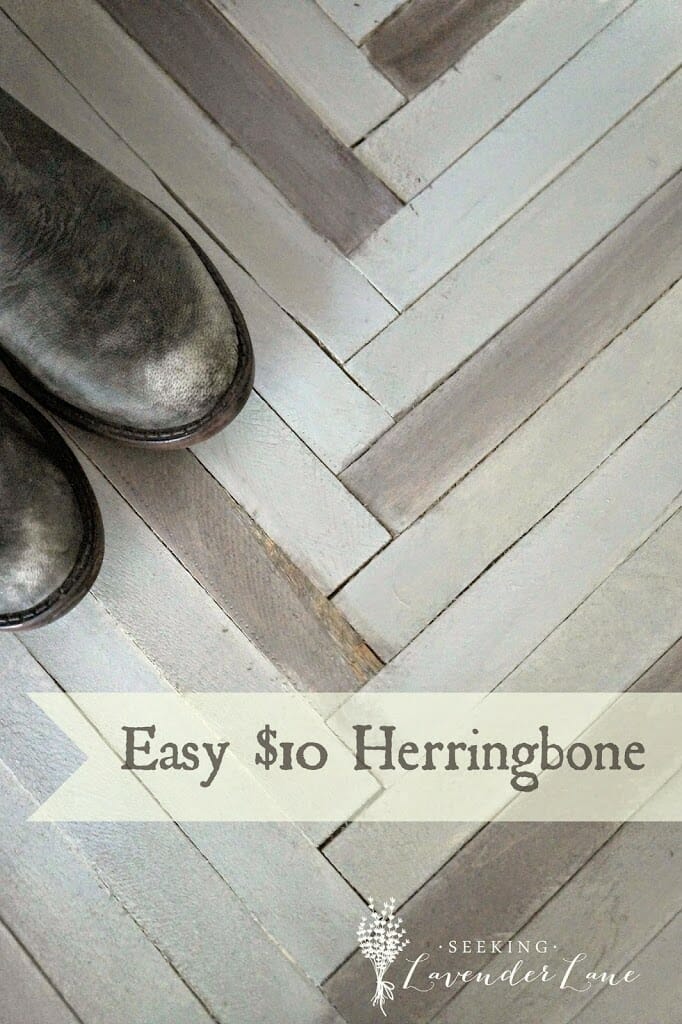
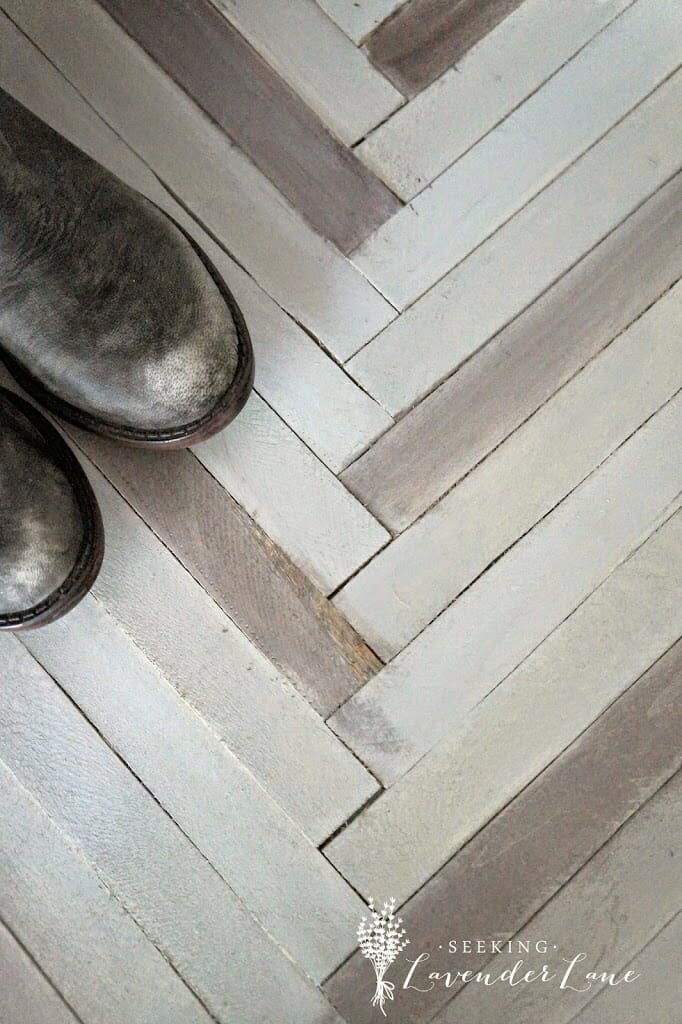
After all was cut and glued into place (with good ol’ liquid nails) it was time to stain! I used the driftwood stain I had used on my DIY Blanket Ladder from a Pallet. To create contrast just like Genevieve’s floors add a heavy amount to some sections than others. Next take a dark stain, I believe I used a chestnut stain. In a very light amount add to certain pieces and repeat with a white wash mixture for others. This just gives that contrast really exaggerates the herringbone pattern.
Let dry…and thats it!
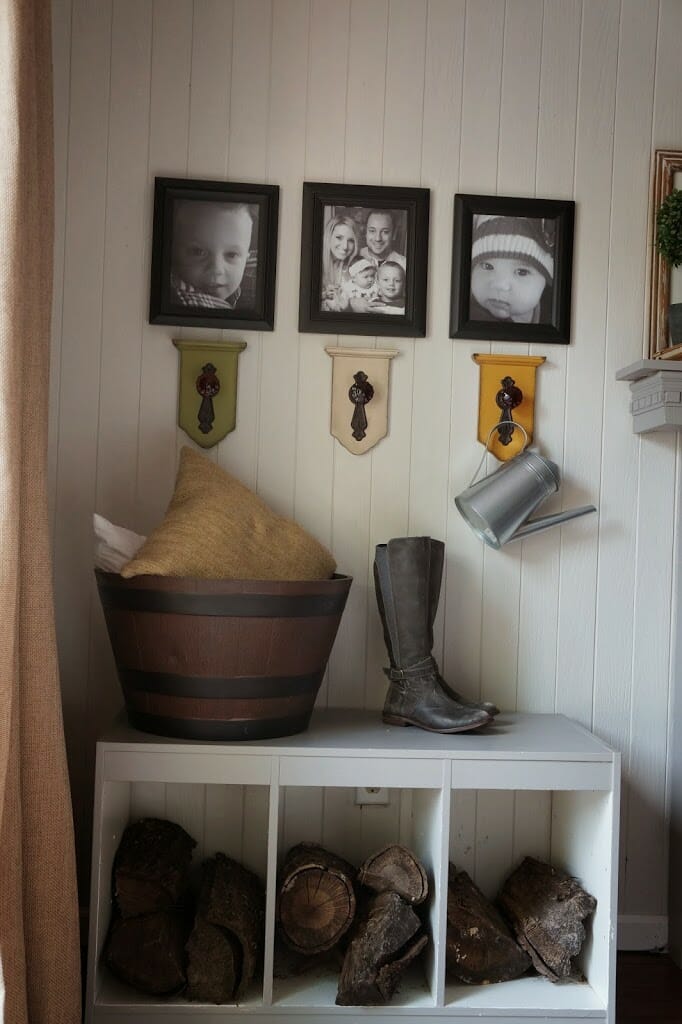
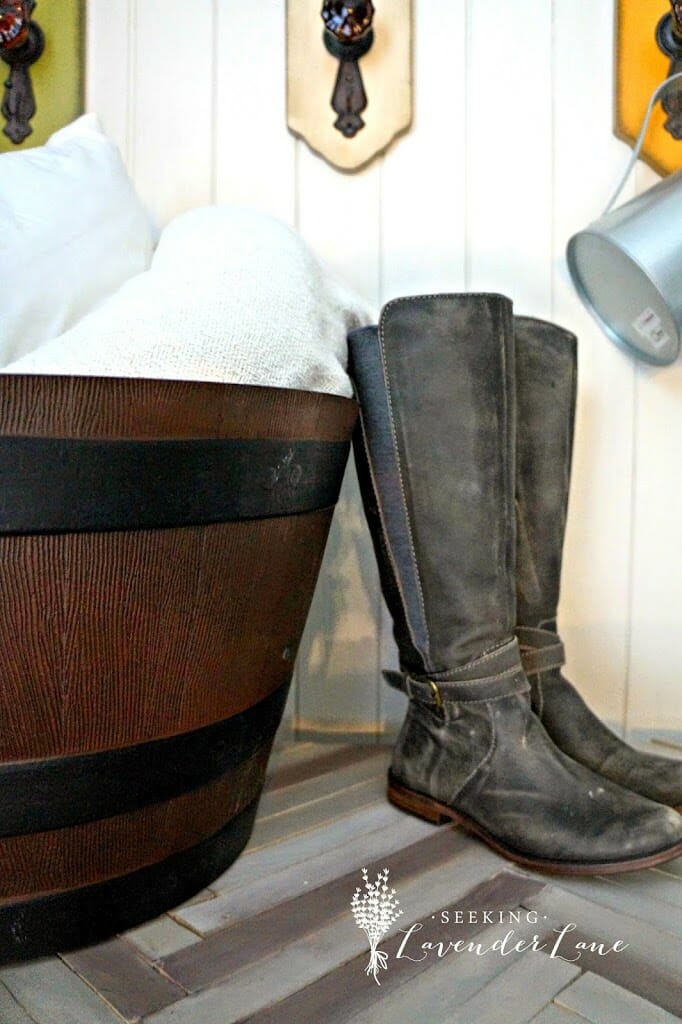
Love how it turned out, slightly time consuming but super cheap and could be great for a wall treatment as well. Can’t wait to decorate this corner with some fall lovin!
PLEASE STAY A WHILE


34 Responses
I just love this! It looks terrific!!
Thanks so much Lisa!
Great job, it looks fantastic. Genevieve’s room is eye popping, I can see why it inspired you.
Thanks so much Karen! I am such a huge fan of hers…to take a tour of her apartment would be amazing!
I love this! It is beautiful and I can see where the wood is way more practical. You always have such great projects!
Thanks so much Nikki! You are always so sweet with your comments : )
Your new surface looks great! I imagine it is time-consuming, but to me it looks like it was well worth it. Thanks for sharing your tips too!
Thanks so much…definitely worth it!
Hi Deb,
I’m with ya on the Herringbone pattern! Love it! And those pesky kids…I can relate to that too. You’ve done a terrific job covering up something you didn’t like and remaking it into something even better! Found this post via the Link It Or Lump It party and I’m so glad I found your blog! We have similar aesthetics so I’ll be keeping tabs on you. We’re at http://www.littleyellowcouch.com if you’d like to check us out!
Cheers,
Zandra
I am so happy you stopped by Zandra! I am looking forward to checking your blog out and following you as well : )
Hi Deb,
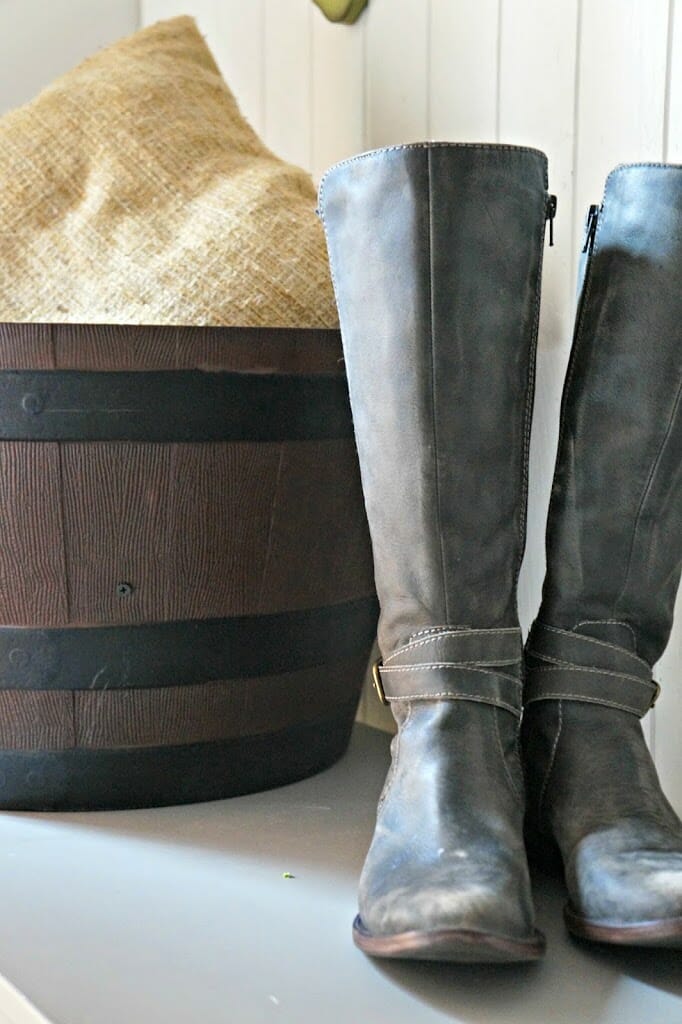
Your wood holder came out so beautiful! I love the different tones of neutrals you chose to create the herringbone pattern. Cute boots!
Sally
Thanks so much Sally! They have duel purposes! lol
I’m totally with you, Herringbone has been completely on my mind. Thanks for sharing. I love how it turned out.
Thanks Havalah…Its such a great pattern
I love this project! I think I’m over the chevron only because I see it everywhere. This is such a classic pattern, will always be in style!
I agree Jane…and it for sure is less modern than the chevron. Thanks for stopping by!
So beautiful and I love the different tones.
Thanks so much Carmody…I felt it was for sure important to the different tones, to make the pattern pop!
This is SUCH a great transformation! Thanks for linking up with the Pretty Preppy Party! Heather http://www.southernstateofmindblog.com/
Thanks Heather…happy to always stop by and link up!
what a great project that lets you use the pattern you like so much. i like it, too. enjoy!
b
Thanks B!
Love this–sharing on Facebook!
Thanks so much Becky! I appreciate the share : )
Great idea! Love the look!
Thanks Samantha
This is gorgeous! What a great idea! Can you tell me what tool you used to cut the shims? Thanks!
Thanks so much Sherri! Yes, of course…we used a Mitor saw with a fine tooth blade. The blade is important since these are so thin and fragile you don’t want the wood to split. I hope this is helpful and I’ve opened up ideas for you!
What a stunning project! You were featured today as one of our top views at Link it or Lump it! Congrats. Be sure to stop by and grab a feature button!
http://www.delineateyourdwelling.com/2014/09/link-it-or-lump-it-party-57.html
Thanks so much Amy…that’s so exciting!
I wish I had an Ikea anywhere near us!
The top looks great and love that you turned it into a log holder!
Thanks Jen! I can’t believe you don’t have a local Ikea…you can always shop online!
That is a pretty amazing transformation! I love herringbone as well and an entire room would be spectacular (if only)! Stopping over from the Enchanting Inspiration party. Congrats on being featured! ~Michelle @ Dandelion Patina
Thanks so much Michelle! So glad you stopped by : )