

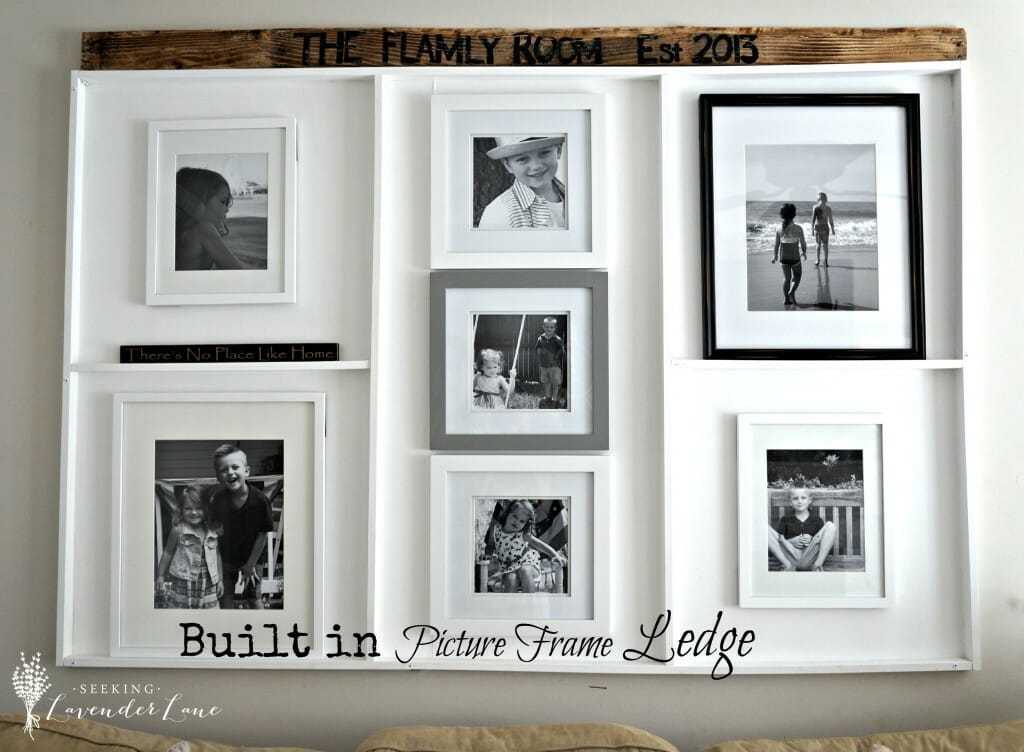

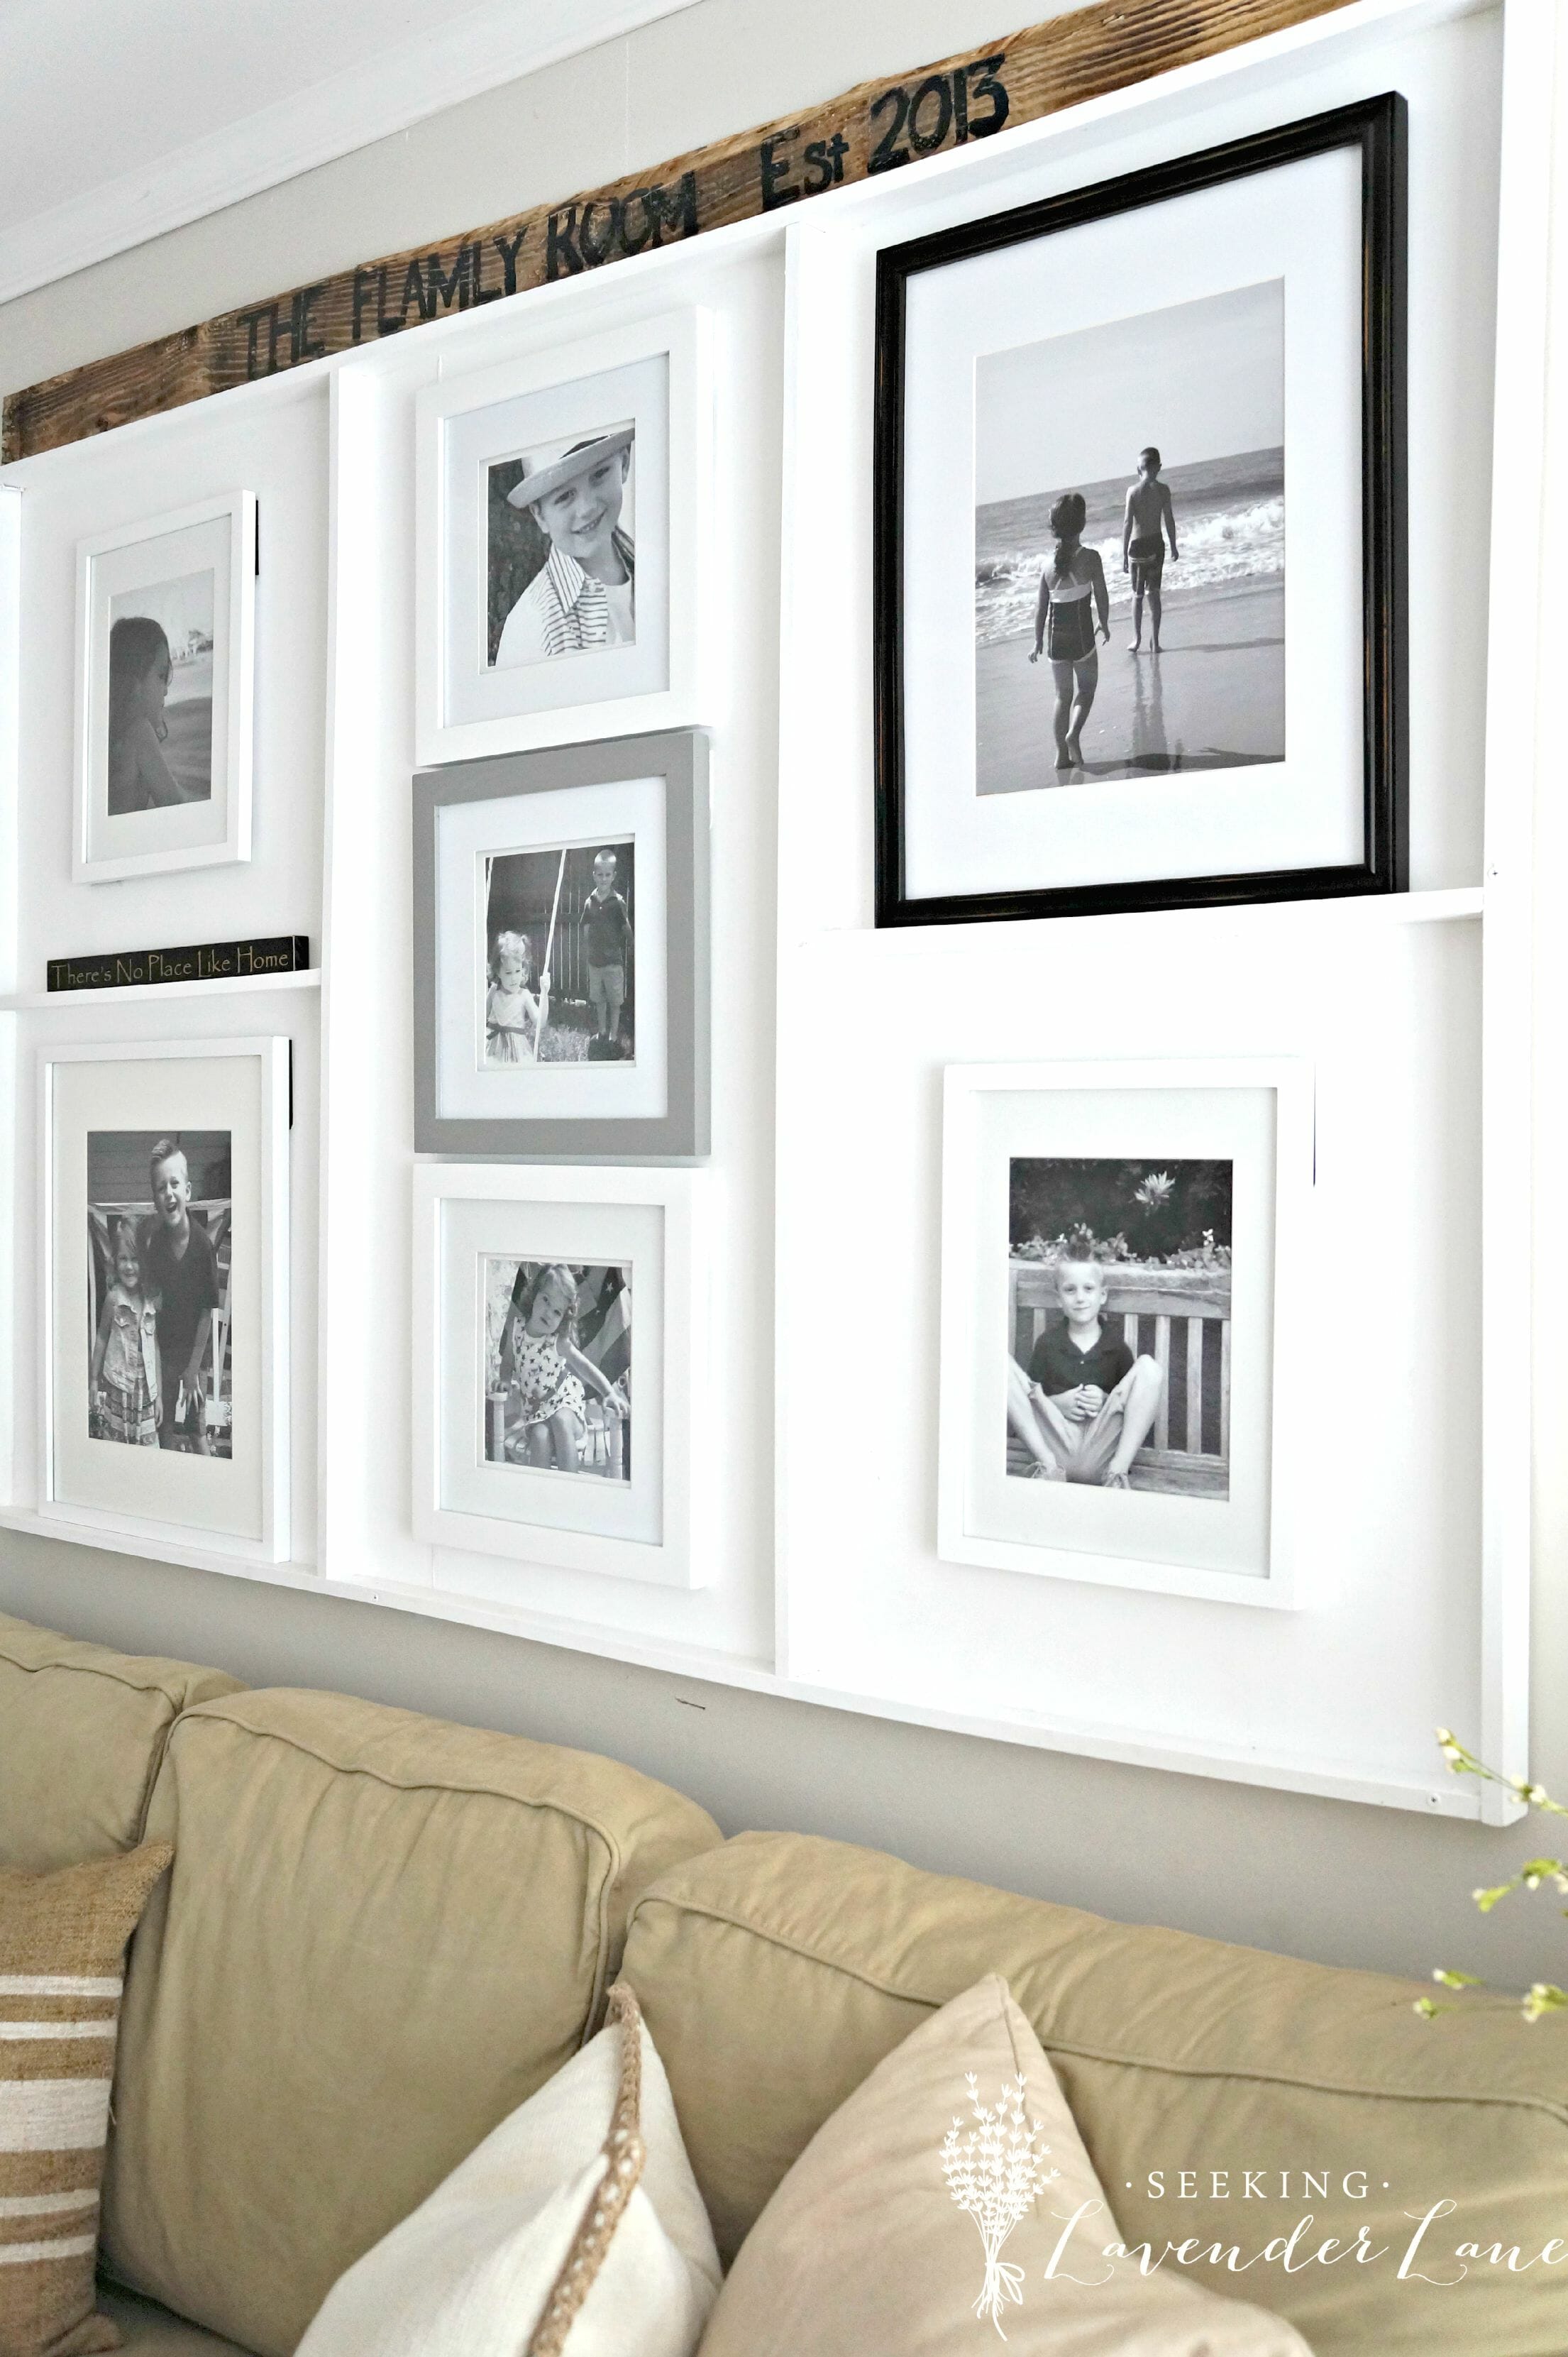
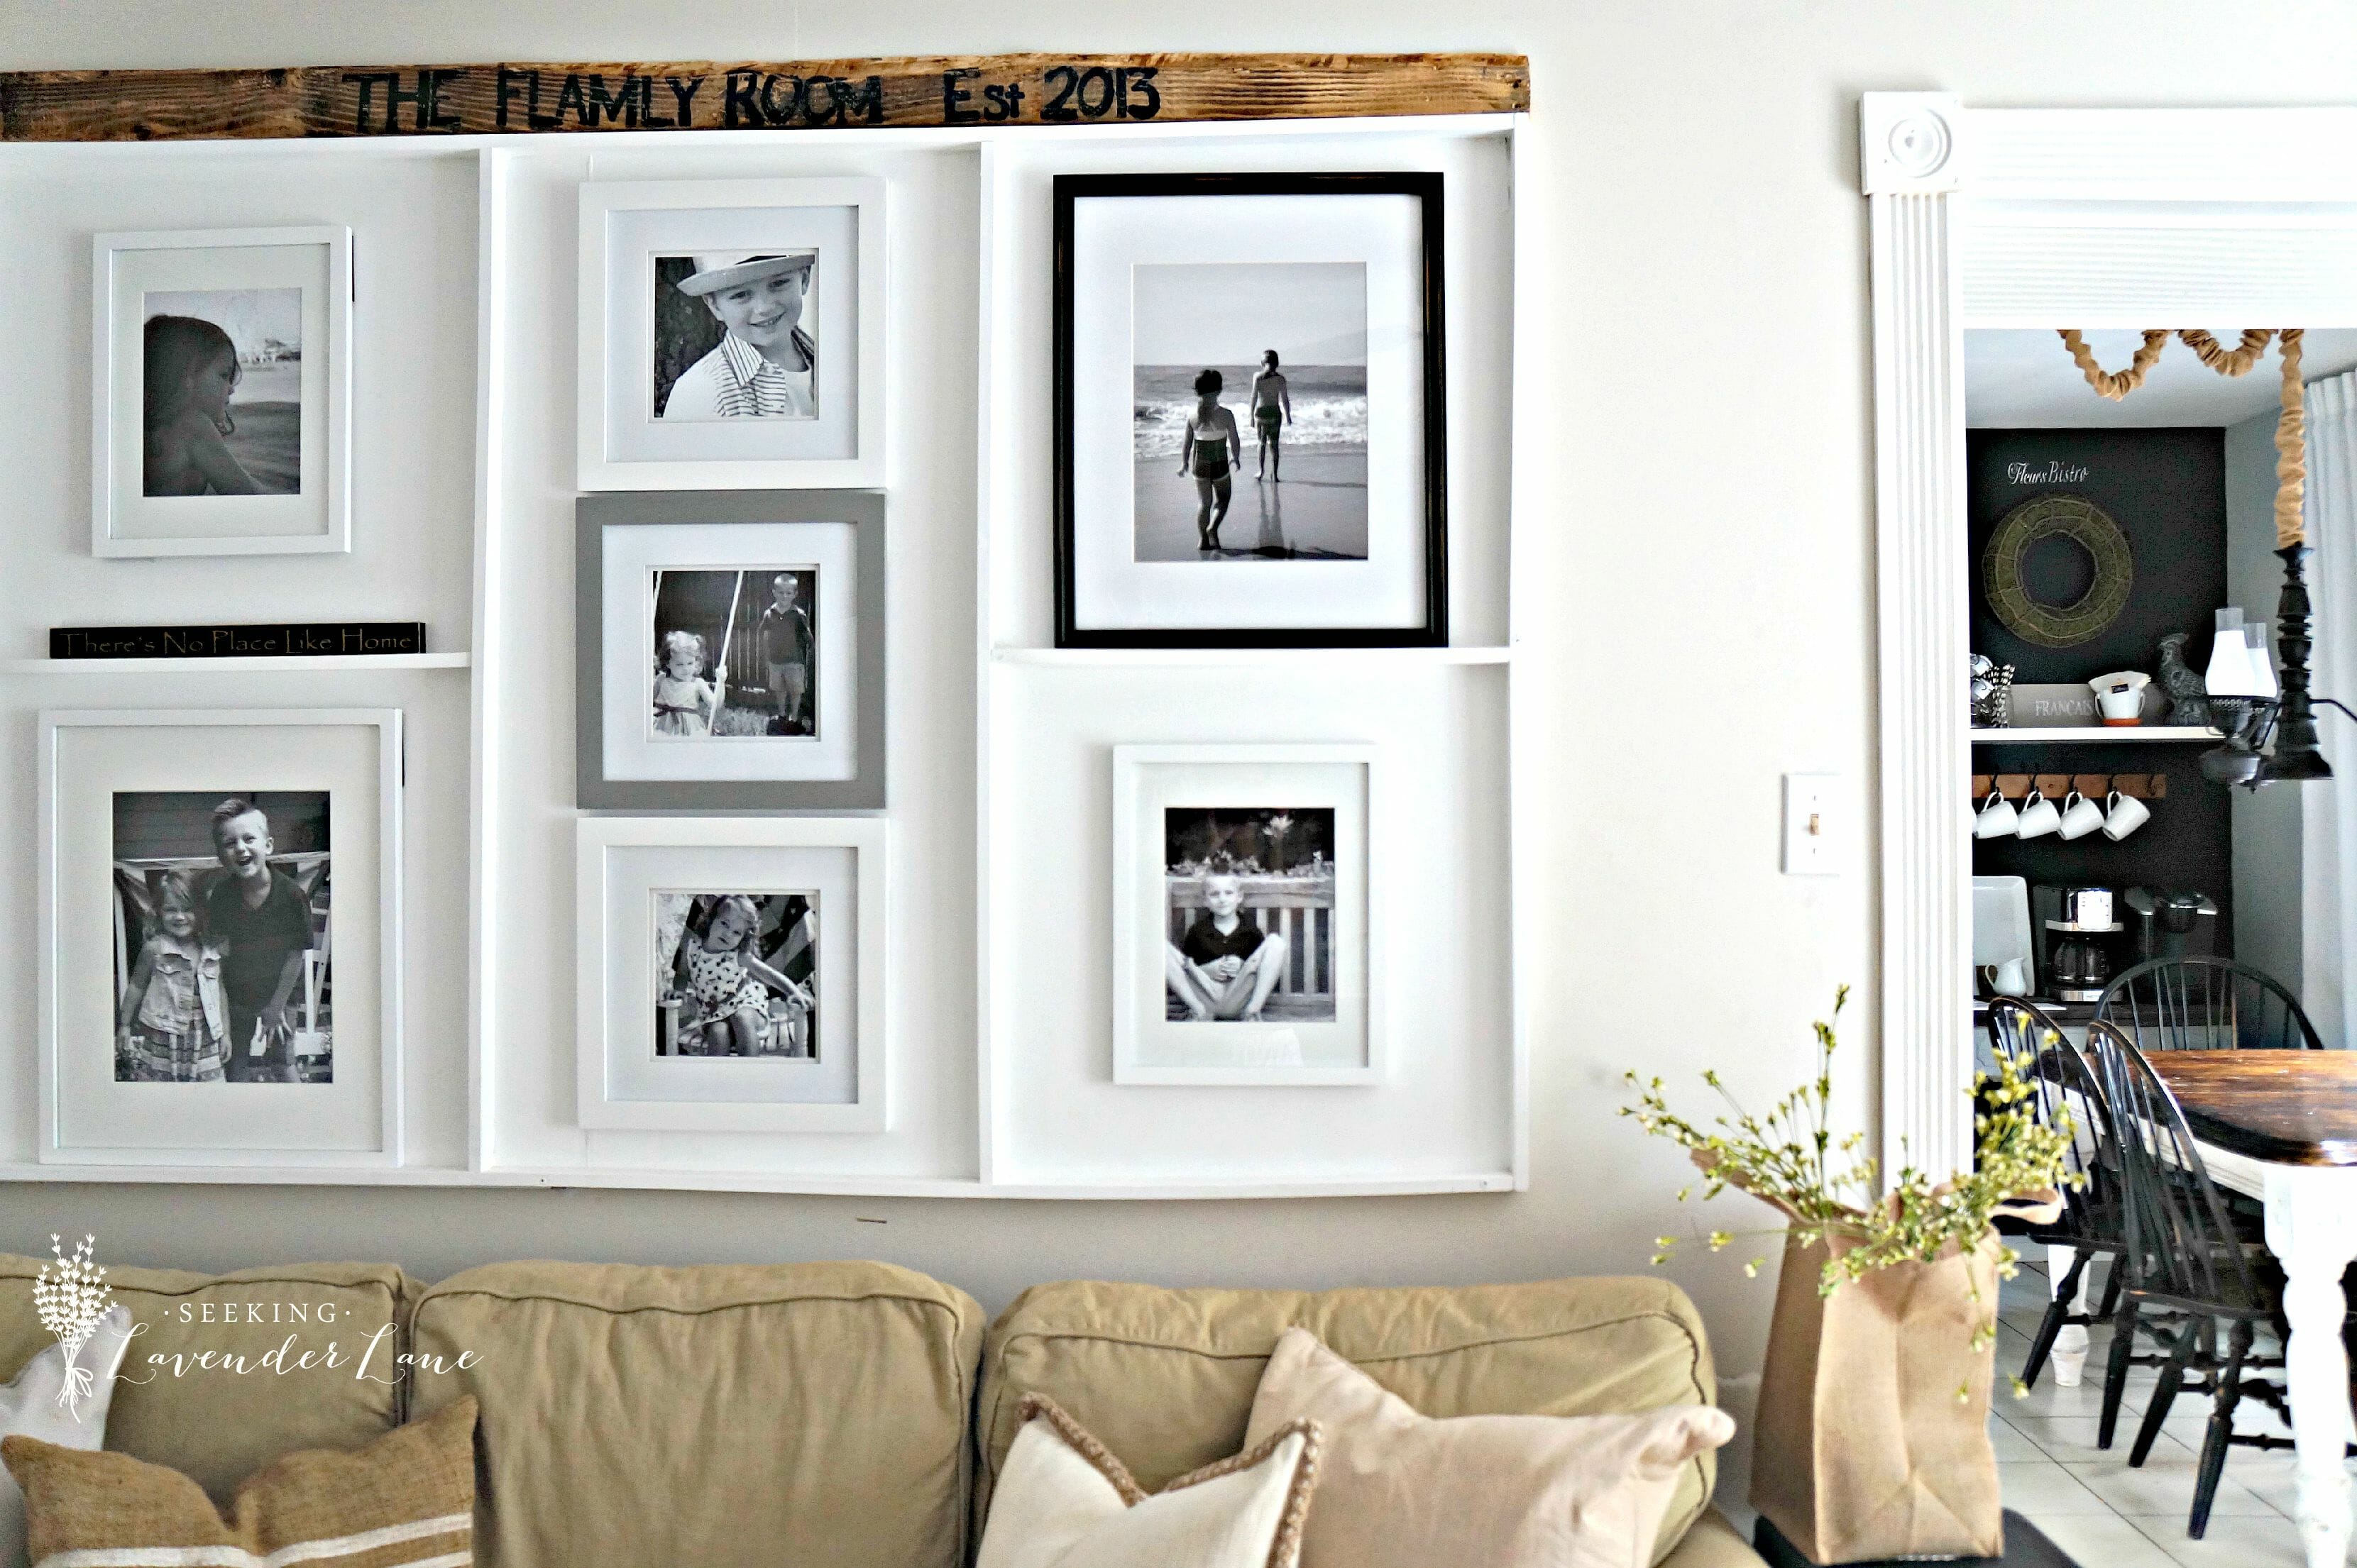
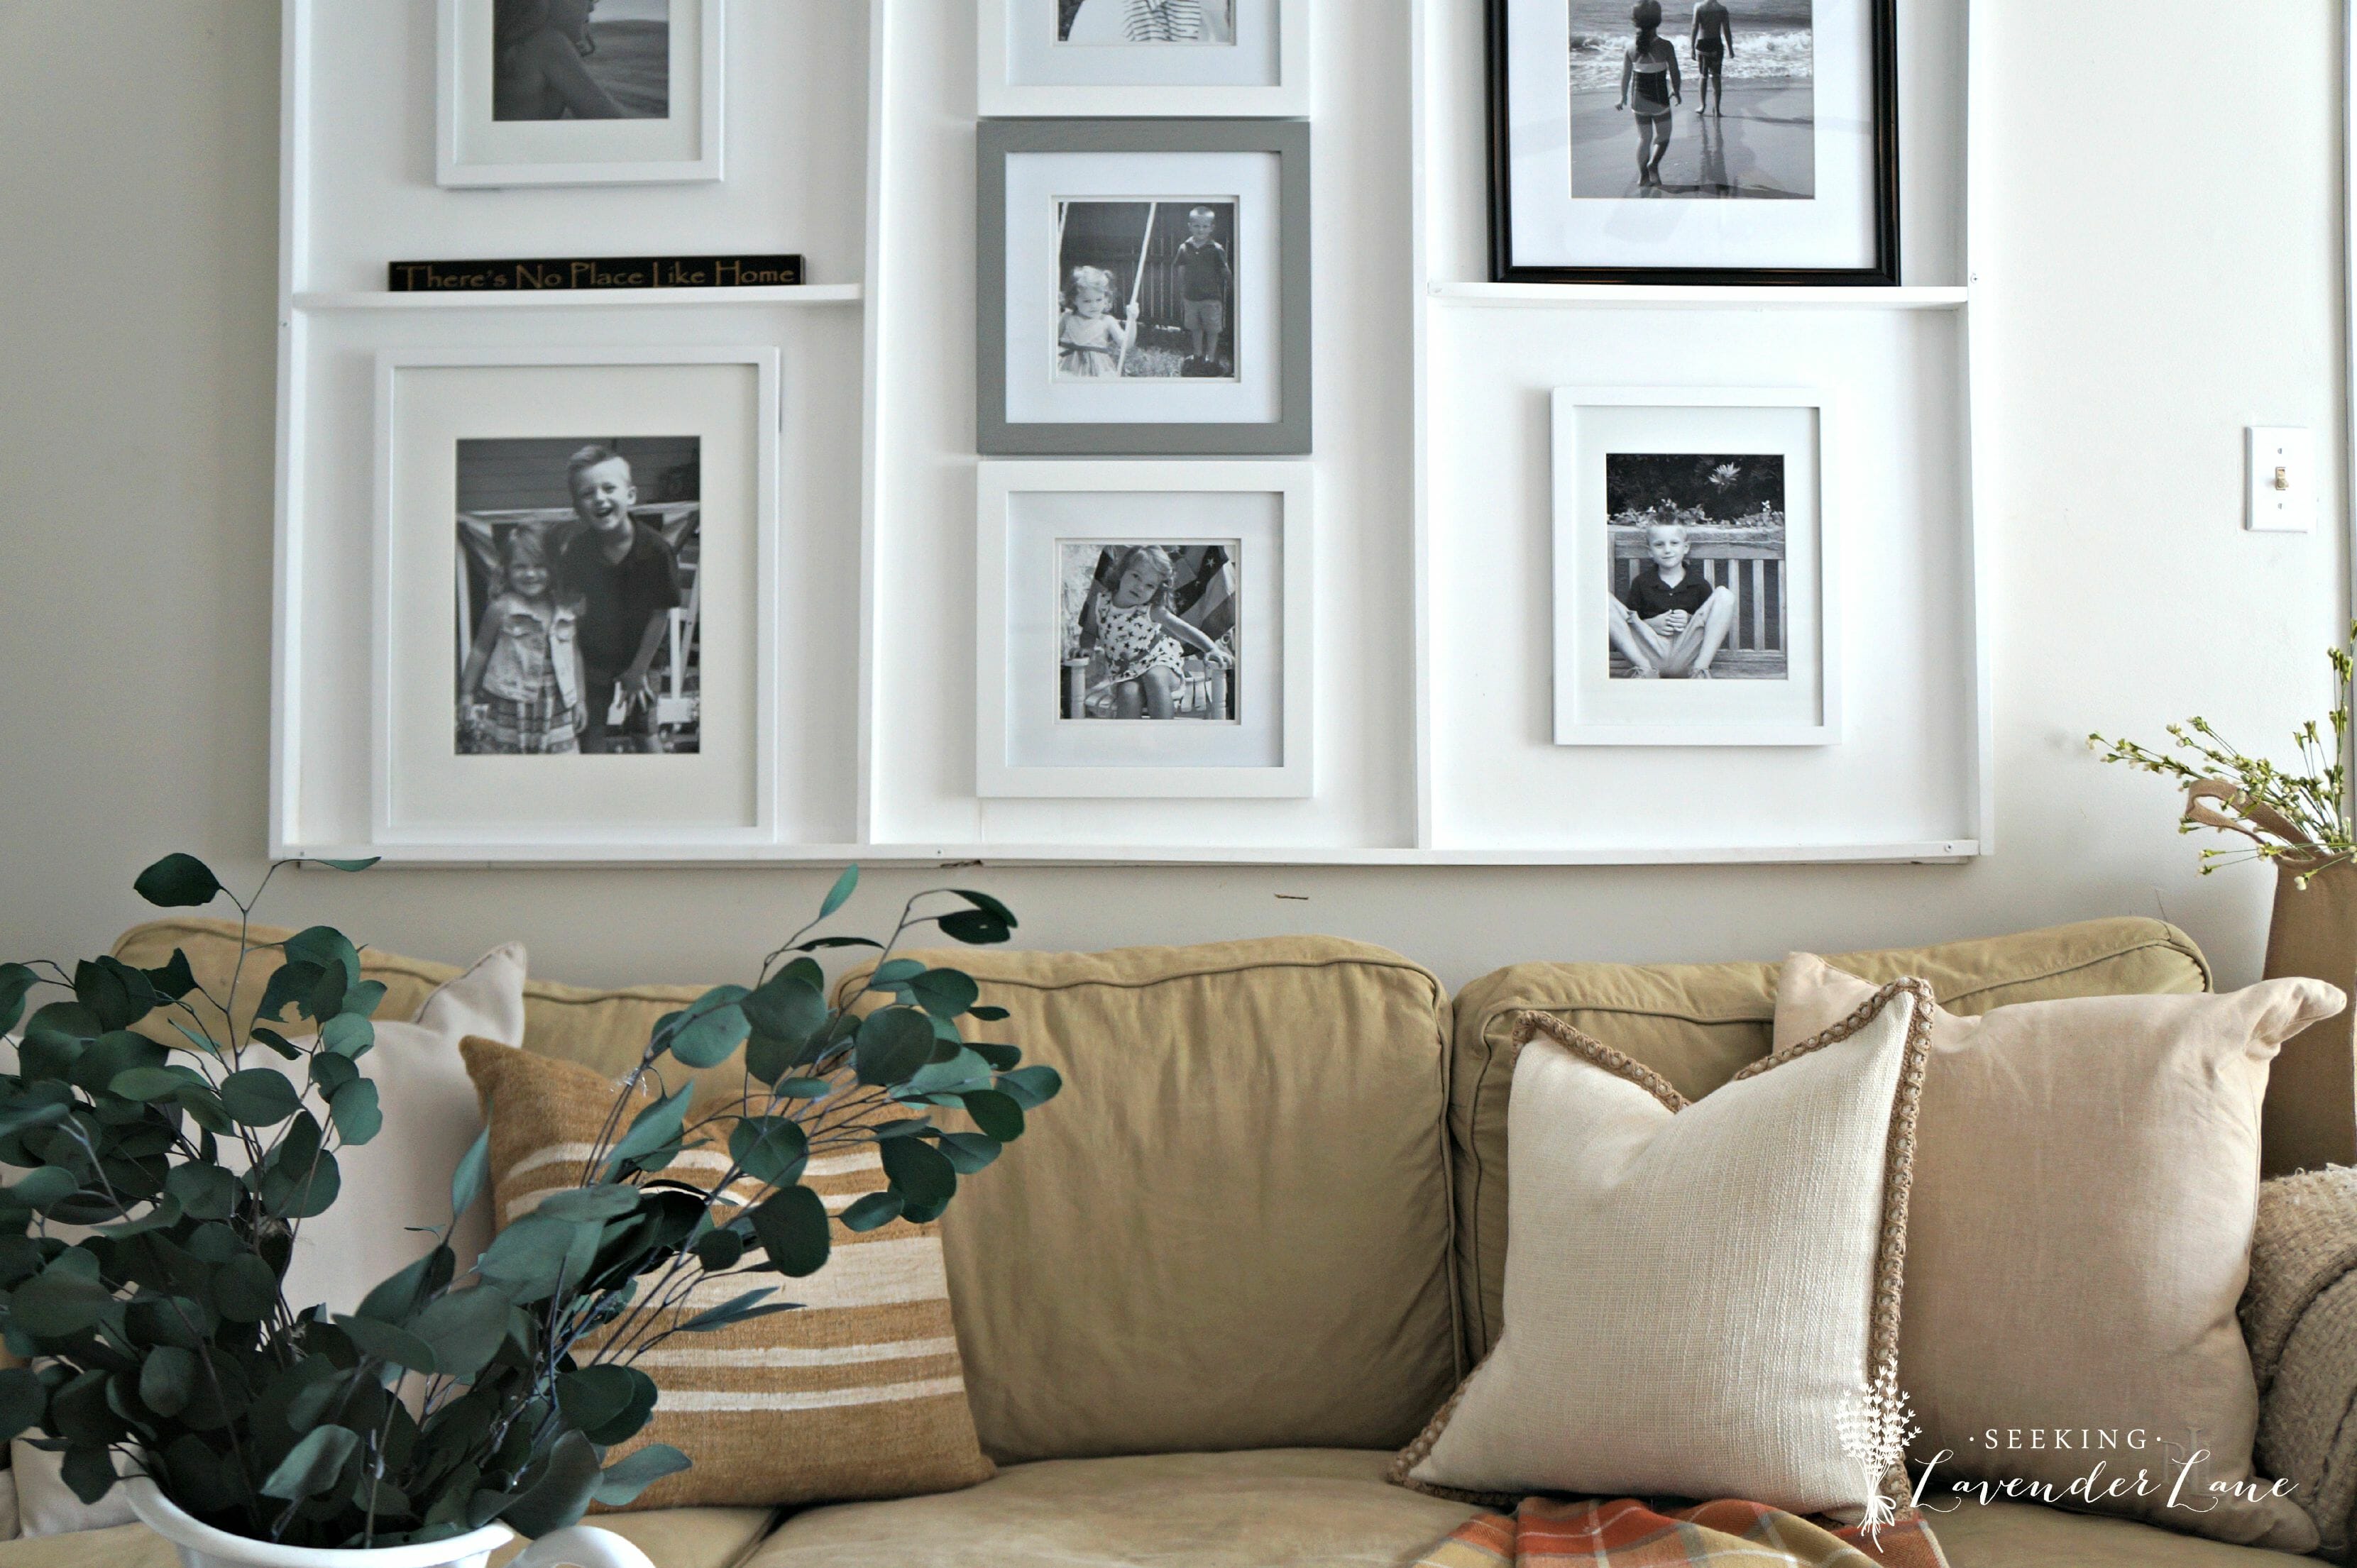
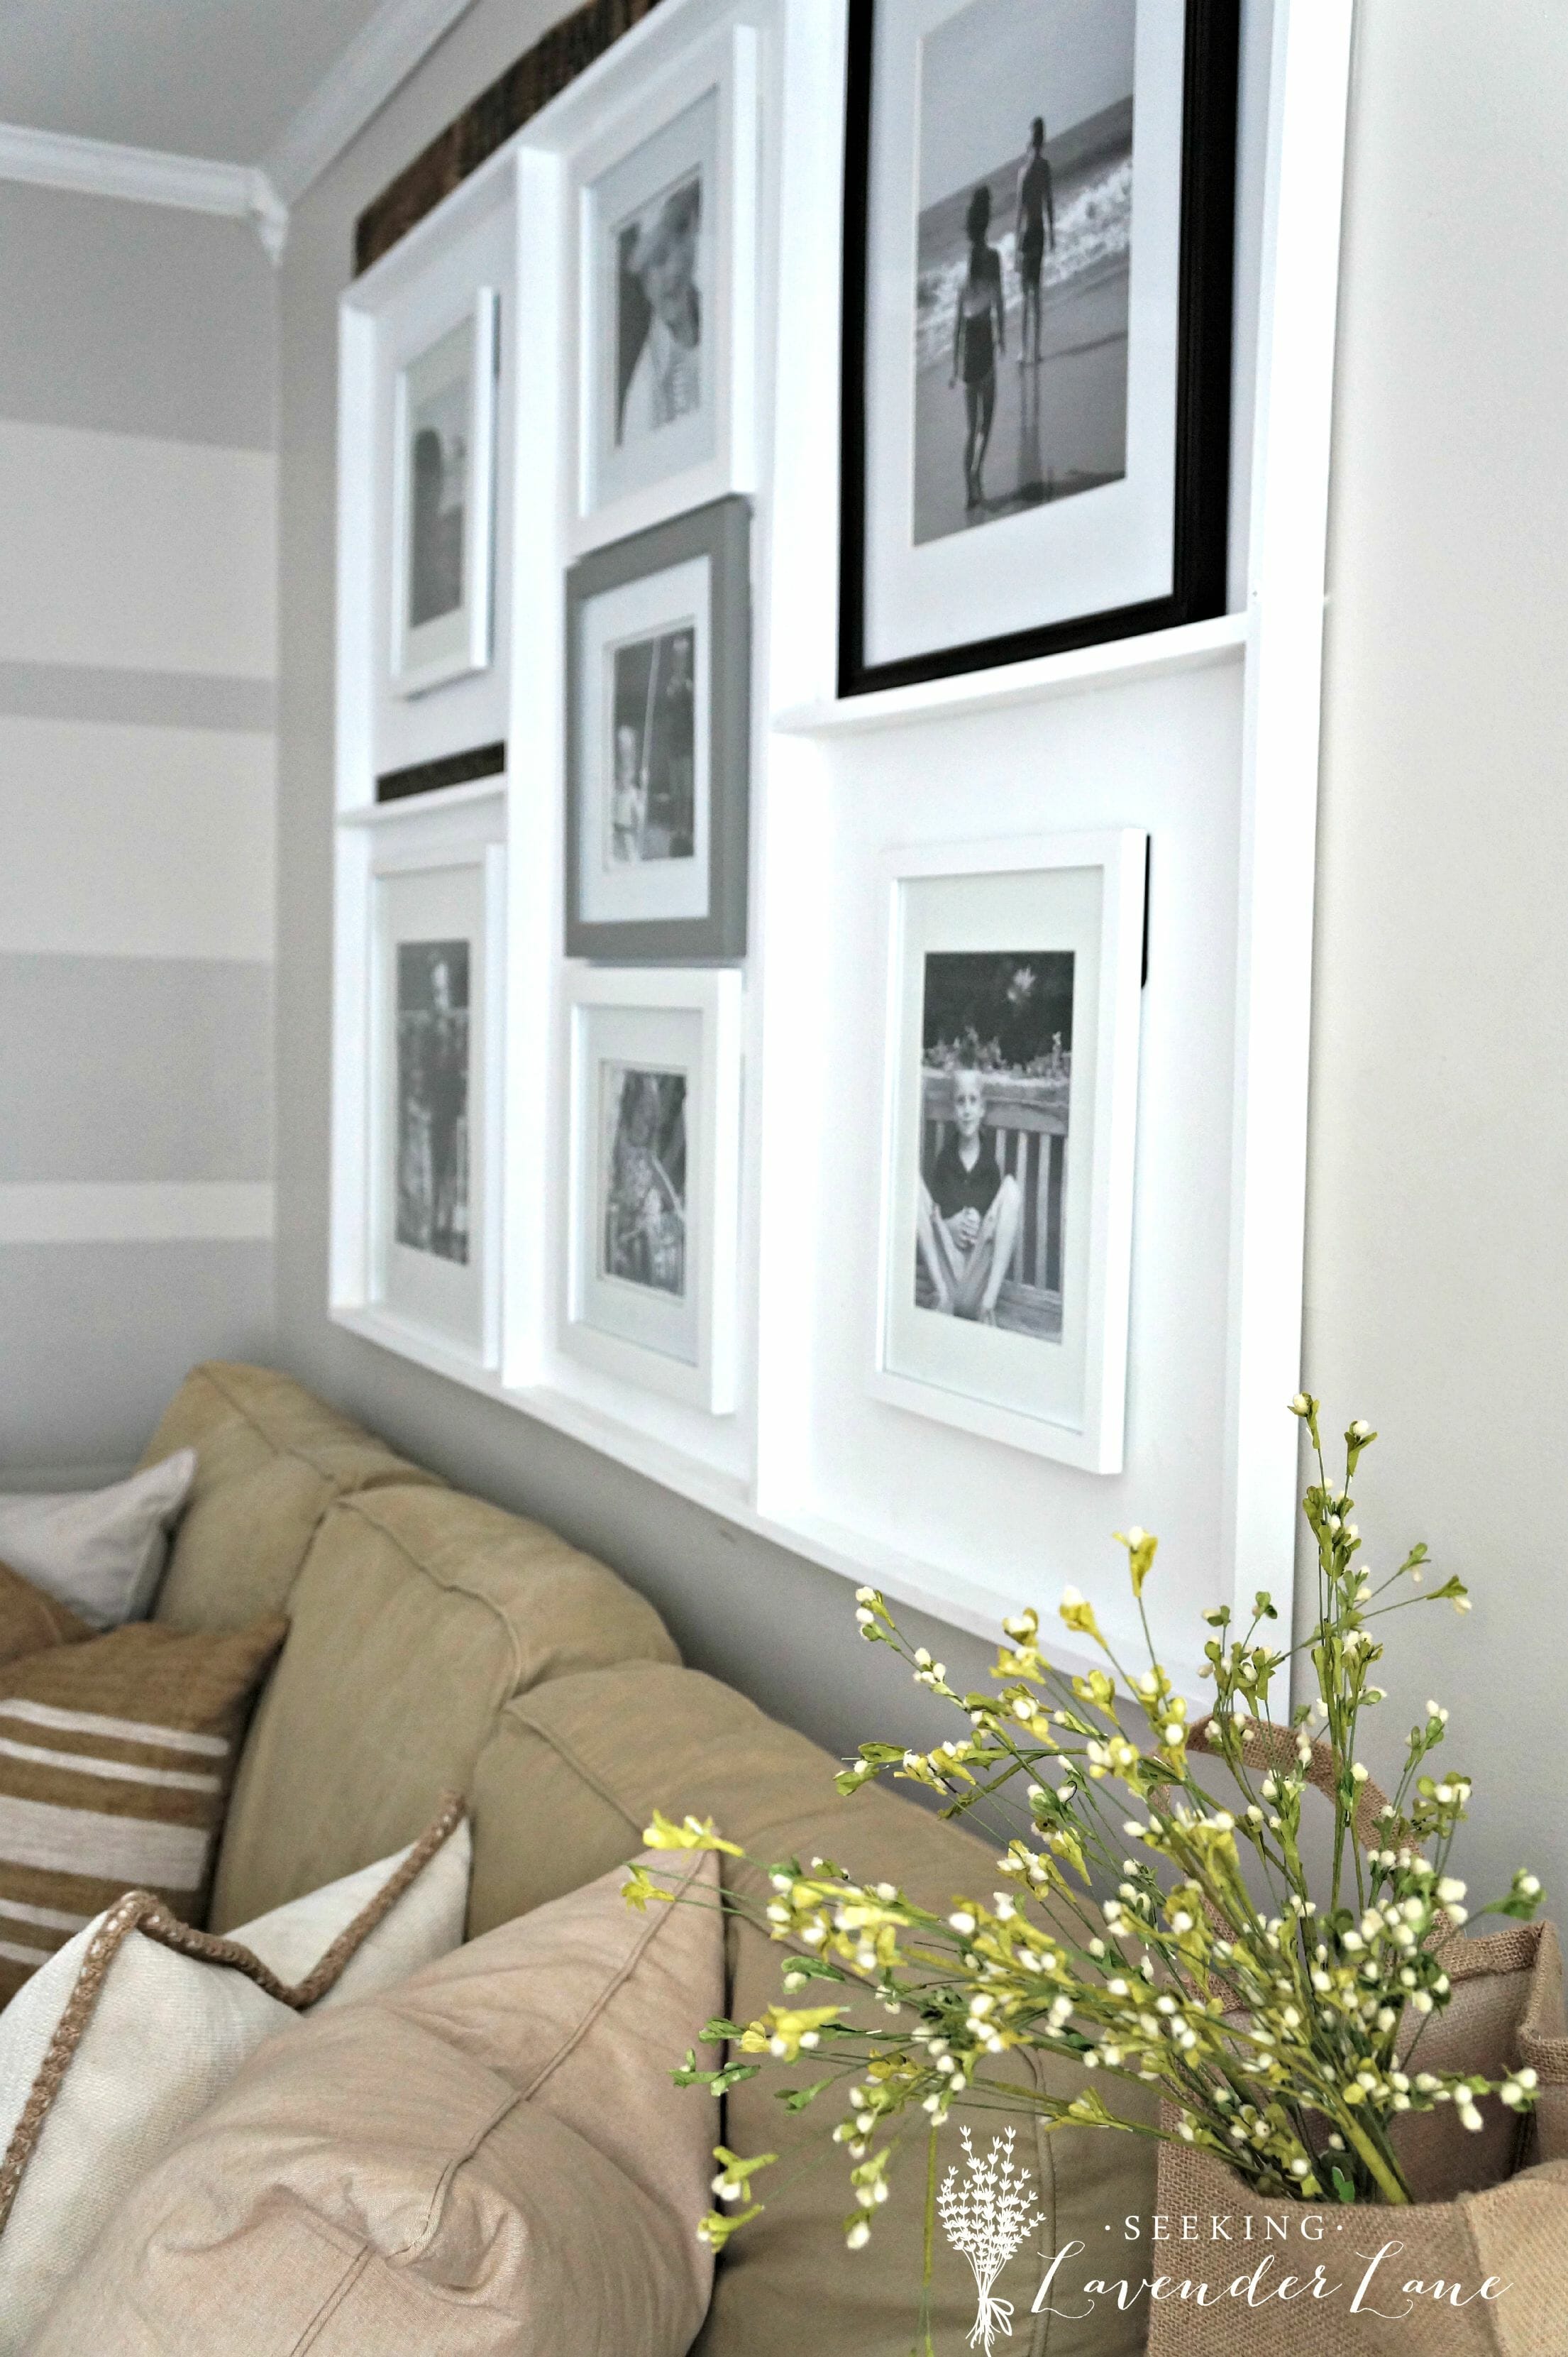
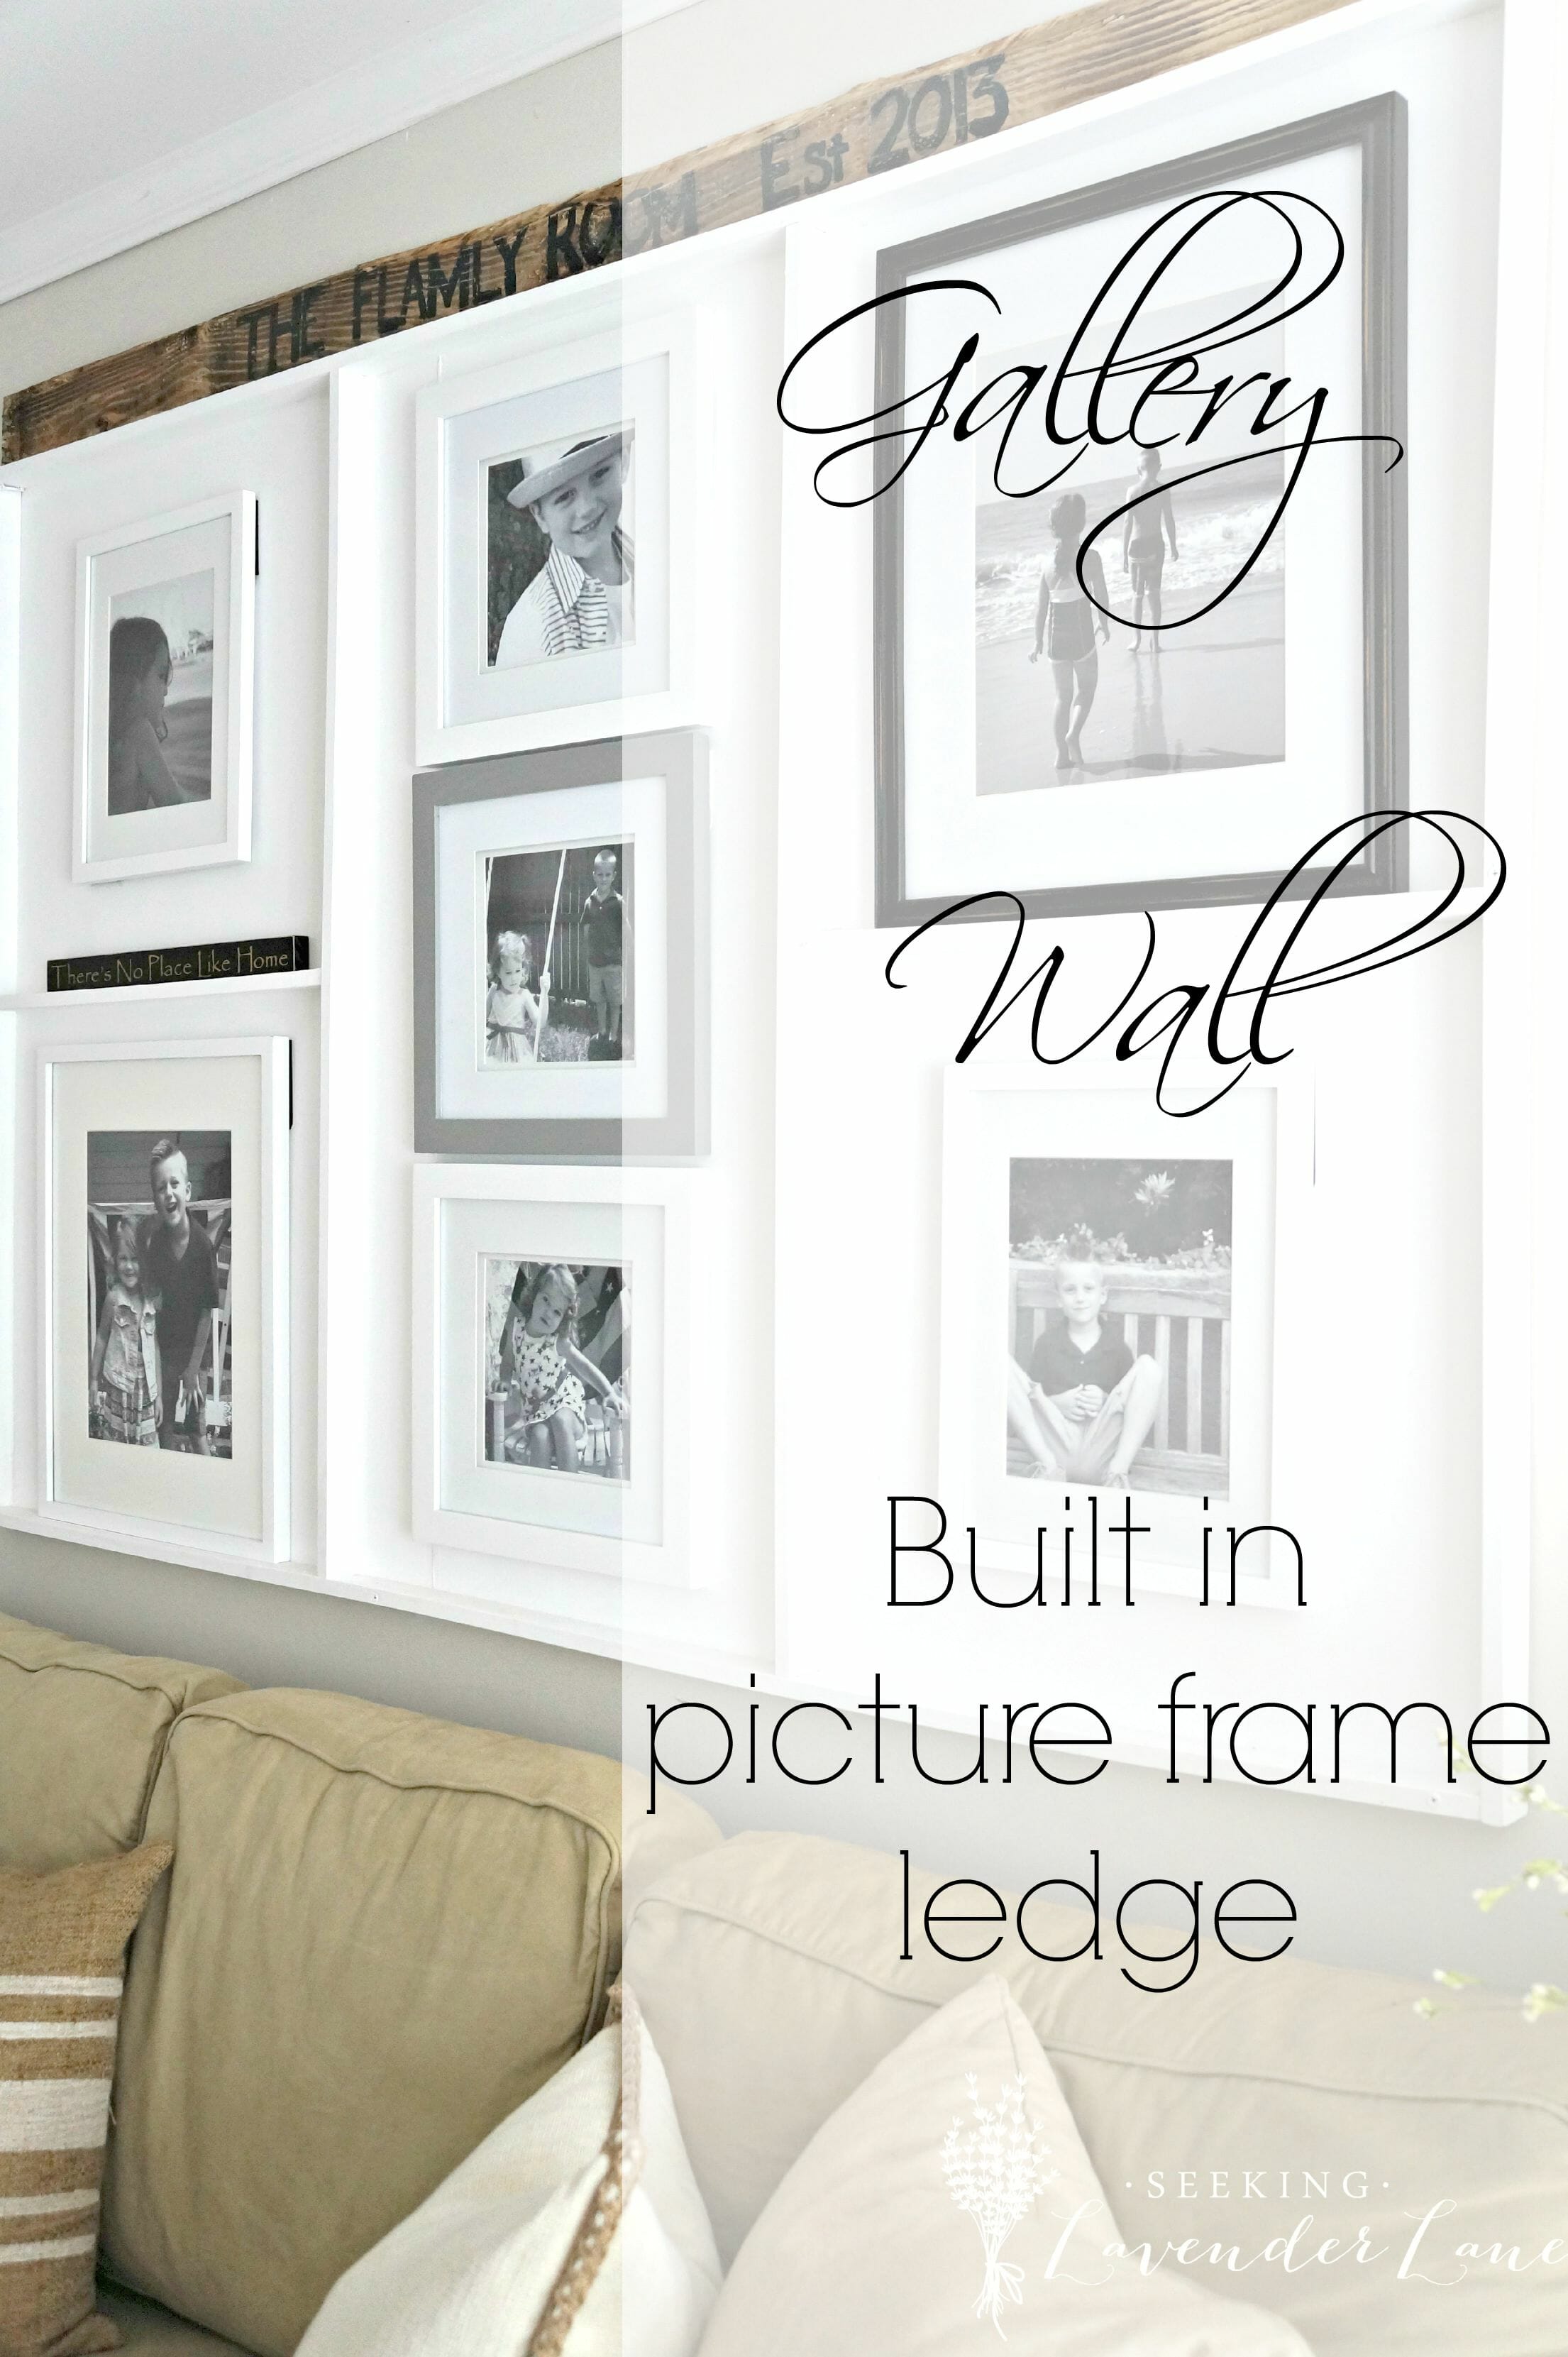
Ok I have to admit, I was not quite sure what to label this one as….and the funny thing is I’ve had months to really think about it too. Months? Yes this project began back in March. When it was still cold and going to the garage to cut wood was miserable and sweatshirts were required. So what took so long? Well simple…this project was another one of those that needed time to fix errors, but mostly due to the fact that it required me to take great photos of the kids, and spend extra money on picture frames. I don’t know about you all, but picture frames and throw pillows (though I love them both) require a whole lot more money than I like to even think about. So due to money and time this one took a while, but it is complete and I L-O-V-E it! I’m calling this project a Gallery Wall Built in Picture Frame Ledge.
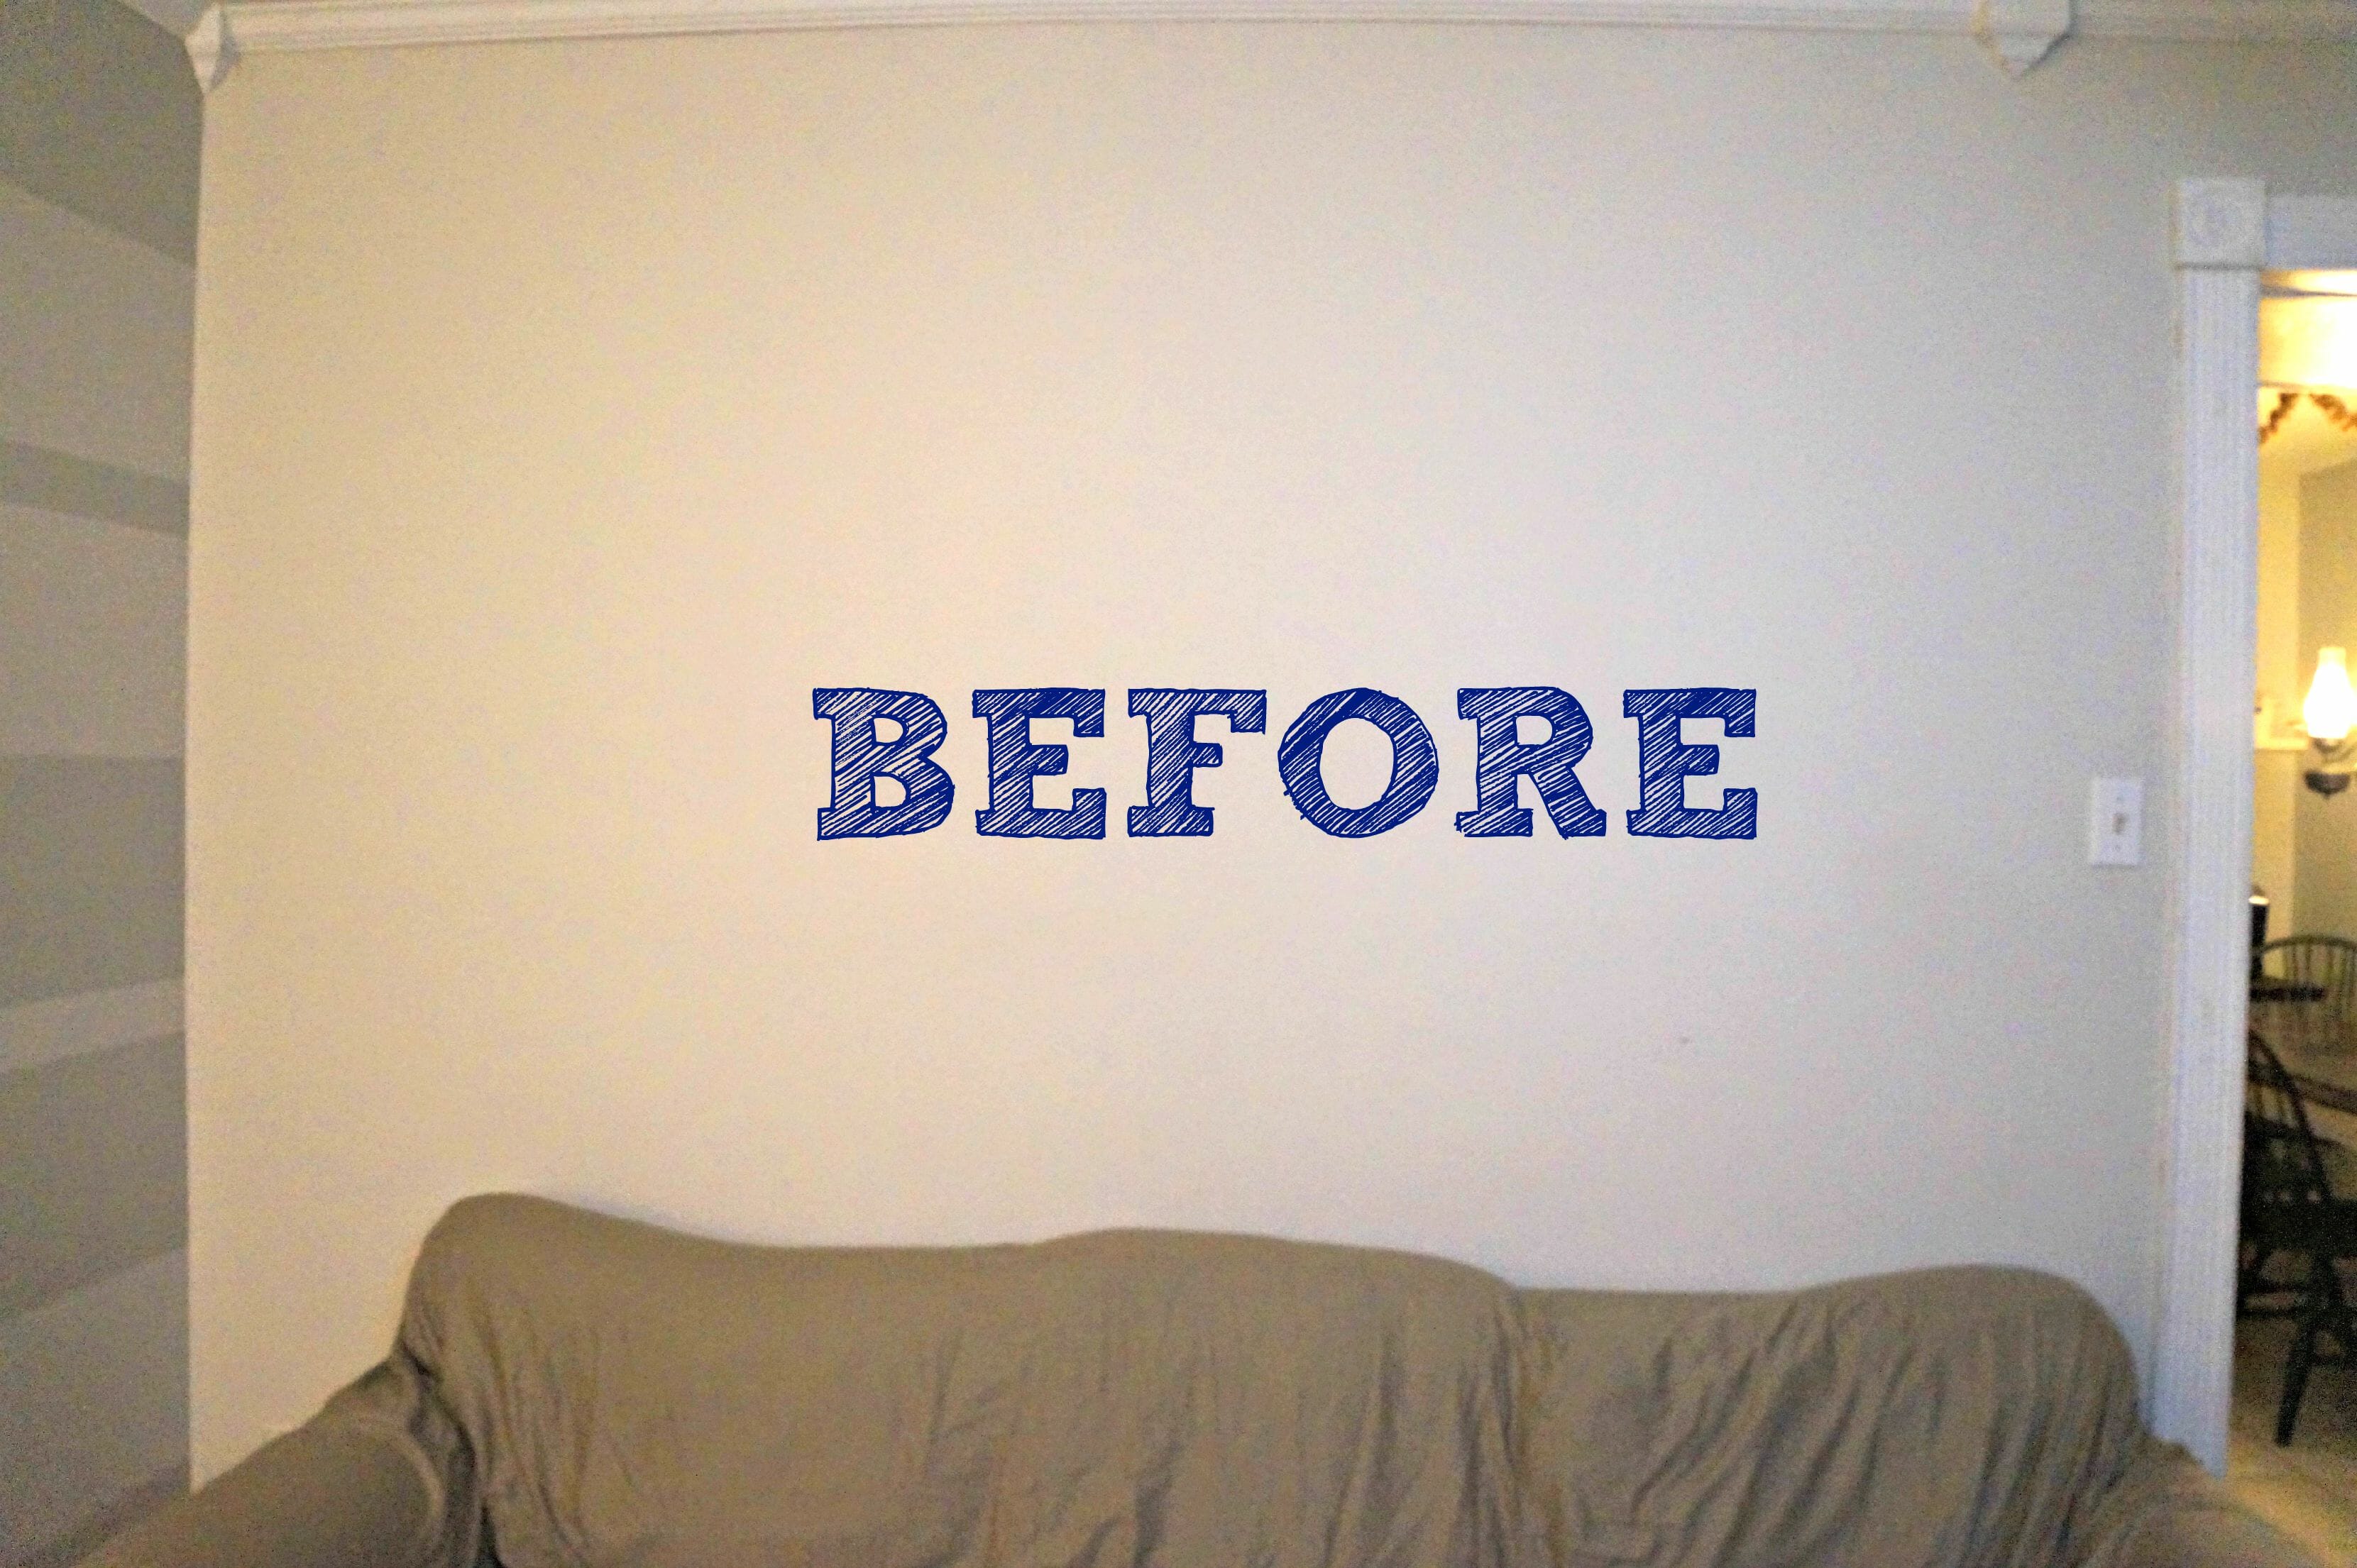
So where did we begin? With another one of those wacky ideas of mine. This one may have been the craziest though…I actually thought it would be a good idea to put a hole into a wall. What??? I know! But that’s usually a great idea for DIYers and Designers, but this one was different…this one was right on the other side of my kitchen wall. Where all plumbing and pipes wold most certainly be hanging out. Dumb…dumb idea! lol So let me take you back to my thought process. I really really wanted to have built ins, but I knew that there would be no way to add them deep enough into the wall with the wall having the kitchen directly behind it. So I thought a little bit more and decided that maybe a picture frame built in would be really neat ( I swear I’ve seen one in a Pottery Barn Catalog). So basically to have the wall be about 3 inches deep and build shelves inside of it and then have beautiful pictures and accessories be placed inside. Not a bad idea right? and if you totally steal that idea you’ll have to email me a photo…just make sure the next thing doesn’t happen to you. See Below the BEFORE of this wall!
Well…low and behold the pipes and wires and all kinds of not so great stuff is hanging out inside our now…humongous hole in the wall. Did I mention the hubby had a feeling this was going to happen? Yet, he wanted to make little ol’ wiffey happy and tried it anyway. So this turned into a huge disaster and for a good few days we had this hole hanging out in our family room. I was a little nervous there was going to be some spiders poppin’ out from in there.
.
Well onto Plan B! I have a lot of those lol. So here we are with a hole and not quite sure what we were going to do. Also, my dad was coming over the next day to babysit and there was no way I was going to let him see this hole that I made. I knew I would really hear it! So I came up with a plan to make a “built in” picture ledge but over the hole. One that would be hung on the wall….and if the hole was not there it would still have been a better plan to originally go with. Tip: DO NOT put a hole in the wall if you decide to do this project.
So we went to Lowes (5 min drive) and picked up some Wainscot Board, to cover up the hole. Phew…we had an idea…and I think it was going to actually work. We would bring this HUGE piece of basically very thick poster paper on our roof of our SUV while I hold onto the one side so the piece doesn’t flap too much in our still wintery and windy air. Well…we made it to our neighborhood…woo-hoo…and my hand was FREEZING, so the Mr. told me I could totally let go at this point we were just about home we can definitely make it to the house…he would drive slow. Not with our luck! 2 seconds later, this life saving piece…flops to the ground and breaks right in half. I can’t make this stuff up! You can only imagine the frustration at this point. Did I mention that we just really try very hard at projects but we truly just are your ordinary self taught DIYers. Well…onto PLAN C!
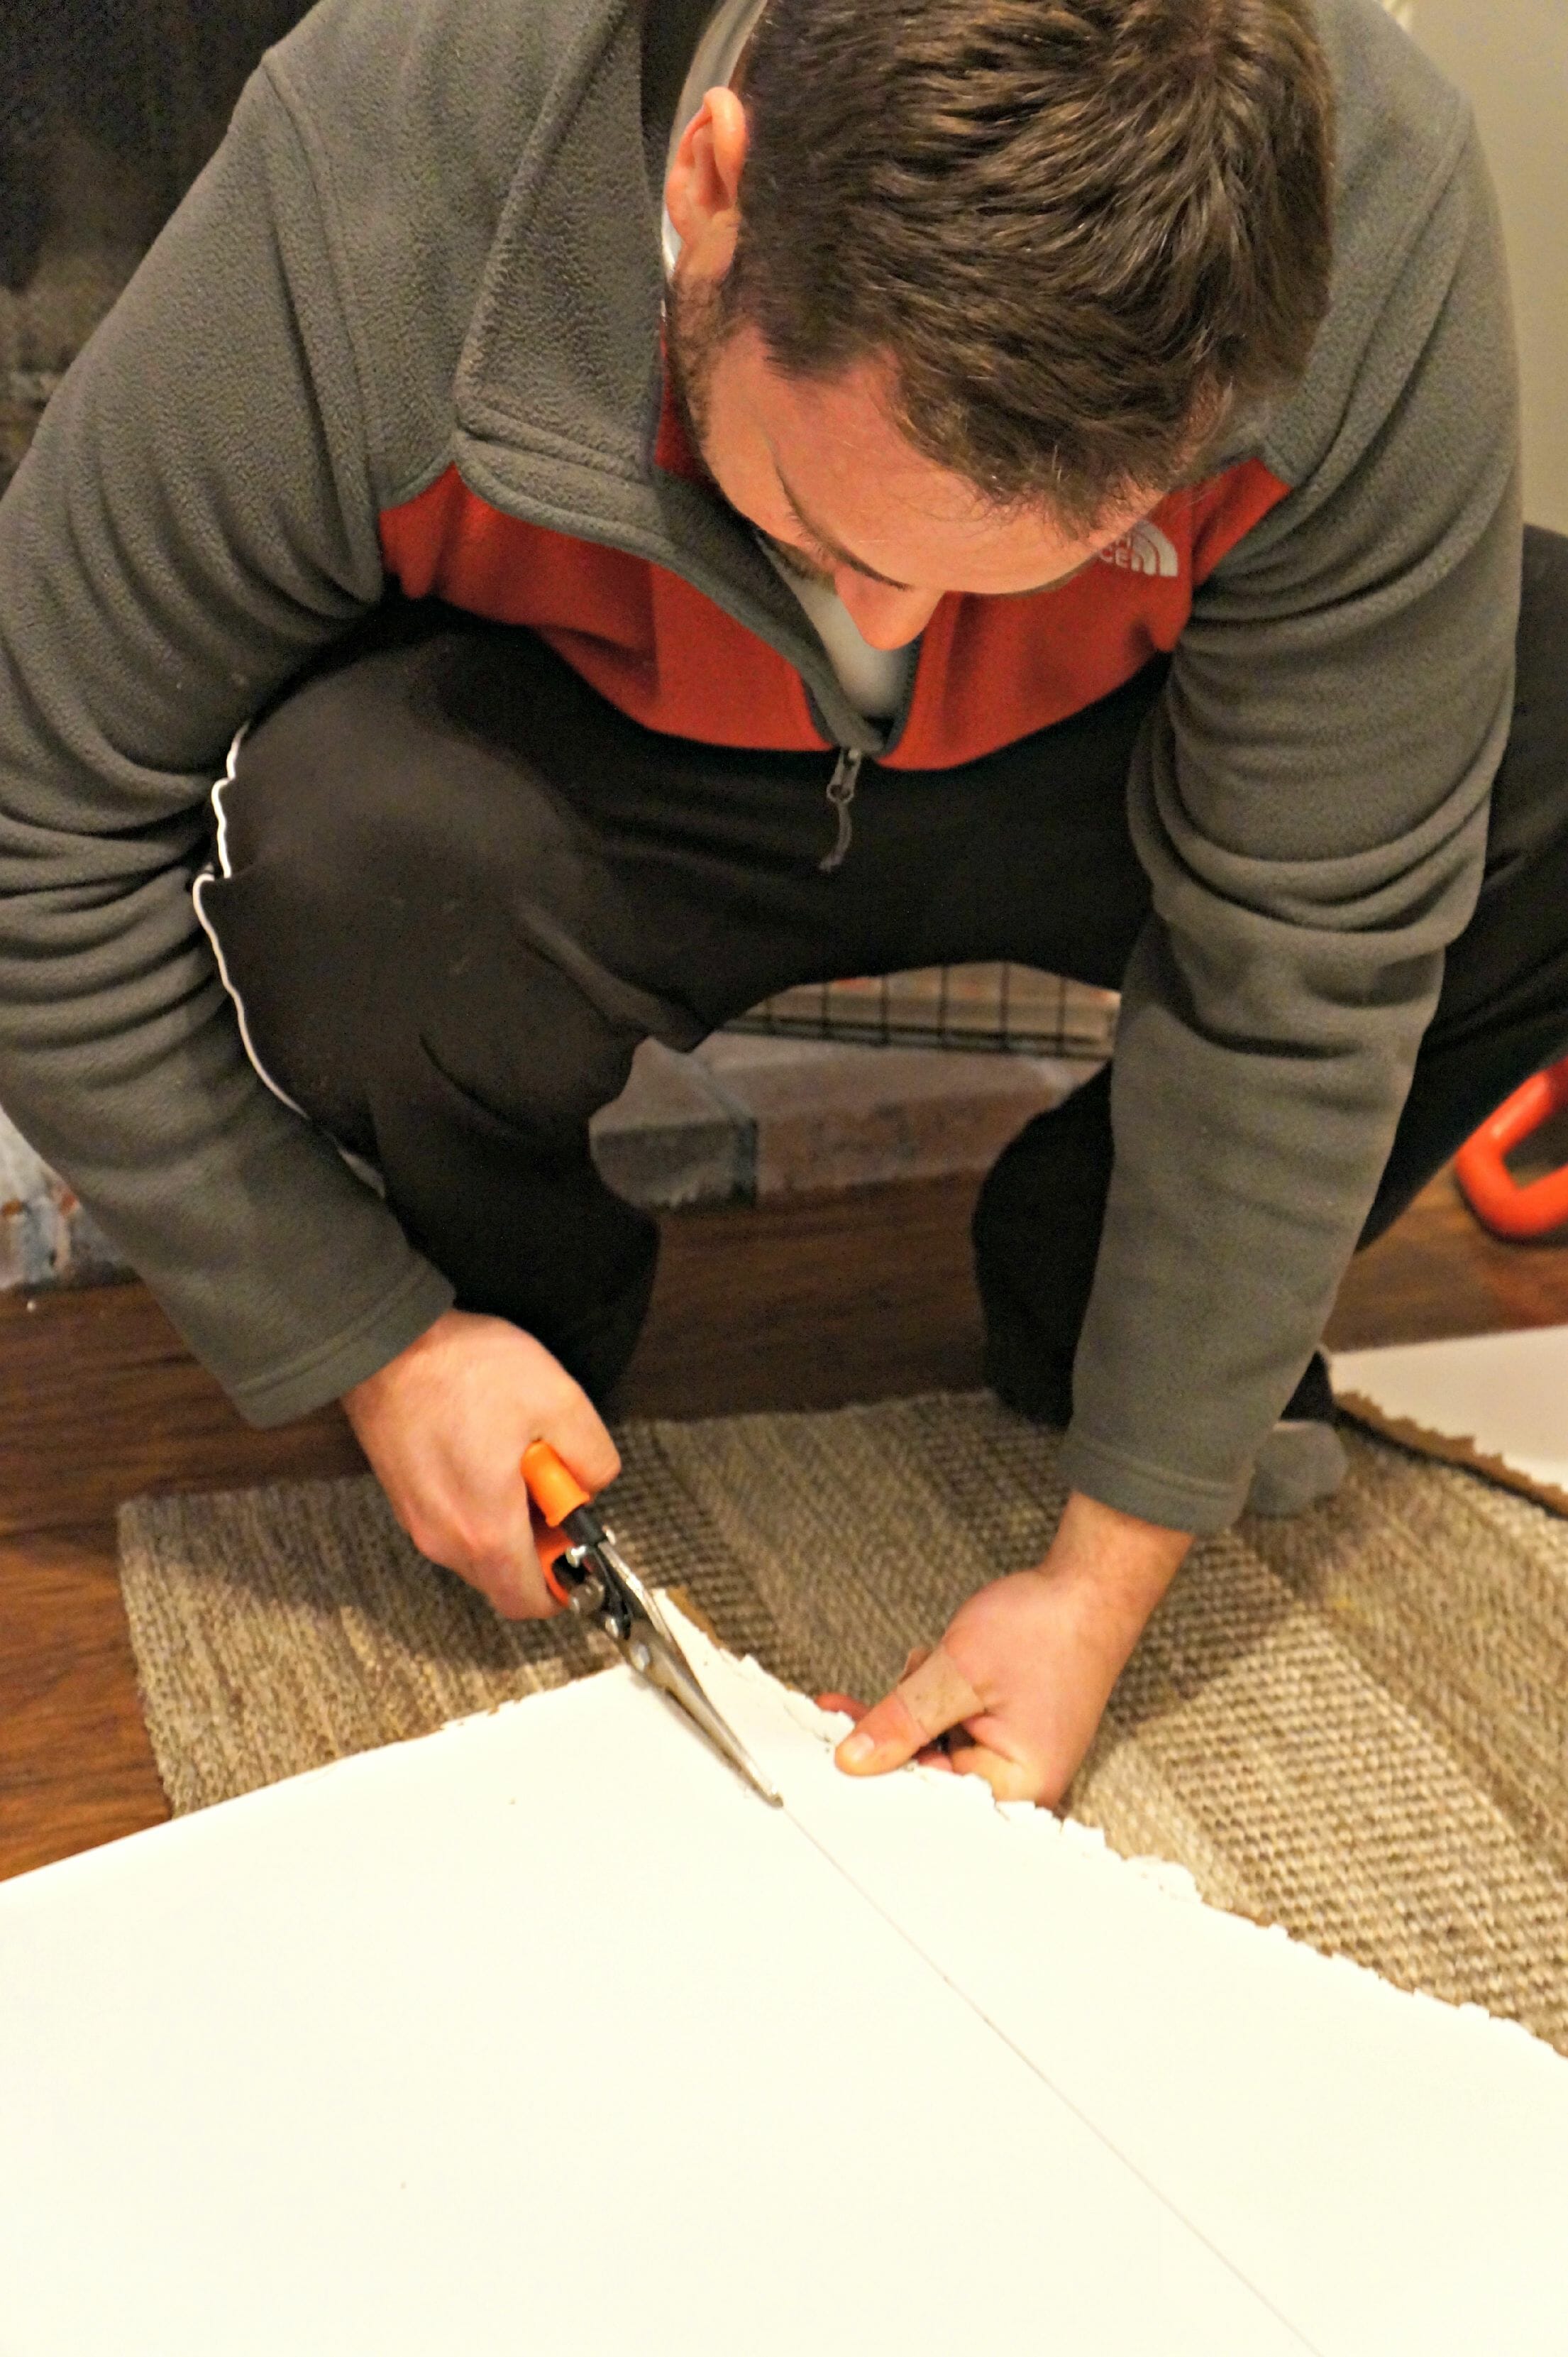
PLAN C? Yes if you skipped around and were about to look at some pretty photos you missed some really not so boring stuff. Okay, so plan C was to fix the problem. NO way were we going to try that again and no way were we about to drop another $14 on a new board that more than likely would flop off the roof again. So with a sharpie marker and some tin snips we made two equal sized pieces and taped…yes taped them together with white electrical tape
 and added it to the wall. The biggest challenge besides the fact that we had to tape two pieces together was that we still had to cover the hole. The size had to be just right and the board had to also make sure it was lining up with the couch.
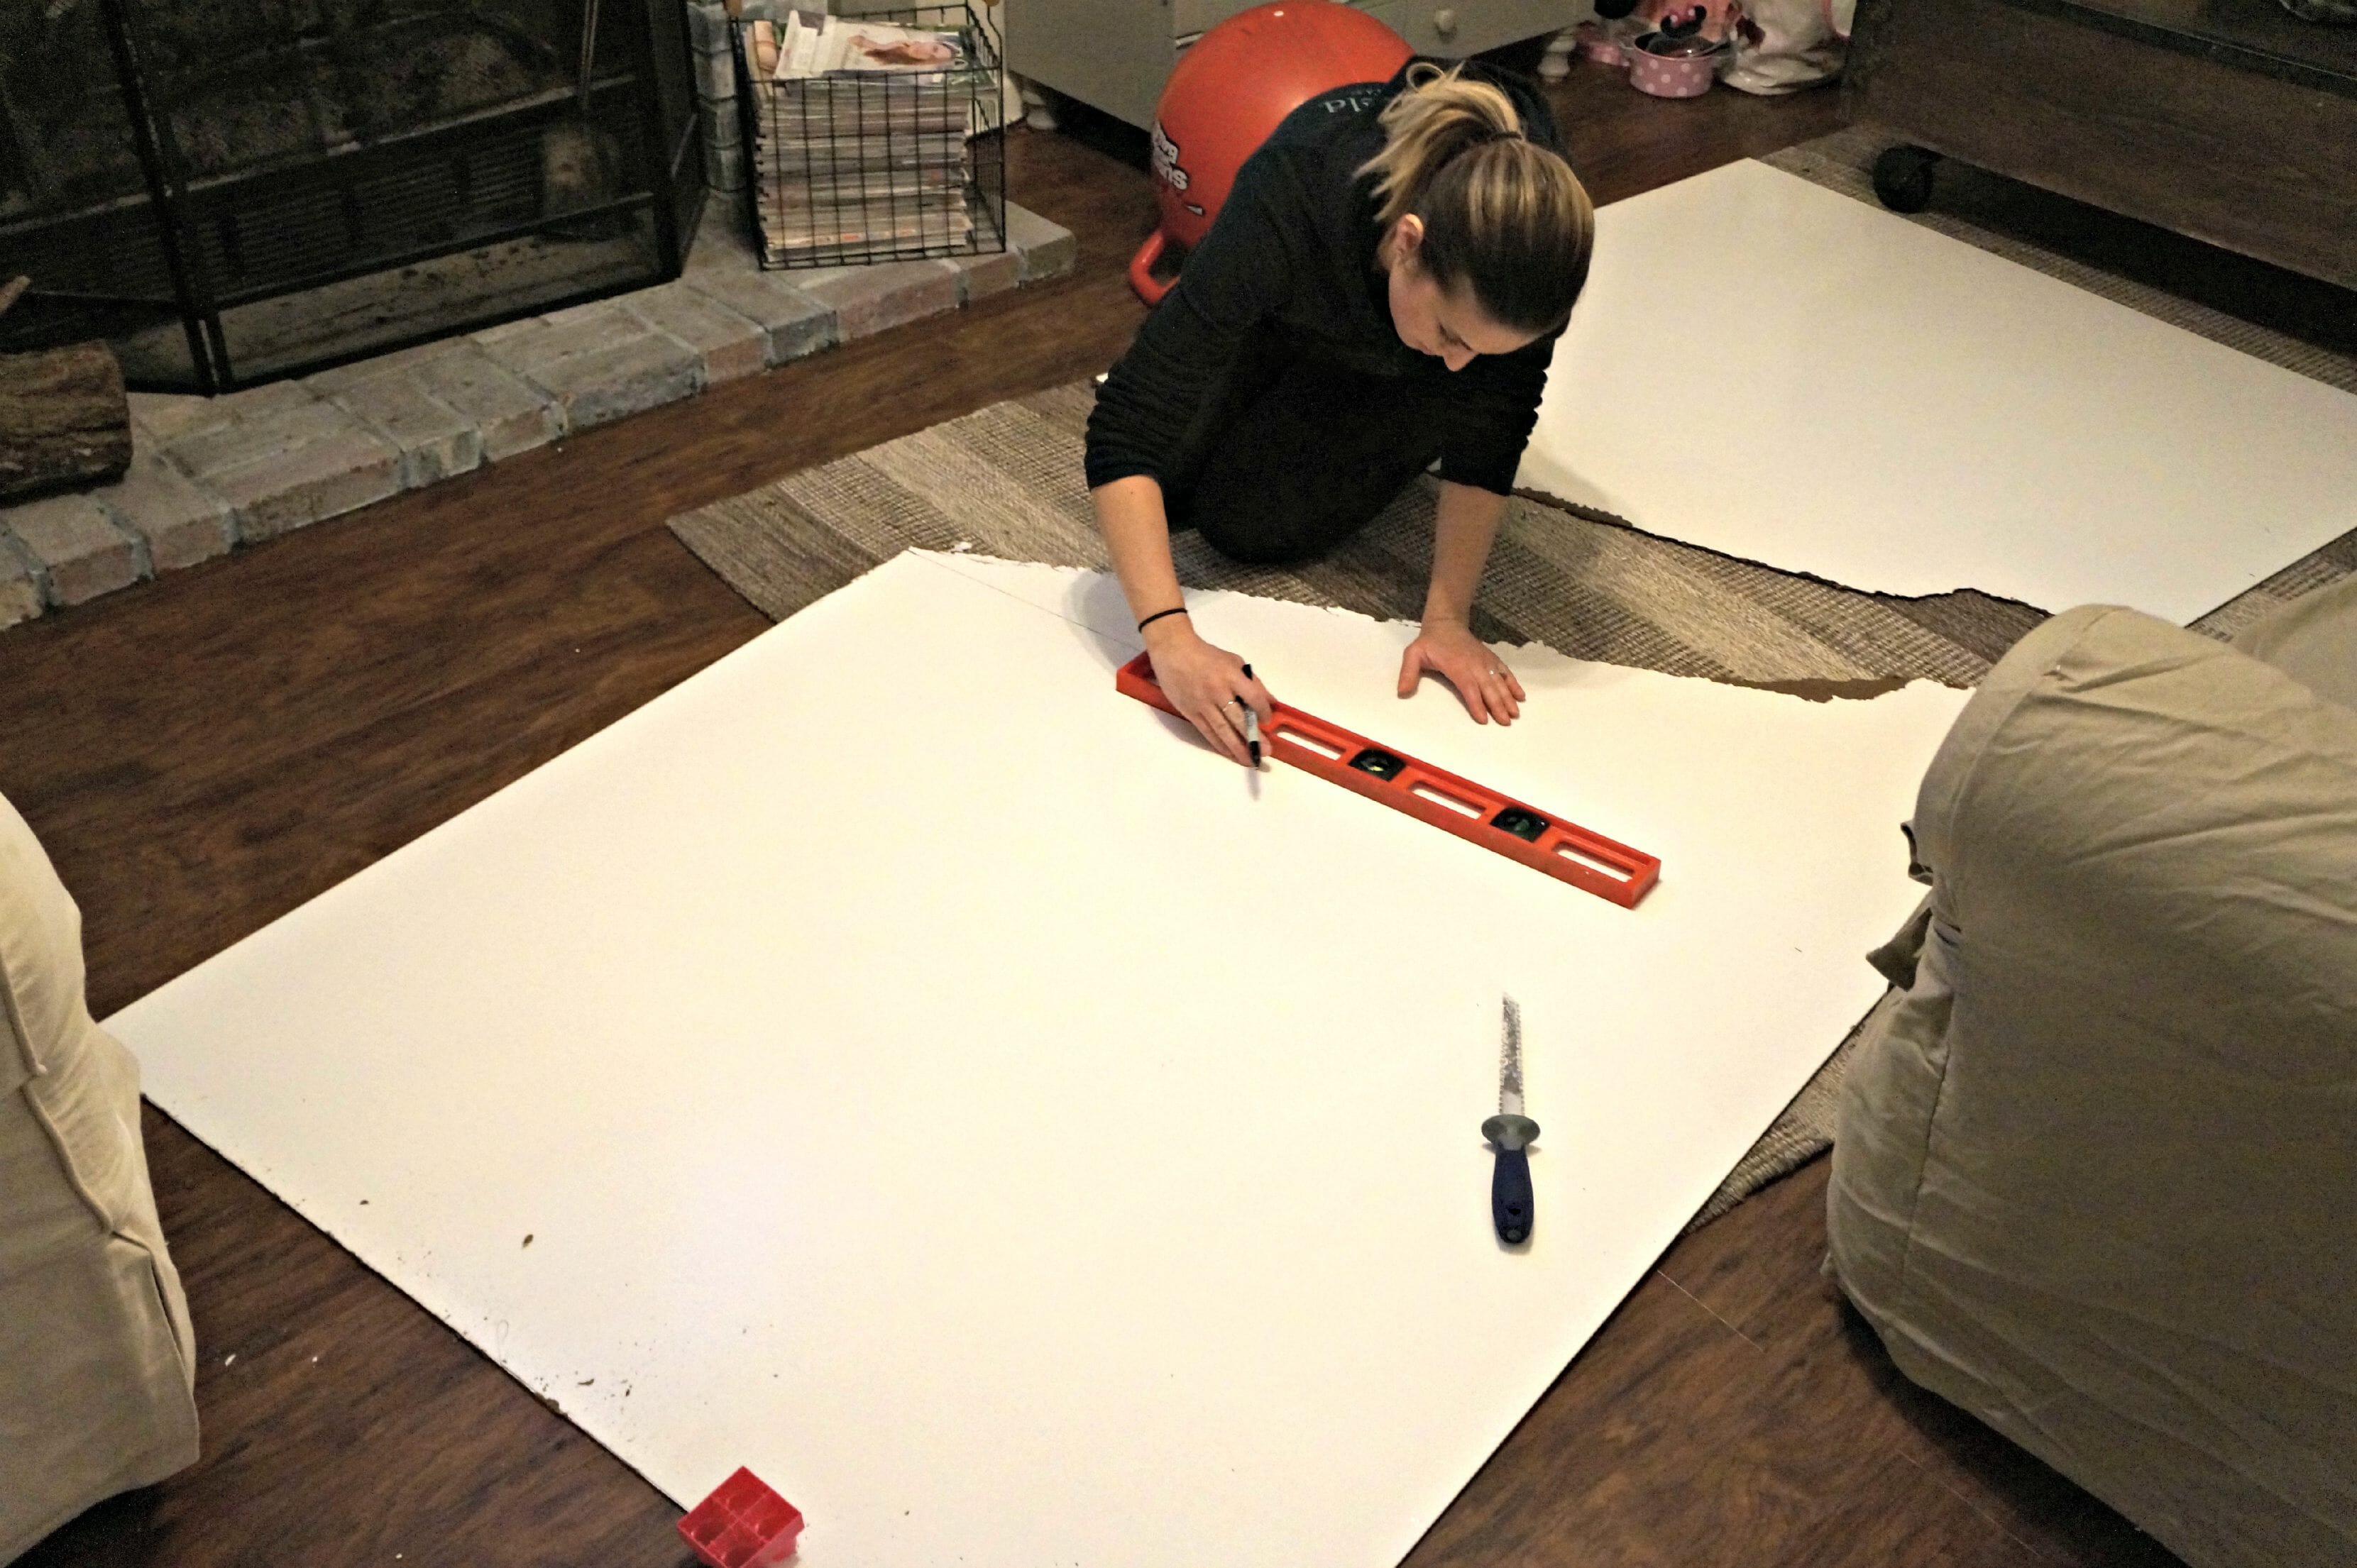
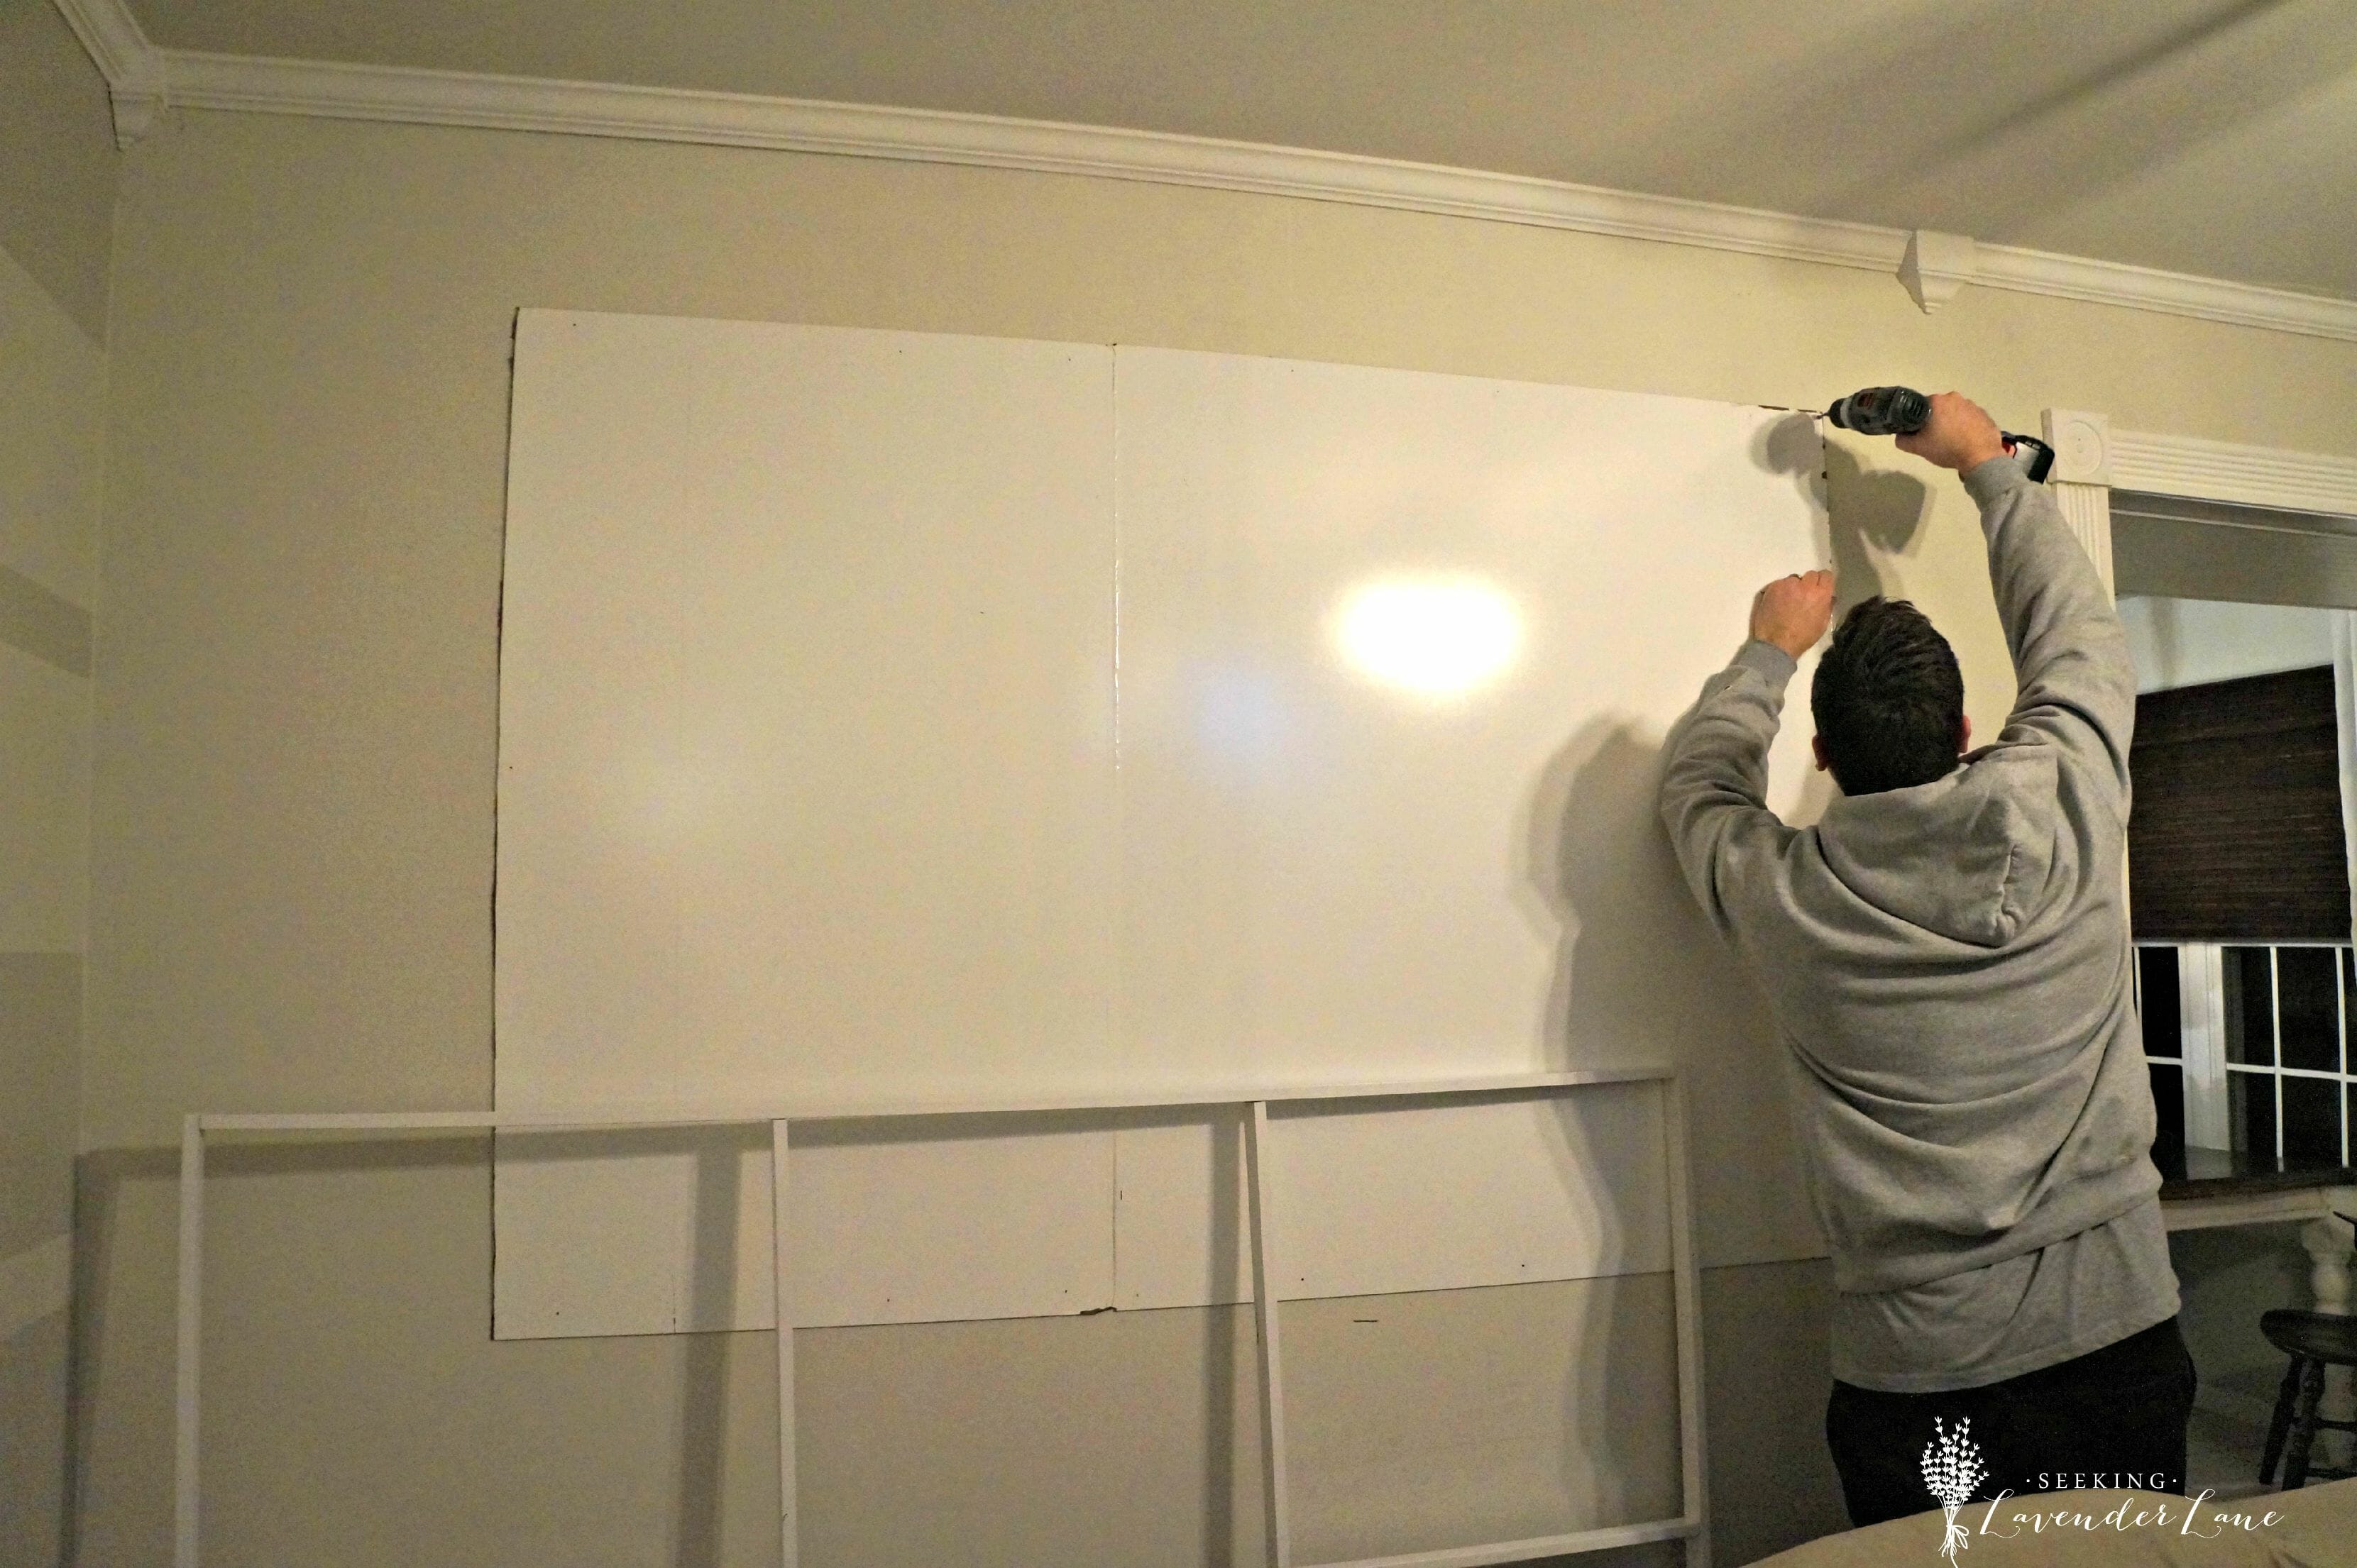
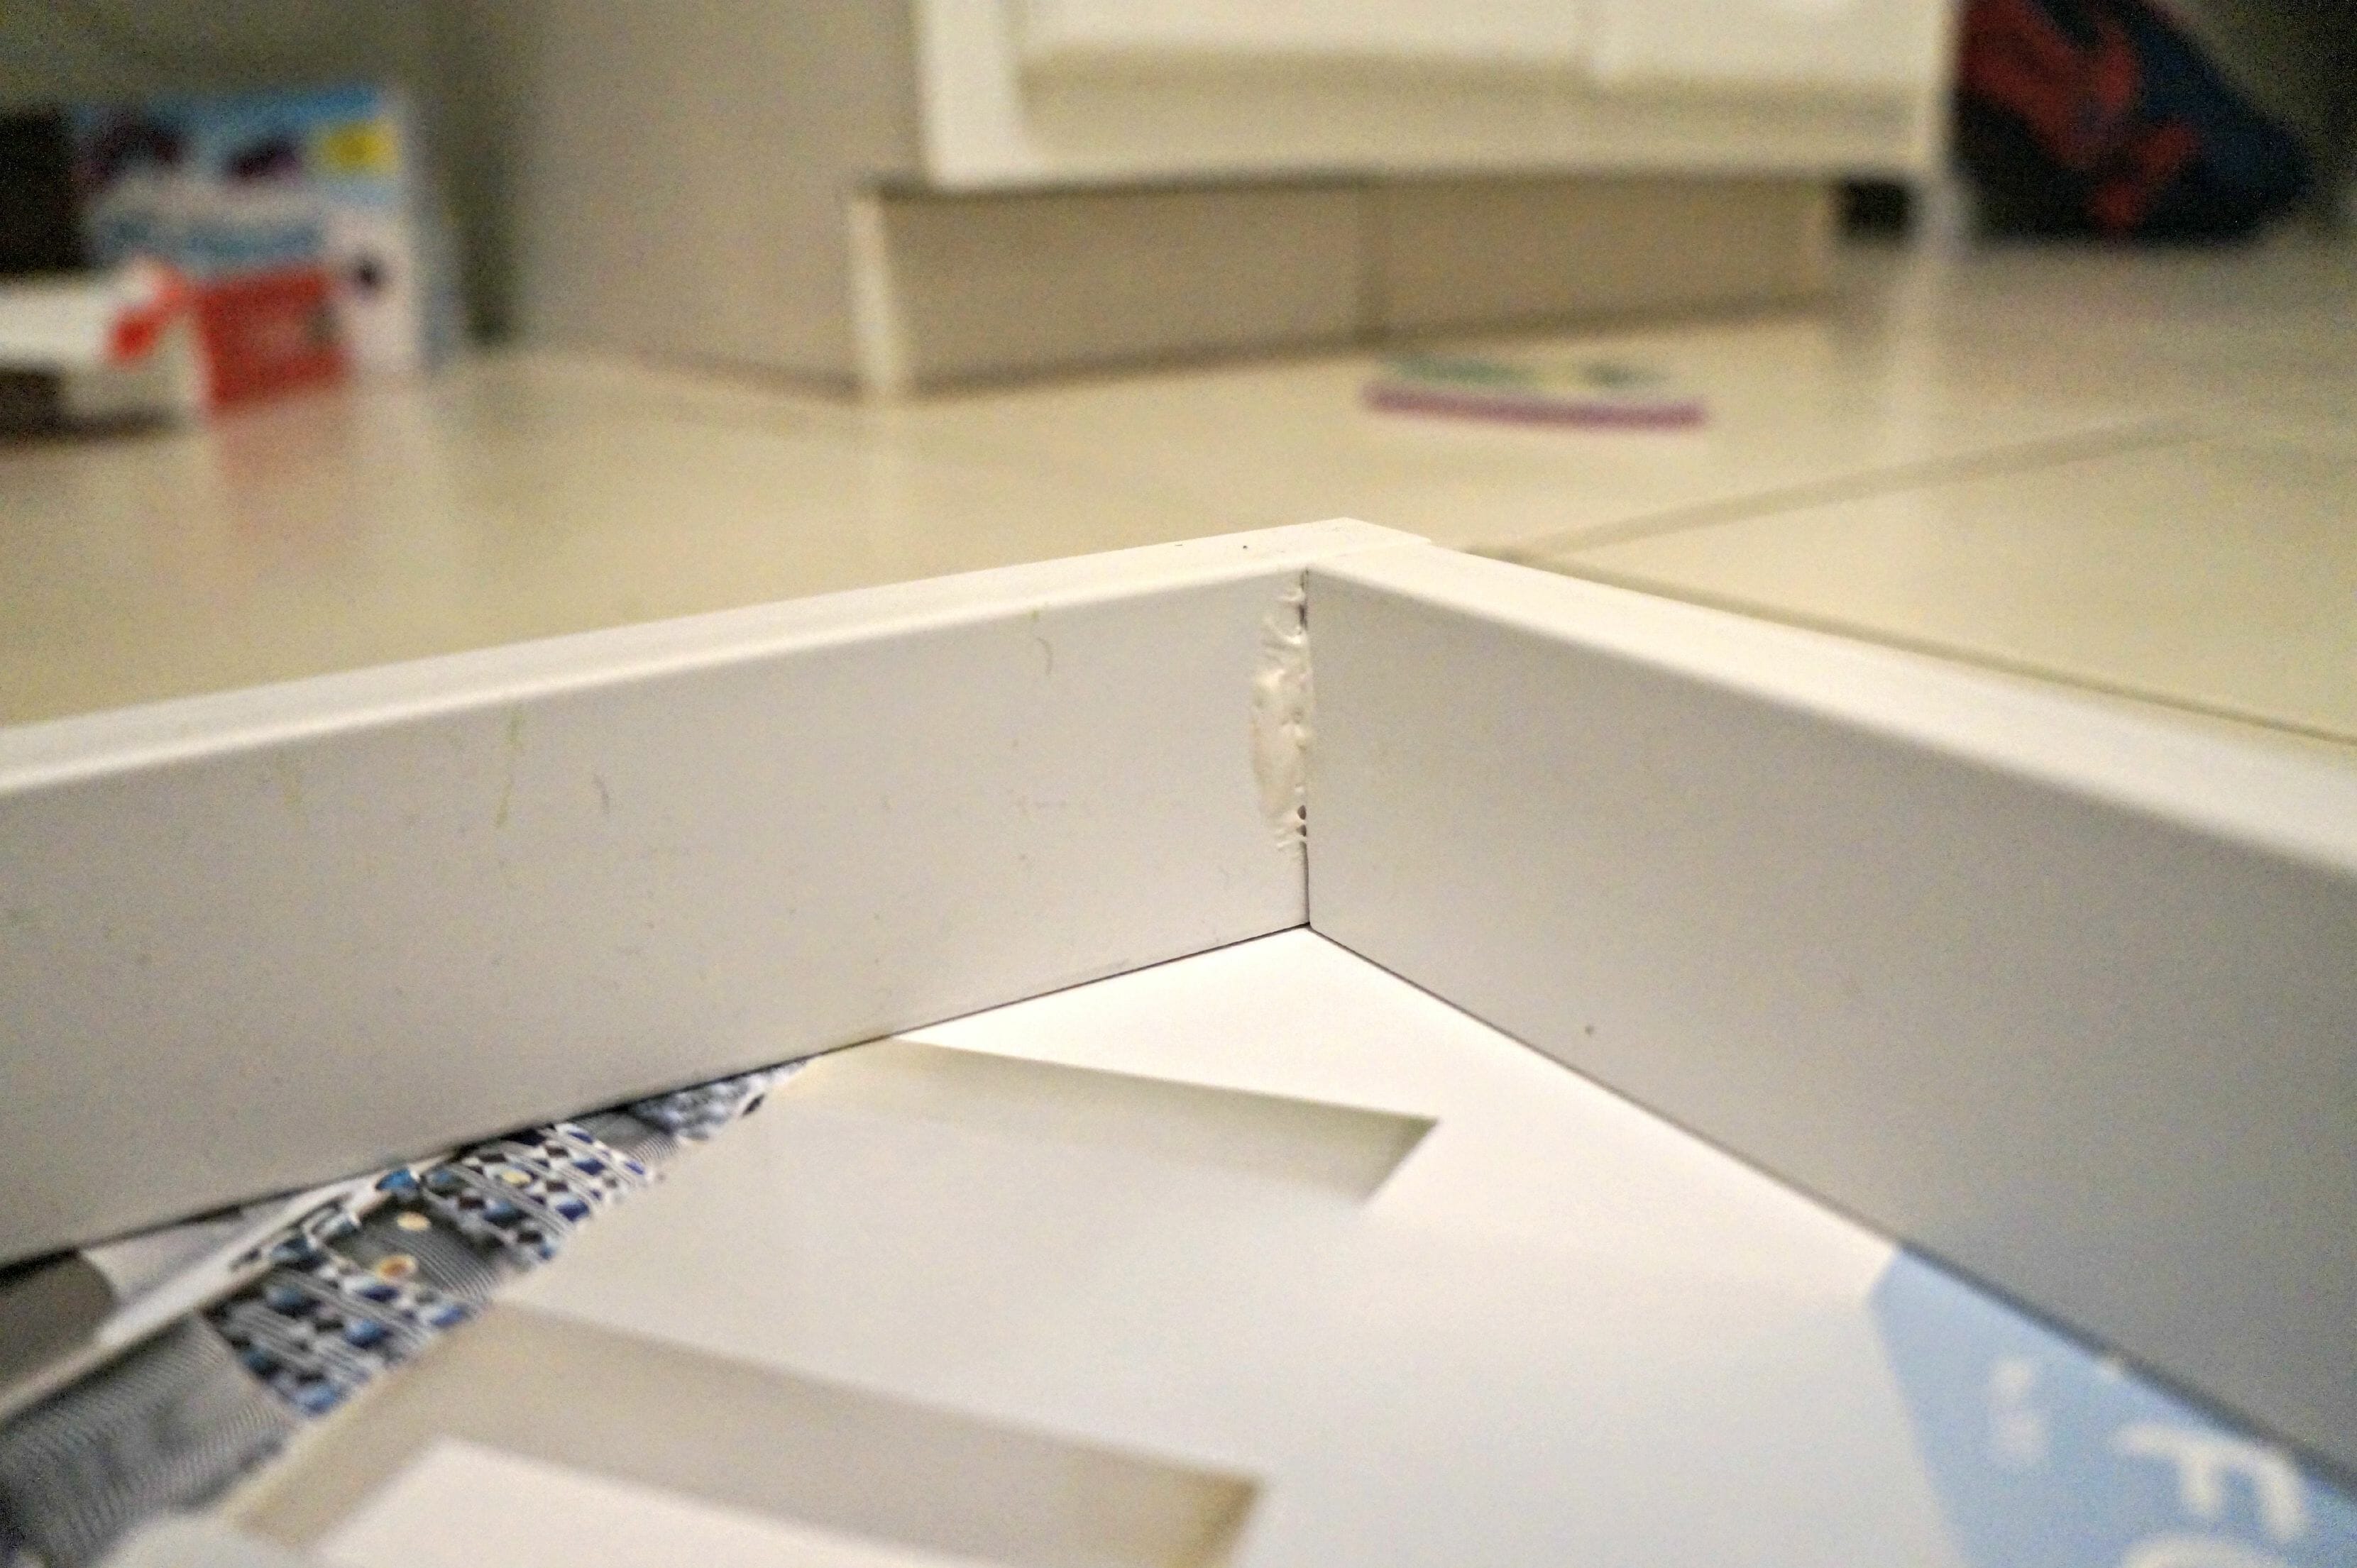
there we had it…our hole was covered and I was starting to get my confidence back on this one. We then built the frame and inner shelves with molding that is 1.5″ x 5/8″. We simply added liquid nails and finishing nails to assemble. Making the frame first and then the inside “shelves” next. We used exterior molding since it was cheaper but I would 100% recommend spending the money on interior molding since it is less flexible. The exterior tends to be vinyl and when assembling was very flexible and hard to really align right and keep straight.
Once the frame was made (which we did on our kitchen floor) we then put it up onto the paneled piece and nailed into the wall . Some spots we had to screw to keep into place better. When the board was completely together I added some caulk in places where gaps happened to be and then once dried painted over entire piece to blend it all together.
A few picture frames and some new vacation photos of the kids and the piece was just about complete. All it required was one more thing…a wooden sign above to add warmth to the wall. I chose to make this out of an old piece of pallet wood and used the words “The FLAMLY ROOM Est. 2013” now Flamly is not a mistake..haha it’s this cute little joke we have that my son use to say when he was younger. He could not say family right and would always say my flamly or call the family room flamly room so to keep it sentimental I thought what would be better than naming it the “Flamly Room”. I think my favorite part about this is I can decorate this entire wall seasonally. Adding garland or small accessories to really change it up.
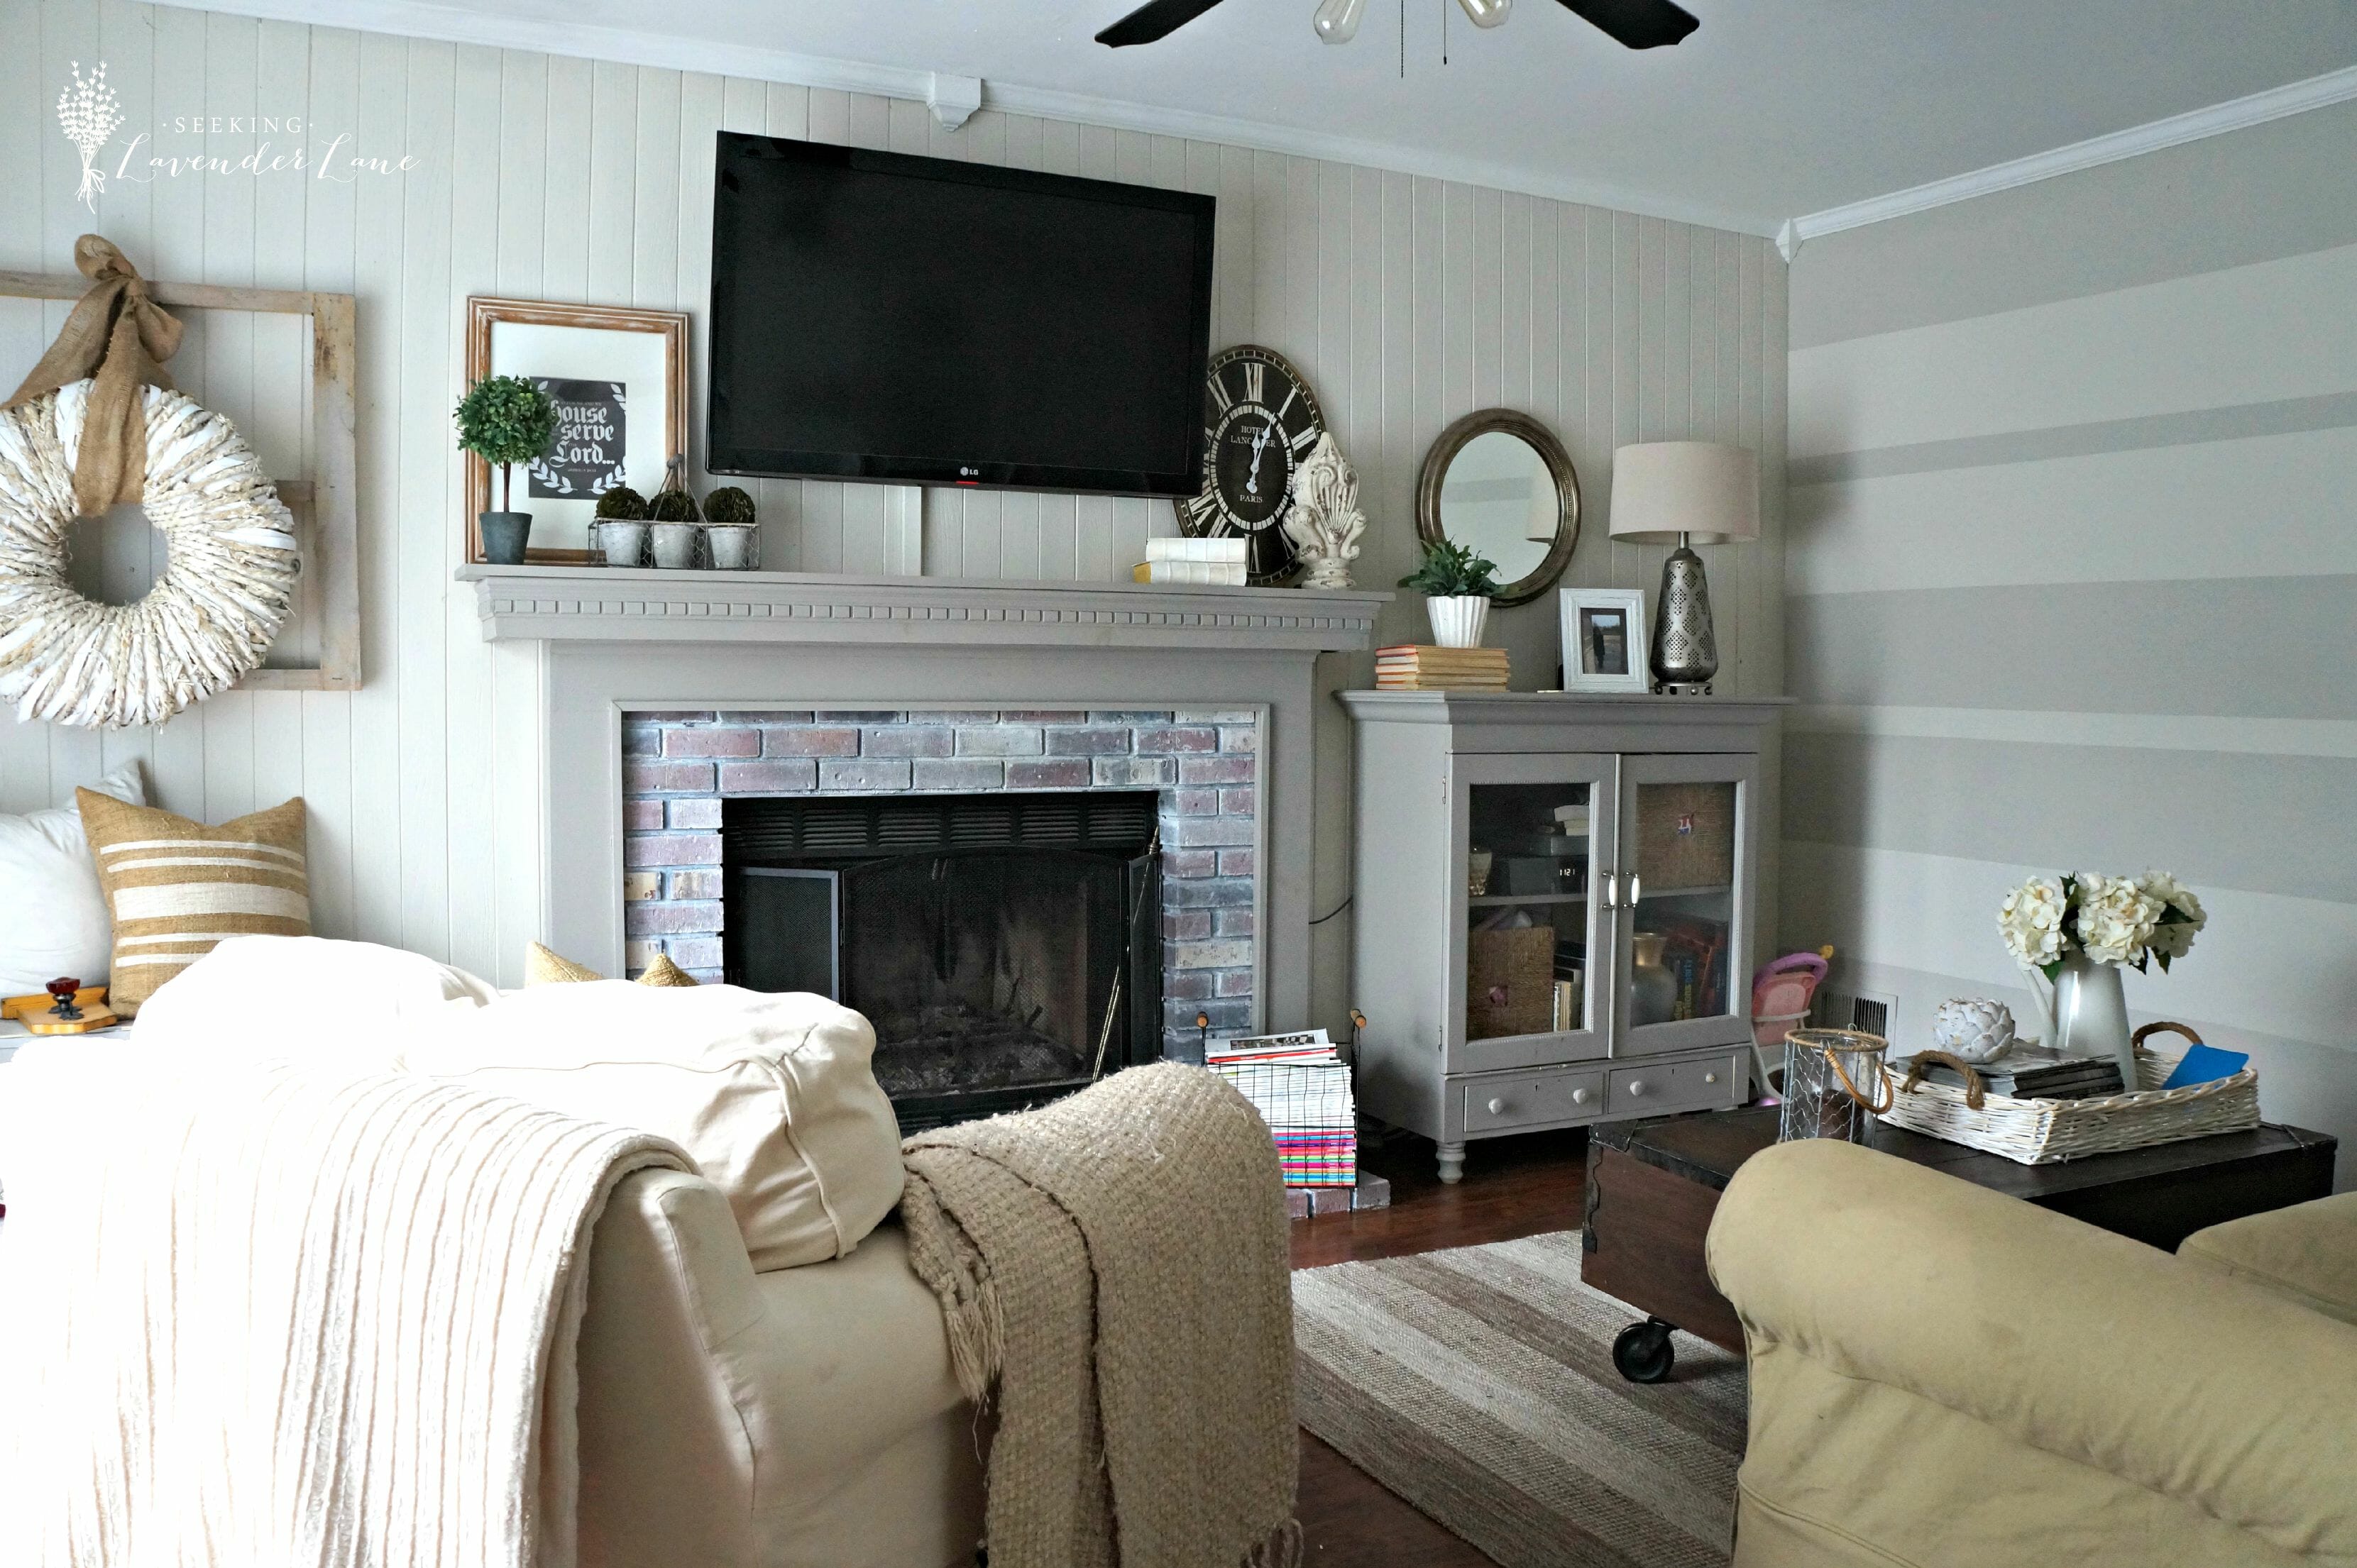
Even though we had quite the struggle at the beginning of this project…this really is something that can be done simply. Hopefully my mistakes will help to make your project easier. I feel as though this adds charm to the space by appearing built in, and yet adds that much needed drama over the couch. I may add some lights next to it as well eventually. Don’t you agree though that this could be a very playful piece…almost like how a mantel could be? Would you add some lights to the side? or maybe some hanging lanterns on hooks?
I guess we will have to leave this one up for when we move…those next home buyers will have quite a surprise if they ever take it down.
It has become the perfect solution for our gallery wall of photos and to add drama over the sofa, with a built in look.

PLEASE STAY A WHILE
Adding Rustic French Touches Behind the Couch


19 Responses
Now you have a great piece and a great memory to go with it! Remember that time when…
Tara recently posted…A Little Dresser Makeover
Very True! Thanks Tara!
I love it!! Thanks for being down to earth and showing us that you too have projects that don’t always turn out the way you imagine. In this case though, it turned out even better!!
Thanks so much Annmarie…oh boy this one I have to say really did make me go a little crazy…sometimes the challenge of coming up with a new Plan makes it so much fun!
Looks great!
Kim recently posted…Wow Us Wednesdays #237
Thanks so much Kim! : )
I don’t know how I’m just now stumbling across your blog, but I LOVE it! Your style is impeccable and I love your projects and your honesty! Consider me a new avid follower!
Sara @ The Fat Hydrangea recently posted…Old Apartment: Fall Home Tour
Oh yay! Thank you so much Sara…so sweet of you! So happy to have you following along : )
I am so thankful I ran across this project. I need to show my husband tonight. We are in the process of redecorating our entry way, and I am wanting something big to hang there where we can easily change out photos of the everchanging children. I am looking for a bit more of a bulletin board feel, but your creation is some great inspiration! Nice work! You two are so creative!
Kelli recently posted…Learning How to Love My Home
thank you so much Kelli! I am so glad this can possibly work for you home. I just love the way it looks and really can be quite versatile.
It turned out great! Totally sounds like something I would do…
Thanks Sarah! Totally a crazy experience but loved the finished product.
So funny Deb! I DIY exactly like you do, with big random holes in the wall and boards flopping off the car roof! I love that you put it all out there. Regardless of all the setbacks, it turned out beautiful. I especially love your Flamly room sign. So cute!!!
Amy | Canary Street Crafts recently posted…25 Blue Furniture Makeovers
I love your “oops!” Well done! Sometimes the projects that give us the headaches turn out to be the best! Love your work! I’d love for you to pop by my blog and share your works at my Making Broken Beautiful Party beginning this evening 6:00pm (MST)! http://thecuratorscollection.wordpress.com
Hope you have a great week and congratulations on your feature!
Smiles!
Terry
Terry recently posted…Getting My Groove Back …
Thank you Terry! Love to stop by your blog and link up…thanks for the invite!
Such a cool feature! I love it!
Sarah recently posted…Wednesday Watch List
Thanks Sarah!
Thank you for replying on Instagram, I searched the project and love it even more after reading your opps.. Every DIY project starts of with a great idea, always goes over budget, usually includes my husband and I arguing over so aspect of the project and end up loving it! I can’t wait to try this one! thanks again.. love your house!
Thank you so much Shannon! Absolutely! Love to see photos of how it turns out…send me an email!