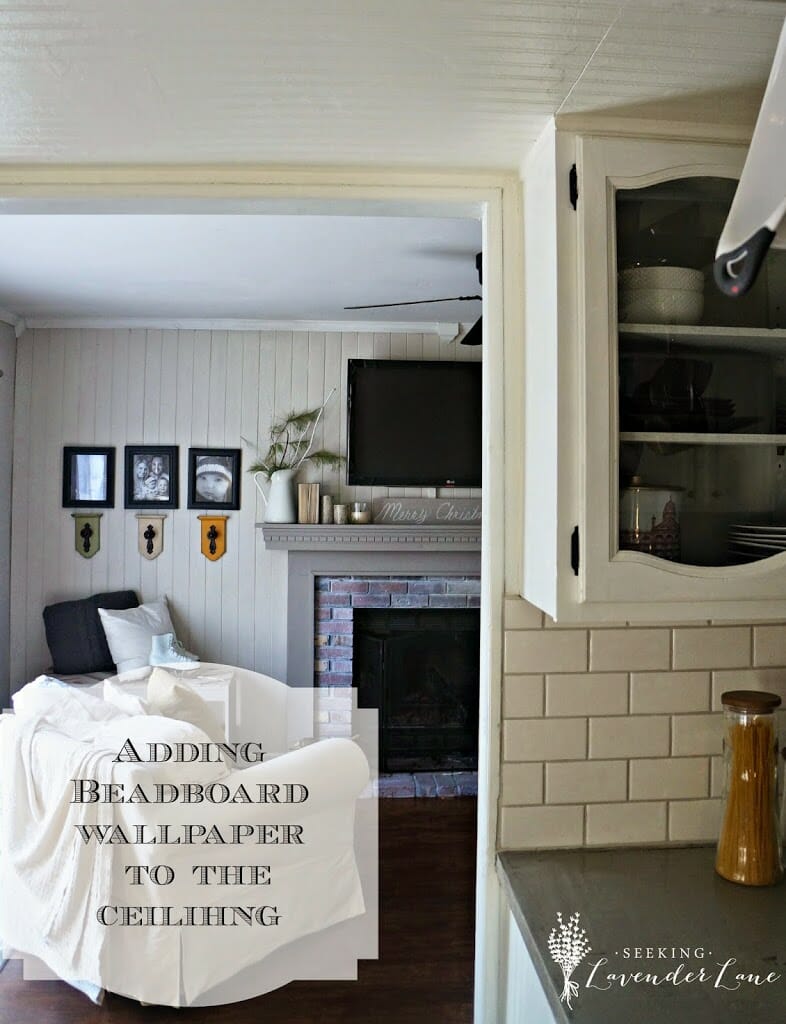
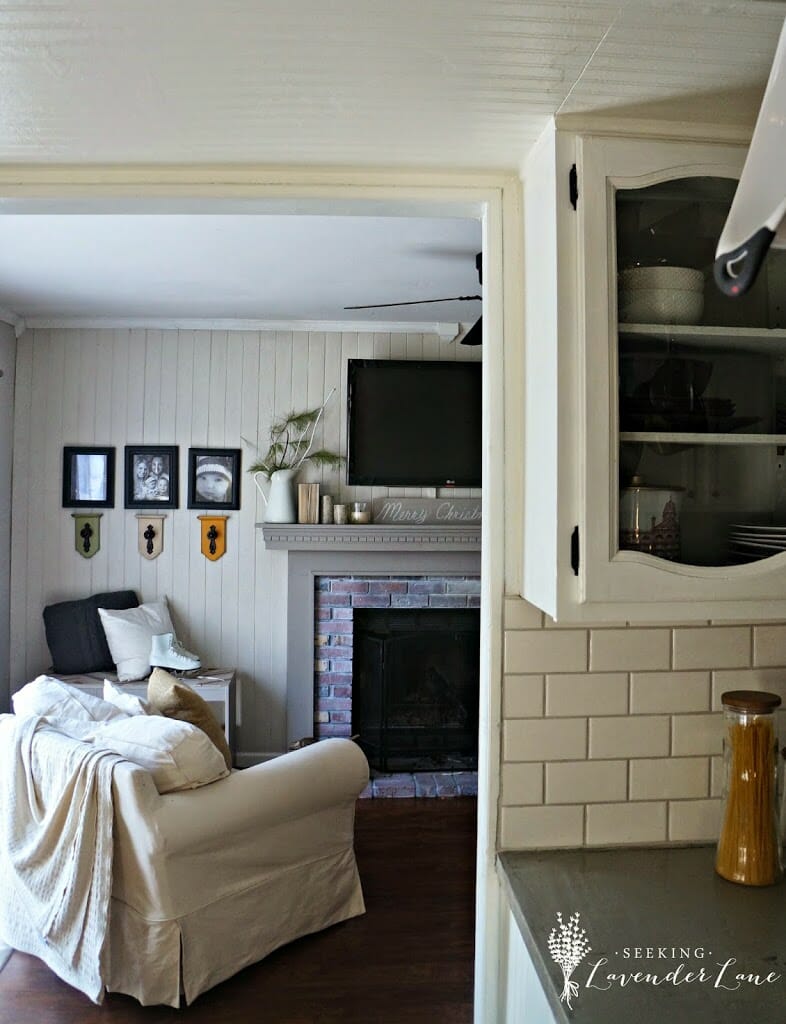
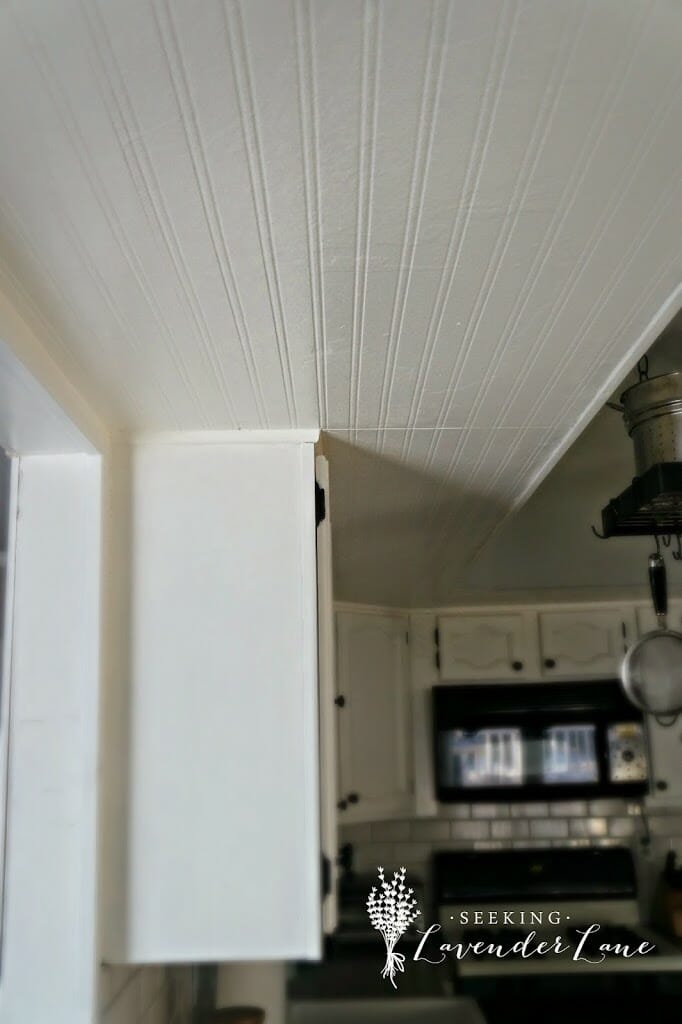
So I know what you are thinking…wow that must have been a lot of work! Well…we only added the beadboard to the “soffit” ceiling that overhangs in our kitchen. We had a big problem with the ceiling chipping and needed a good solution without spackling. And of course I have been dreaming of beadboarded ceilings in here since the day we painted the Kitchen Cabinets. Hoping that adding this little bit of charm to the ceiling will create this space to be even more cottage-chic. I am always finding ways to add character to this 1985 home and something as simple as this project just helps.
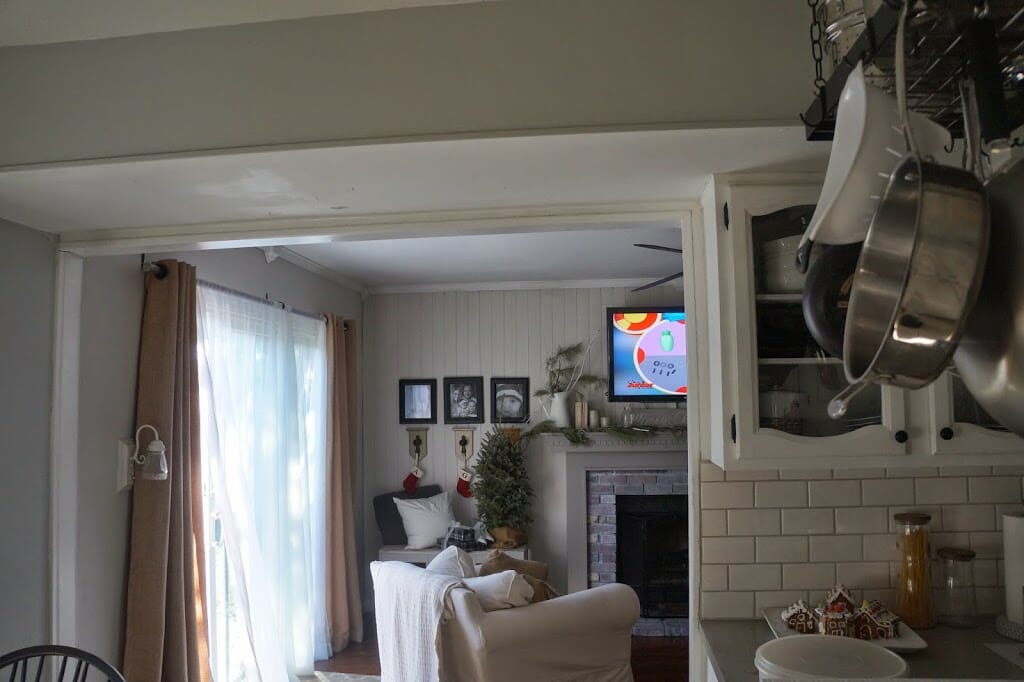
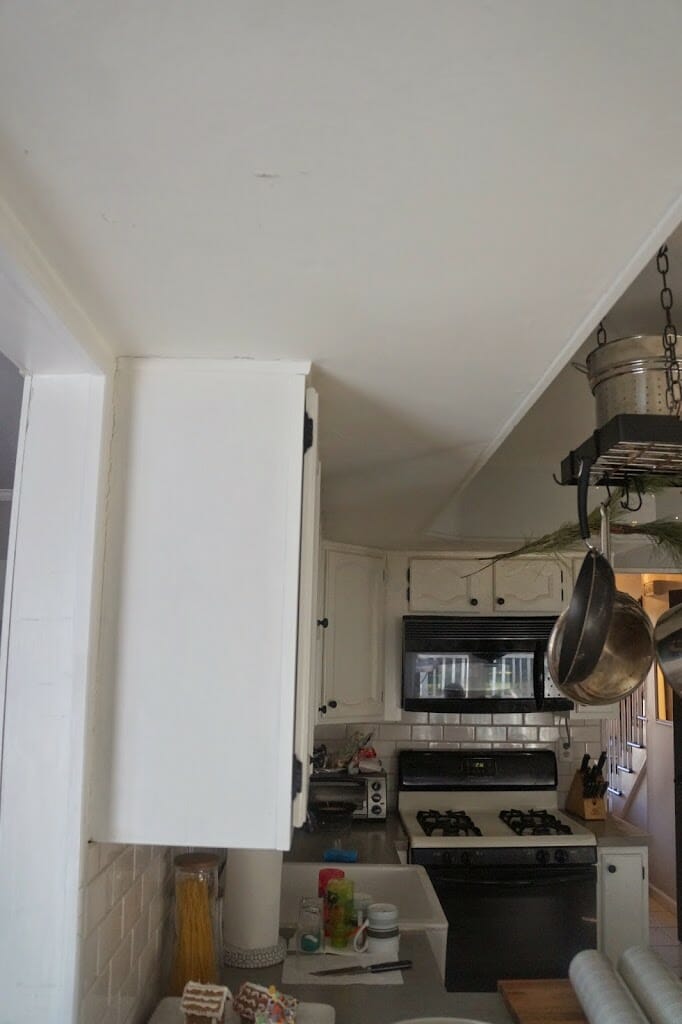
Here is a look at the before ceiling…which was chipping and making me CRAZY!
Now there is no lie that “real” beadboard ceilings are dreamy and heck if I had all the money in world that is exactly what I would have installed…especially when you add some solid wood beams….
I found some of great inspiration on the web and pinned it onto my For the Home Board.
So where can you find this amazing product that makes adding beadboard to the ceiling so easy?
Lowes of course! Allen and Roth Beadboard Wallpaperand the price for one roll is less than $20!!!! I only had to use one roll for this area…and had some leftover. So basically this project was a big bang for it’s buck. You really can’t beat a project that is going to cost you only $20….definitely easy convincing the hubby too ; )
So how did we accomplish this project?
1. Measure and cut amount needed to cover surface. We cut in 3 separate strips since the area we were covering was definitely an irregular shape.
2. Just like any wallpaper you need to apply the wallpaper paste to back of wallpaper and on surface you are covering….and work fast (before glue dries)
3. Apply in strips…I had the hubs stand behind me for this project so as I smoothed out he applied directly behind me. Not gonna lie…this took multiple tries. Once we got into a good routine it went much faster. As anyone who has ever done wallpaper…it is not that easy and just imagine doing it to your ceiling…the arms get a good work out on this one!
4. Paint to match ceiling….we painted ours in the same color as our cabinets which is in a glossy finish. I liked adding the gloss affect since it made the beadboard seem more like wood.
5. Enjoy your beautiful new ceiling with a glass of wine in hand!
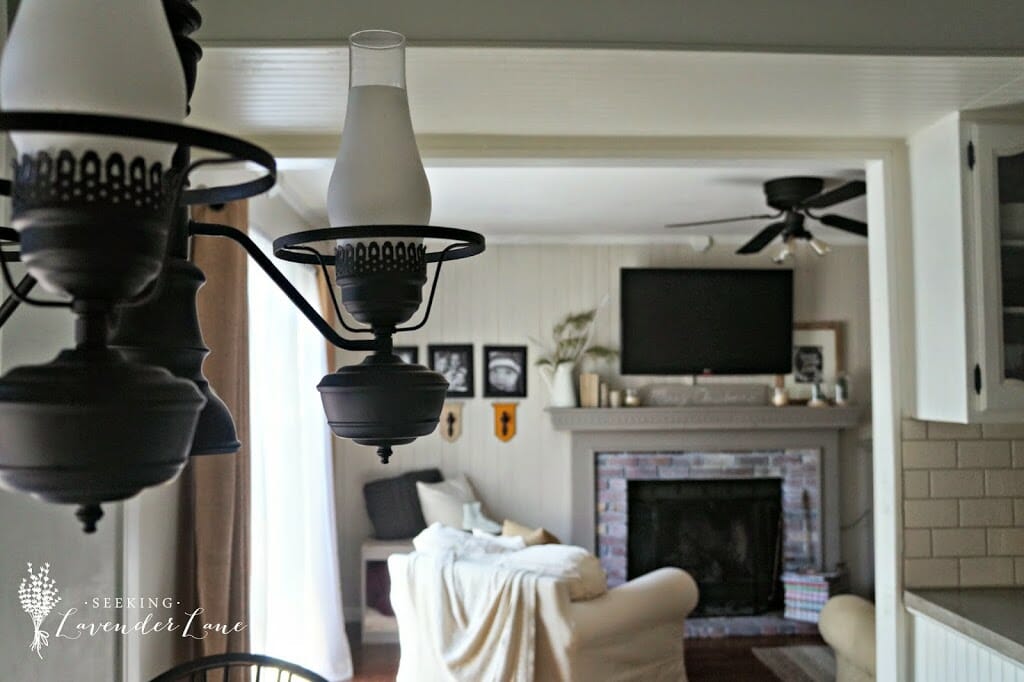
I really love the view now from the Kitchen where you can see the bead board ceiling and look into our family room which has painted paneling. I swear my house is feeling less 1980’s every day. If I had different floors in my kitchen and my house was not located in a “development” I’m not sure anyone would be able to guess the age of our house.
Love love sharing these simple DIY’s with all of you…sometimes the small projects are what makes you the most happy…and the easiest to convince others to try too!
Hope you all have a wonderful day! I am going to enjoy mine with my little one….and so grateful to be back posting again.





18 Responses
Hi Deb!! What a lovely blog you have over here! Love the idea of beadboard wallpaper for a ceiling! Yours turned out fabulous! Thanks for stopping by my blog, Restoration Beauty! Following you on Bloglovin, Pinterest and Twitter and hope to stay in touch!
Hi Selene…thanks so much! I really enjoyed your blog as well…love to stay in touch I am following you as well.
That came out great!! I love the texture on the ceiling. Such a great look!
Thanks Christine
This is really a nice feature for your home, I love it… and it’s really great that it was only a small portion of the ceiling… imagine trying to do the whole ceiling! =)
Tania
Thanks so much Tania! Yes…I have been considering doing the whole ceiling, but after doing that small portion….not quite sure I want to anymore lol. I think it was just enough to add that little bit of charm!
Amazing. What a fabulous idea and it looks wonderful. I would have never thought of that in a million years. Thanks tons for linking to Inspire Me.
Thanks so much Marty!
I have been wanting to do this in my kitchen as well. I always wondered if the paper would look at good ad the real deal. I can see it looks legit and awesome. Now I need to do this instead of thinking about it.
Oh that’s so great Emily! I hope you do…love to see how it turns out : )
Love the added touch of the headboard wall paper!
Thanks so much Pamela, it’s all about the details!
I didn’t know this kind of wallpaper existed. How fun, and what a great idea. It really adds a lot of charm to your kitchen. Thanks for sharing with us.
Thanks so much Heidi!
I would’ve never thought to add wallpaper to my ceiling! Very clever, and I love how it looks! Thanks for linking up at our Creative Spark party! We hope you’ll join us again this week
http://twopurplecouches.com/2015/01/creative-spark-link-party-38/
Thank you Emily! Look forward to another great Link Party!
It looks wonderful, Deb–just like the real deal, and so much easier. Pinned to the Pretty Preppy Party board (and thanks for linking up)!
Thanks so much Christy! I appreciate the Pin! Looking forward to the next link up party : )