It has been one long day! We headed over to Easton, PA to check out the Crayola Factory to keep the kids busy on this Snow Day. Kids loved it, but mom and dad are pooped! About a 2 hour ride from where we live and a pretty cranky 2 year old just about the whole way back. I can say silence feels pretty good right about now. Easton just happened to be quite beautiful. A really great downtown feel with historic buildings and nothing greater than their antique shops across the way. I couldn’t help myself after a day full of KID fun, mommy needed some “Mommy Fun”. I unfortunately, did not buy anything but I was in Vintage Heaven. I need to get my butt over to PA more often. So that was my day! How bout yours? Are you local and have taken your kids to crayola factory? Guilty mama like me for stopping at the antique shop before getting back in the car? Oh and did I mention we had to do Texas Roadhouse for dinner (they don’t have those in Jersey) Yum…def a favorite of ours.
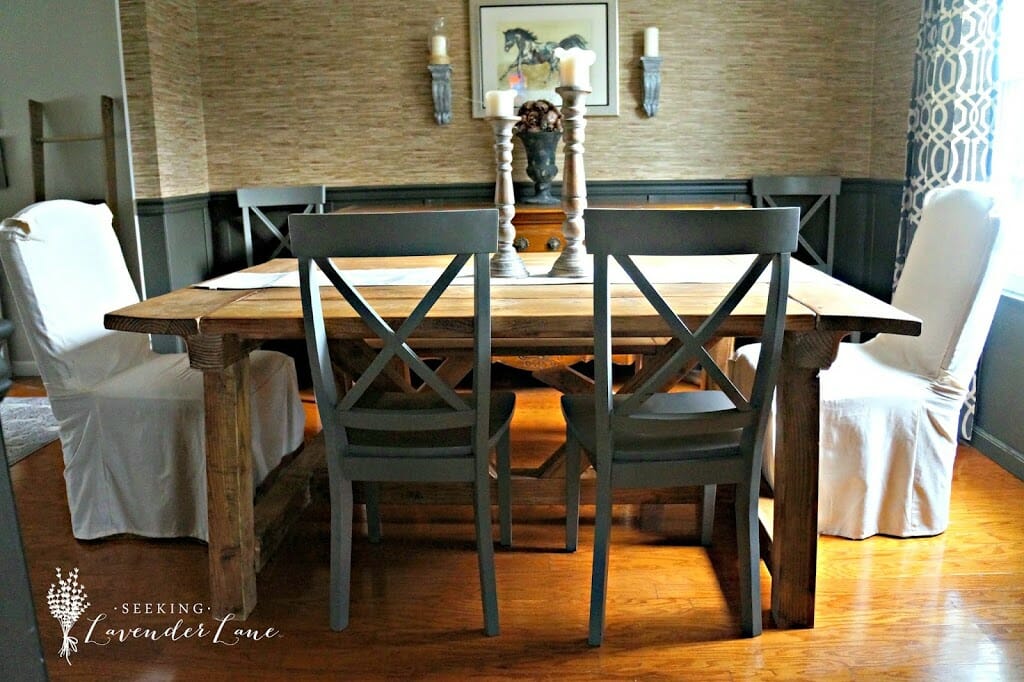
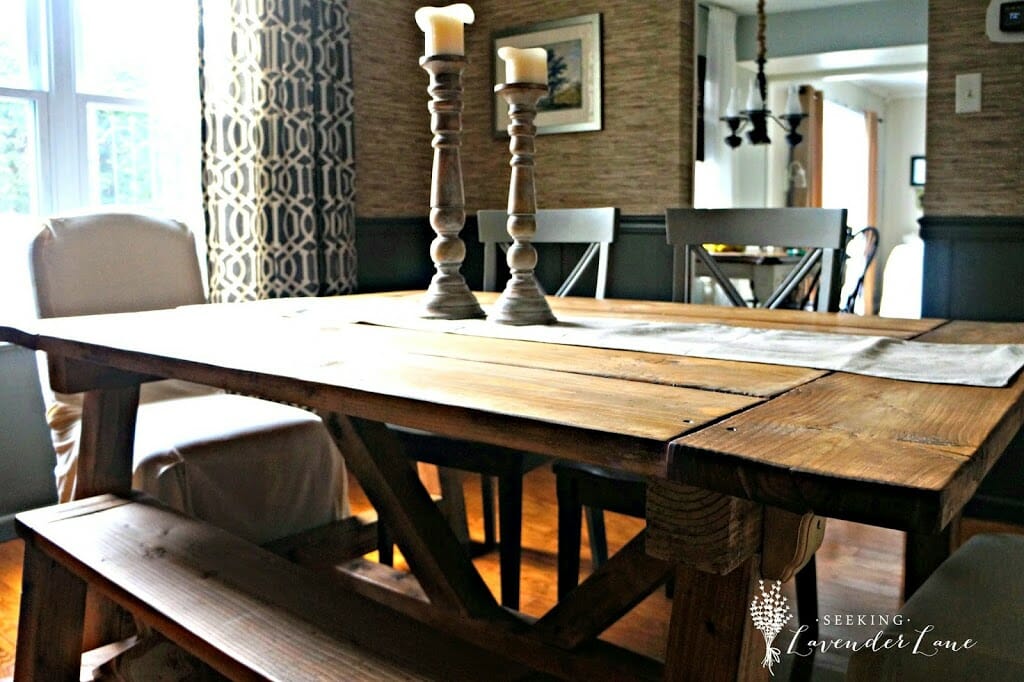
So since I took a little DIY break today and spent some time with the fam, I couldn’t think of a better time than to show some pictures of the Dining table that we completed….wayyyy back in October. I know I’ve mentioned it a few times, and I guess I owe you all a few photos. As for the construction of the table we decided to go with Ana White Instructions for this one. The only difference we had made was the length of the table to 4ft (unfortunately my dining room is quite too small for what her plans are made to) and then we altered the other measurements to fit with the 4ft long size.
So before I go and show you my Oh so wonderful table. A few things I should mention first…
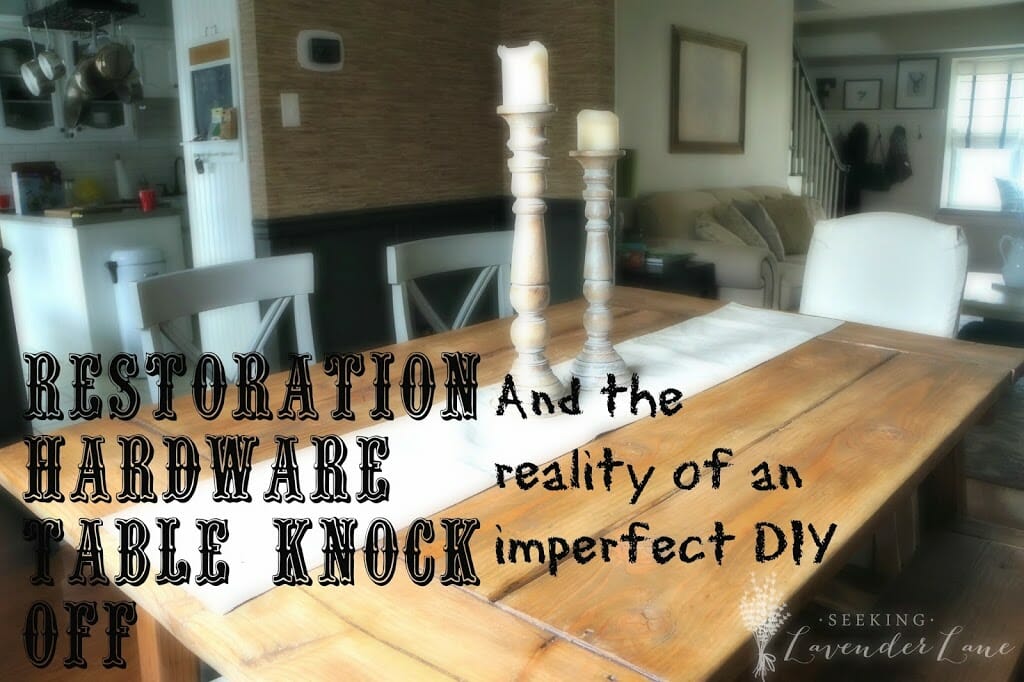
Reality of a DIY project and all that can go wrong
One more thing…the decorating in this room is still not even close to being finished. I am mostly waiting to finish our bedroom, and then I have a few things in mind for this room.
So back to what went wrong with this project and how to prepare you for what can go wrong even when you follow the directions.
1. We bought our wood from Lowes lumber section. Just thick pieces of pine (the cheapest option) We of course were going for saving $$$ here and did not intend to go to a more expensive wood. This being so you need to treat the wood careful as it sometimes has a mind of its own.
What am I talking about…right?
Well, the best way to adapt any wood to the temperature of your home is to let is sit in that environment for at least 24 hours. This way the wood is comfortable in that temperature and will not alter in shape.
Alter? bend, crack, etc.
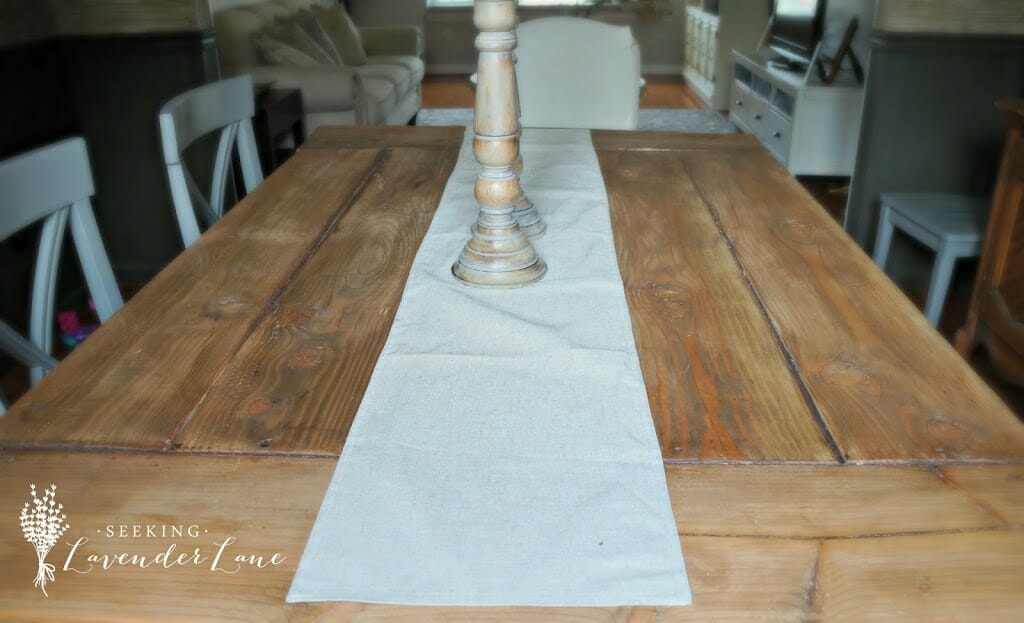
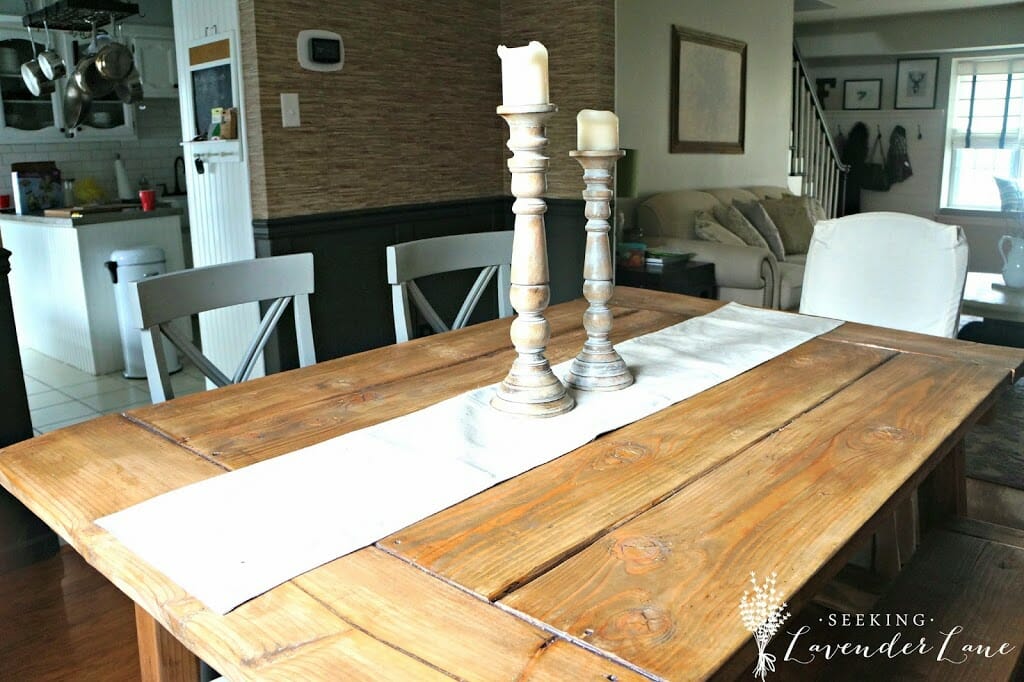
We decided to build the table partially in the garage where there was definitely cooler temperature since it was in October. Once we starting building the top, this is where we brought the wood from the garage into the home and did not give it enough time to adjust to the room temperature. In the end this resulted to our wood bending and cracking weeks after the table was even assembled.
2. Using liquid nails…your best friend and your worst enemy! I’ve mentioned multiple time on here how we love using liquid nails to really hold together our projects. It makes it much easier and sturdier and we use it on just about anything. We currently used it on our DIY Mantle and I mentioned there as well, if you are staining careful about getting sloppy with this stuff. We of course found this out the hard way on our table. Do to the shifting wood and the planked table top, the white was showing through in areas it was noticeable. This resulted in a very sloppy finish. I had to come up with plan B fast!
We chose to buy some brown caulk to cover up the white and the cracks in the table. I was thinking quick about this and probably should have thought this out more…caulk is glossy and I definitely did not want glossy in the cracks of the table. Well…I guess it is better than white…honestly I would have preferred small gaps and that’s it, just as the real RH table looks like. Now when the crumbs fall to the table they go right into our cracks and I have to vacuum them out lol. I know sounds like a nightmare right?!
Okay so it’s not. I have bent and cracking wood (added character) and glossy caulk (a runner covering most of it) and I have to vacuum my table instead of sponging it down.
It still feels beautiful and I am glad we did it. Honestly, if hubby was up to it I prob would try to make another one now that we know what could go wrong, but yea…he’s not quite up to it! haha
3. Lastly, once you decide on the table and build it then figure out the decor and buffet you want to add to this room. We worked this backwards and now I have a stunning buffet that does not quite match my table. Not sure what to do here and just waiting it out until we the have time and money to fix this.
The project overall was not as hard as we had anticipated. If we knew ahead of time about the liquid nails and the temperature of wood, then the table would have turned out just right. I hope this helps for anyone who is attempting to build their very first piece of furniture and that not all DIY’s turn out “perfect”.






18 Responses
Looks so great! Stopping by from the party at Work It Wednesday!
Thanks Ashley for stopping by!
Always wanted to attempt my own farmhouse table, thanks for sharing your experience, will definitely keep them in mind when attempting my go at it!
So glad this will be helpful for you Brenda!
Wow! That DIY knock-off looks fantastic. I’m moving into a new house this upcoming year and I already know that I’ll be in desperate need of a new dining table. I’m definitely going to learn from your experience and attempt to make my own farmhouse table!
Thanks Alexa…hope this helps so exciting to build your own furniture.
This looks amazing! I want to build this kind of table for my patio, and appreciate how honest and detailed you were! I never thought to let the woo adjust to the temperature, that explains why my projects have cracks sometimes!
I’d love it if you’d share this at Talented-tuesday-link-party on my blog!
Kristina @ myownhomeblog.com
Hi Kristina,
I’m with you on building an outdoor table like this…I think that may be a spring/summer project ahead of us ; )
I love your farmhouse table! Thanks for sharing with us at Pin-Worthy Wednesday!
WOW! The table looks incredible! Thanks for sharing at the Pretty Preppy Party! xx, b
Thanks so much! So glad I could link up at Pretty Pretty Party!
I am literally sanding our dining table right now! This has given me the fuel to keep on keeping on! What a gorgeous table – hope mine turns our as beautiful as yours!
Thanks Jennifer…would love to see how yours turns out!
Even with all the snags you ran into you ended up with a gorgeous table! Thanks so much for sharing at Talented Tuesday!
Wow it really looks amazing even if there are flaws you cannot even tell! I love things that are not perfect…way to go!! I would like to invite you to come link up to my party every Wednesday to share your awesome ideas http://thestylesisters.blogspot.com/2015/02/centerpiece-wednesday-little-of-this.html hope to see you there!
Karin
Thanks so much Karin. I would love to join your party there…thanks for the invite!
The flaws make it fabulous!
So gorgeous! I love the way this works, and the flaws are perfection.
Thanks for sharing at Talented Tuesday Link Party! You’re being featured next week!