


I don’t know about all of you, but ever since school started again my house has been getting cluttered with papers. Not to mention the objectives have been piling up. I have to say I am not the most organized person, but trying my best at it. I plan on having multiple posts at the start of the year of how I am organizing my house and keeping up with it. Of course it has to be “pretty” organization, because everything I do I can’ t help but want to make pretty. I honestly feel when a room or space looks pretty it makes me want to keep it nicer. Just for example my master bathroom has not one bit of upgrade to it and I absolutely despise it. Since it’s a room in my house that I don’t like I usually keep it a little messier than most of my other rooms. I don’t know if this is true for you all, but as soon as I makeover a room the room becomes instantly neater.
Well, just a step into getting more organized, I wanted to create an area where I can keep important papers without them getting lost. Of course it had to be something that fit into my farmhouse style kitchen with that touch of vintage feel. With my luck I had come across these vintage clips from a local shop and I knew exactly what I wanted to do with them.
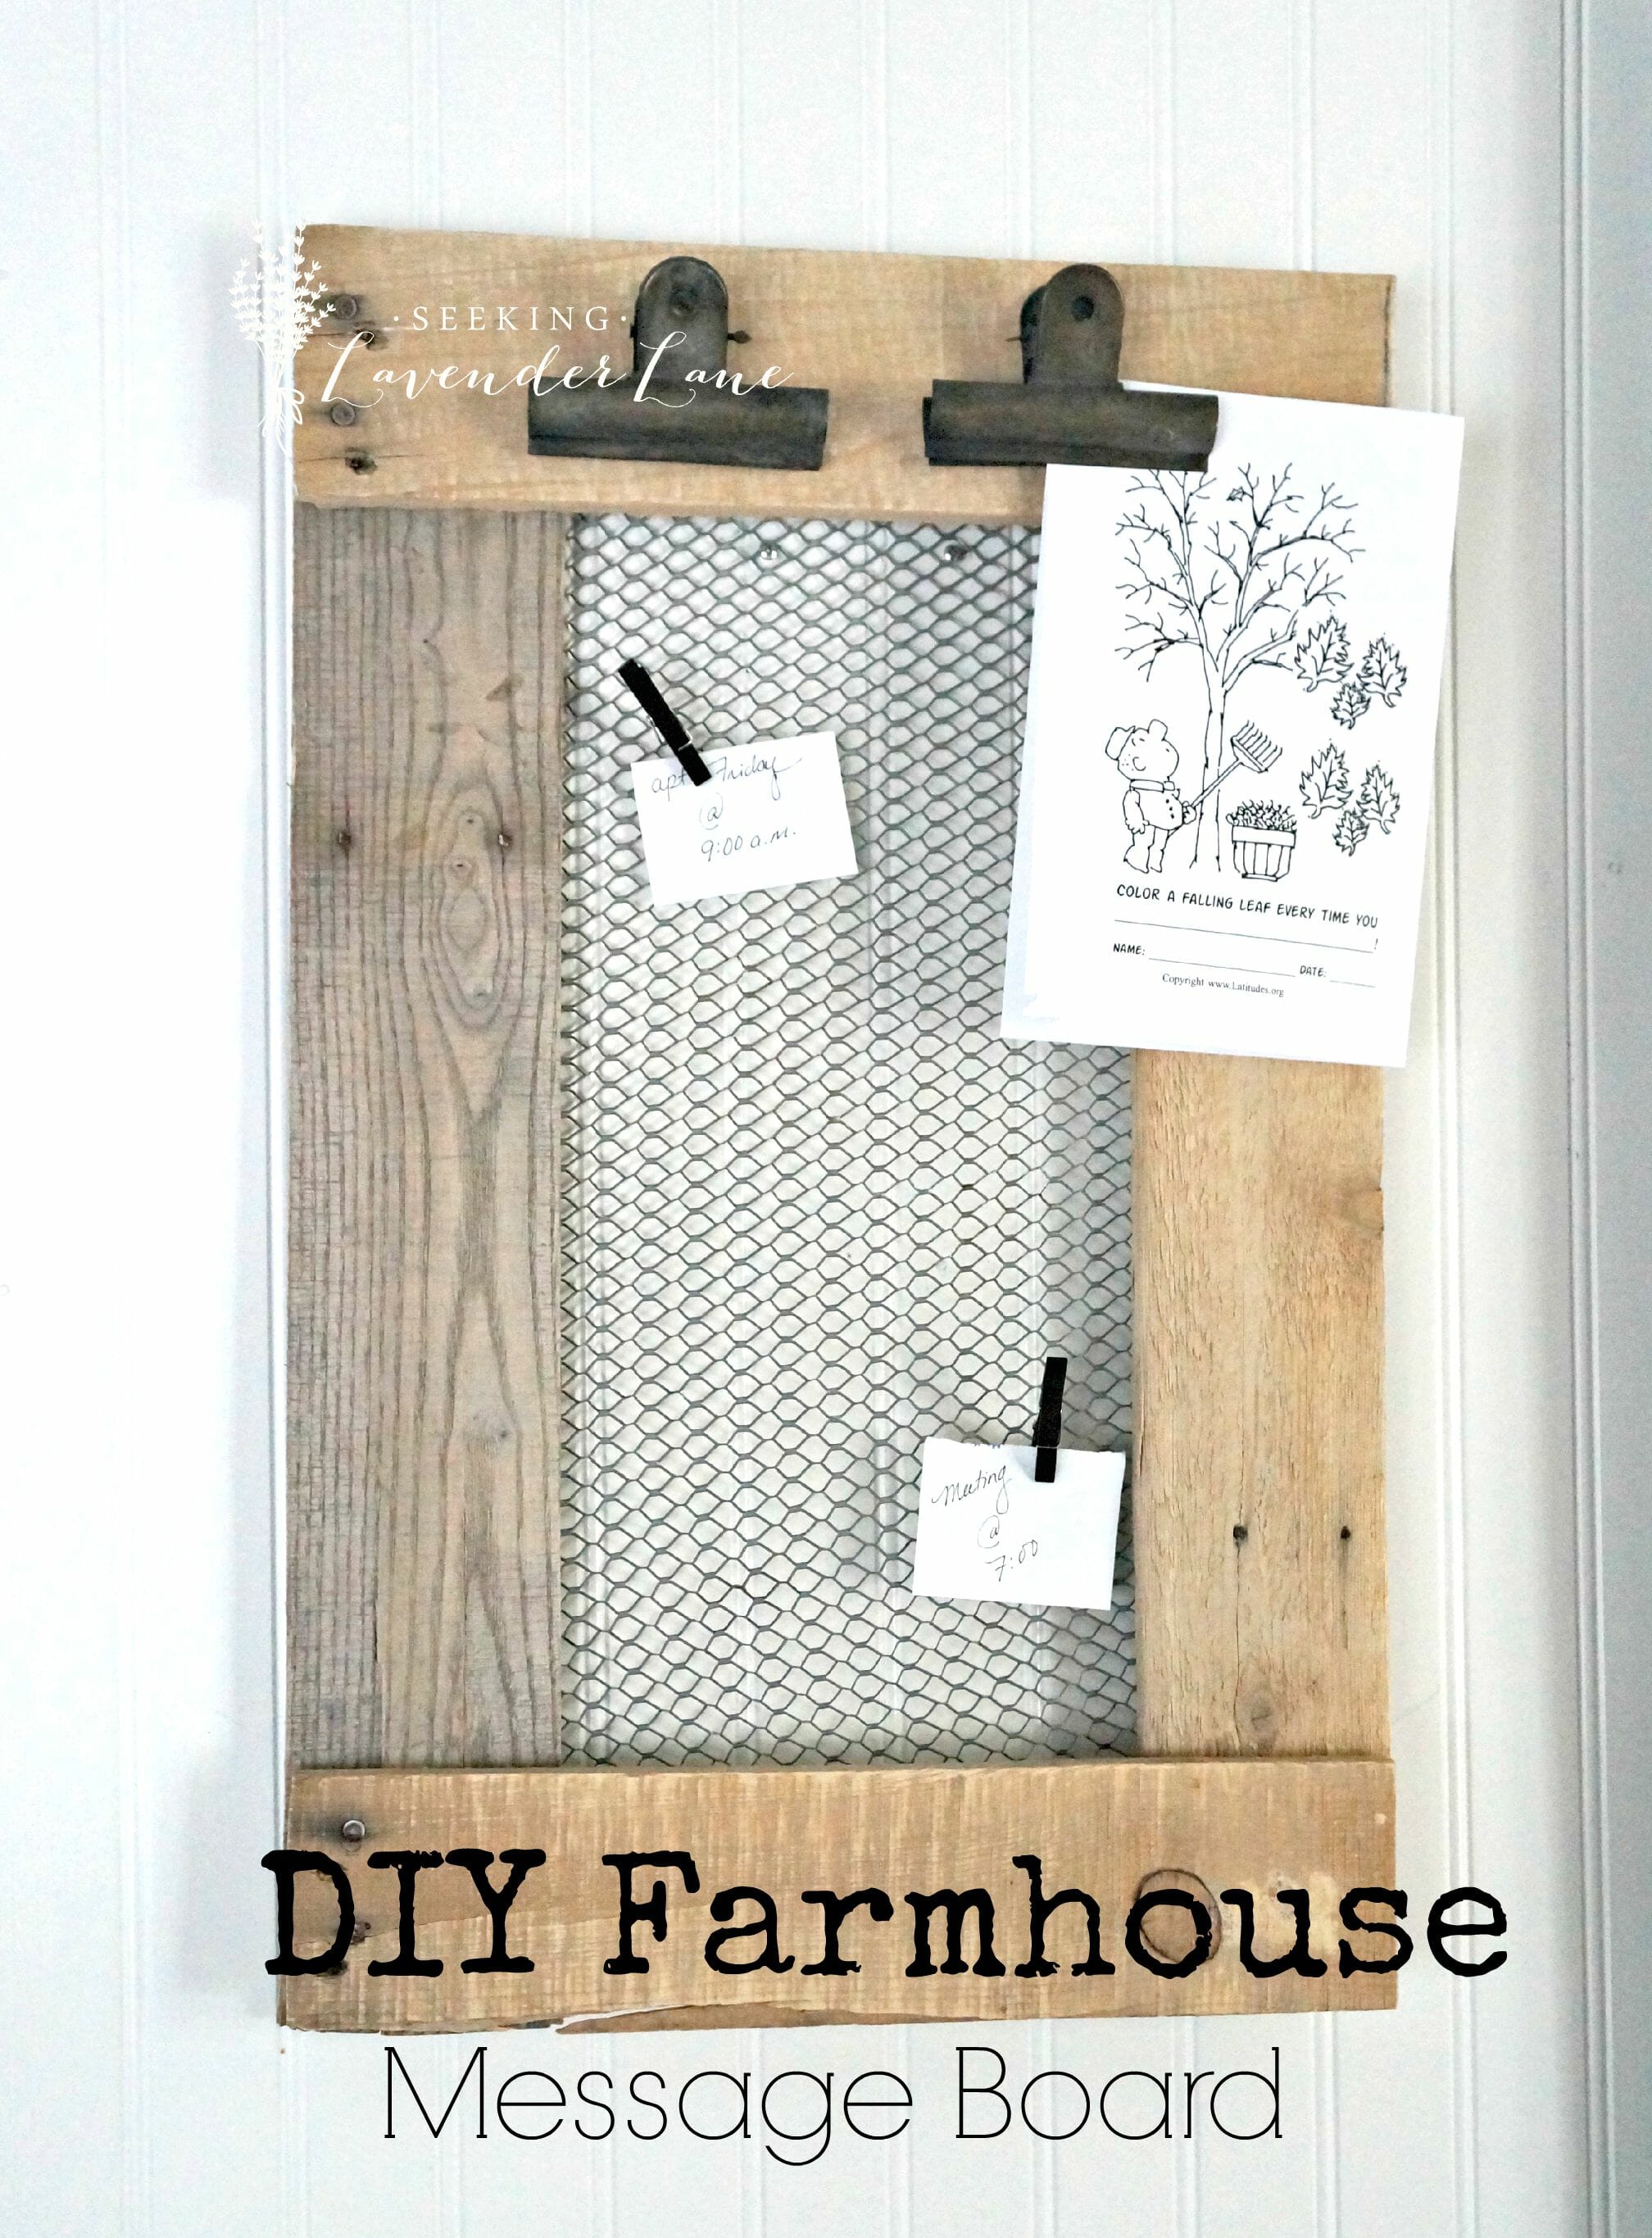
Since I have tons of extra wood and pallet wood hanging out in the garage I decided to use what I had, to not spend tons of money on this project. I really wanted to have that rustic look so I decided to go with the pallet wood that I had and create a great board to hang paperwork and reminder messages.
Materials:
Wood/ Pallet Wood
 /
/ 
Clips (vintage or any that you choose or find)
Chicken Wire
I am not going to complicate this one…it was really an easy DIY with just a few short steps to a piece that looks vintage and has function for my kitchen and paperwork.
Step 1: First pull the pallet wood apart and then sand down the wood for a smooth surface.

Step 2: Cut wood to size
Step 3: Assemble using wood glue or liquid nails. (The pallet wood is flimsy so glue works best)

Step 4: Staple chicken wire to back of frame.
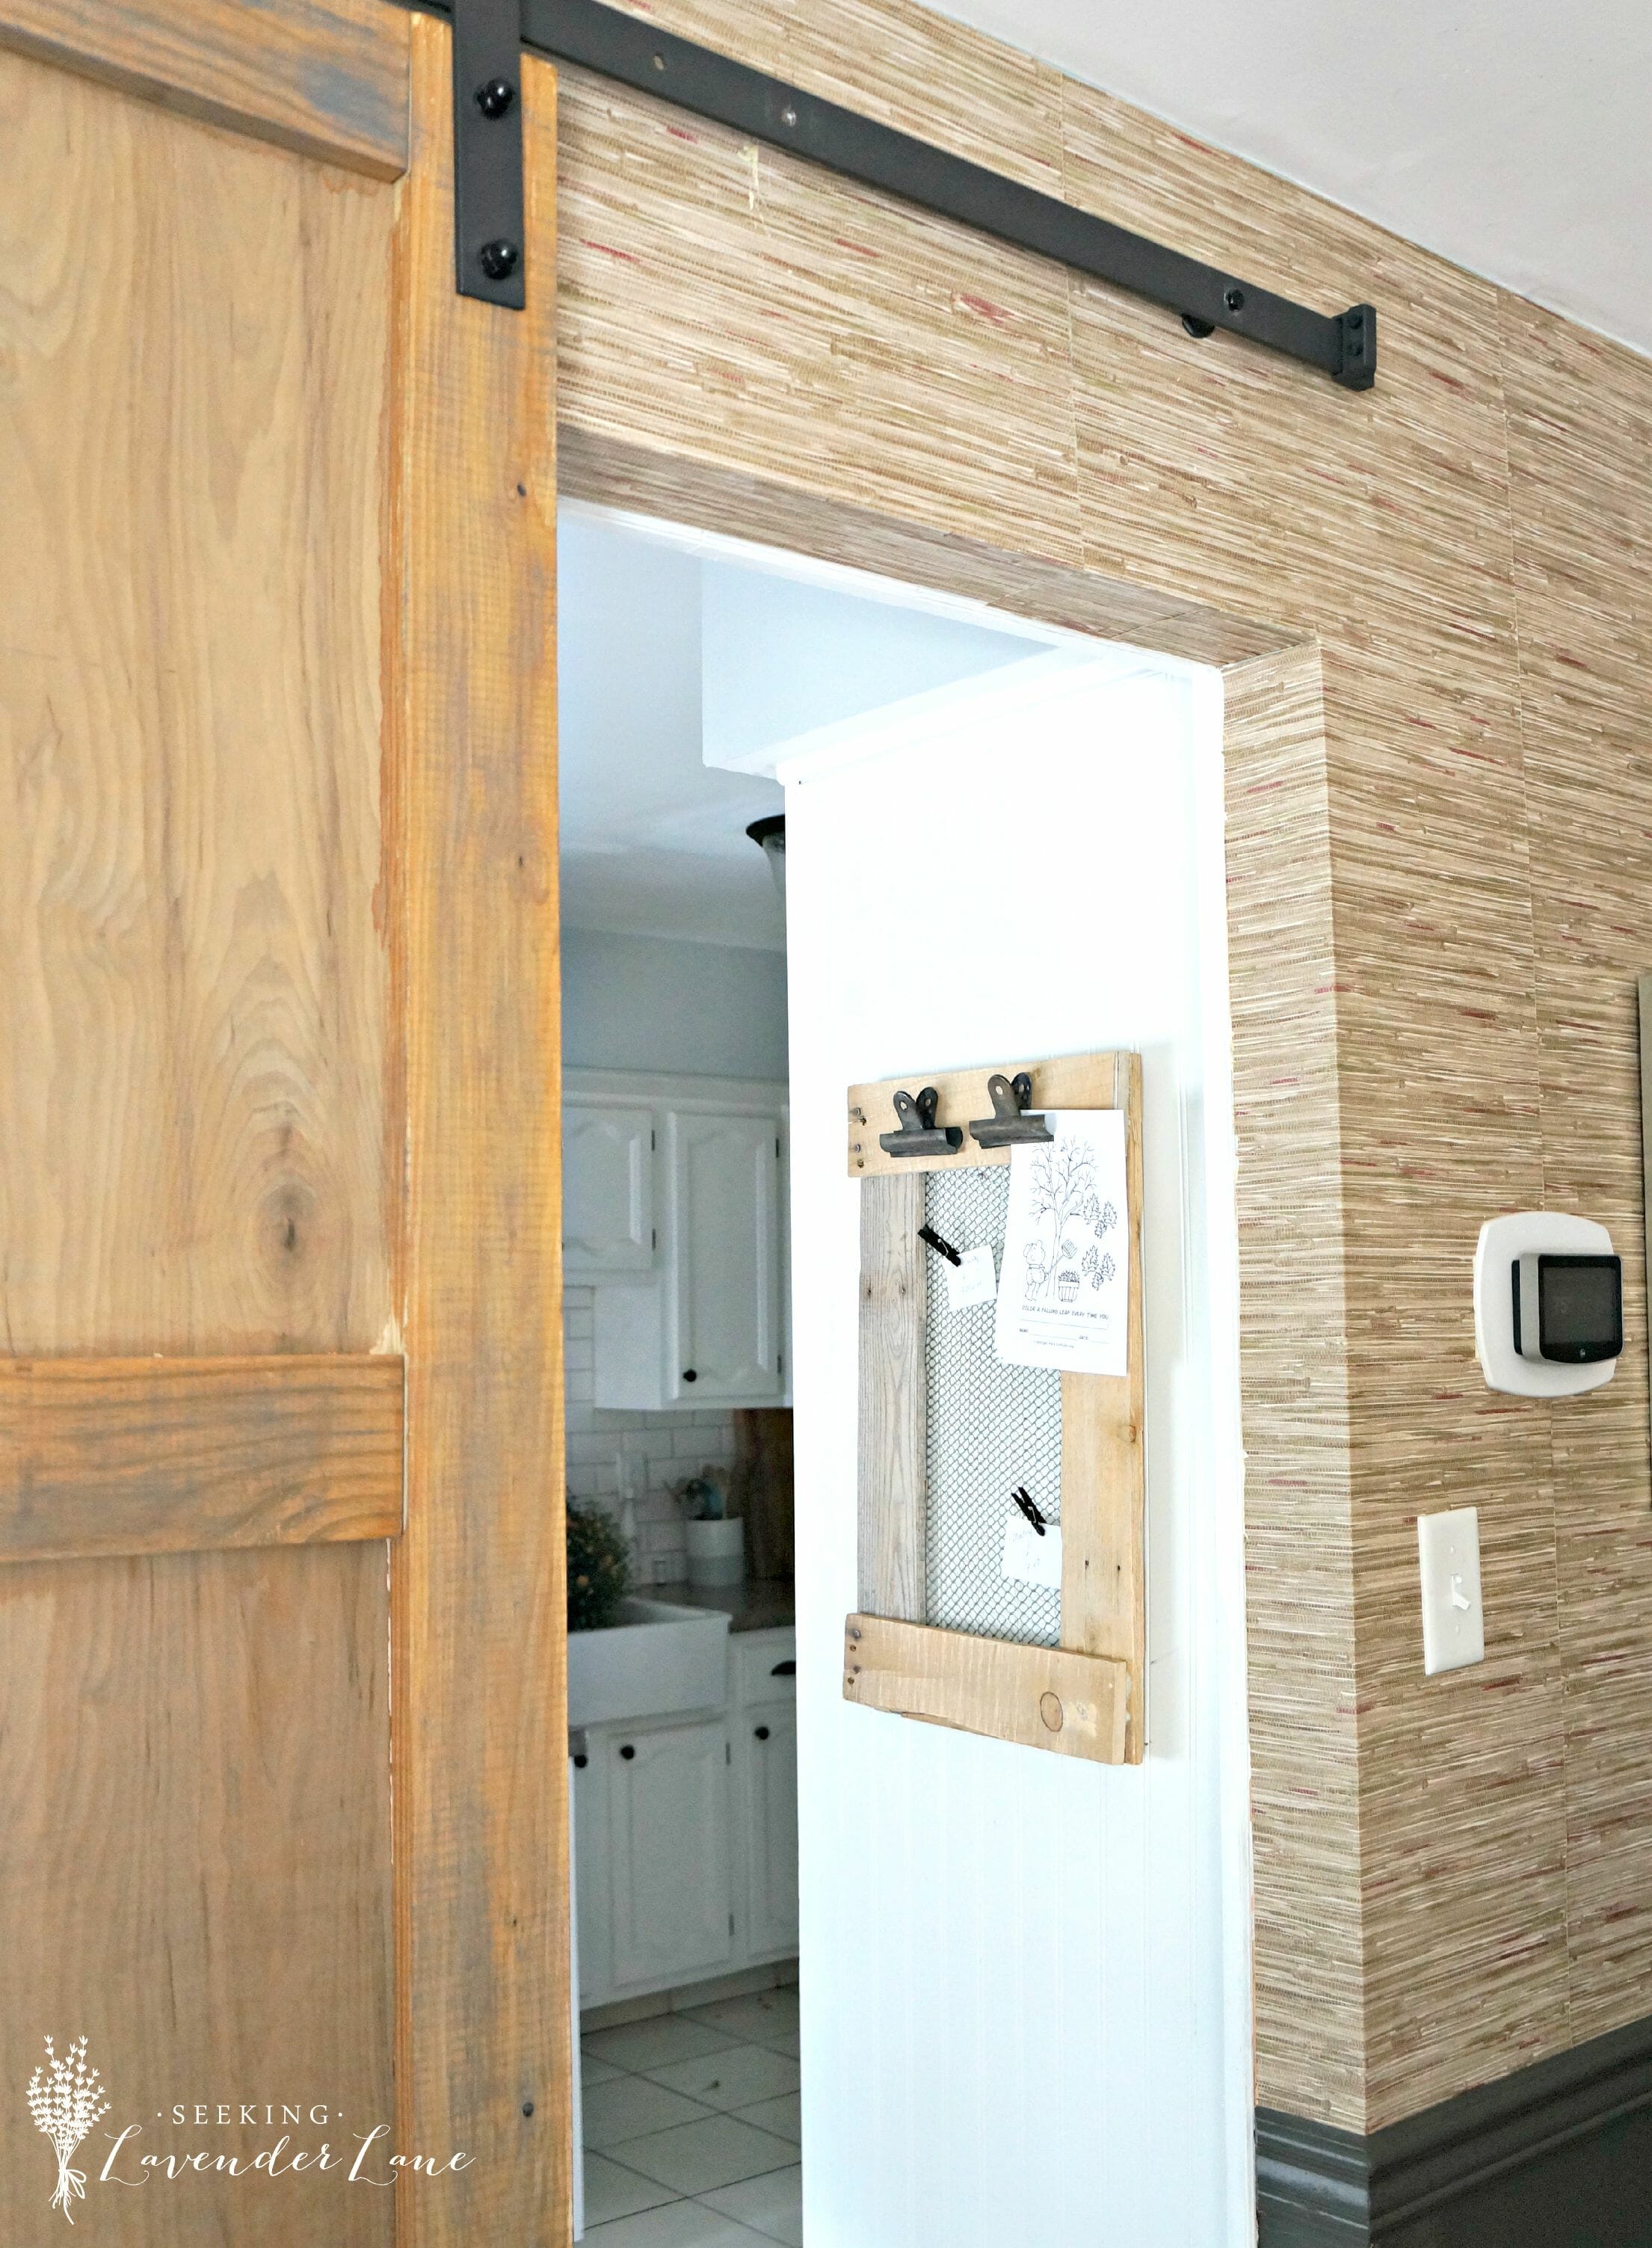
This could also be really cute if you add a chalkboard. I have so many in my house that I loved having something different. Layering a room with new textures just creates depth and interest. This really adds that perfect something to this space and the transition from my kitchen to dining room.
Step 5: Crazy glue the clips to top of board. ( I chose crazy glue since it dries quickly and holds the best)
Now I have this great piece that works beautifully with my kitchen and will hopefully helps me keep organized with my paper work.


Thank you so much for stopping by! If it’s your first time here don’t miss out on any other DIY’s and decor ideas. Be sure to subscribe to my mailing list and get updates with each new post.
Linking with: savvysouthernstyle.net remodelaholic.com
PLEASE STAY A WHILE
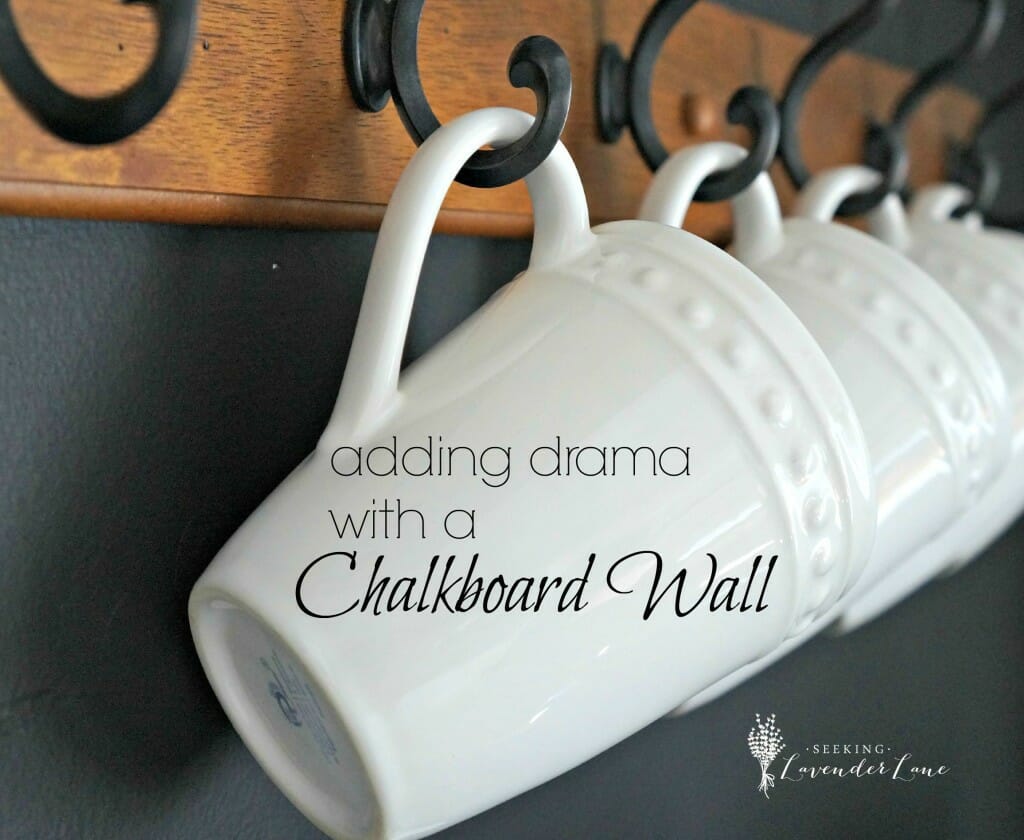
Adding Drama with a Chalkboard Wall


12 Responses
I love your home and your style. Your message board looks great and better than the ones in the store. i love how you took something worn and beat up and made it new again. You are a true talent!
Jessica recently posted…My Home Style: Vintage Eclectic Edge
Thank you so much Jess you are seriously wayyy too sweet! I’m so glad you love it : )
What a great idea Deb! I know we need on of these so badly at our house! It’s amazing how fast those little papers pile up! Thank you for sharing!
Cat
Cat @ Pocketful of Posies recently posted…Better in 30 Days – Vol. 1 Fitness
Thanks Cat! Oh man my board is already full…it did help me sort through papers today though threw out a whole bunch!
Wow, love this!! Obsessed with this look and your stye!
Thank you so much Jessica! So glad yo u love it!
This is so completely adorable and it is now going to be on my project check list! Stopping by from Your Inspired Design! Come join in!!
Thank you Holly! Oh yay I’m so glad you added this to your list of DIY’s so easy to do!
Such a great way to keep organized, and it’s pretty, too! Thanks so much for stopping by and sharing with us at the Talented Tuesday Link Party! 🙂
Amy | Home Remedies recently posted…Talented Tuesday Link Party #48
You’re house is sooo beautiful!!! Love the navy blue and white! Thanks for linking up to Your Inspired Design Link Party! Hope you stop by to the link party tomorrow!
Christine recently posted…Painted Fox Thistlewood Farms Decor – My Mood Board Monday
I LOVE this!!! Not only does it look amazing in your home, which is freakin’ gorgeous, but it’s made from materials most people probably already have lying around. Pinned 🙂
Katie Nathey recently posted…FREE Printable: Oh Darling Let’s Be Adventurers
Thank you so much Katie so so sweet of you to say!