


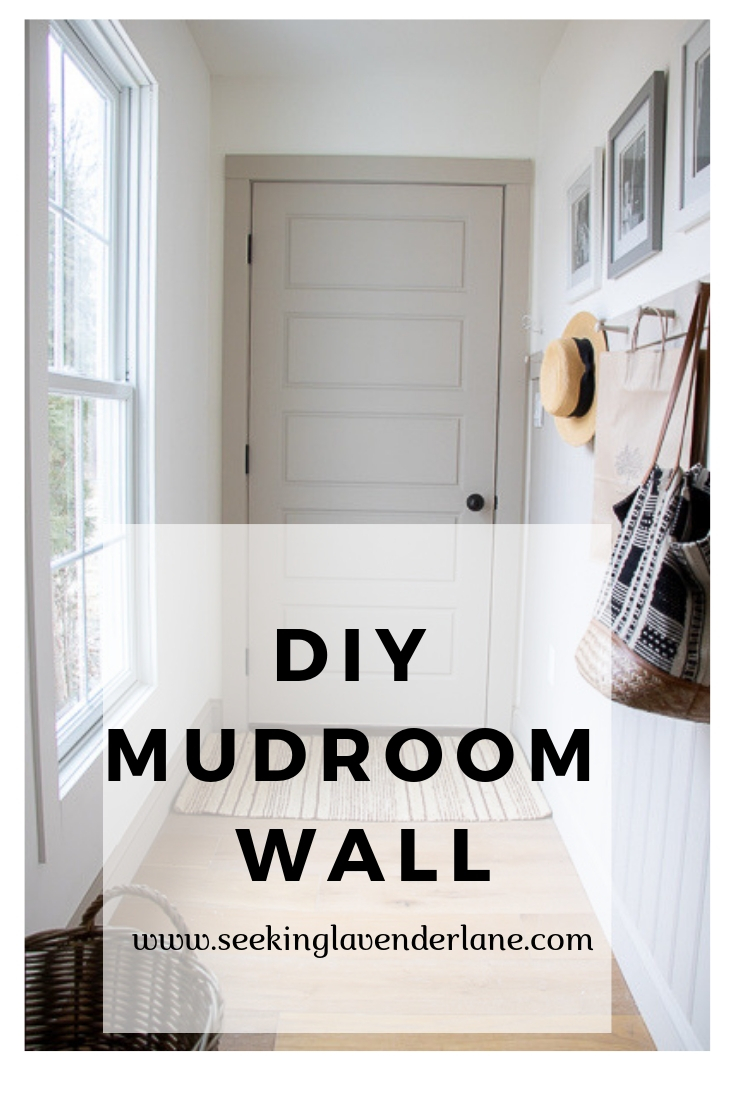
Mudroom Wall
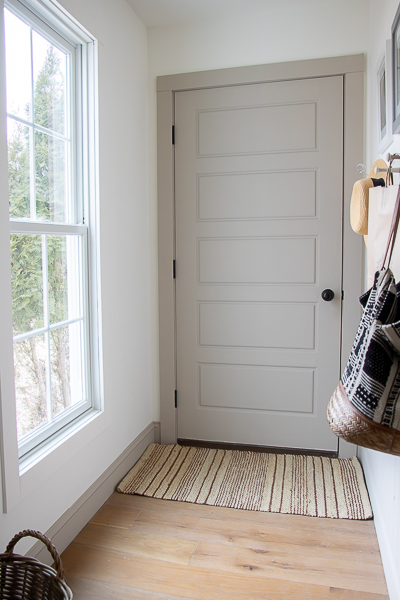
One of the must have rooms we wanted in our new house was a Mudroom. So we kind of have two. Let me explain…so we have our laundry room which has a bench area and that connects to the back yard. Then we have our mudroom hallway that leads to our garage area. We thought about connecting them when we were building and just have one big space leading from garage (front of house) to back of house, but I decided to leave it two separate areas mostly because I plan to have a drying rack on the wall in our laundry room and wanted that extra wall to be able to hang some clothes. I really like the flow and the hallway is the area now where I plan to have our kids come in from school and hang their backpacks as well as hang the dog leash and my handbag. I don’t know about you all, but I am the worst with dropping my bag wherever. So now that I have a designated space with hooks it has become the resting place for my handbag. I never lose it now either! So, with our new construction there were a lot of finishing touches that our contractor was not going to do and we totally knew that going in.We knew there were going to be a lot of DIY’s still (which leaves me with plenty of content to share with you all) and creating a small mudroom wall was nothing hubby couldn’t handle. I truly love how this room turned out and mostly because the colors in here are perfection.
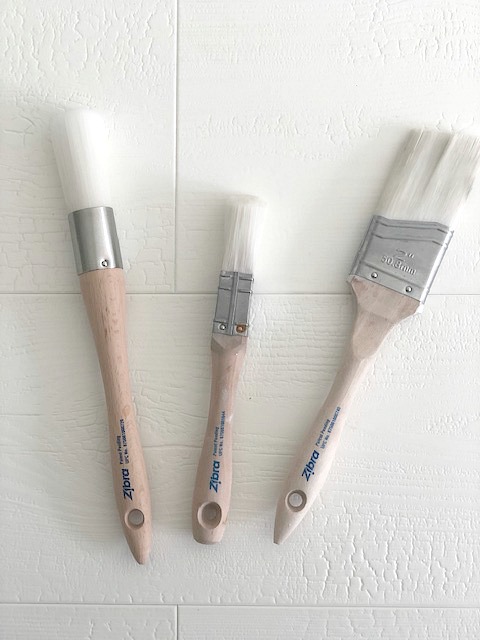
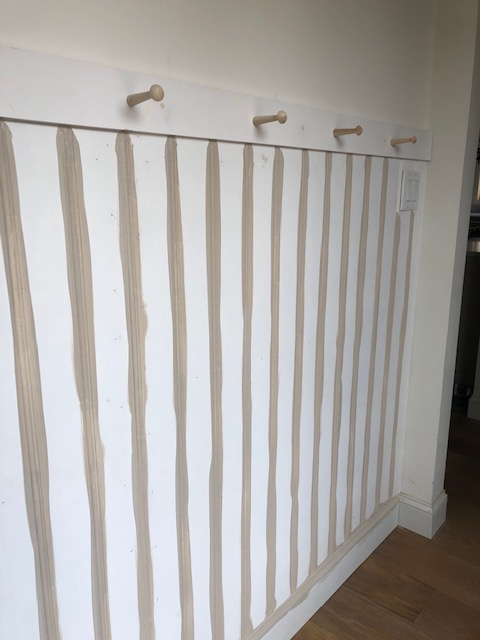
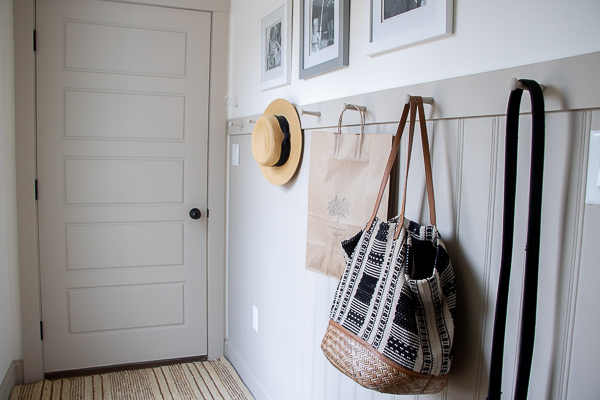
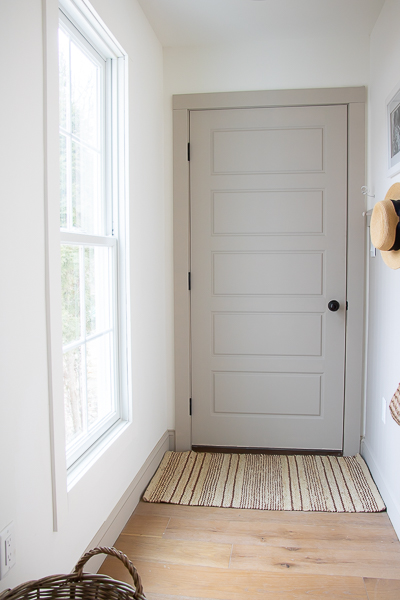
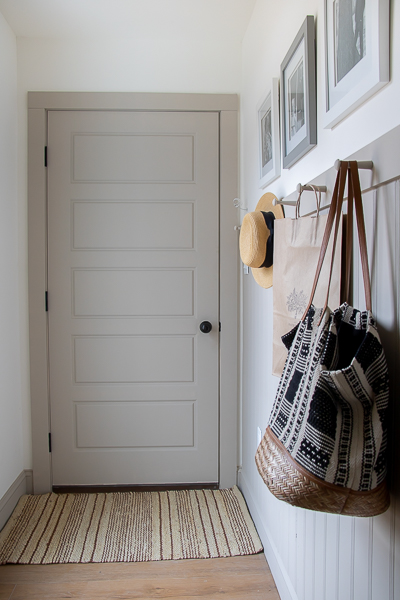
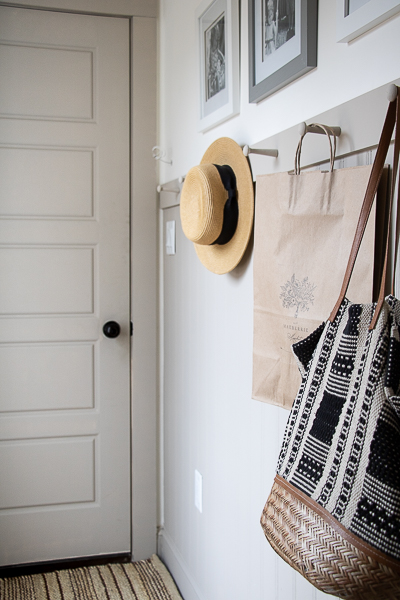
It all started with some bead-board and creating a peg hook wall. I really wanted pegs this time around because they give this classic feel and I’ve been pinning peg ideas for months. It was wayyy easier then we thought. Just a little drill bit to make the hole, some liquid nails, and then apply the peg. After 24 hours ready to hang! So once we were left with our white bead-board, some caulk, and our pegs…it was time to paint! Hubby assumed I was doing white bead-board, but I surprised him with this Stone Hearth color from Benjamin Moore. It’s been the taupe I’ve been using in our house. I have yet to share much on here about it but if you check out IG, I’ve been sharing our interior door colors, pantry, and now mudroom wall all with this color. I love how it feels warm and inviting. So when it came to painting all the little crevices and trim, and those round pegs…I turned to my absolute FAVORITE paint brushes. These paint brushes have seriously saved so much time and made painting with a brush easier on so many of our projects thus far in our house. They are called Zibra brushes. If you’re not familiar with them…you must! They are a DIYer’s dream to have. Not only are they super cute with their wooden handles, but they are designed for each different project you tackle in your house. Whether that be your spindles on your staircase, your tedious trim work, and or a project that needs much needed attention to it’s tiny crevices, creases, and interesting angles. Especially if you’re going dark on your trim work (which is currently trending) this is going to help you so much! Not only is each brush designed with different shapes and angles, but so are the handles. It makes for holding the brush easier and the brush shapes work for what you are focusing on painting. Also, I’ve never worked with a paint brush that holds paint in so well. I’ve learned in the past 5 years of DIYing invest in your products it goes a long way.
This is a collaborative post with Zibra brushes, though all opinions are states are mine.
Supplies: (affiliate links are applied)
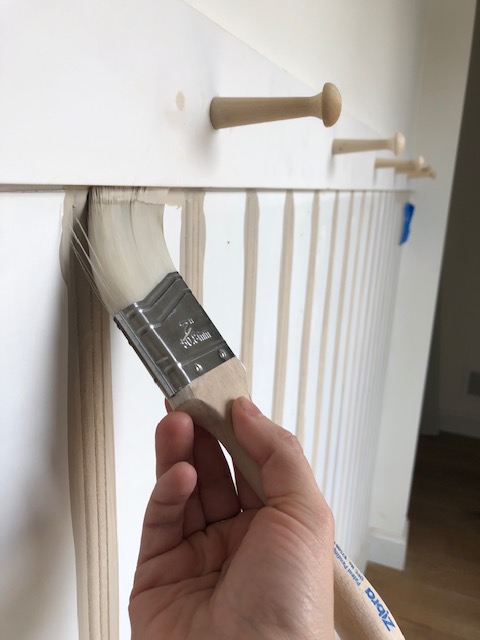
Once I had about two coats of paint in each of the crevices and trim, then I rolled the rest of the paint on using a foam roller. I will say what a difference in painting though! I’ve never used brushes like this and I am so happy to be sharing them with you all. They will certainly make projects like this easier to tackle. We still have a lot of trim work we have to cover in our house and I’m so glad we have these brushes now to finish the job with.
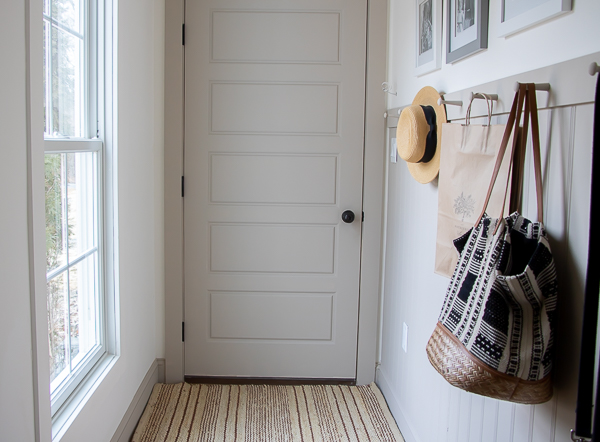
I added some of our black and white photos that we had in our last house to the wall and a cute new rug…and the space turned out perfect!
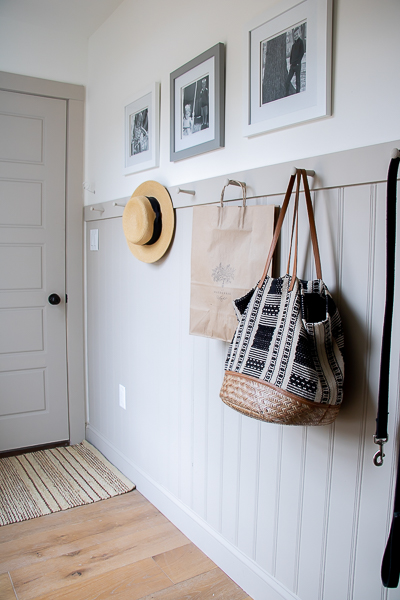
I hope this post not only inspires you to paint and paint your trim in a contrasting color, but to also use the space you have for what works for you daily life. We did not get a full on mudroom with lockers and all, but this still worked out perfectly! Also, I’ll be doing a giveaway over on my IG page so you can win your very own Zibra brushes. So be sure to be following me there and keep watch for my GIVEAWAY!
SEE MORE projects made easy with these Zibra Paint brush projects
Twelve on Main- Best Paint Brush Set
Please Pin


8 Responses
I love the color, it is wwarm and will go with any other color!!!!
Thank you so much Maria
NICE !! — luv bead board !! ❄️linda of no.cal.
Thank you Linda
Deb, It looks great! Just one question: is there a place for mud?? I mean is there an area to take off boots or muddy shoes? The other end of the room, maybe?
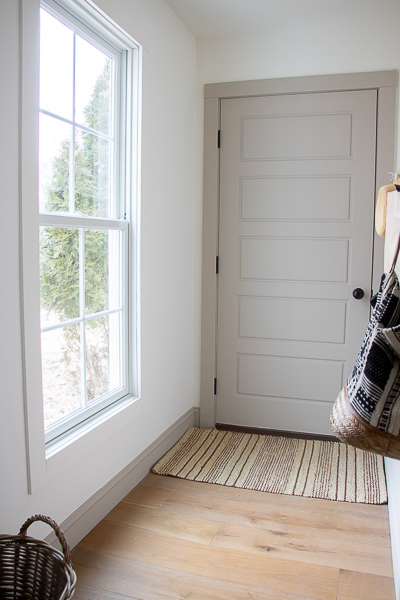
Thanks Naomi! I have a basket here in the hallway for shoes and boots. Not sure if I caught it in one of the photos but it comes in pretty handy to just toss and go.
Sorry I may have missed it but what is the paint color used on the trim?
No problem, it’s called Stone Hearth from Benjamin Moore