
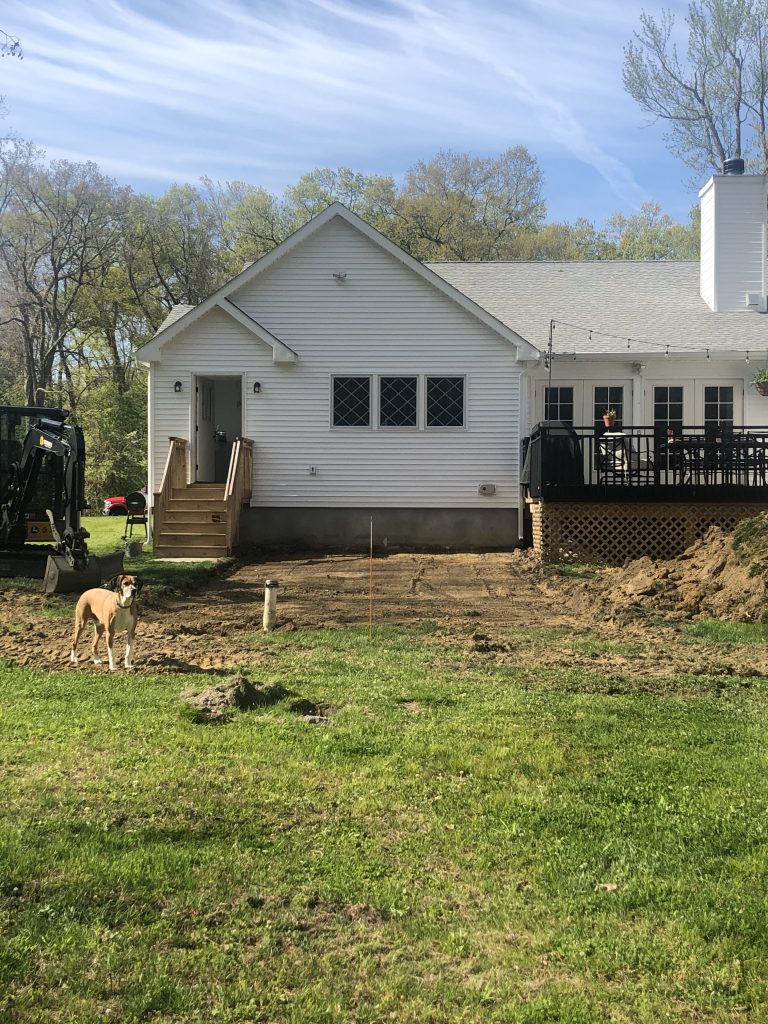
As you all probably know by now, we have been working a ton on our outdoor garden and patio area. We chose a layout that would run between both our main backyard deck and our mudroom deck. We did some work and hired some professionals to help out with the project, like moving our side steps to go off the back of the deck (to add more room to our “court yard”space). We also hired someone to dig out the area, and a few other areas, which I will go over.
I wanted to break down this process separately from our complete reveal of our garden since I’ve had a lot of questions about it and I had a lot of questions myself before attempting it.
There are so many ways to get this look, but after speaking with multiple landscapers, trying to save ourselves a $,and getting our hands dirty…I wanted to share what we learned. We chose what was best for our yard and for what we had planned for it so I will go through that, but there is definitely not one way to doing a pea gravel patio/garden.
Materials:
- 3/8 washed gravel (5 yards)
- crushed concrete (5 yards)
- fabric liner
Steps to achieving a Pea Gravel Patio:
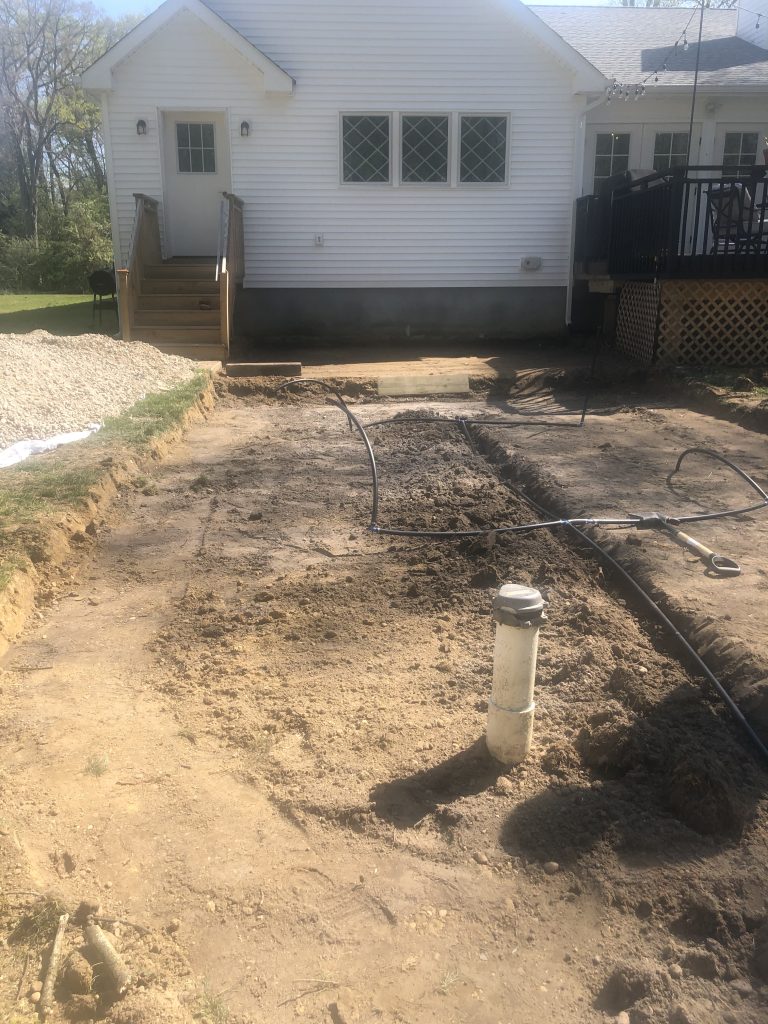
- With our property being on a bit of a slop we had to professionally hire someone to come out and dig out our patio area to create 2 levels and to still provide the grading that the house needs for that run off.
- Once the area was dug out then it was time to add the crushed concrete. We brought all the concrete to the backyard ourselves, saving some $ not necessarily our backs, but we didn’t mind the extra exercise.
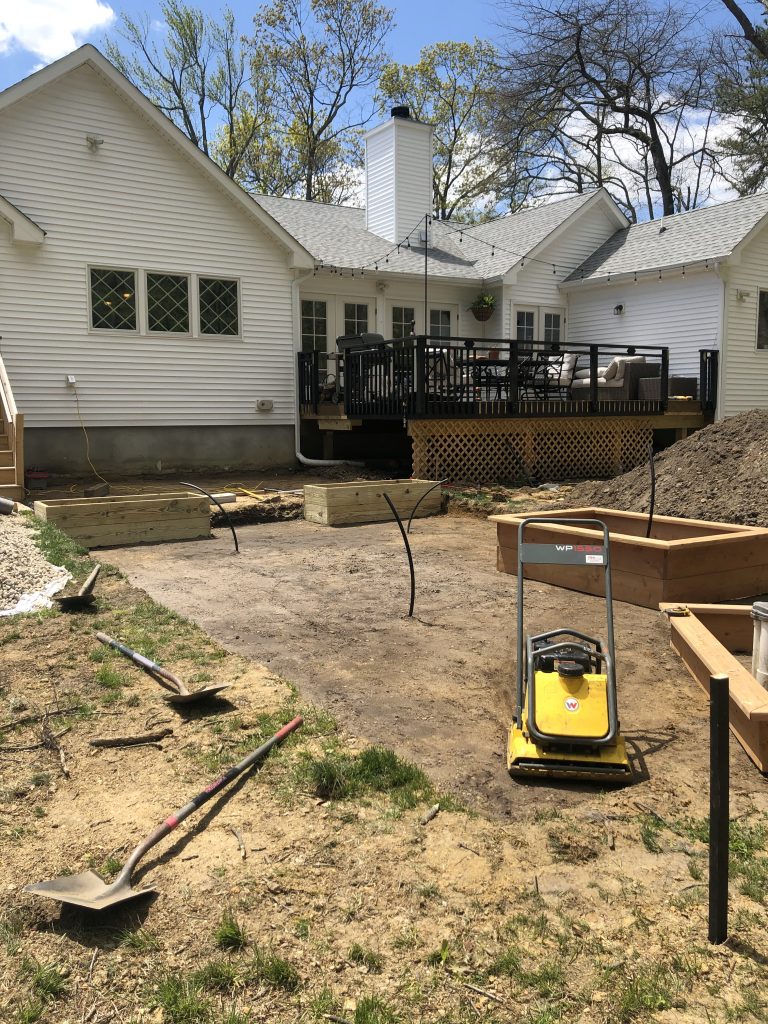
- We had professionals come and add the crushed concrete into the patio area which creates a hard surface that helps with patio furniture and preventing weeds. (You do not have to go this extra step, but it is helpful. To flatten the concrete we rented a machine called a plate compactor and that really flattens it all out to become a hard surface.
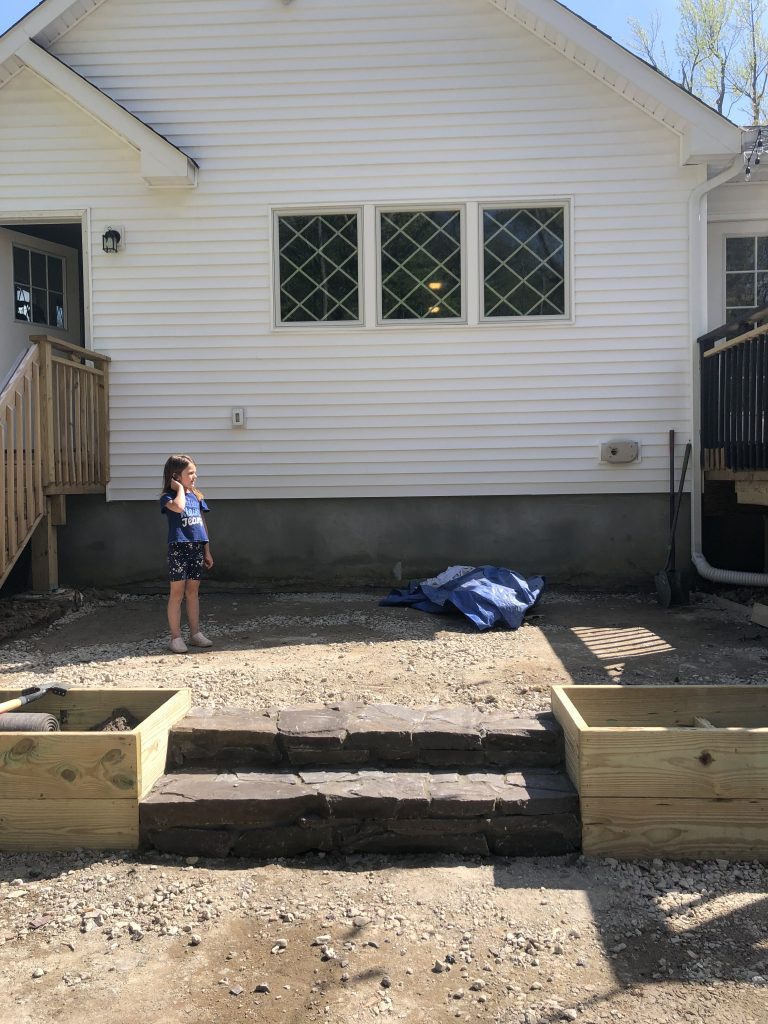
- Once the crushed concrete is down and flattened by the professional team they added a step down with slate rocks (we recycled these from another part of our property). This was beyond our skill level and we are so happy we hired out. they created the step using concrete and it turned out beautiful.
- After the step and crushed concrete, then hubby and I stepped in. We added the fabric (which is super easy) for extra caution of keeping out weeds to come through. This is definitely an extra step and you could choose fabric or crushed concrete you do not need to do both.
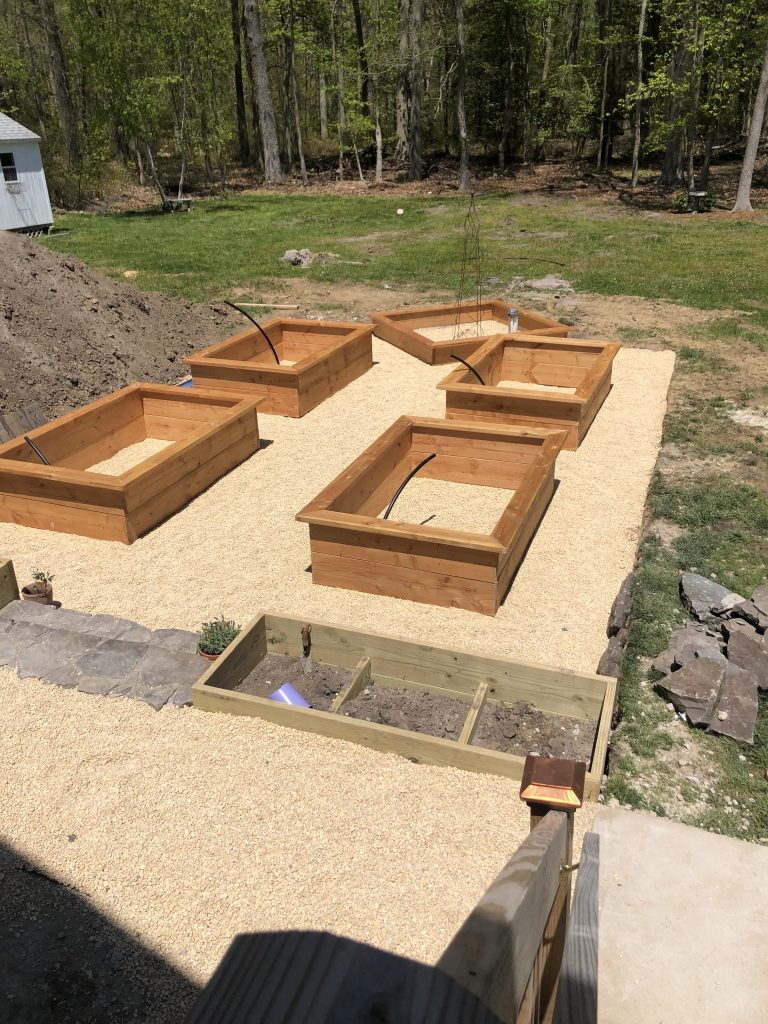
- We placed our garden boxes in the garden area and then added our pea gravel inside. Raking it out to smooth it and keep it level throughout.
- One step we did skip is adding a border. Since our garden area is below grass level we kept it how it is. We may down the road add some pavers along the side, but the grass line does slopes down so it’s not completely even due to our grading of our property.
*Pro Tip– If I were to suggest anything I would say if you have a large area definitely hire a professional to dig it out. You want your patio/garden area to be level. We watched as they added the crushed concrete and used techniques to keep a slight slope but even and we knew there was no way we would have been able to do this ourselves.
For borders: I’ve had a few questions about this. You can use plastic, metal, or stone borders. We used plastic in our fire-pit area last year, but I would not recommend that. I don’t love the look of it and I think a metal option would be best if looking to stick with a budget. Stone is the prettiest especially if you do have a dip between your grass line and where your stone surface is.The last could be the cheapest option using a 4×4. I had asked around to some Instagramers that had no border since I really loved that look especially with a level pathway with the grass and most of them had an asphalt “driveway” underneath, which helps with keeping the pea gravel in place. Not the most ideal for a young family as we know where those rocks end up. Though, this is for sure my favorite way aesthetically.
We just love the pea gravel look to our backyard. It certainly brought a little Europe to outdoor space and its a much more affordable option then to do a true paver or bluestone patio. I don’t feel the look was compromised and I certainly love this look for a garden area especially for drainage.

Please Pin


That looks wonderful! I love the beige/brown tones of your pea gravel. And it’s perfect with your garden beds! Thanks for sharing!
Karen Mary recently posted…How to care for a ficus plant (weeping fig)
Thank you so much Karen!
Fabulous!!! You will grow to love the pea gravel more and more! Love those vegetable boxes and the 2 extra! Those steps are perfect and would be a good stone to continue with for future projects like cladding the house foundation?…Your family will so enjoy this new area this summer!!! ???
Awesome English Garden looking space!!
Hiring professionals for some things are definitely worth it. I love all the planter boxes you made. The stone steps look awesome.
I followed you on Instagram, so I did see all your plantings. Great job on that too.
Can’t wait to see the final reveal ♥️