Make easy DIY cheap home decor using a drop cloth to create stylish window treatments for your living room windows.
Happy Tuesday! I have to say I have been so busy today…just running around catching up on EVERYTHING. Between the spring cleaning itch, the lack of groceries in our house, and the mess that my kids have made the past few days…I had my hands full. It is 5:17 pm and I am already thinking about my bed lol.
So, since I have caught up on everything else thought it was time to catch you all up on the fun stuff that I have been doing. I have a few projects going on right now…not that that’s anything new haha…and I am really excited about sharing this one with you all.
This has been a project I have seen all over Pinterest and all over Blogland and I have been waiting for the right opportunity to try it myself. Drop Cloths are a DIY girl’s best friend. I mean let’s face it…you can do just about anything you want with them. They are such an affordable product with so many endless ideas. Besides burlap and grain sack these are just another great way to add that rustic finish to any room.
Well, my first DIY project with drop cloth began when I picked up two packs from Lowes (6×9) for less than $13 each! The hubby looked at me, like why are you buying Drop Cloths? We have plenty in the garage (filled with stains) we don’t need another one. I, of course, had to explain that this was going to be useful for a new project and tried to keep the details to myself (especially since these would be replacing curtains that I bought last year…totally not necessary in his head).
Down came the printed, short, very cute, but totally over it curtains and up went the window treatments hardware.
And then the easiest project ever began…
When I say easy, I mean like a ten-minute project the most.
This post contains affiliate links that I make a small commission from with no added cost to your purchase.
Materials
chalk
measuring tape
Easy so far right?
Okay here are the steps along with some photos.
Step 1: Wash and Dry Drop Cloth to loosen fabric, you have a choice to steam or press, I chose not to.
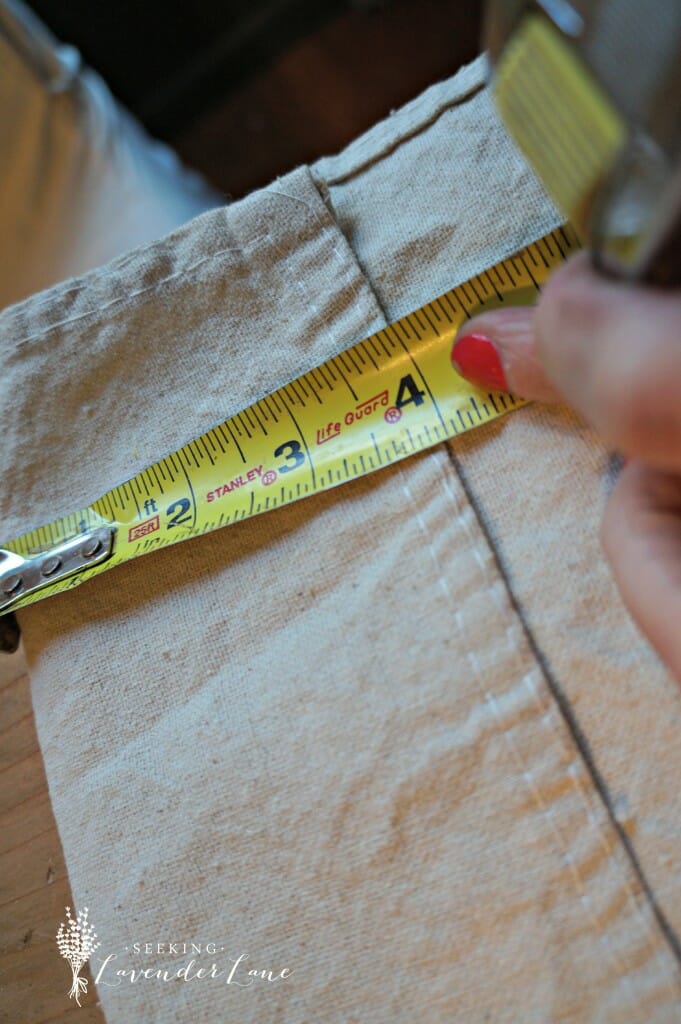
Step 2: Lay out fabric and Measure hem (mine being 4 inches)
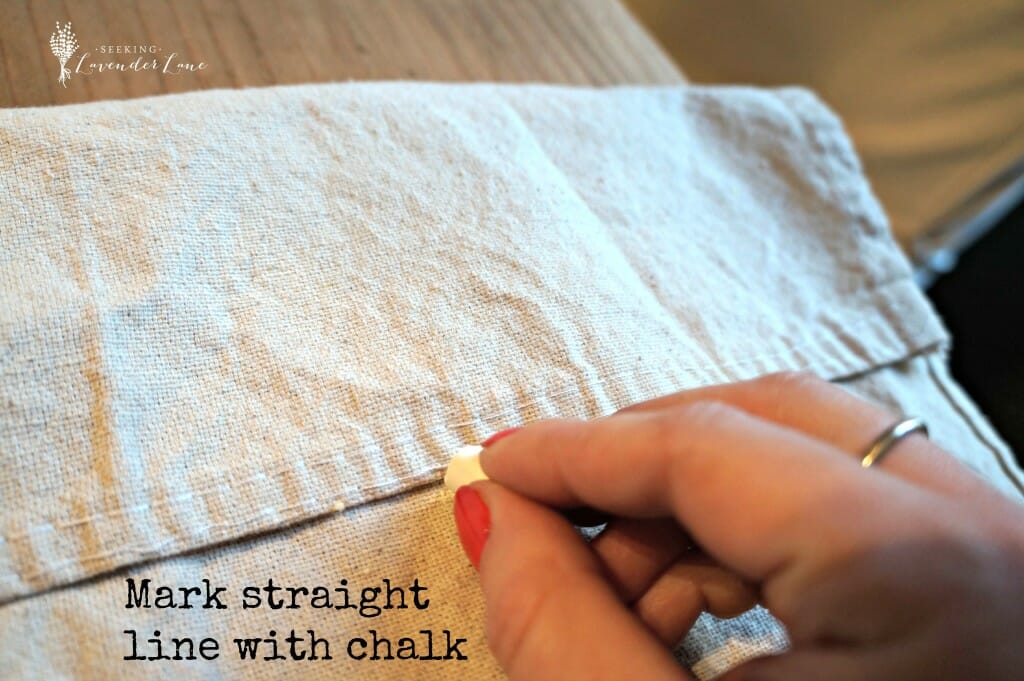
Step 3: Measure 4″ all the way across marking measurements with chalk.
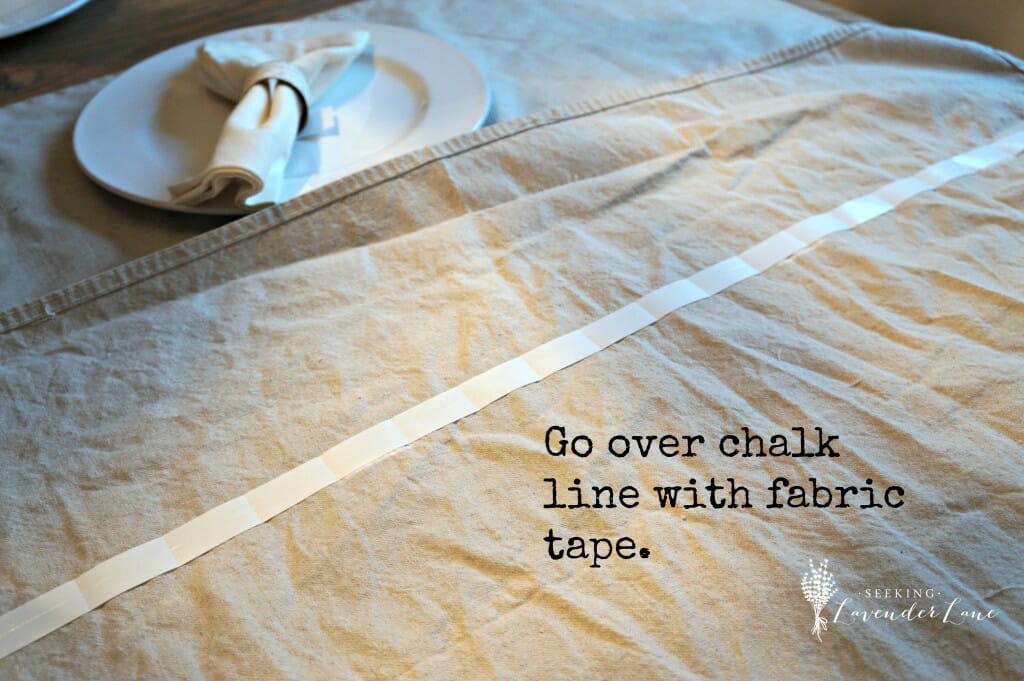
Step 4: Add Fabric tape to where chalk line is all the way across.
Step 5: Remove paper to expose sticky side of tape, fold over fabric edge to create rod loop
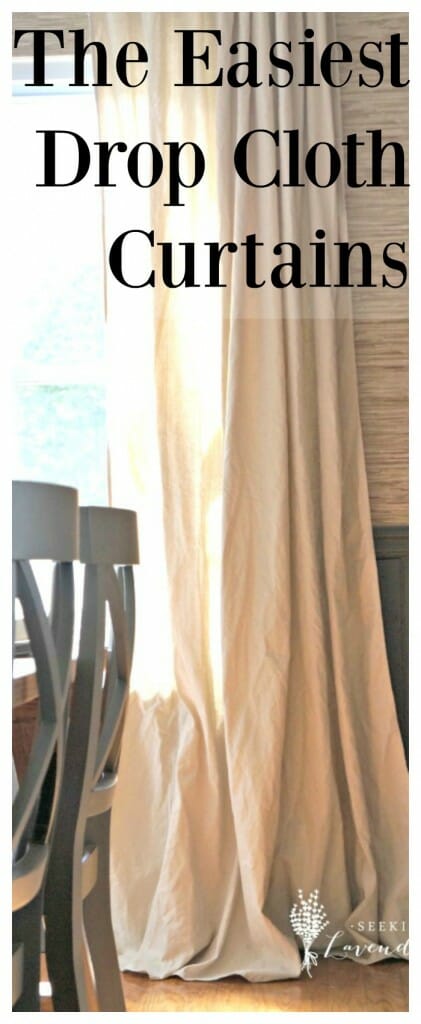
That simple…and what a dramatic difference they make.
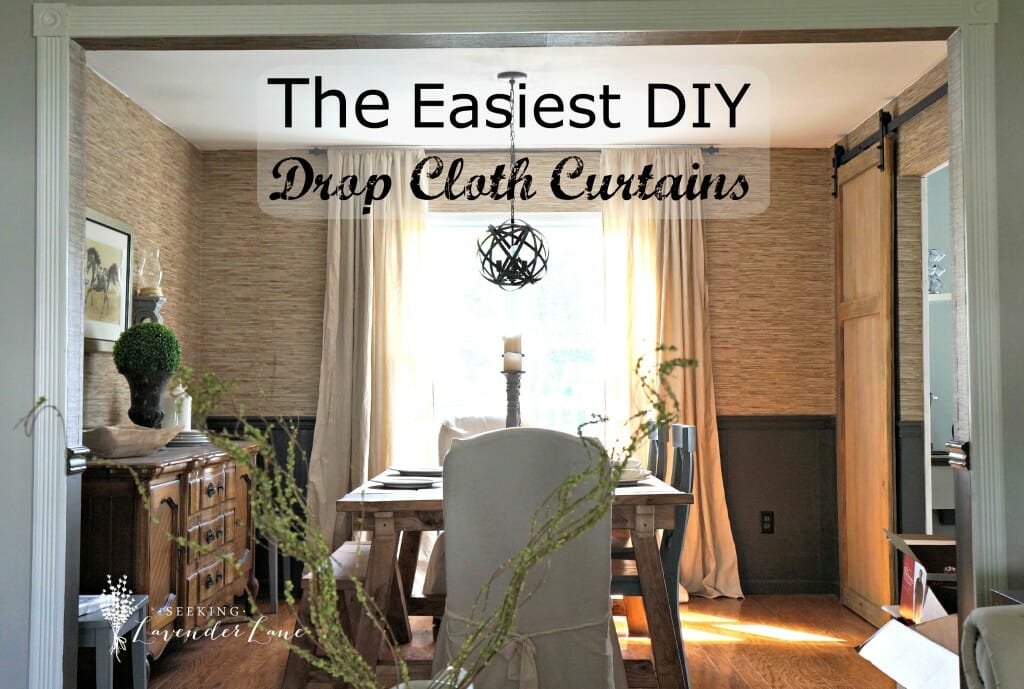
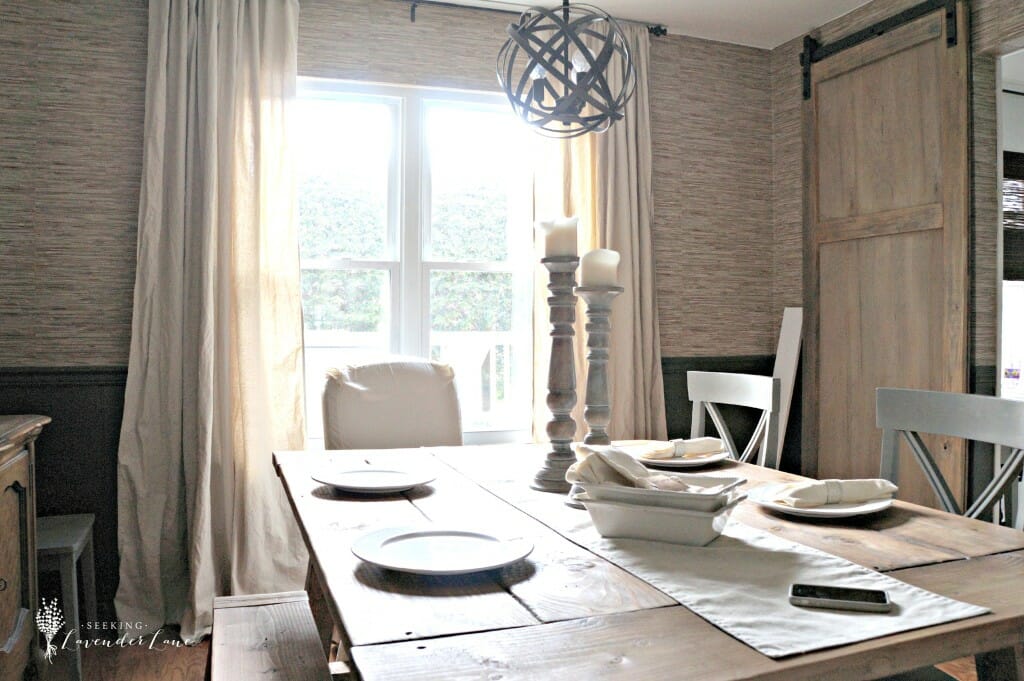
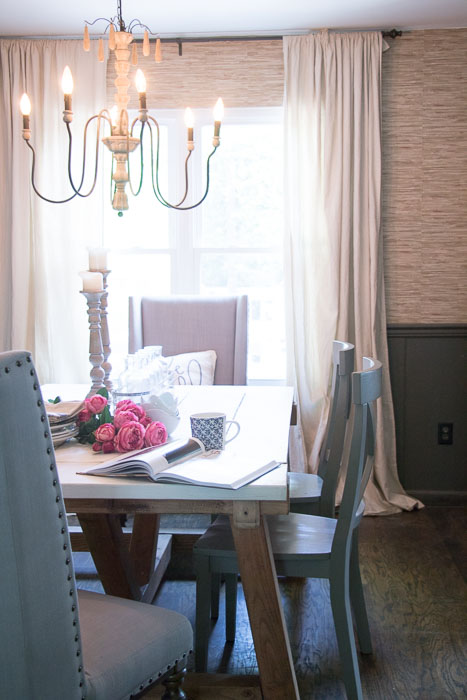
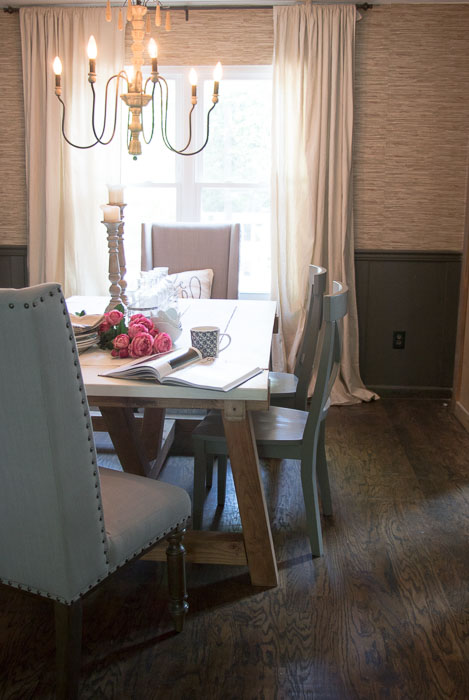
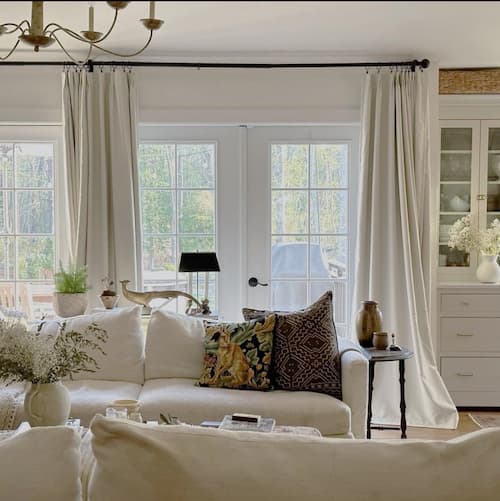
Here are the finished window treatments.
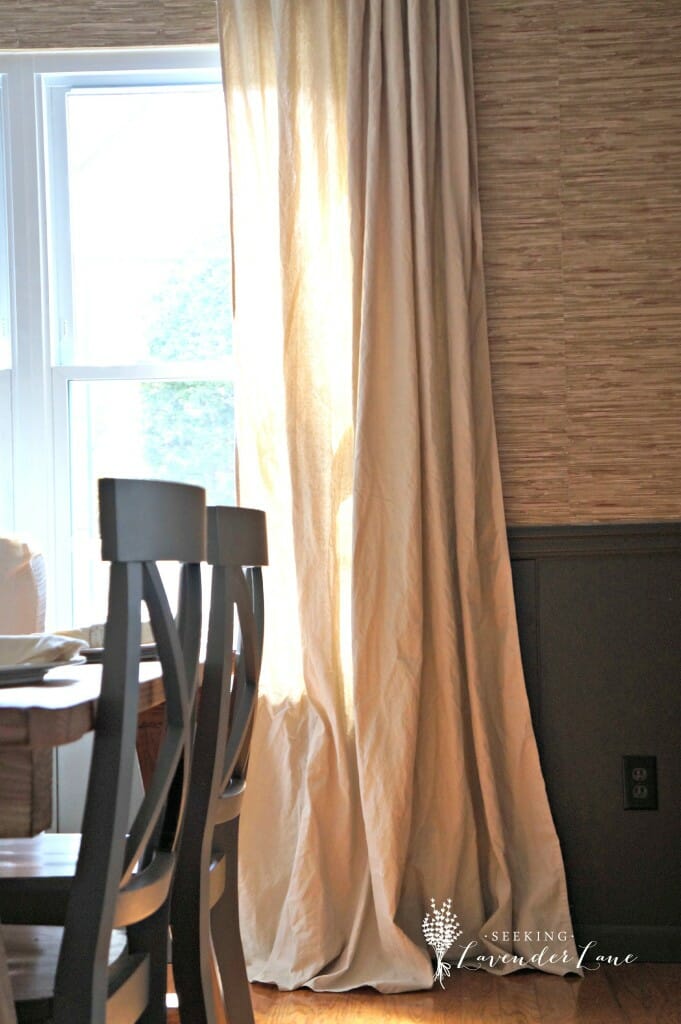
I love how the drop cloth window treatments puddle on the floor.
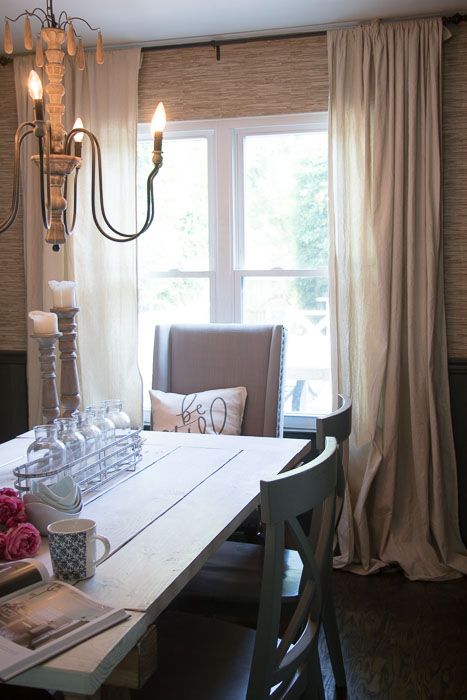
Updated Photos of the Drop Cloth Curtains
I love the drama in here, especially with this chandelier, wallpaper, and newly refinished floors.
 Have a great week and thank you so much for stopping by!
Other Drop Cloth Tutorials
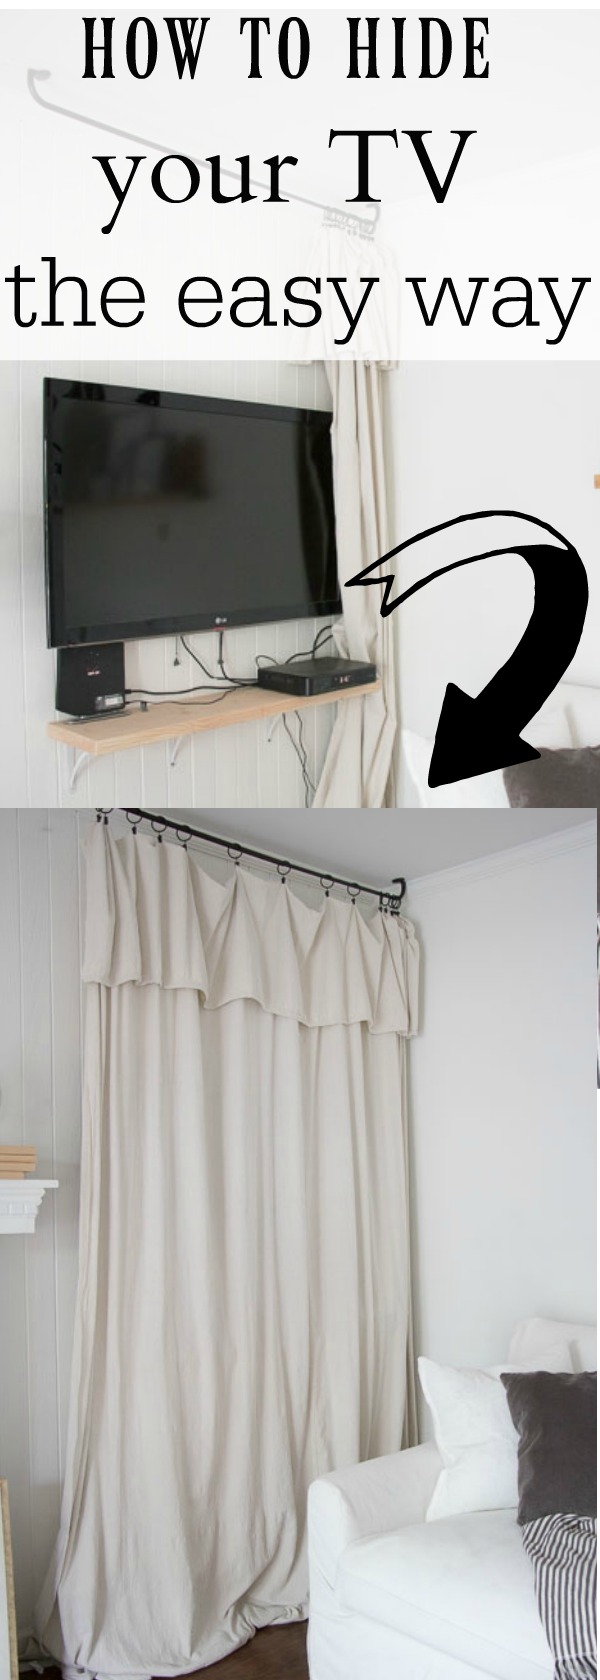
How to Hide a TV with a Drop Cloth Curtain
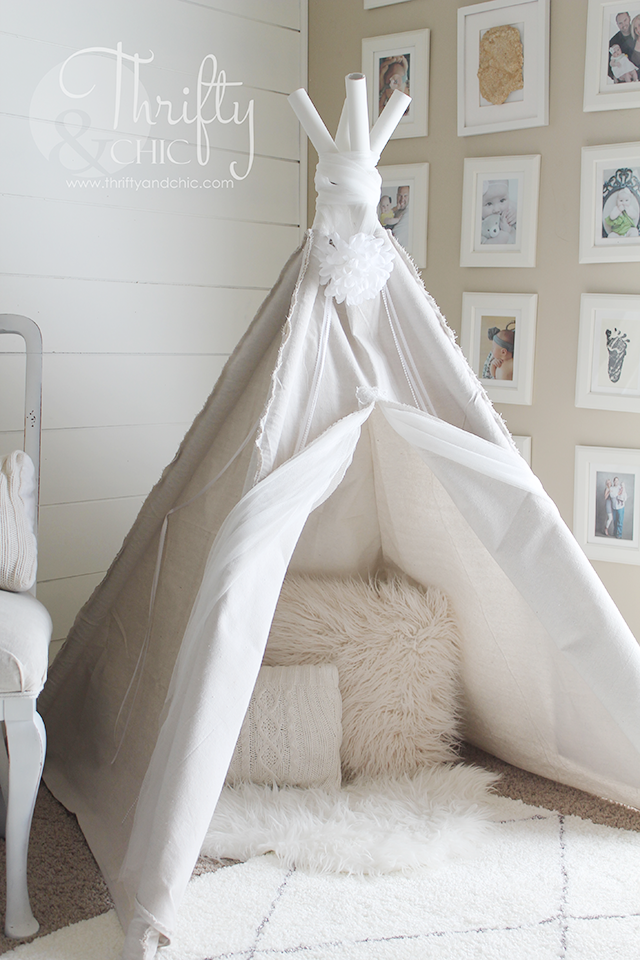
Tidbits Bed Skirt from a Drop Cloth








58 Responses
Yours look great, and it sounds like a very easy tutorial. Saw your link at Savvy Southern and stopped by to say hi!
Mary
Thanks so much Mary! So glad you stopped by : )
Looks great!! Love this idea too!!
Alli recently posted…DIY Farmhouse Table (project reveal)
Thanks so much Alli!
This is perfect! I was just looking at my dark green curtains last night wondering what I could do for the summer – This is it!! Thanks Saw your post on the facebook group – home and garden bloggers. Hope you visit me sometime!
Leslie, the cleaning coach recently posted…“Bucketless Mopping”
Hi Leslie,
So glad you stopped by! Thank you…What a great idea for seasonal curtains…can’t wait to see how yours turn out. Love to stop by you page : )
I’m not a big curtain fan, but I LOVE these. I really think I’m going to make them as soon as I get this room painted. Thanks!! Found you through Pin Worthy Wednesday on Our House Now a Home.
April Rutherford recently posted…Industrial Coffee Table
Hi April,
So glad you stopped by! Thank you…so simple and quite dramatic, can’t wait to see how yours turn out!
These look AMAZING…what a great job…hope you will come over for a visit soon.
Thanks so much! So glad you stopped by
Love that there is no sewing involved!

Lynn at Riggstown Road recently posted…Easy No-Bake Gluten-Free Granola
Yes, Lynn…I am not a sewer so this was easy and worked perfectly!
I need to try this. It seems like half the curtains in my house are “spot clean only.” Who knew cheap curtains from Walmart wouldn’t be washable? I bet these would be perfect for the sliding door in my kitchen.
(visiting from Talented Tuesday)
Julie @ Logger’s Wife recently posted…How I Track My Budget
Hi Julie,
Oh I hope you try it, I think you will love them…they make quite the dramatic difference and do not look cheap at all!
Oh my gosh, Deb! Your dining room is so flippin’ gorgeous, girl! That barn door of yours is amazing. I love that you let your curtains puddle a little bit. Just the perfect amount of drama.

Lauren recently posted…Aged Metallic Decoupaged Nightstand
Thanks Lauren! I have a ways to go in this room…but it is for sure coming along : )
These are fantastic! Sharing on The Painted Drawer link party – thanks so much for linking up!
Suzanne recently posted…The Painted Drawer Inspiration Link Party
Thanks so much Suzanne!
Your dining room is gorgeous and the drapes look fabulous. Can’t wait to feature you next week.
Marty@A Stroll Thru Life recently posted…A Fail and A Save
Thank you so much Marty…excited to be featured at your wonderful site!
Wow, those are super easy, but I love the look. The neutral color would work in just about any room. Thanks for linking up at Talented Tuesday!
Staci recently posted…Friday Favorites–My Birthday 2015
Thank you Staci…thank you so much for hosting!
Your dining room is beautiful! We can’t believe that your curtains are made from drop-cloths – they are so fantastic – love how they puddle on the floor. We would love for you to link this up to our party Something To Talk About! Great Job!
Vicki and Jennifer 2 Bees in a Pod recently posted…Something To Talk About Link Party #16
Hi Vicki and Jennifer…thank you s o much! I would love to swing by and link up…thank you so much for letting me know about your fantastic party!
How in the world do i hang them to the rod? No mention and all the pics have the top of the drapes not in the picture?
I’ve been thinking of doing this for a while now. I just love the look they give! Thanks for showing me how!
Rebekah // Charming Imperfections recently posted…10 Projects made possible by a Kreg Jig
Thank you Rebekah…I promise one of the easiest DIY I have yet to do! Looking forward to seeing how yours turn out.
These work so well in your room. Thanks for posting. Hello from Think and Make Thursday.
Melissa French, The More With Less Mom recently posted…May Real Food Meal Plan – flexible, frugal monthly meal plan with printable calendar
Thank you! So glad you stopped by : )
Alright, you won me over! I have to recreate these for my son’s bedroom. They look awesome! And this is the natural color of them, right? Great job! visiting from Think and Make party
Nicki recently posted…Sweet Parrish Place Style { Vol. 27}
Hi Nicki,
Yes, they are the natural color! I wish I made them for my sons room…I bought ones from Ikea for his room…which was still more expensive than these : )
Omg! Just discovered your blog!! Love it! I’m all things rustic farmhouse cottage and shabby! Ha! I’m sooooooo going to make these curtains!! Thank you soooo very much! Yours look amazing!! Your new follower,Cindy
OMG! Cindy you’re too sweet. So happy to have you as a new follower. Good luck with your curtains…so easy…so fun..and so dramatic!
Hi!
Love, love, love your curtains- and also how easy they are!
I really love the exact amount of puddling you have on the floor. Could you say how much length you allow for puddling so they puddle exactly right?
Thanks in advance!
Thanks Corinne! Well, I would say probably about 2″ of extra fabric. Since there is more width to the drop cloth then a curtain, you definitely achieve more of that puddling. Hope this helps!
I don’t know how I missed this tutorial. This are awesome! I would have never known that they were drop cloths. I’ll be using this in my house somewhere I’m sure.

Amanda recently posted…DIY Upholstered Coffee Table
Oh yay! They are my absolute favorite, I could seriously have them in every room. My husband thought I was crazy though when I purchased these to make curtains lol.
What size did you use for this?
Hi Tara, I used the 6×9 pack. Hope this helps!
Hi, this is such a great idea! We have 5 huge windows in our open concept living/dining and I was dreading the cost it would be to get that linen/grain sack curtain look. Definitely going to try this!:) One question, do you remember if it was the 8oz (blue package) or 10 oz (red package) fabric? I would have to order them on line as we don’t have a Lowes and there are both options online. Thanks!
Hi Becca, I am pretty sure it was an 8 oz blue package. I hope this helps.
I love these & they look great in your room! Do you open or close the blinds or just leave them open? I want to do them in my living room but at night would need to close them and not sure how well the fabric tape would hold up to that everyday! Thanks!
Hi Michelle,
So I keep mine open! Fortunately since it is in our dining room I don’t need to close them. I also have large bushes outside that give this room privacy. I probably would not recommend the tape if you are going to move the curtain around a lot. Maybe add a pretty shade to the window that could give you the extra privacy…or if you’re handy with a sewing machine I would take that approach.
Wow, Deb, I think even I could tackle these! I am going to see if I can dye the drop cloths a soft blue this week and surprise my hubby who will be out of town this week with brand new curtains in the living and dining room!
Thanks Chloe! How exciting, that’s going to be beautiful.
The room and the curtains are beautiful !!
I need to filter the strong summer sun to protect my furniture, and still let as much light in as possible into the bedroom and living room. Would the 8oz pack do the job? Thank you in advance,
Daphna
Thank you so much Daphna, yes that should definitely work!
Thank you, I’m so glad! One more question: do you think it would work if I hang the curtains from the rod with bows of the same drop cloth material? Is it pliable enough for that? Sorry but I live overseas and have no way to touch the fabric before I order it from the US…
Thanks again and have a great day!
Daphna
I think that could work. Have you tried looking up maybe adding grommets to the curtain. I think there may be a few tutorials out there on how to do that.
Thank you so much! I’ve ordered the drop cloth and will send you a pic of the curtain once it’s ready!
Daphna
Im confused. Other than hemming…you have to attach it to the rod in some way. The tutorial doesnt speak of it and every picture has the top of the drapes cut out of the picture?
Donna….once you make the hem you have the space between to insert the rod. If you send me your email I can send you a close up shot, to explain better. Then basically scrunch the fabric.
So the 4″ hem is the rod pocket?. And you didn’t hem the floor bottom. Is that right? You stated you used the 6 x 9 size. The 9′ would be the top of window to floor length and for double windows you would use 2 packages. Am I correct in my thinking? They look great. I just put up drapes that are 20 years old
Fortunately they hold up good, but room is a little dark and have been Thinking of changing .
Hi Dot, yes, you are correct about the 4″ being the pocket for the rod. As for where I hung them…I hung them at the top of the ceiling. This way (with my 8 ft ceiling) I only have about 8″ puddling on the floor. I hope this helps!
They’re beautiful and thank you
Oh I am so happy to hear that : )
Do you remember what brand? The ones I found have these weird hems with square patterns. I want some plain ones like yours.
The ones I purchased were from Lowes. You can try that…I think the ones that I have linked on Amazon are suppose to be really good as well.