This has been a project that I have contemplated for about a year and a half now. I know crazy, right? It’s just been something I could not commit to and after the long debate in my head…I finally went for it!
So here is where it began…
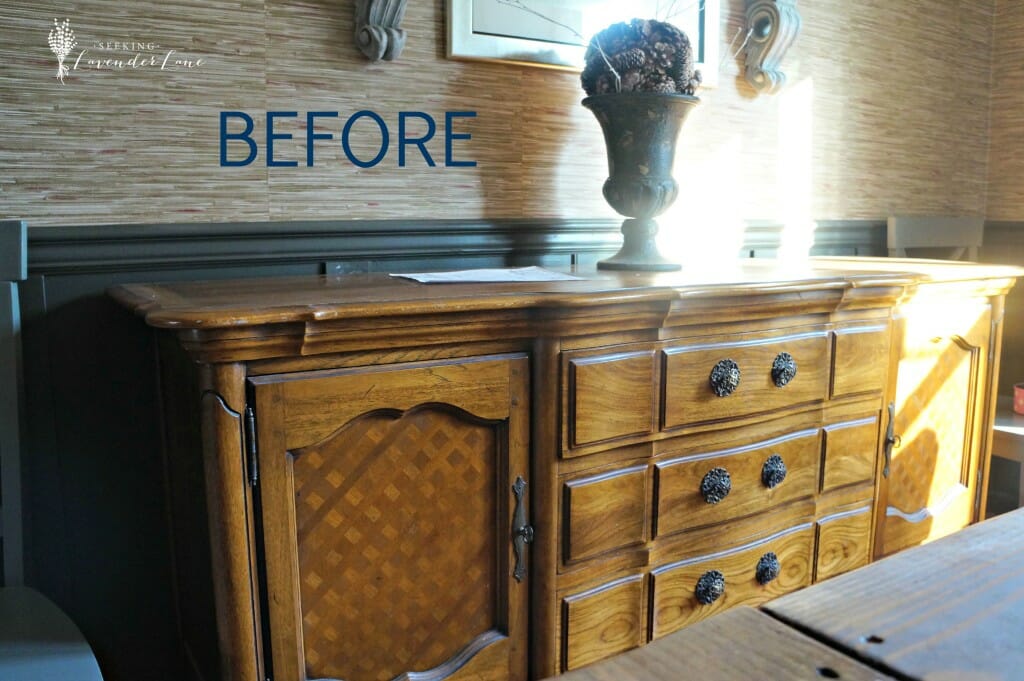
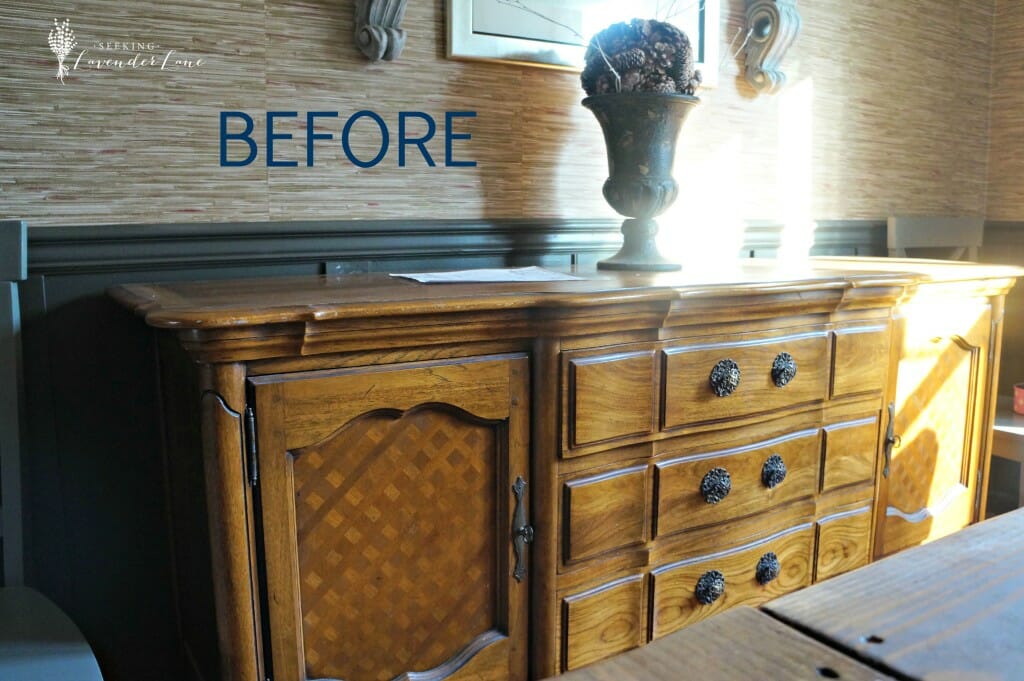
I bought this Gorgeous Buffet from craigslist after seeing a ridiculous deal for it. The guy was selling the entire buffet and hutch for $50! It was insane…and the piece was just beautiful. Furniture just is not made like this anymore…and I instantly fell in love. The problem was…I had not begun to really design by dining room yet…and had a very small dining table that I had found on craigslist for free and knew that it would not be in here for long. So though I loved the piece…it was quite hard work around.
The style was french provincial most likely from the 1940’s. I love french provincial but was not quite sure this is what I wanted in here. Since I did not have much to lose the piece was only $50 I took the chance on it. I knew right away I was not going to use the top hutch. This would of completely overcrowded my very small dining room and so with a ton of force up the stairs and a chalk painted finish…this became my daughter’s armoire in her room. What a fabulous piece for a little girl…and since the entire piece cost me $50 this was more like a $25 piece that looked expensive and unique.
Well…the thought crossed my mind whether or not I wanted to paint the buffet in my dining room…but I couldn’t make the decision just yet because I really did love the wood on it and I still had no clue what kind of dining table I would have.
Well..finally a few months later and the Restoration Hardware Dining Table Knock off was made and the piece no longer worked. I still gave it some time and even listed it on craigslist to just sell it but for some reason could not part with it and took it right off after receiving almost triple the amount for it than I even originally paid.
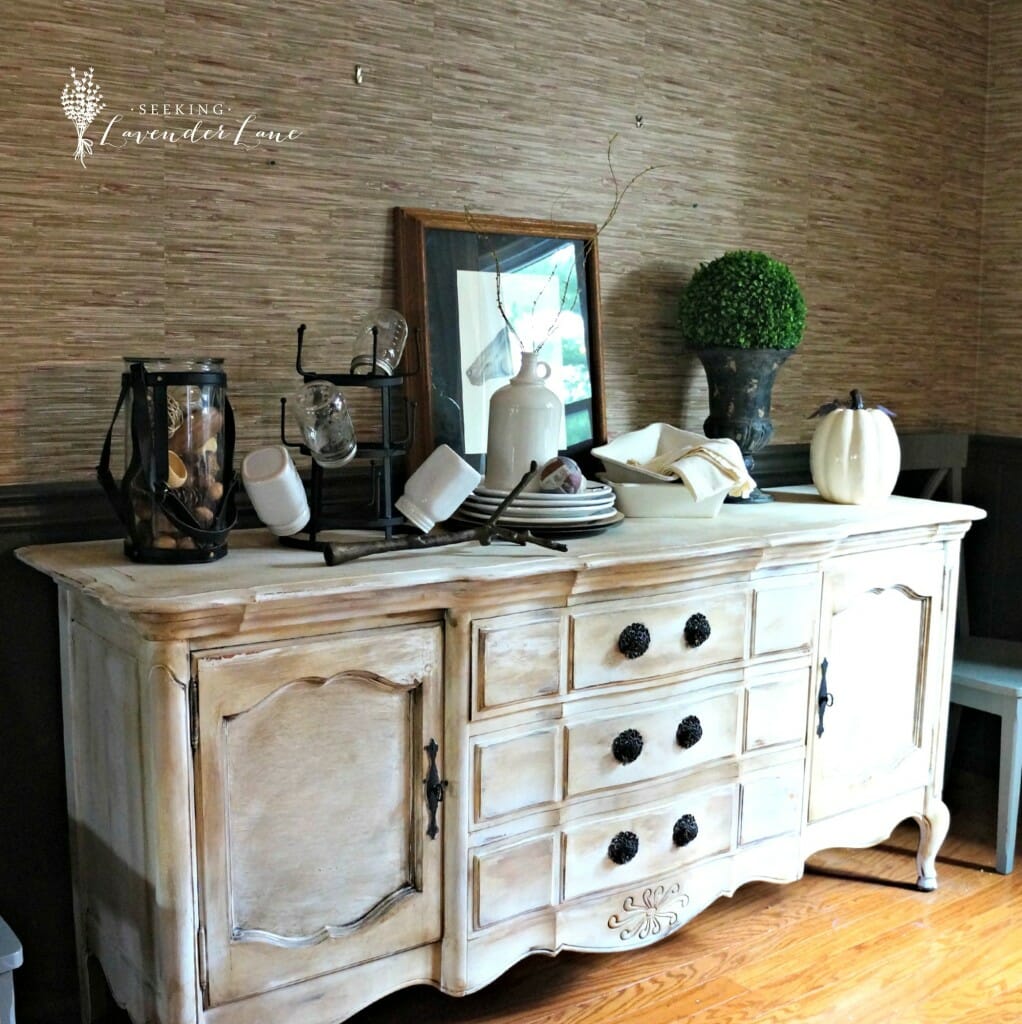
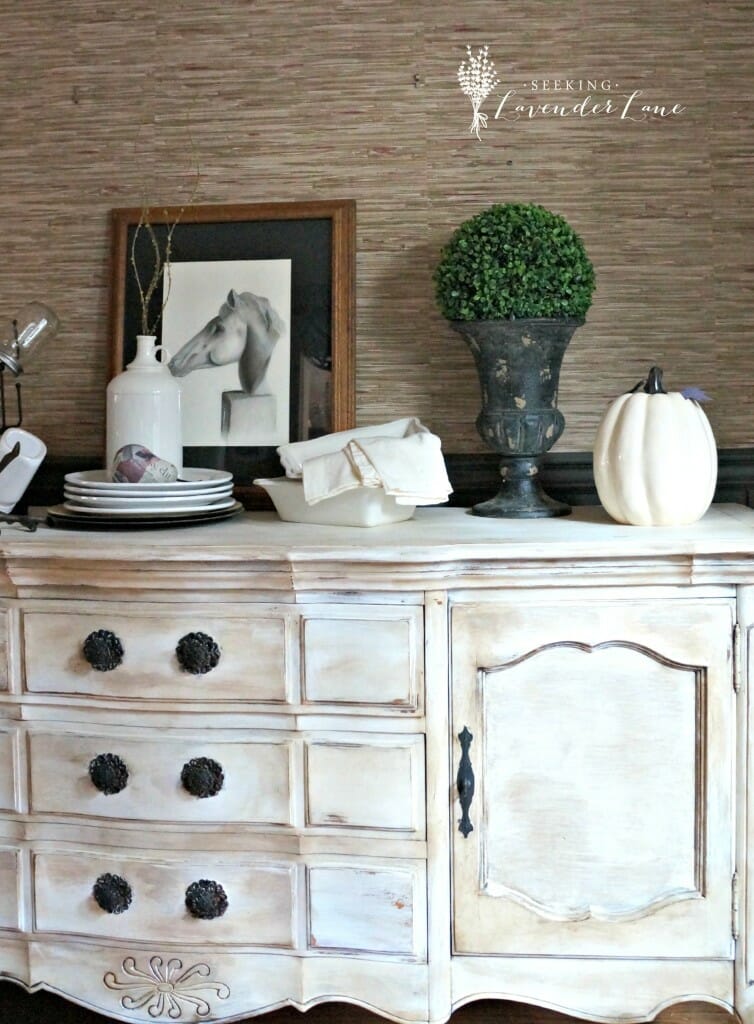
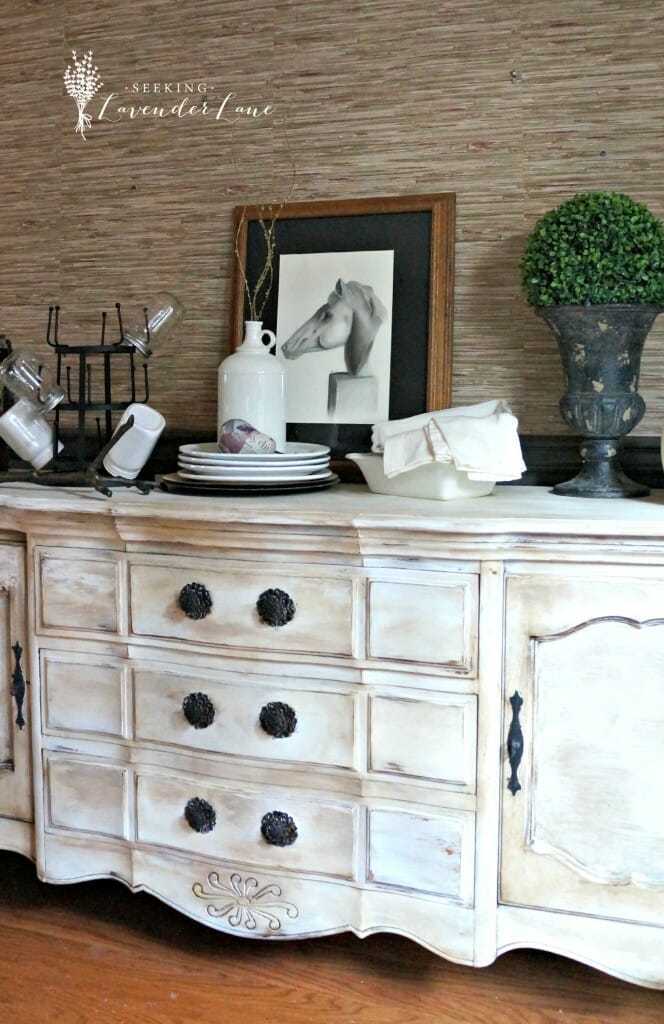
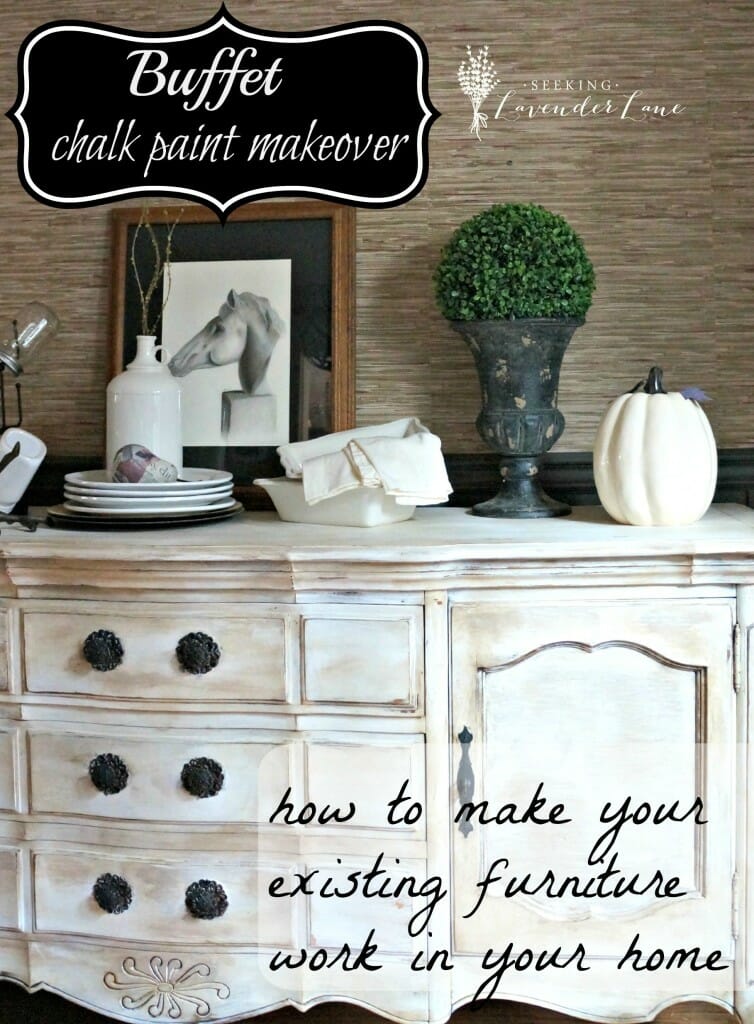
Well…here I am now ready to finish up this space and I had to make a decision paint, sell, or just work with it. I decided to cave in and just give it a makeover. Updating the buffet I knew would help to really make it work in my home. This can go for a lot of different pieces…whether it’s a hand-me-down or furniture that suites your old taste, find a way to give it a makeover until the time is right to buy another piece. Also I knew, If it didn’t work I could sell it and probably make more for it since painted furniture is so trendy now. I did not want to spend any more money on this so I just created some chalk paint at home with plaster of paris and white paint that I had (see here for instructions). Painted the entire piece down and then finished with some dark wax. I was extremely exicted to use my new wax brush since I had received that as a free gift from the Haven Conference from Amy Howard paint company. Amazing the difference it is to apply wax this way rather than with a paper towel that I am use to.
Well…the piece turned out beautifully and I finished the hardware with some onyx colored rub and buff. I actually showcased this on my first periscope and had tons of good advice on the finishing touches. I was not sure if I wanted to paint the side inserts, since they had this gorgeous trellis pattern. After doing some thinking I decided to just paint the entire insert the same color as the piece and I have to say I am pretty happy with that. The piece is still not exactly what I envision in this space with the rustic table and grass cloth walls, but it works a whole lot better now. I do have a buffet picked out from overstock that I would love to snatch up if only I had the extra funds. Maybe some day…for now loving the new look and can not wait to finish this room up before the Holidays and share with all of you! I am sure you will not all agree with painting the buffet, but in person everyone that has seen it so far seems to love the new look.
I know the photos are not great, its a hard angle to capture and to work around the dining table. More to come for the my double Fall Home Tours and dining room reveal…coming soon!
Linking With: www.savvysouthernstyle.net, www.11magnolialane.com
PLEASE STAY A WHILE





51 Responses
Looks great Deb!!
Jen @ Fresh Crush recently posted…Behind the Blogger – Fresh Crush
Thank you Jen!
Turned out great! Its so fresh and new. you gave it new life
Mary recently posted…Paint Sprayer vs The Brush
Thank you so much Mary!
Deb! This is amazing! $50 for both, GET OUT! I would have jumped on that too!! This looks fantastic. I love white (imagine that) WITH dark wax! I’m glad you decided to paint it, worth it!
Thank you Sara! I am so happy with it too..really changed the feeling of the space. Don’t you love a great deal on craigslist! : )
Your work is perfection as always! It’s terrific that you were able to work such a beautiful piece into your home! Pinning!
Karen
Thank you Karen : ) That means so much…thankful for the pin!
This is so pretty! I love the way you styled it!
Smiles!
Terry
Terry recently posted…Getting My Groove Back …
Thanks Terry!
Oh my goodness – this is one of my favorite furniture makeovers I think I’ve ever seen! I love how rustic it looks – and those knobs are gorgeous!
Heather @ The Deans List Blog recently posted…Why I wish I didn’t DIY my Headboard
Wow…thank you Heather : )
Beautiful job Deb!
Roxanne recently posted…Fall Centerpiece DIY
Thanks Roxanne!
It turned out perfect! Thanx for sharing at THT.
Pamela-FromMyFrontPorchToYours recently posted…Treasure Hunt Thursday #220 & Highlights
Thank you Pamela! Thank you always for hosting a great party!
This is so pretty! I am always eyeing these larger furniture pieces on craigslist, but I do not have the space for them.
Emily, Our house now a home recently posted…Friday Favorites party #123
Thank you Emily! Not gonna lie this piece is prob just a tiny bit too big for my dining room too, but making it work!
Beautiful makeover! I love how the hardware now pops against the new paint color.
Katie @ Little House of Four recently posted…10 Inexpensive Updates For a Builder Grade Home
Thank you so much Katie! That rub and buff makes such a difference!
I love how this turned out! Gorgeous! I love everything you do! And that wallpaper on the walls is EVERYTHING!
Thank you Ruthie! : )
The buffet came out great! Much better to paint it and use it than to leave it as it was and not use it. It looks great with the sea grass wallpaper, and I love how you’ve styled it 🙂
Thank you so much! Yes…I agree it does look better with the wallpaper, right?
Great job! You totally transformed this piece to fit with your home decor.
Thank you Allyson!
What a transformation! I love the subtle look of the chalk paint…great job!
Sydney @ Tastefully Frugal recently posted…Bewitchin’ Projects Block Party #115
Thank you Sydney!
Great Transformation…this really did come out just beautiful!
Tammy recently posted…Fall Hydrangea Cork Wreath
Thank you so much Tammy!
Popping by via Anderson & Grant :0) I really enjoy your work and I would be so happy if you would share this at my Making broken Beautiful party this week! I would be honored if you would help to make this party grow :0)
Smiles!
Terry
http://thecuratorscollection.wordpress.com
Absolutely! Thank you so much Terry…stopping by now : )
Well done!!!! I LOVE, LOVE, LOVE this. And it’s even more amazing at $25. What a great feeling that is to stand back and look at the beautiful transformation!
Thank you Cheryl….yes nothing like completing a project and love the finished result.
This is truly beautiful! I can’t believe you scored this for $50!? You must have had a perm-a-grin! 🙂 What a lucky find! You knocked this one out of the park. I hope you’ll share it with us at Friday’s Furniture Fix! Doors close on Monday night at 11:59PM EST. Have a great weekend!.. Carrie, Thirty Eighth Street http://www.thirtyeighthstreet.blogspot.com/2015/09/fridays-furniture-fix-link-party-no-8_17.html
Thank you so much Carrie! Fabulous…I’ll head over to your blog, thank you for the invite!
Beautiful makeover, Deb! Love how it turned out.
Amy | Canary Street Crafts recently posted…Adding Detail To Furniture With Washi Tape
Thank you Amy!
It’s beautiful! And I love the chalkboard wall, too!
Julie @ Life of Bliss recently posted…The $100 Open Your Door Challenge (Are You Up to It?)
Thank you so much Julie!
Just popping by to say thank you so much for joining in on my Making Broken Beautiful party last week! I hope you will come again!
Smiles!
Terry
Enjoy the before and afters. Thank you
Great, Thank you Mary!
Your projects are beautiful especially the dresser,its no wonder it took me so long to get to the comment box.Great job.
Thank you so much Mary, that means so much!
Very beautiful!! Love it and love the color
Thank you Carolyn!
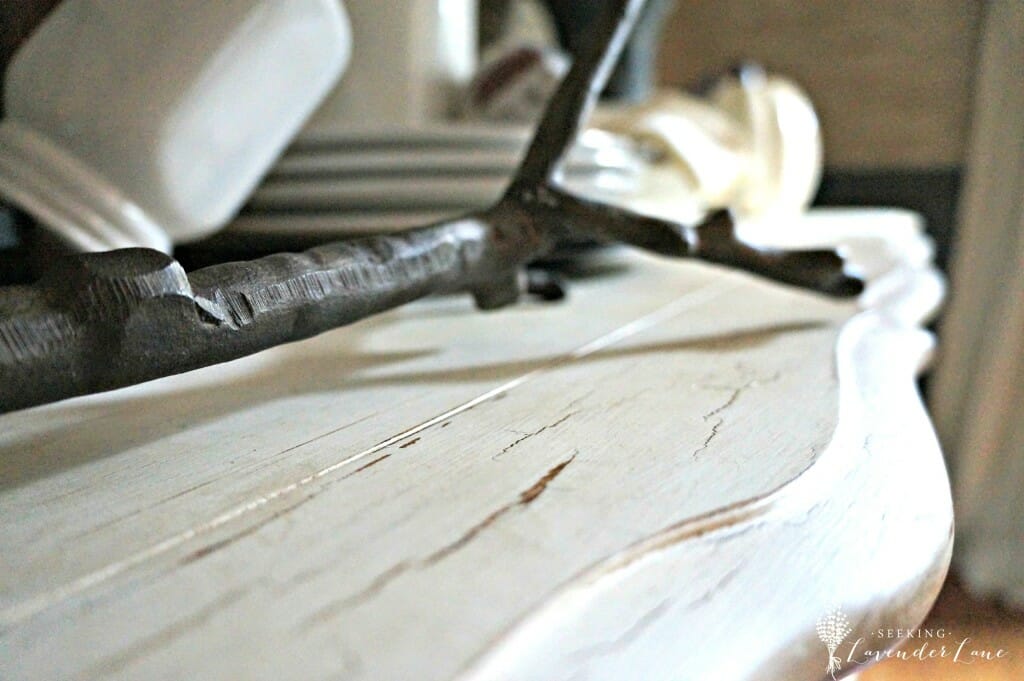
How did you manage to get the cracks in the paint? Just chalk with wax? It is marvelous. Thanks for sharing.
Thanks Janet! The cracks were really from the consistency with the chalk paint. Once the paint began to dry it started cracking on it’s own.
Do you have details of how you did this make over?
Is it just 2 coats of paint and then some sanding or were there more steps (there seems to be more hints of color in this piece). It does look fantastic !
Hi Jimmy! Thanks so much for your comment. So it is just two coats of white (homemade chalk paint) and then I distressed the piece. After I went of it with dark wax and clear wax to seal. By adding the dark wax it adds different dimensions in the white which is probably where the piece looks like it has more color to it.