This project all began when this Dining room of mine…just wouldn’t get finished! I mean two years ago we started this process of taking down the previous wallpaper and then adding new wallpaper to cover up the wall that didn’t take it too well when it’s 90’s paper had to come down. I remember this being a 3:00 a.m. project of ours for about 3 days. First, adding the wallpaper, and then adding the DIY board and battan, and then painting the board and battan. It pretty much stayed like that for a while until last year we decided to build a table and then little by little pieces of this room have taken place including the painted buffet that I contemplated painting for a while. Most of those projects were never documented on the blog since they were before I was really into this process and had no idea what I was doing. Also, no one read my blog at that time so it just seemed like a waste to keep posting projects since we were doing new projects every night.
Anyhow, so this room is one I can say really had no vision. The vision has been altered many times and it’s also one that has to adapt to using what we have. You know how that goes…when you really picture different furniture, or lightfixtures, or even wall colors, but you use what you have since you can’t run to the store everytime your heart falls for a new style or vision. Though this has happened and if I could do it all again I probably would change a lot about this room…I have to say I really do love this room. It kind of has it’s own personality in this house and seems to be one that gets the most comments when people are over. The table may not be so straight, and the furniture styles are somewhat a little too eclectic for my liking, but it all some how works.
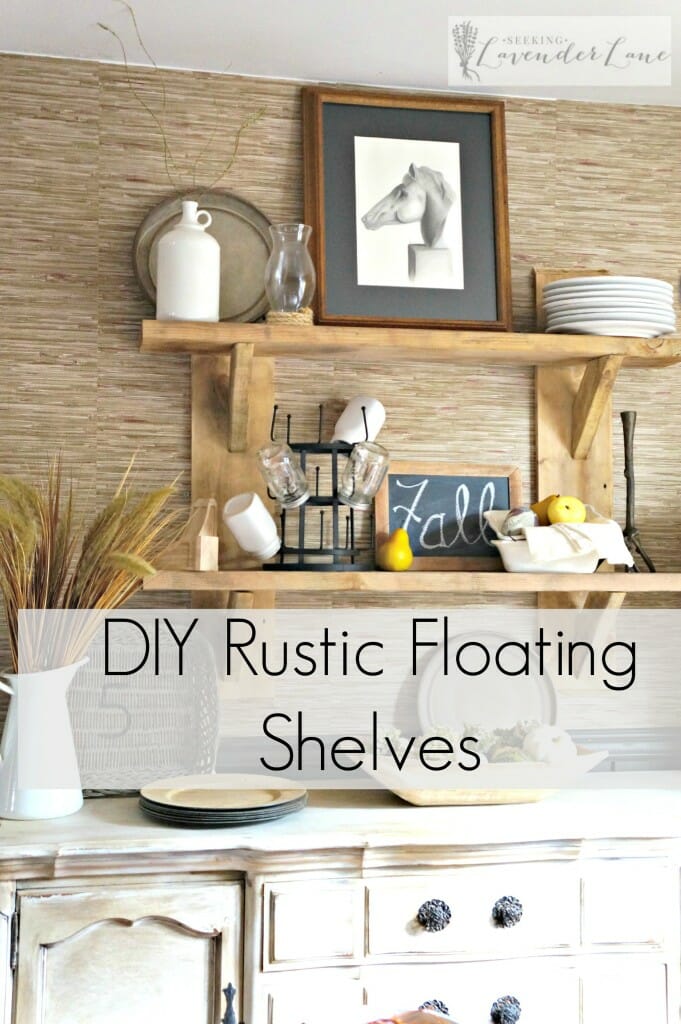
So after finishing the last project in here, the painted buffet, I knew above the buffet had to change. I’ve had a horse painting over it for a while, which I love, but just was not suiting the size and drama that the wall was calling for. So I was dreaming of adding floating shelves to tie back to the rustic dinging table and to have a place for my storage and decor. I was planning to just go with a corbel stand and a floating shelf above, but then I cam across this. and they were perfect! I mean the perfect amount of rustic, clean lines, but still interesting and different.
So, though I would love to take credit for this one this was not my original idea. I thought of ways to modify to make it my own, but really I just loved them so much I knew they were what I wanted. Which is totally okay DIYers…don’t be afraid to find a project from another blogger or artist. This is flattery and we all don’t mind. So pretty much if you need some tutorial help you can check out both Keeping it Cozy and some of my photos for help. I think she took a few more photos then I did…I am so bad at that, and this project came last on the to-do list during our project day, so by that point the hubby was half way done before I even realized he had started.
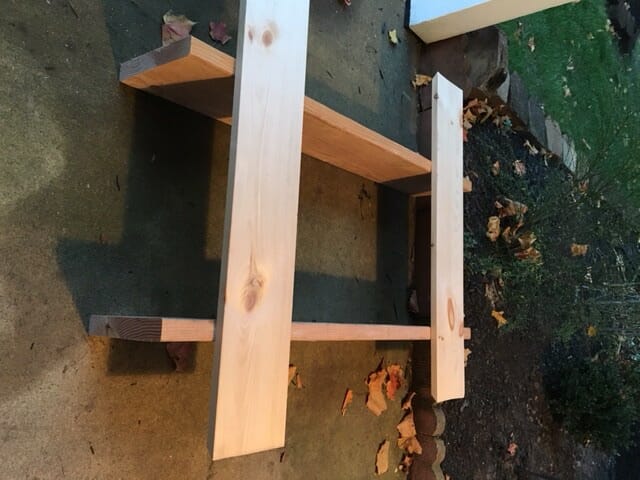
See this is where I caught it. No problem though this is super simple. Cut shelf wood to 48″ or longer or short depending on your space.
Separate the shelves with 20″ gap.
Screw wood base to wood shelves. Add 45 degree angles to shelf support pieces.
As long as you have all your measurments right and a level this project will be easy. Of course I need my handyman hubby! I give all you ladies out there so much credit for building pieces on your own.
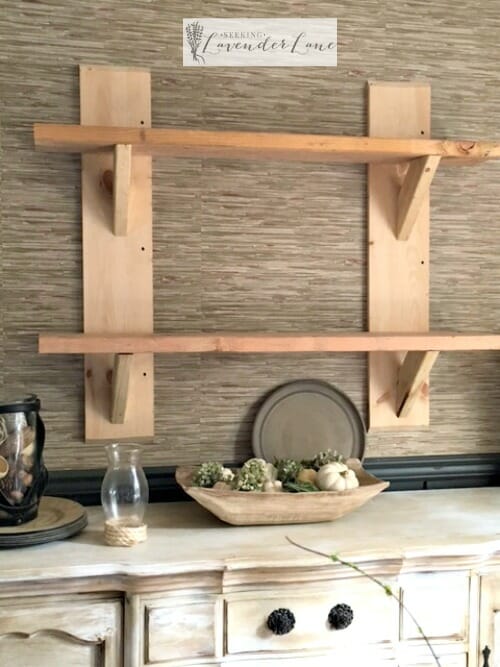
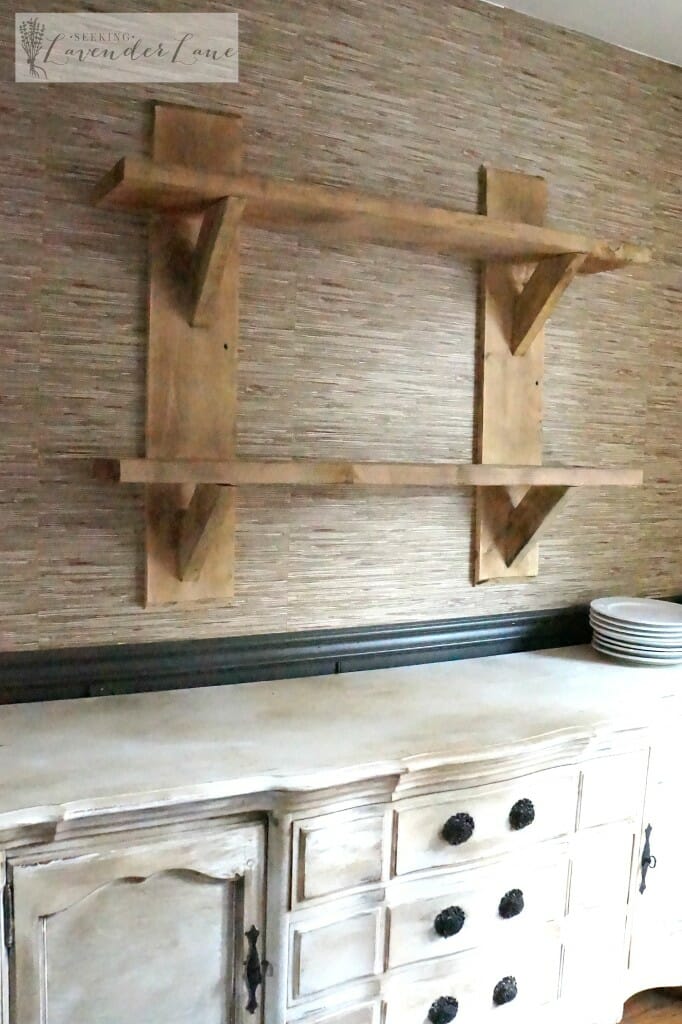
Below is the photo of the shelves up before I stained them.
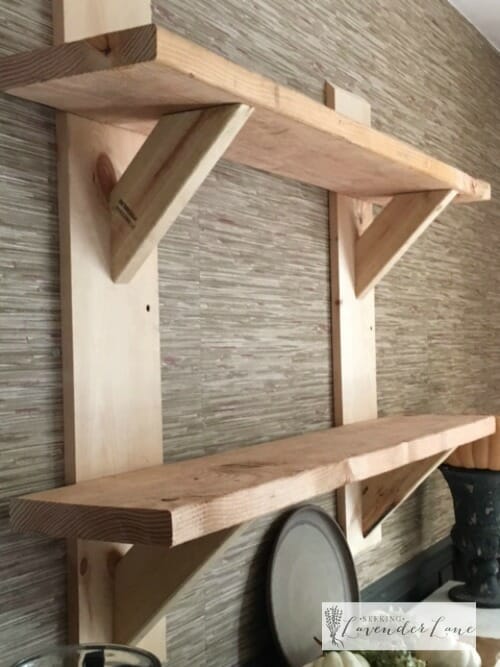
And then below with the stain
sorry a bit blurry, still trying to figure out what’s going on with my camera it’s been pretty funky from time to time.
So the process I used to stain these, since I really wanted to keep them natural looking with a rustic warn look.
I took my Annie Sloan Dark wax (which I use on EVERYTHING!)
I thought that would be all, but the shelves seemed to look a little too orange, so I knew I needed to add a cool combo to this to get rid of the warmth.
So I added some french linen ASCP watered down and applied to shelf and wiped off with towel as I went along.
That did it! It was the perfect color I wanted.
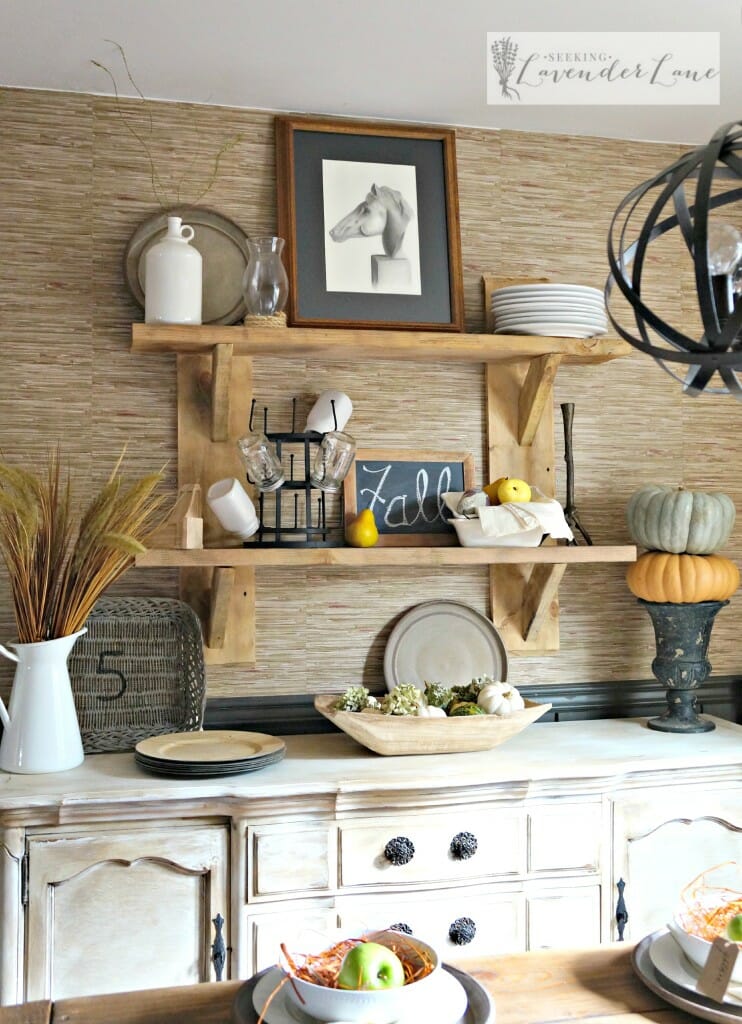
Now for the best part…the accessorizing! I’m not going to show much here since I am sharing “How to Accessorize a Shelf like a Pro” tomorrow, at Interior Fruaglista. Please stop on over I am breaking down how to decorate shelves there and even better more pretty photos of this lovely piece!
I just love it! It made such a difference in this space and I could seriously have a shelf in every room that I get to style pretty.
Linking with: savvysouthernstyle.net


You did a wonderful job on these shelves. You really are a “handy woman”! I have purchased my first chalk paint and wax and I am ready to dive in. Can you tell me what ASCP is? I am assuming it is Annie Sloan…something. I am sharing this over at Twitter and FB and pinning this. I would love it if you would stop by and share this at Celebrate it Sunday. The party stays open until Saturday. Happy Fall!
Chloe Crabtree recently posted…Celebrate It Sunday! Link Party #20
Thank you Chloe you are too sweet! I’d love to share, I’ll stop on by! ASCP is Annie Sloan Chalk Pain. I appreciate the share and good luck with your first chalk paint project…you’re going to be addicted!
It looks beautiful Deb, really just perfection!! 🙂
Roxanne recently posted…Pin-Worthy Wednesday #56
Thanks so much Roxanne!
They turned out great and I love how you styled them!
Maria Gonzalez recently posted…Glamping in the Fall
Thank you Maria!
This is such a great idea! So simple and perfectly rustic! I love your dining room!
Emily, Our house now a home recently posted…One room challenge week 5- freaking out a little
Thanks Emily! I’m so glad you like it!
Awesome! Your dining room looks great. I’ll bet there will be a knock-off from Seeking Lavender Lane by Pottery Barn.
Debbie recently posted…Painted Steamer Trunk
OMG! Debbie you’re too sweet, thank you for that compliment : )
Your rustic shelves are awesome Deb and I so appreciate your sharing how to style them today at The Interior Frugalista. I just love how you styled them!
Marie at The Interior Frugalista recently posted…Tips for Accessorizing Open Shelves Like a Pro {Guest Post}
Thank you Marie! I really appreciate that. So glad I got to share on your page.
These shelves turned out great! And I love the wallpaper too!! Thanks for the great tutorial; you always make things look so easy!
Sydney @ Tastefully Frugal recently posted…30 Minute One Pot Lasagna Soup
So so so cute! I’m in the process of creating a coffee bar (and I have rustic floating shelves! ) I absolutely love seeing what other people do with their homes, especially when it’s a similar concept- it always turns out differently.
Thanks for sharing on Monday Funday!
– Holly @ Creatively Living
Thank you so much! So very true! I’ll have to stop by and see your shelves Holly : )
This rustic open shelving is beautiful!! I love the whole look, it definitely completes the look of this space. I to have been struggling to finish my kitchen (my whole house to be honest), as my style has changed completely over the past few years and its hard to pick one style when you like them all! But I always seem to be drawn in be farmhouse and your space is just so cozy and inviting 🙂
Thanks for sharing,
XO Kass
Thank you so much Kass! Yes, totally get torn into different design directions sometimes. I feel my house all has the same style but each room kind of represents it differently.