Nautical Tablecloth DIY
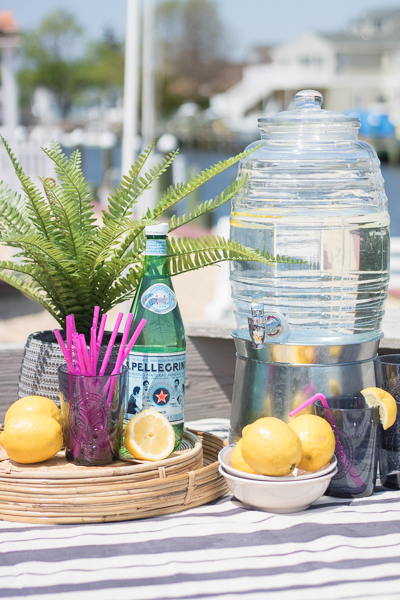
I am embracing my nautical style here guys! I appreciate nautical and coastal style homes, but I can’t say it’s something I love for myself. While staying in our beach rental I am trying to appreciate all the “coastal” beauty around me, like waking up to the sounds of seagulls in the morning and the multi-colored homes in my neighborhood. I do have such an appreciation for it, but I can definitely say I am more of a hummingbird and hydrangea girl and if I had to pick a body of water to overlook it would probably be a lake. I know that sounds crazy, right? and don’t get me wrong I love the beach and the smell of the ocean and all…but I prefer that for vacation. So, since I’m living the “beach-life” I figured I would center my next design on a nautical look. Now, the house here is really not much I can do with. It’s a mishmash of style and blue and yellow walls…goodness I wish I could trade my rent to give some design services to the owner…but I doubt he’s interested lol. So, I figured I would do a little display on our back porch which has the best view. I created an easy and adorable Nautical tablecloth DIY using some Frogtape, and a drop cloth. You know I love me a dropcloth project!
This is a collaborative post with Frogtape, all opinions are 100% my own!
Materials for Nautical Tablecloth DIY
this post contains affiliate links for your convenience.
Rit dye (denim)
4×5 Drop cloth or one to fit to size of your table
Solo cup
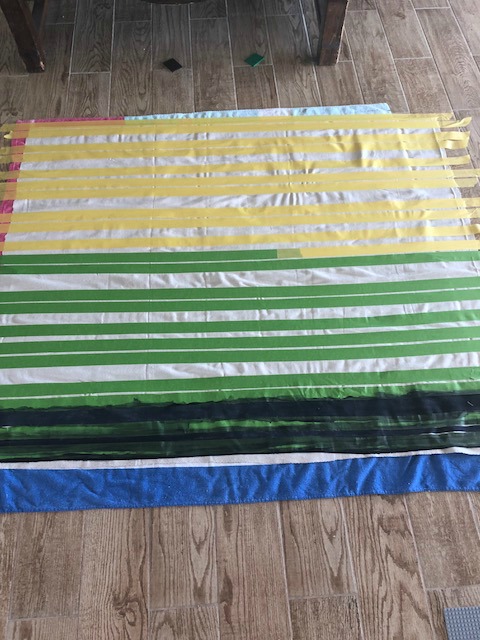
Lay out your drop cloth and start taping out your stripes. I extended my tape past the drop cloth to keep the cloth in place.
Step 1: Decide on a pattern with your stripes. I created a pattern that the stripe size varied. Though after I was done I felt maybe I should have went with an entirely thin striped pattern…but that probably would make it more french country (what I typically go for) and a little less nautical.
Step 2: Mix your DYE in a cup with a bit of dish soap. This I believe enhances the color.

Step 3: Brush over your stripes with a foam brush. I would dab and brush to get good coverage. I did add a towel underneath my drop cloth to protect the floor from any seeping dye.
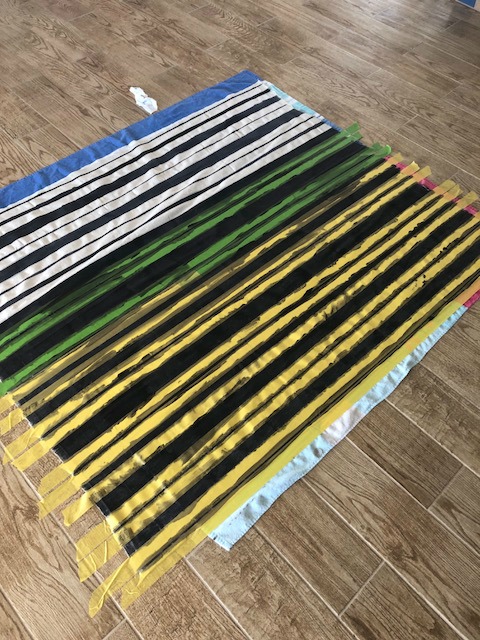
Step 4: Once mostly dry, start to remove the tape.
Also, if you notice the yellow and green tape I ran out of the green I had on hand because I had created another patterned cloth originally that I wasn’t as thrilled about. The yellow is still frogtape…bet you didn’t know that they had another version of their tape that’s made for delicate surfaces such as freshly painted walls or wallpaper. I actually really liked using this one on the fabric…but both worked great!
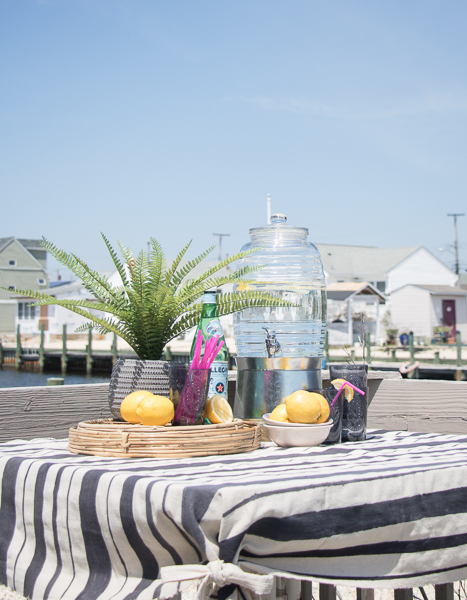
Once the cloth was stained, which I think gives it a more realistic look to the fabric then if I painted it, you then want to cut the edges of the dropcloth seam. I did this so it looked a little less “dropclothy” and natural. I took the two cut hems and created a bow to tie to the tablecloth to keep the cloth in place for the breezes we get here at the beach.
That’s it! So simple…and I think this method could definitely be used again for creating any kind of pattern to a dropcoth. You can use for a curtain or even to cover a pillow.
*TIP: Now I did not wash the cloth as the directions say on the RIT container. I felt the dye would just run off and so this was my own way of using it for a project like this.
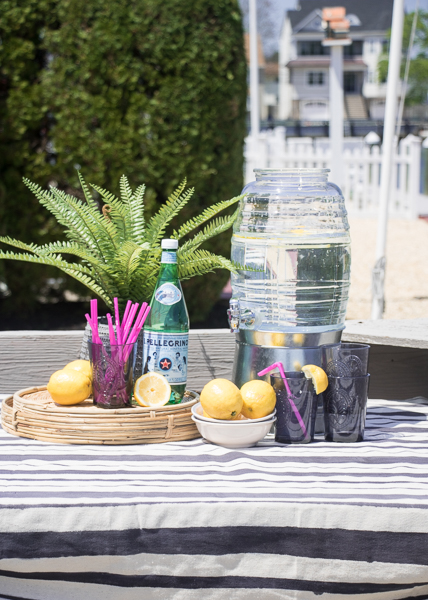
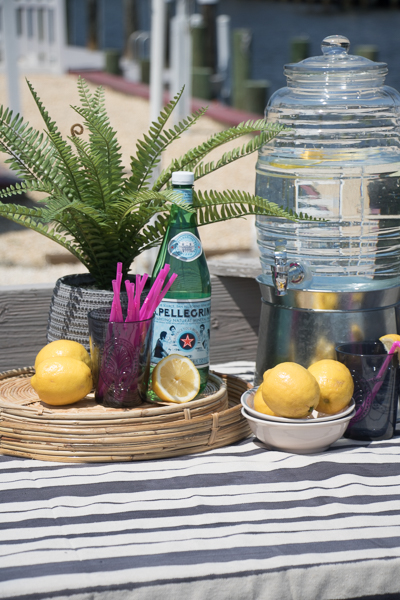
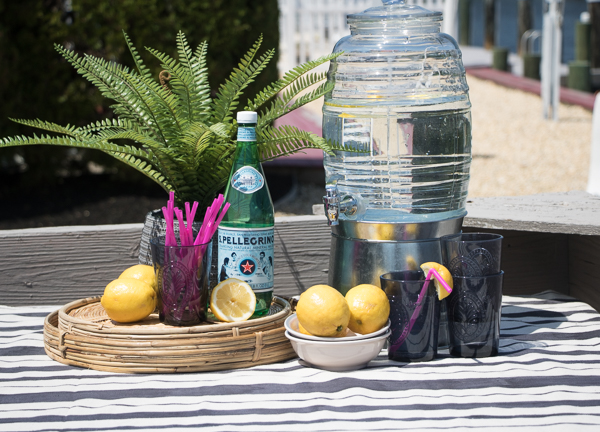
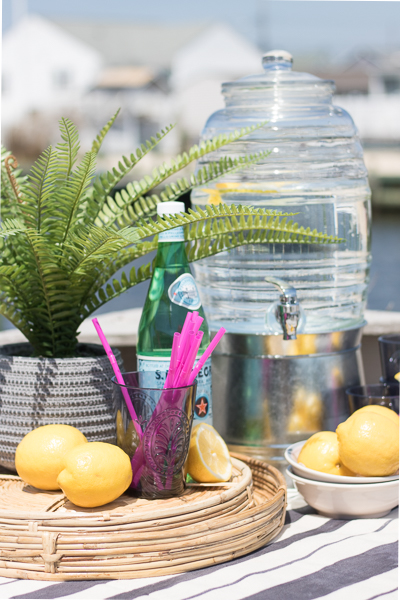
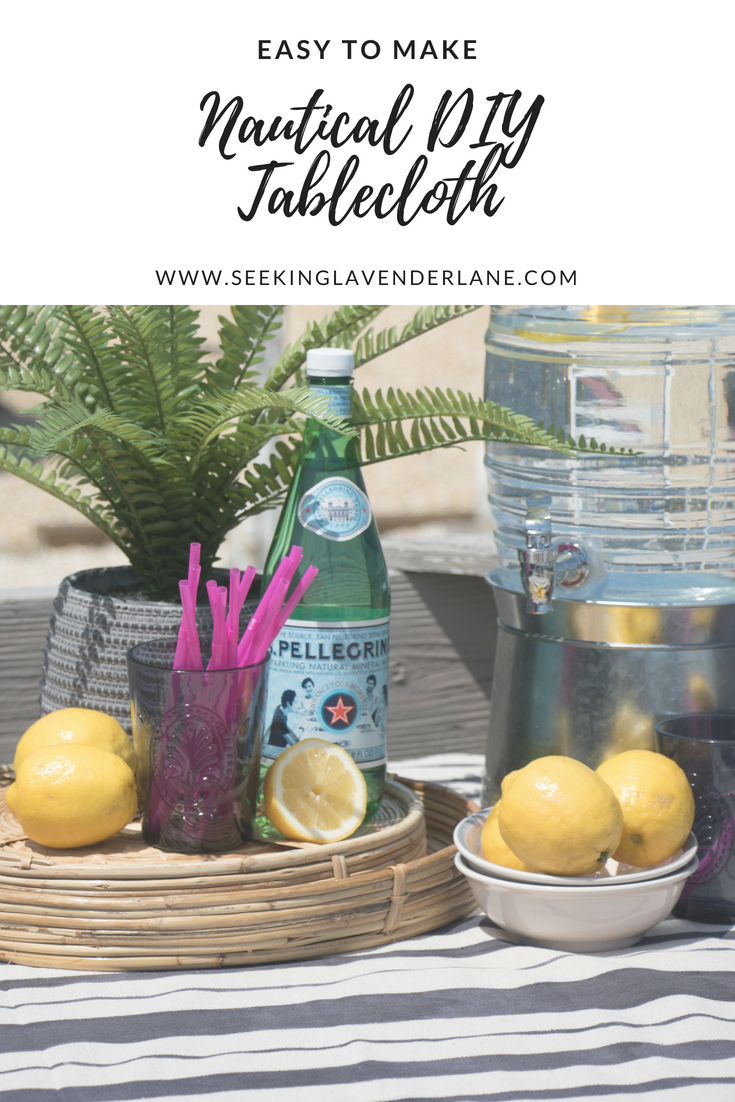
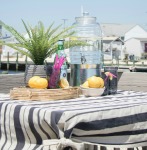
The striped pattern with the natural cloth just adds a great backdrop to a cute drink station for at the shore. I could even imagine adding some red stripes too for a nautical or patriotic look! Now, you have to head over to the AMAZING projects my friends did with frogtape. They are so cool…and I think we’ve given you a ton of reasons to buy frogtape and tackle some fun Summer projects.
Please Pin
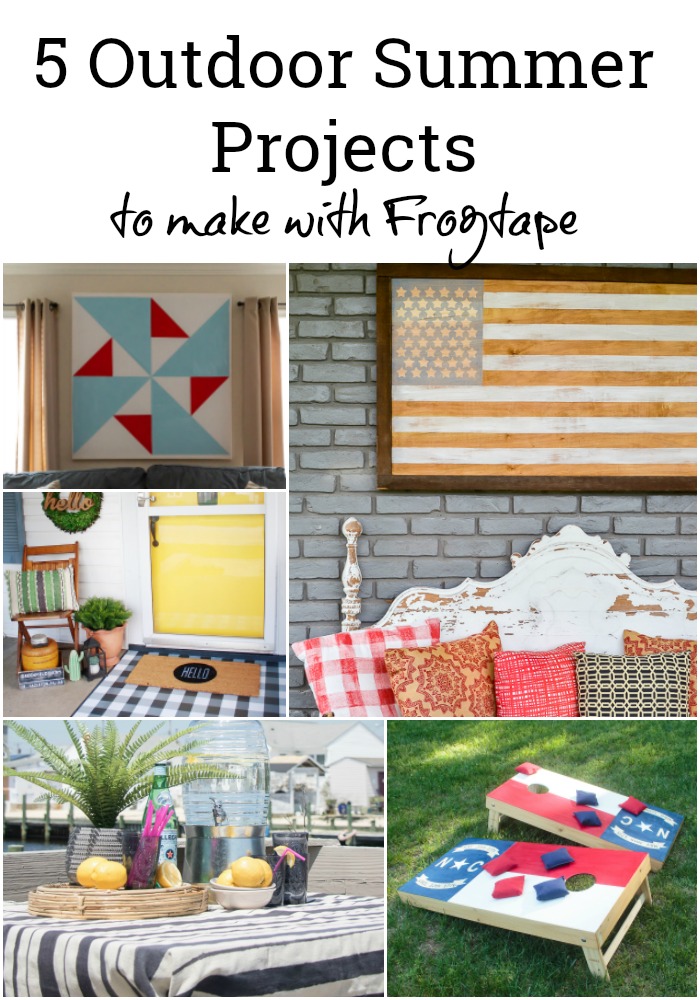
Check out 4 other ways to create Summer Projects with Frogtape!
NC Custom Flag Cornhole Boards


Super cute and I love the dye instead of paint, way softer feel!!!
Such a great idea to use dye, instead of paint on the dropcloth. It gives it a much softer, more natural feel. I love the striped design you did with the FrogTape. So perfect for your beachside rental. (And I’d gladly trade places with you; I love the beach!) What a fun place to spend the next couple of months as you get your house ready to move in.
Thanks Amy! I love the finish of it with the dye.
This is such a great idea… I never thought about painting on dye but I love using drop clothes as table cloths. I am definitely stealing this idea. BTW, I’m so jealous of your amazing view! 🙂 Cheers! Kristy