You may have noticed the English cottage interior has been dominating the design world. I am a big fan because of the classic look and feel yet the relaxed comfort that it portrays. I have seen the layered look of very traditional English, the equestrian English, and the sophisticated refined English look. Each has me drooling and I can do a room in my house with each of these styles. A big inspo I fell for was from this book of English Designer homes. Its my new fav coffee table book. One thing about the English look is the attention to details. Of course you have a great collected look with vintage that we all appreciate and love, but even more exciting is a refined furniture look. I am all for vintage furniture but sometimes, especially when it comes to the more upholstered furniture style I like to find newer furniture with a vintage look.
That leads to today’s post…
Adding Fringe to New Furniture
Have you seen the fringe look back??!!! Its the perfect English cottage style and if done right it can really elevate a room. I was on the hunt for some side chairs for our living room but really needed to spend less than $300 per chair. We were on a tight budget and so I needed to find something that had stye and comfort but maybe I could put my DIY twist to it.
I found these chairs!
Here’s my inspiration look…

I assembled the chairs and actually really liked them…for the price I thought the quality was good and the comfort was hubby approved!
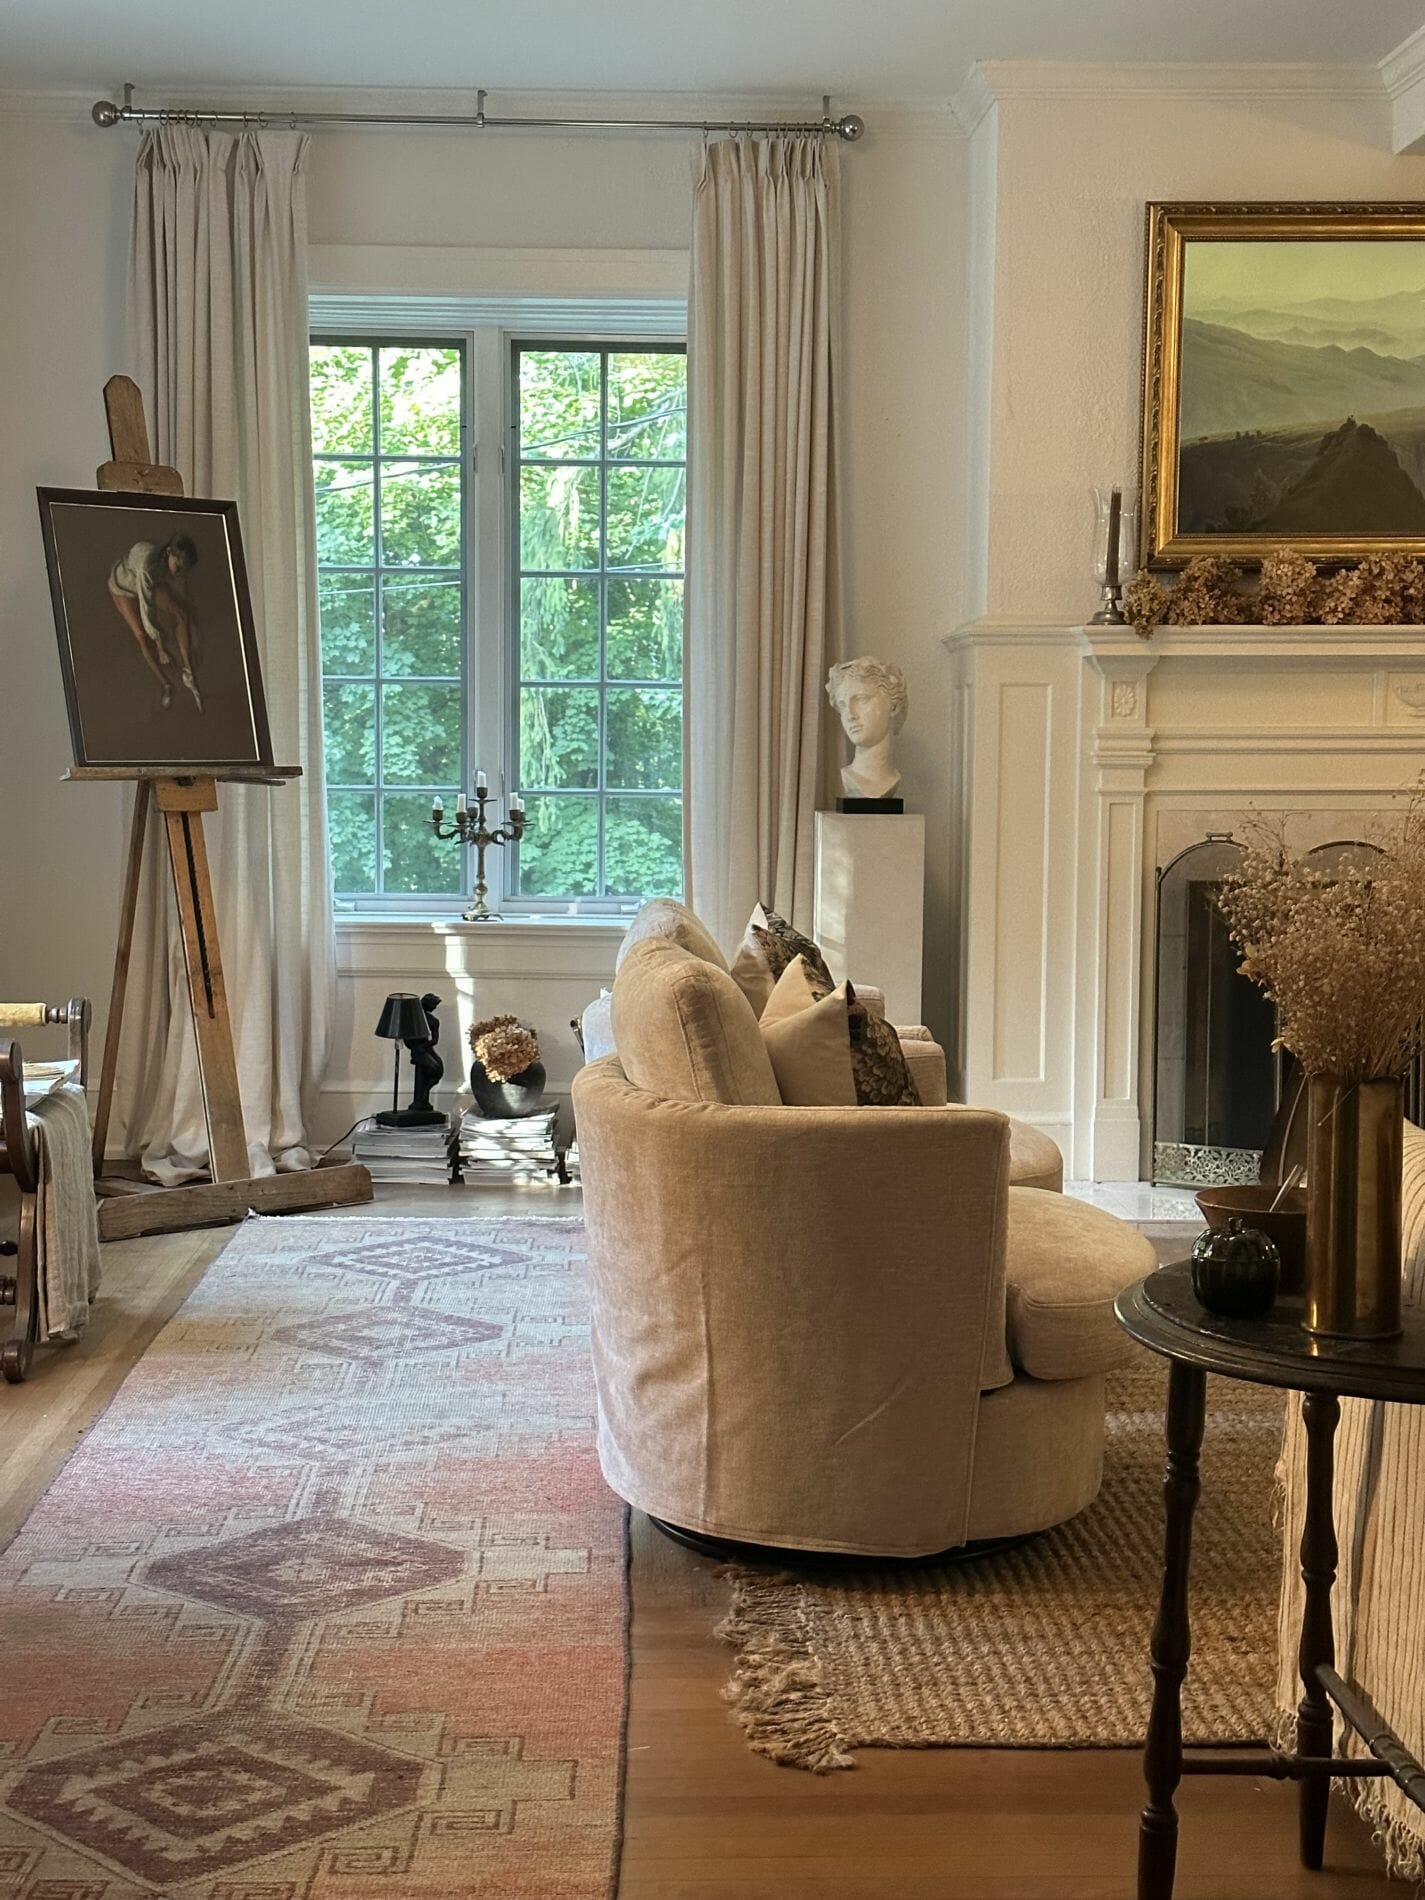
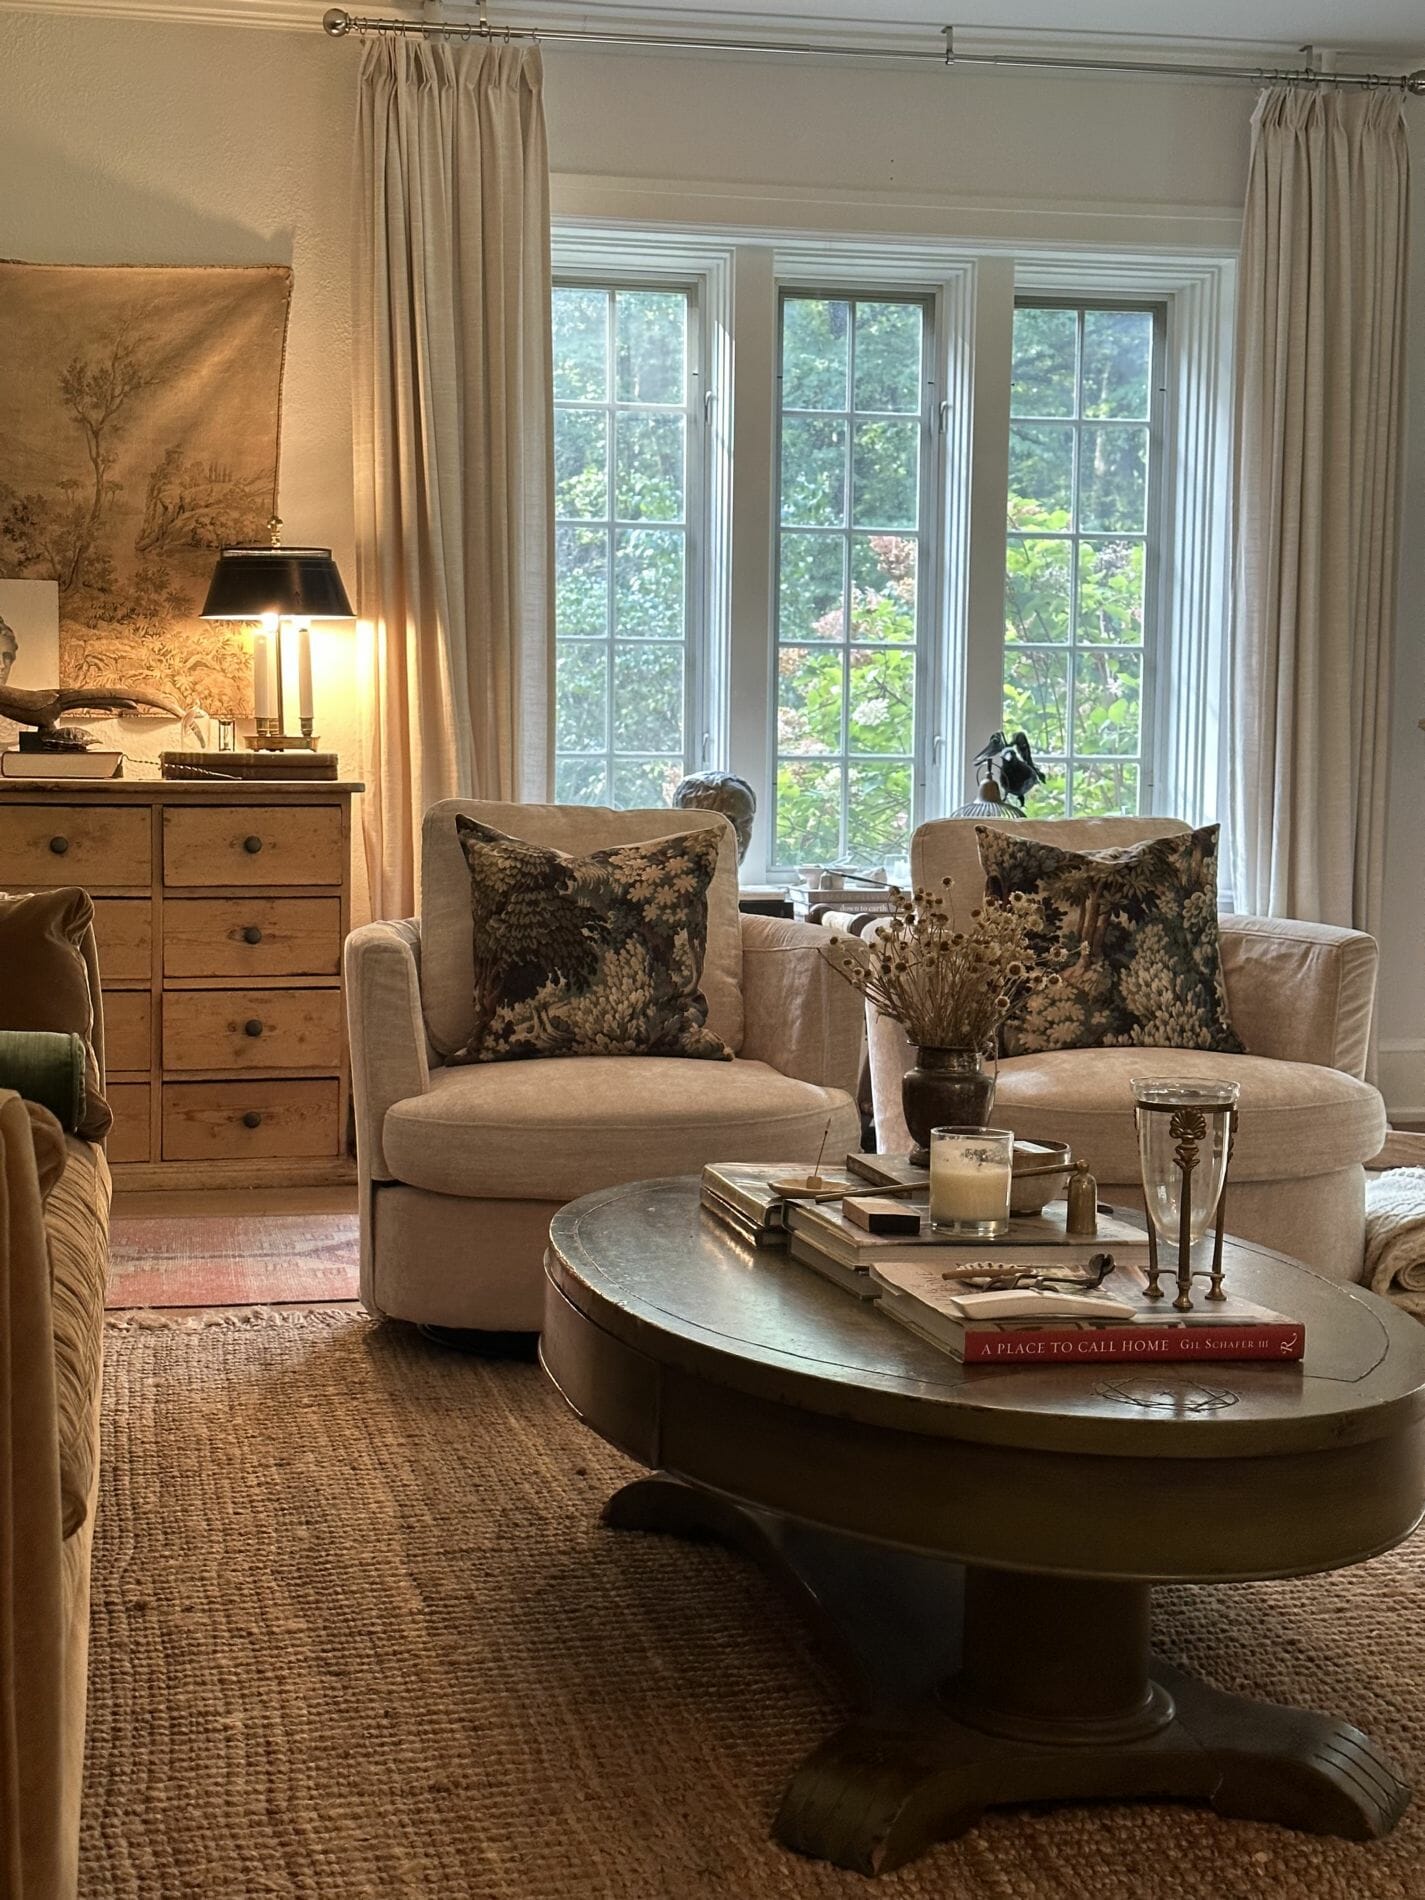
its’ good, but I knew it could be better!
I then ordered some fringe (I bought two of these for these chairs) and wasn’t quite sure how I was going to attach it..I thought about hand stitching or gluing, but then my friend Paige Kontrafouris happened to share a DIY of her adding fringe to her sofa! It was like perfect timing, so I had to ask her how she achieved adding it to her couch. She shared just a staple gun to attach and I immediately knew I could pull this off.
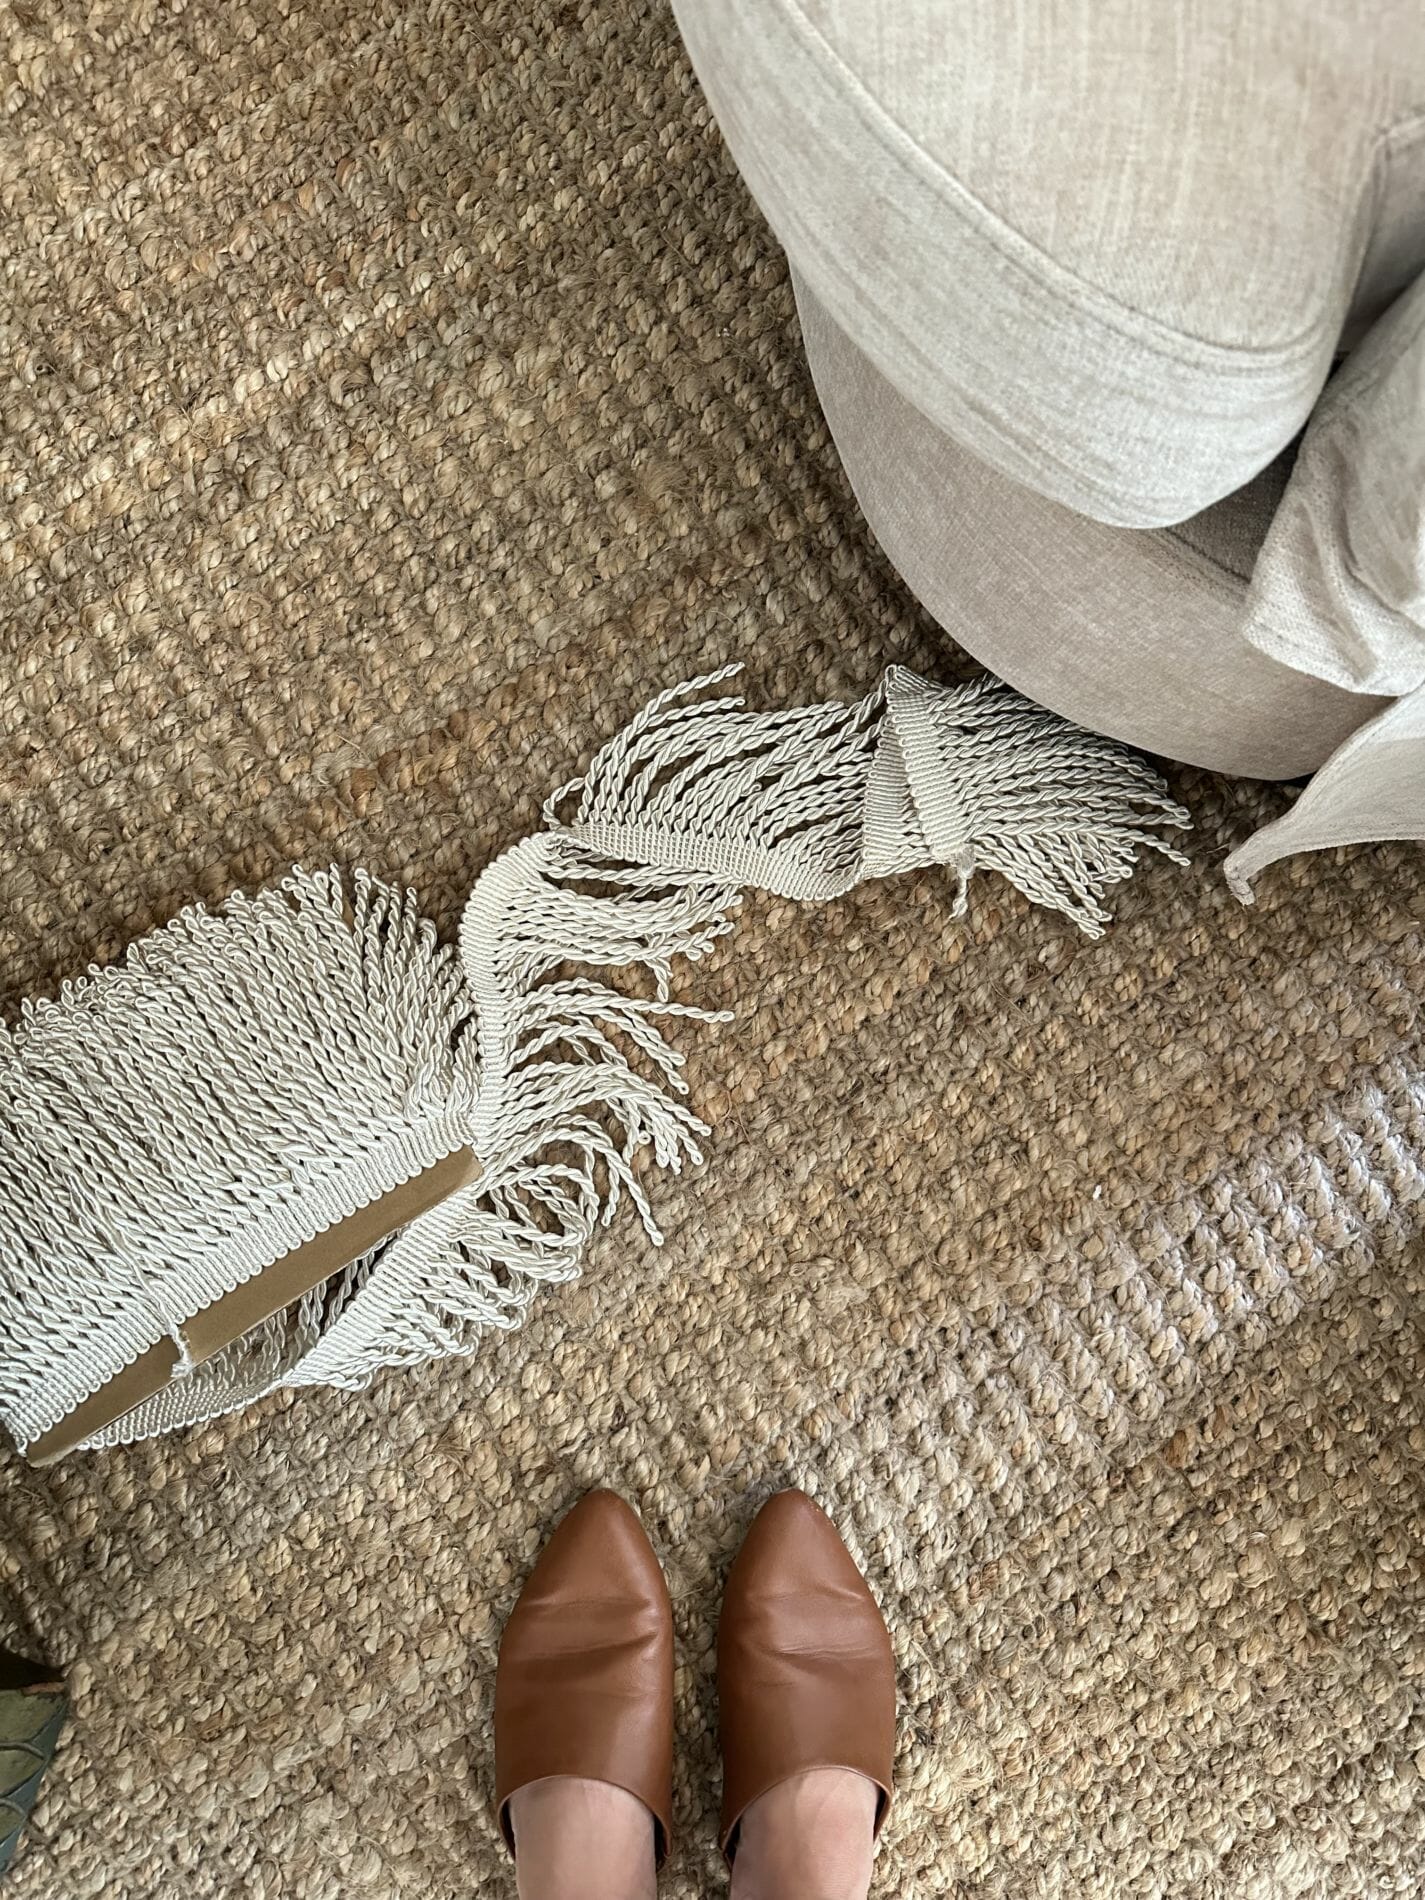
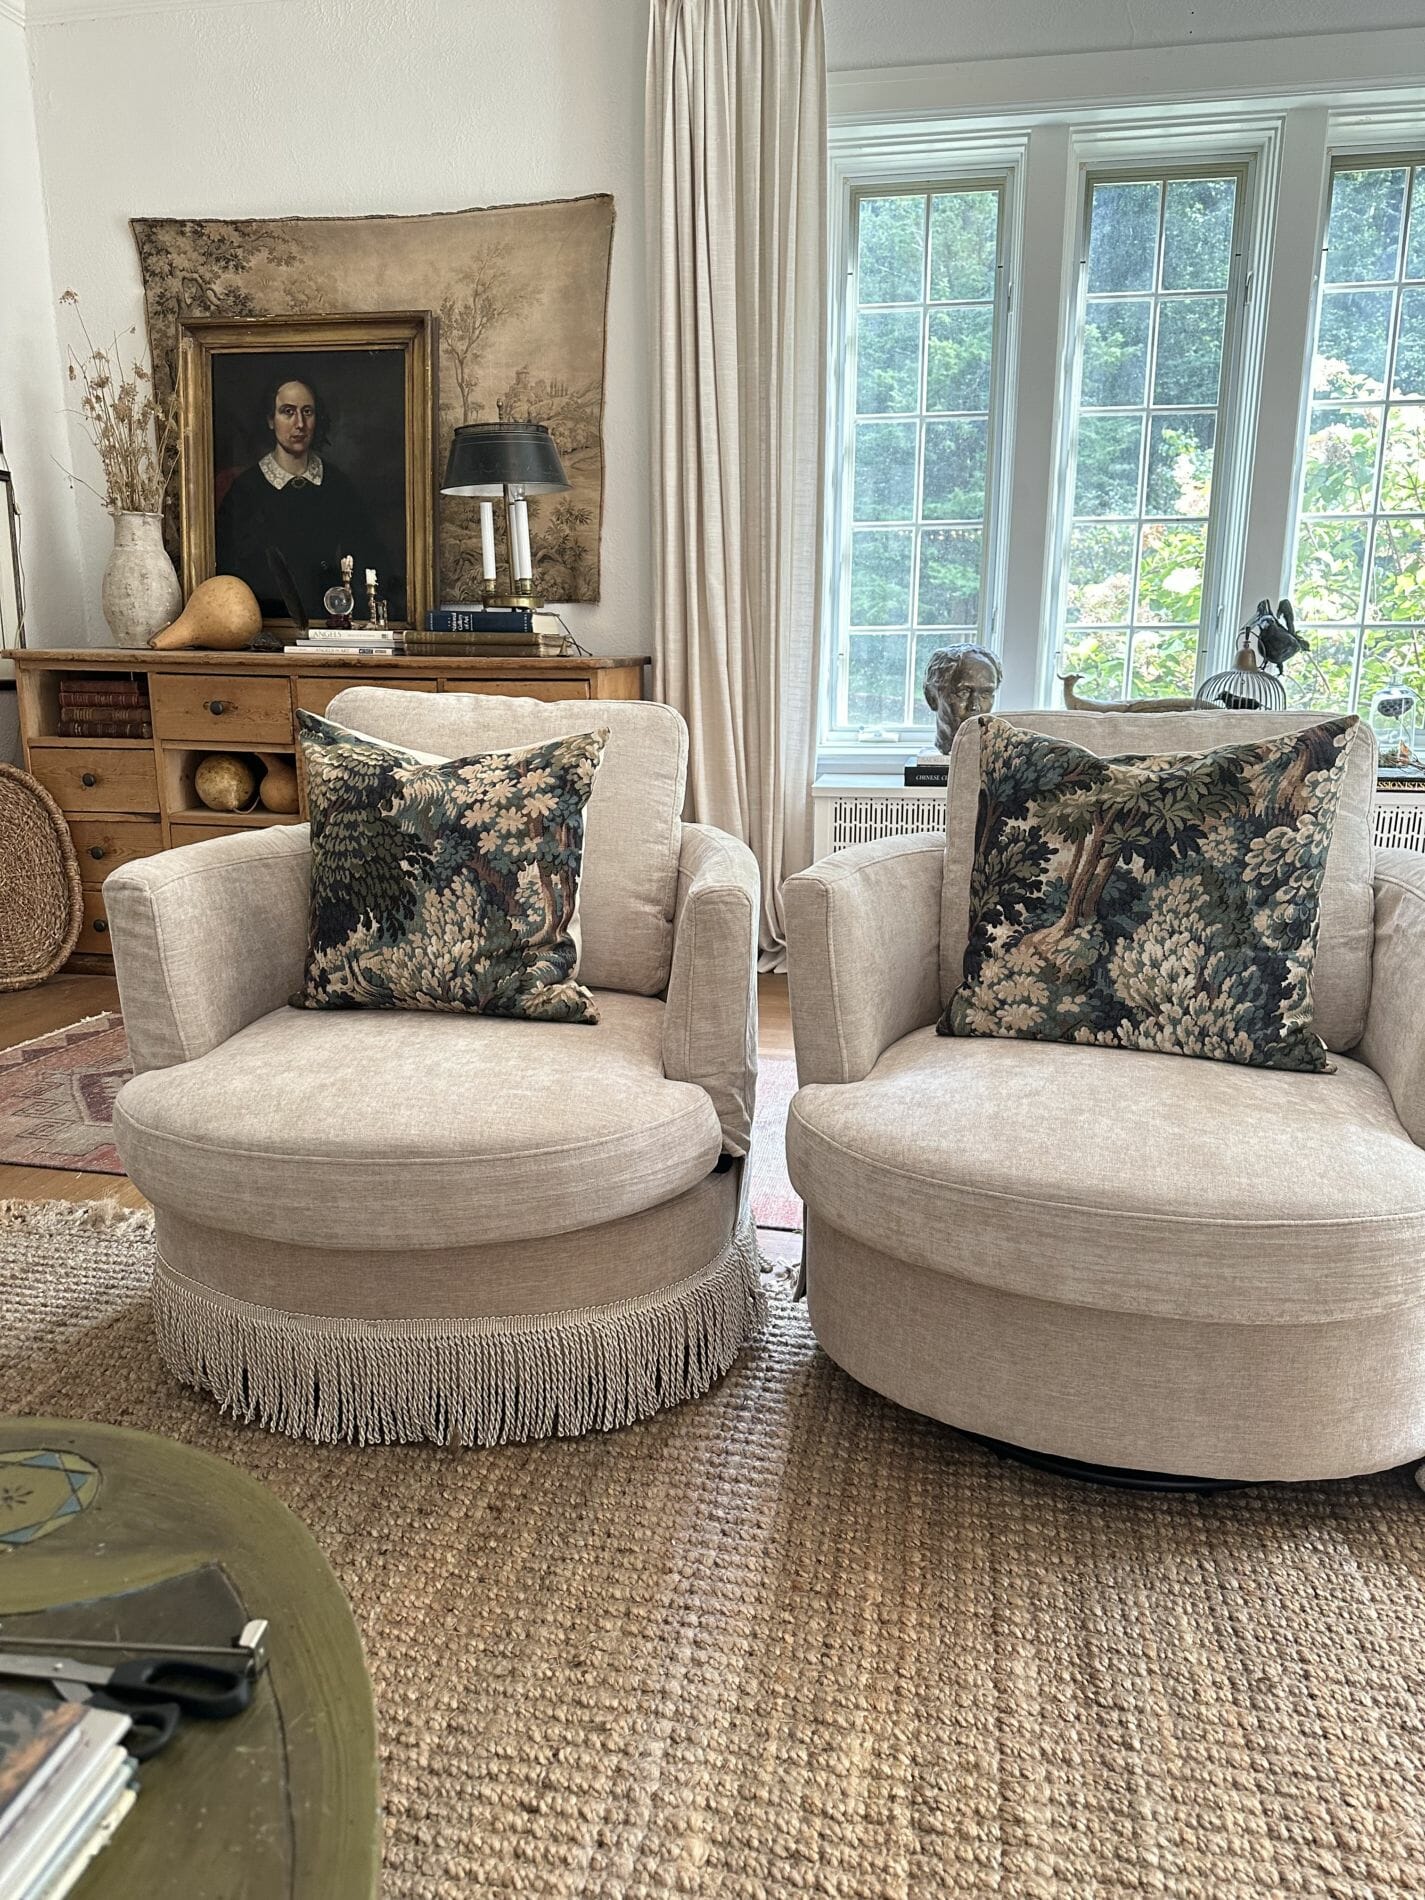
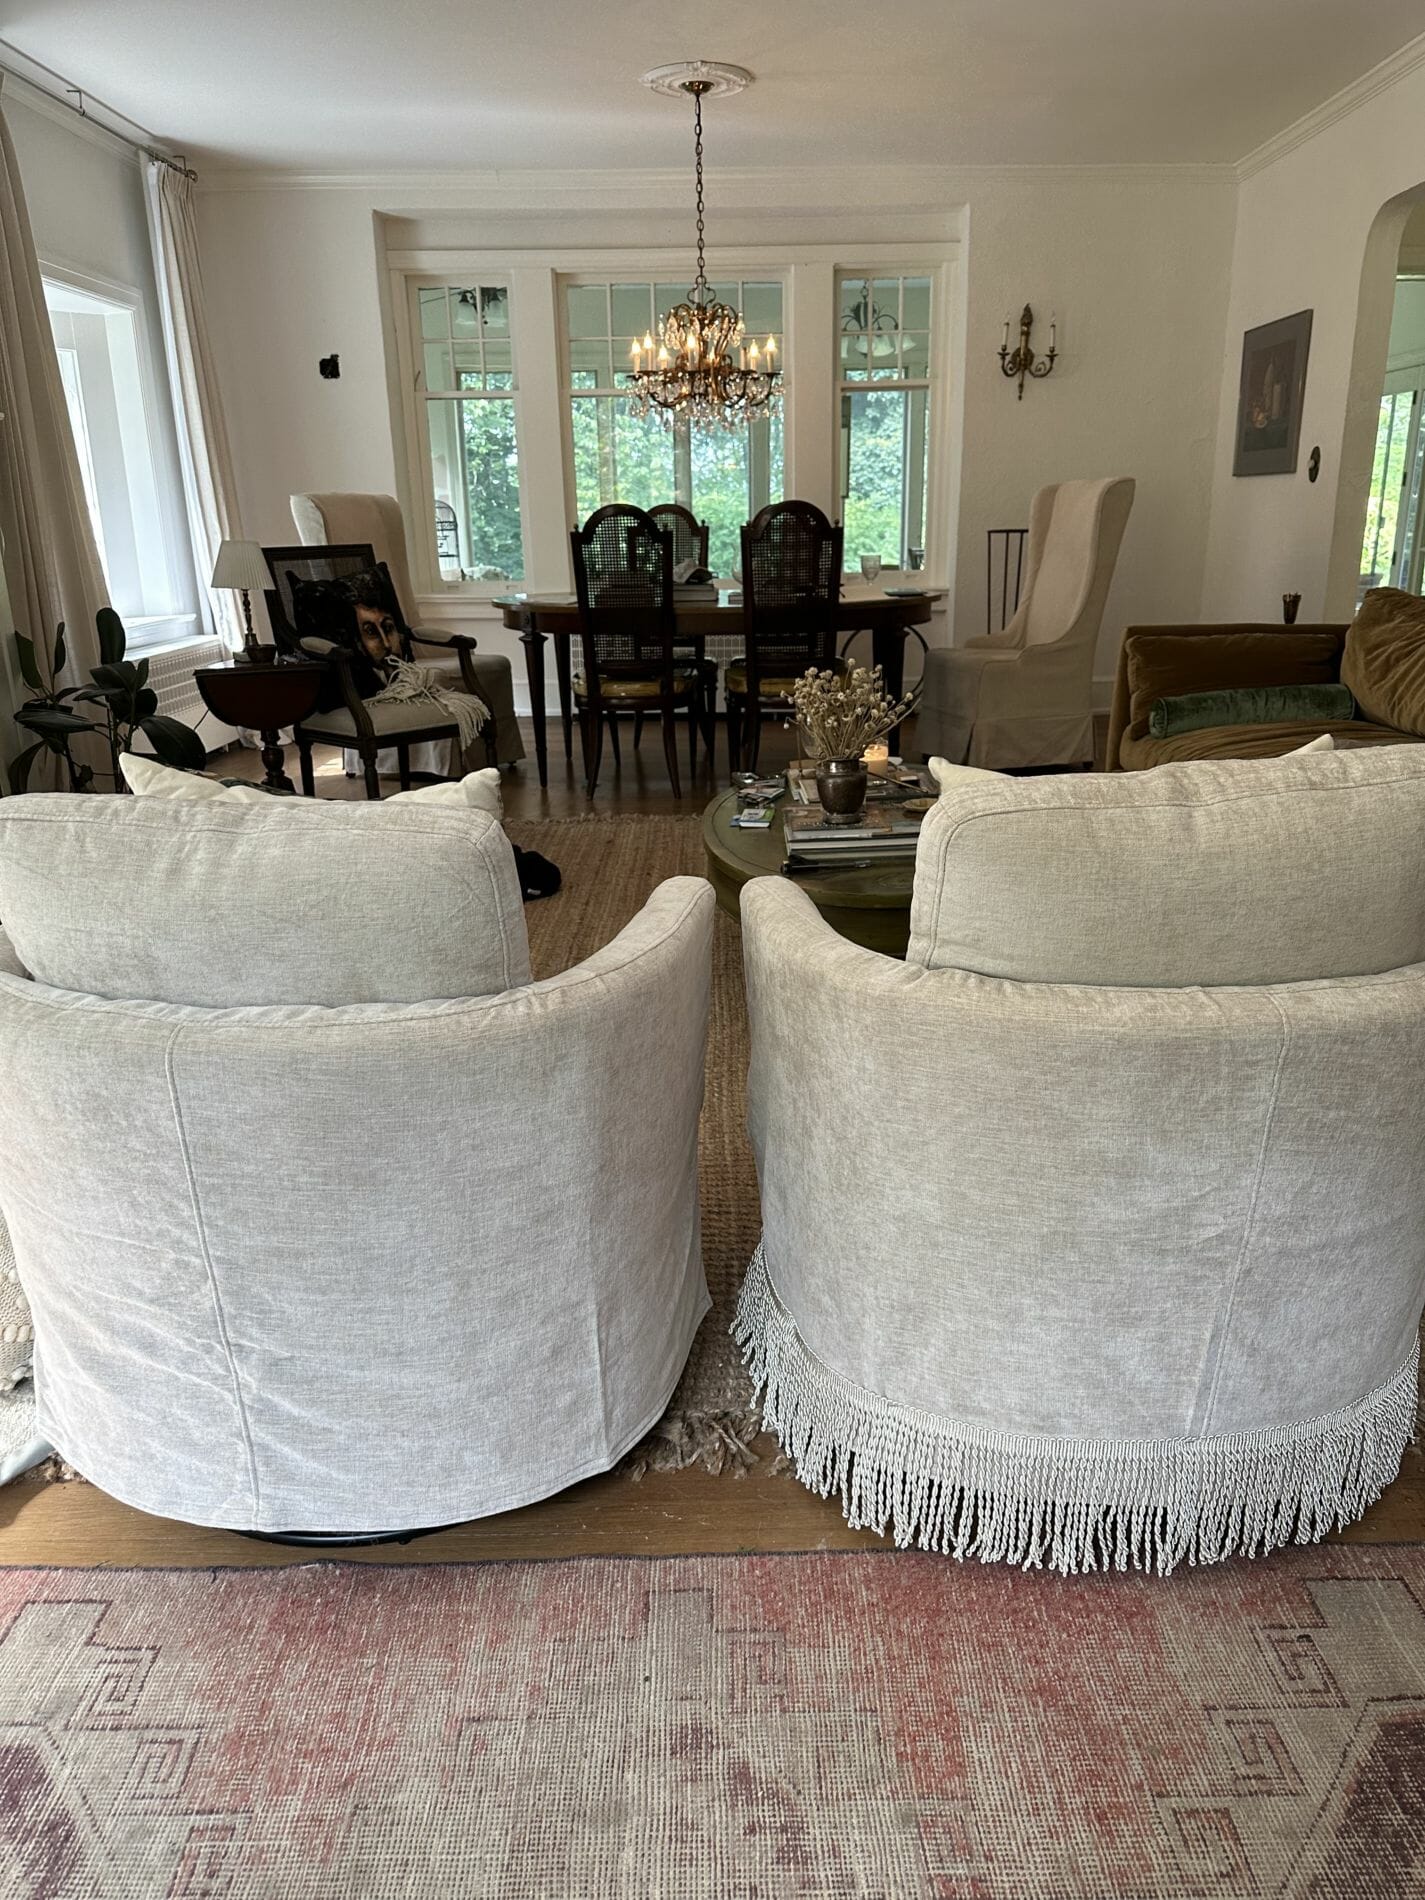
I shared in this reel of putting on this fringe, my best tip is to not staple gun all the way around. I did that with the first chair and realized you could still see the indentation from the staple. So I decided just to tack on the sides to hold it up. I think possible fabric glue could help keep the rest in place but so far they look amazing and are staying beautifully attached.
The AFTER!
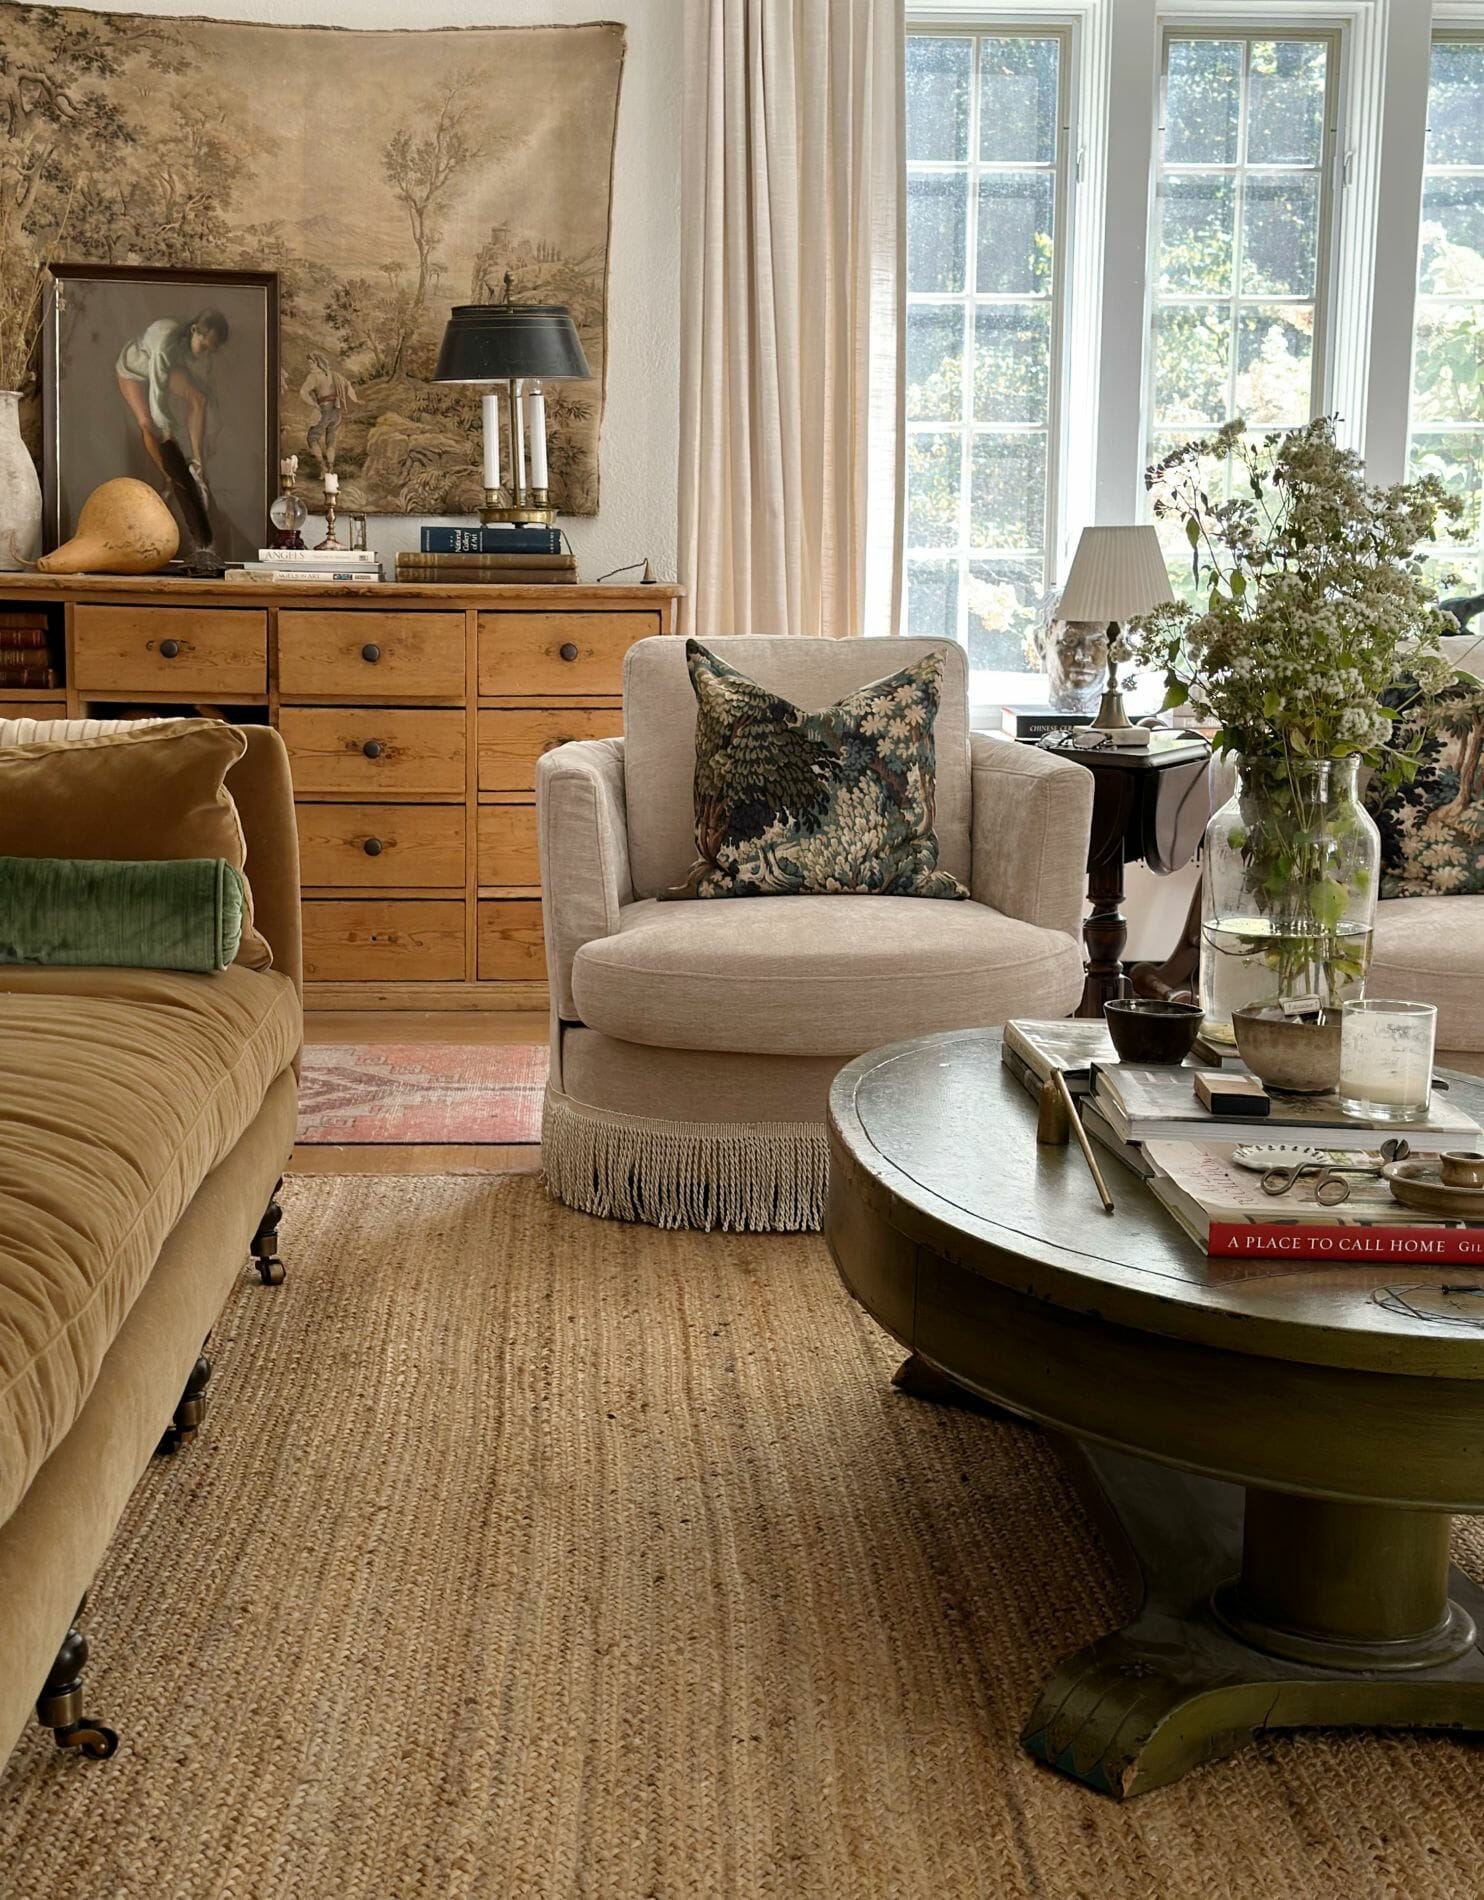
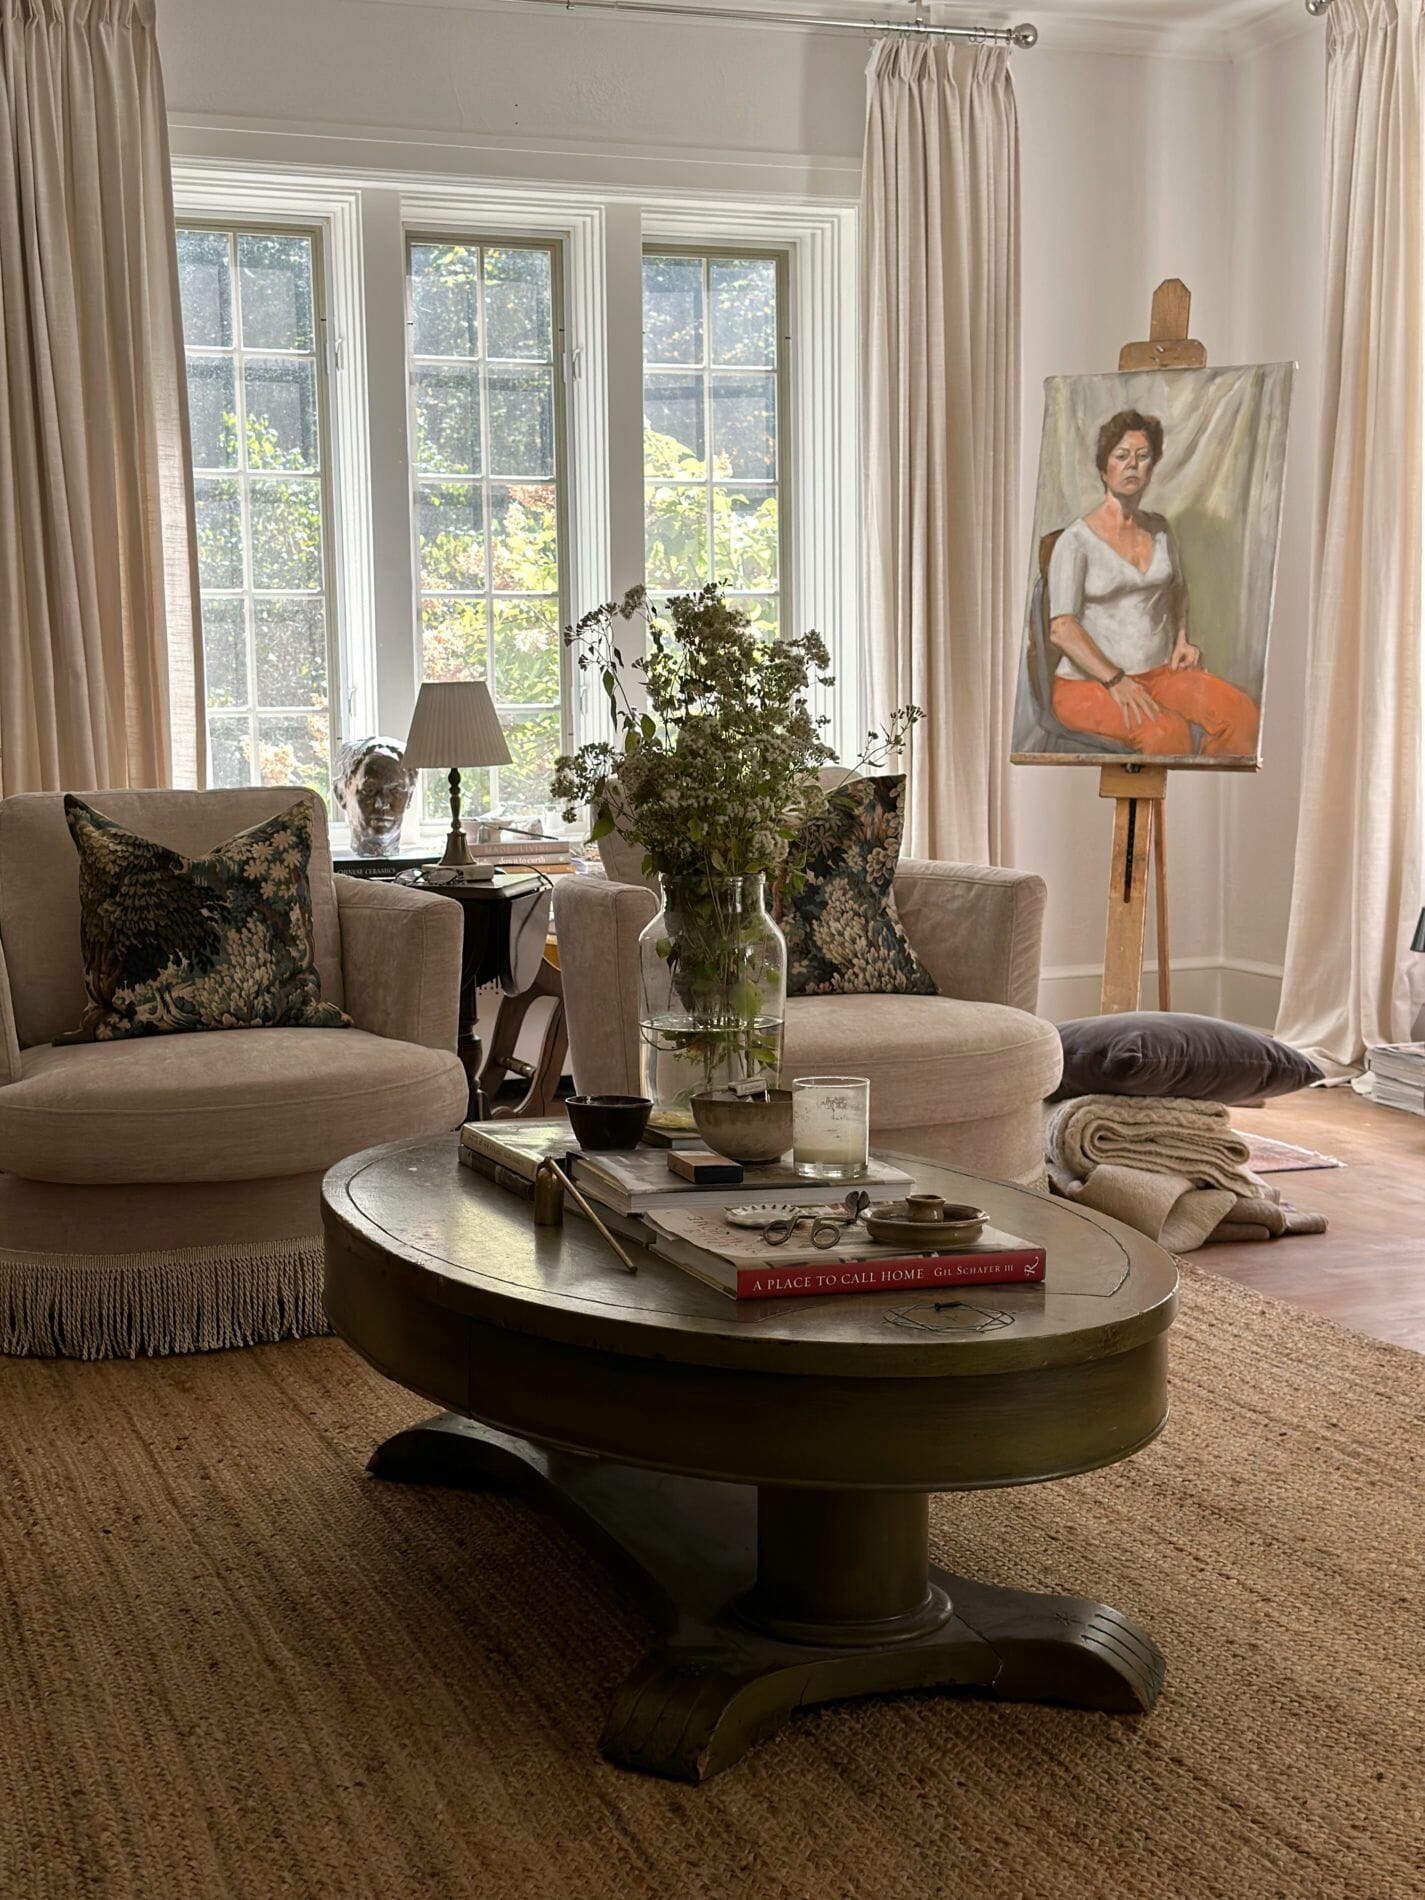
The fringe immediately updated our chairs to have that more stylish English feel and I just love it! There is a ton of colors too so you can find one to match any chair or sofa to give that elevated style with some fringe.
Save this project for later and PIN HERE!
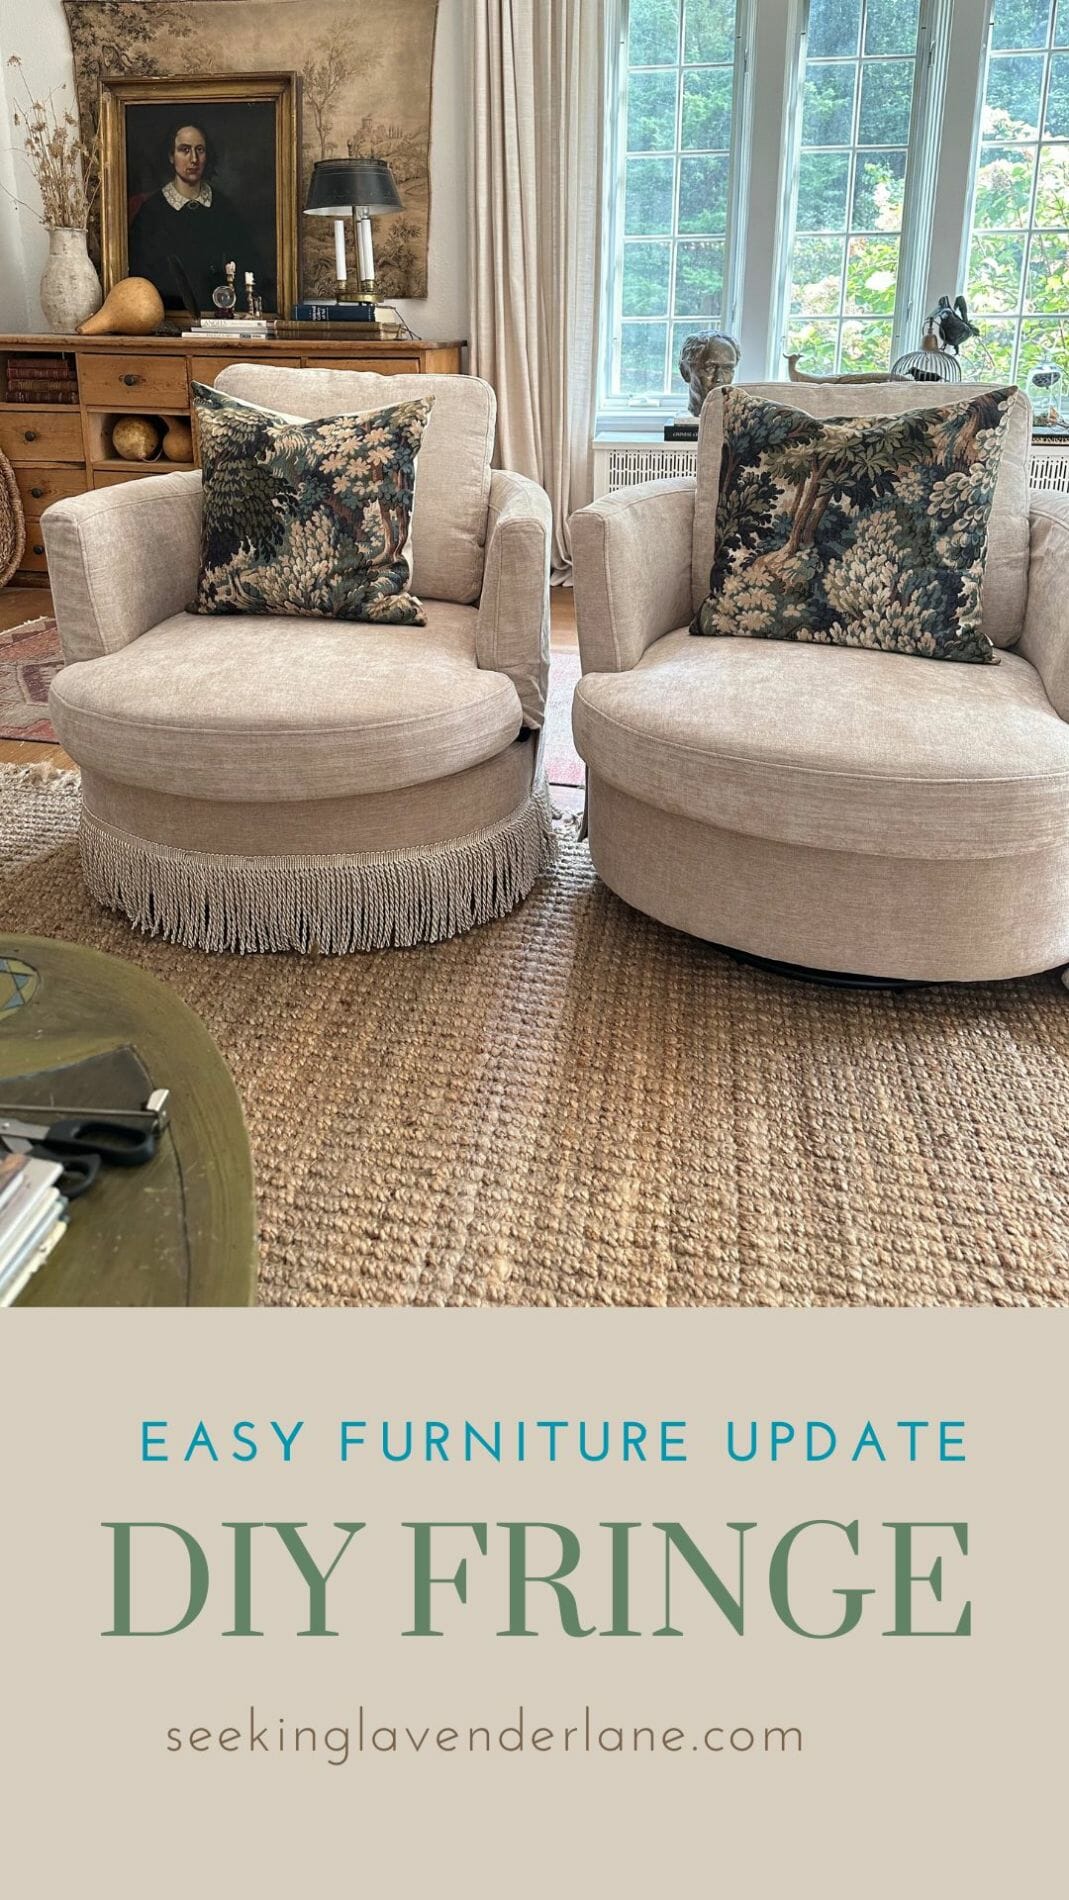


I just LOVE the difference the fringe made!!! Upgraded the style of your chairs from “just basic” to something special.
What a difference fringe ads to vintage European! Thank you for the inspiration. Can you please share which color Fringe you used on your green velvet chairs in your upstairs sitting room? Is it the cream beige as well? Loved it!
What a wonderful difference fringe ads to create vintage European! Thank you for the inspiration. Can you please share which color Fringe you used on your green velvet chairs in your upstairs sitting room? Is it the cream beige as well with contrast, or a different color? Loved it and would like to achieve that look on mine!
What a difference fringe ads to vintage European! Thank you for the inspiration. Can you please share which color Fringe you used on your green velvet chairs in your upstairs sitting room? Is it the cream beige as well? Loved it!
Oooh, I love the fringe. What a transformation. Now I want to add fringe to everything.
The fringe adds so much! If you don’t want to use glue you could also do a long basting stitch in a color close to the fringe. I think it would be hidden with the fringe. I have done that to add fringe before.
Also–I love the natural weave rug the chairs are sitting on…do you have a source for them?
Thanks!