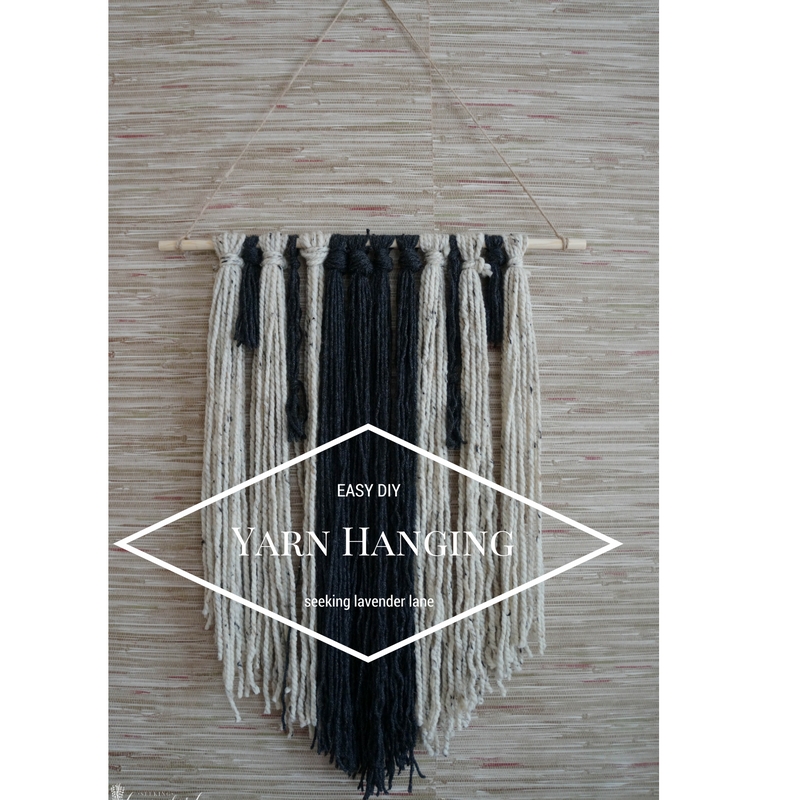
I love great DIY wall art, especially when it’s easy to make, and cheap! I’ve been seeing a lot of Yarn wall hangings lately, and thought that it was something I could 100% tackle. I looked up a few DIY Yarn Wall Hanging tutorials, and some West Elm ones (which cost $125!!!) and figured my way to create my own easy DIY yarn hanging. I have to admit, I’m still a little “iffy” on this decorative look, but I thought it would be great in my Dining room, to fill the empty space temporarily, and be a fun DIY project to try out. So I went for it…
Materials
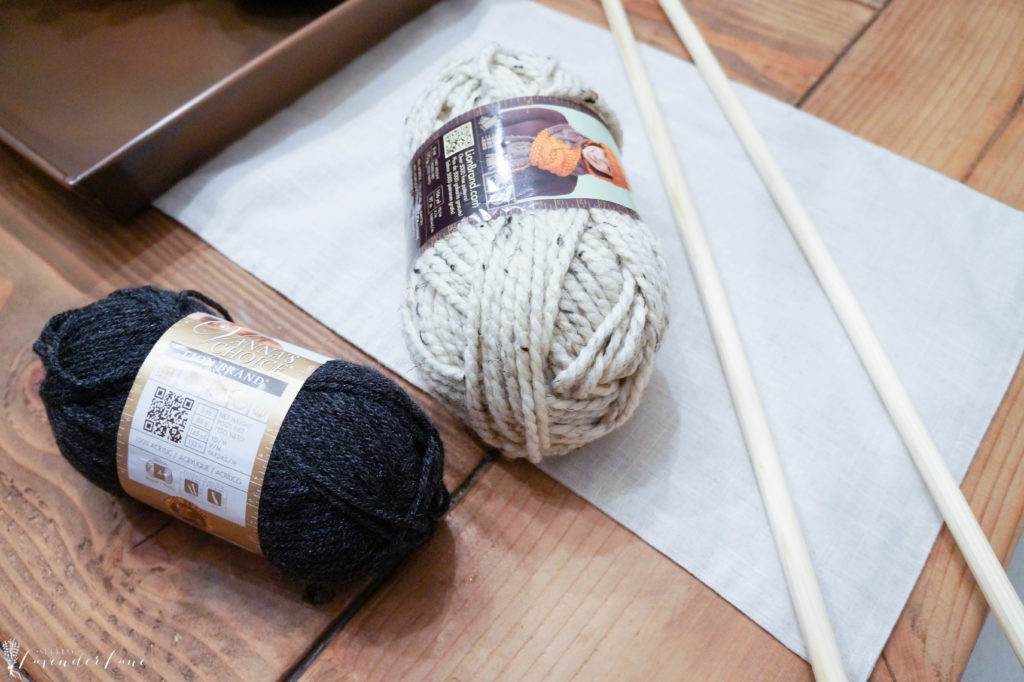
2 large Yarn bundles
Wooden Dowel (cut to size)
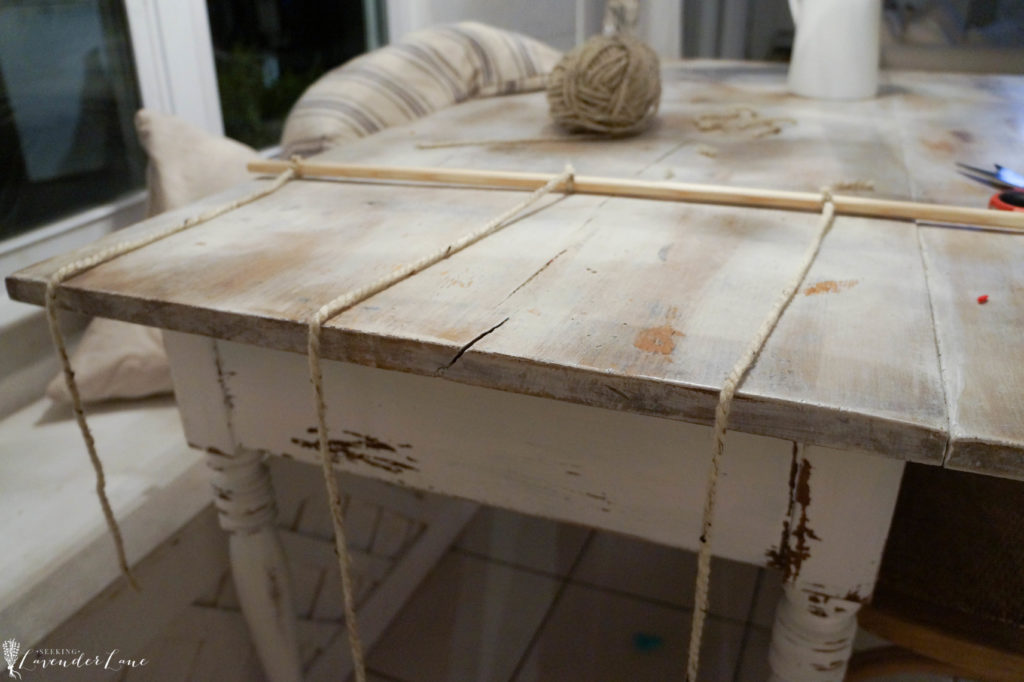
Once Wooden dowel is cut to size, cut 3 pieces of yarn one for the middle, and two for the ends. This way you have an idea of size that you plan to have on each side. Keep in mind you will go back in and trim yarn, but this is just good for guidance.
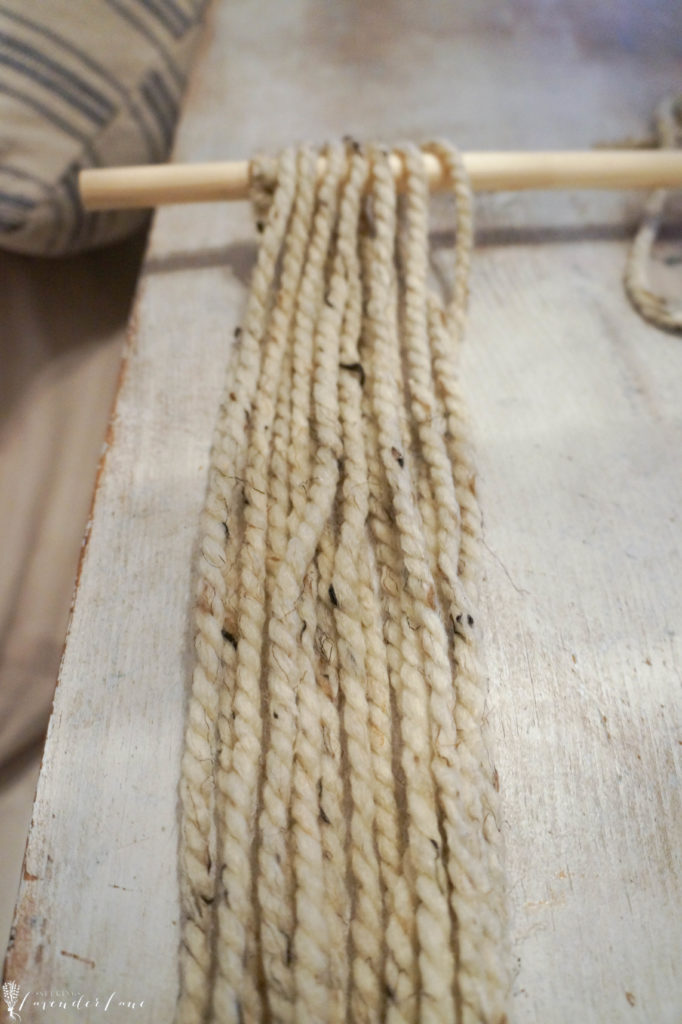
Group yarn into bundles. I originally started with a 15 yarn bundle, but went back and cut it down to about 10 to save on yarn. Two full yarn rolls should be used completely, so use sparingly.
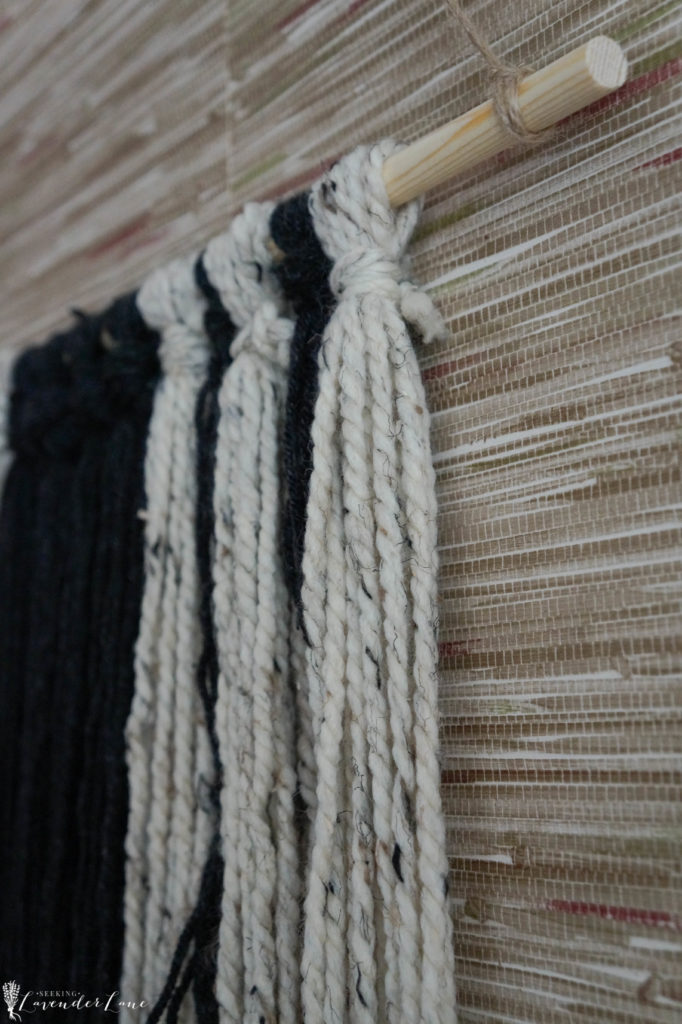
Knot yarn in bundle around dowel, and continue. You can do this two different ways and I tried both. One: tie extra yarn around the gathered yarn wrapping around 4 times.
Two: Just knot bundle together. Either one will work.
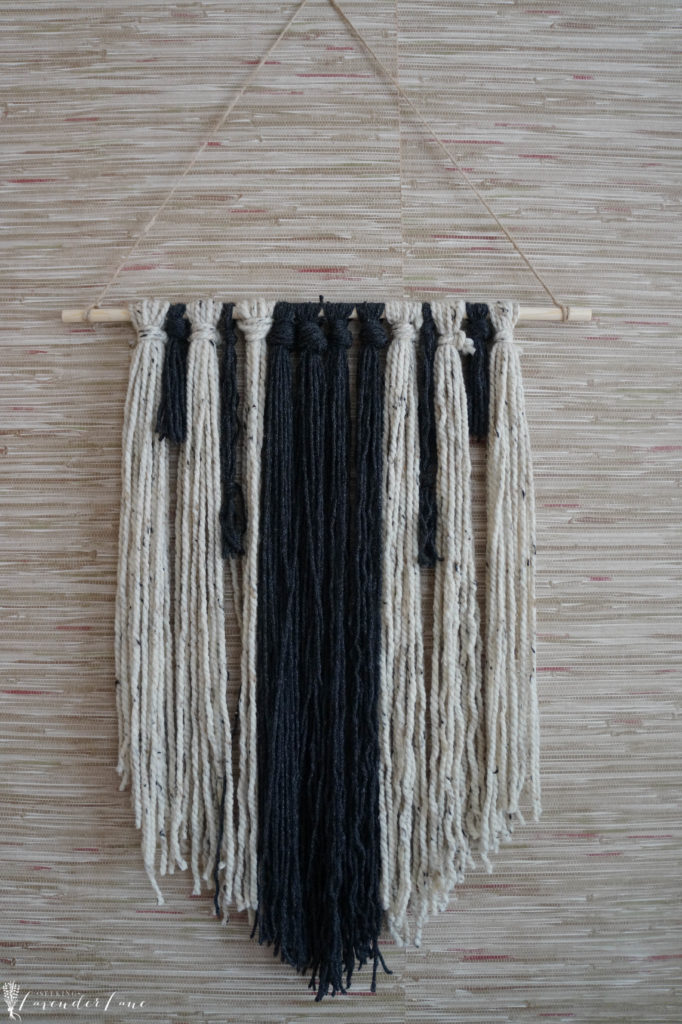
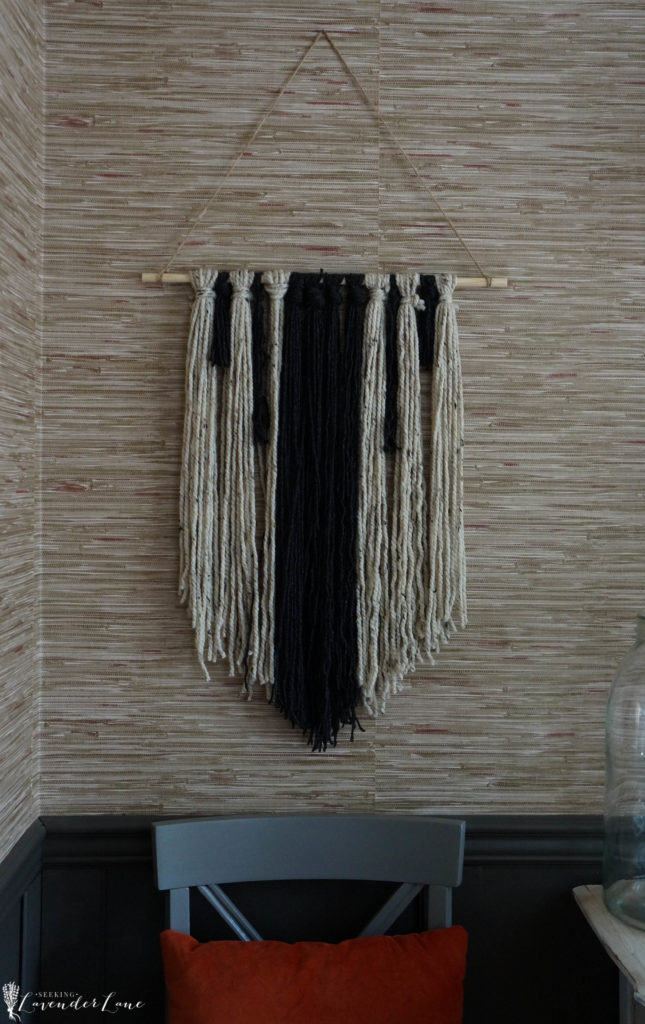
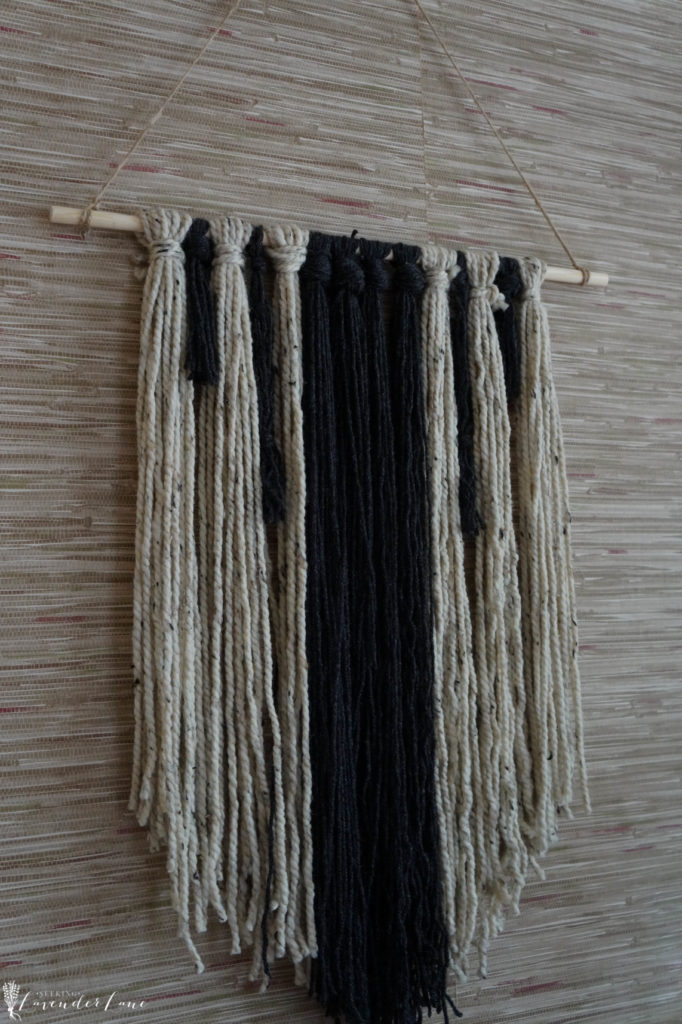
Use Shorter pieces on the end and longer closer to the center. I also used two different colored yarns, so I chose to create my own pattern with that. I chose the center to be darker and added a few other darker strings throughout.
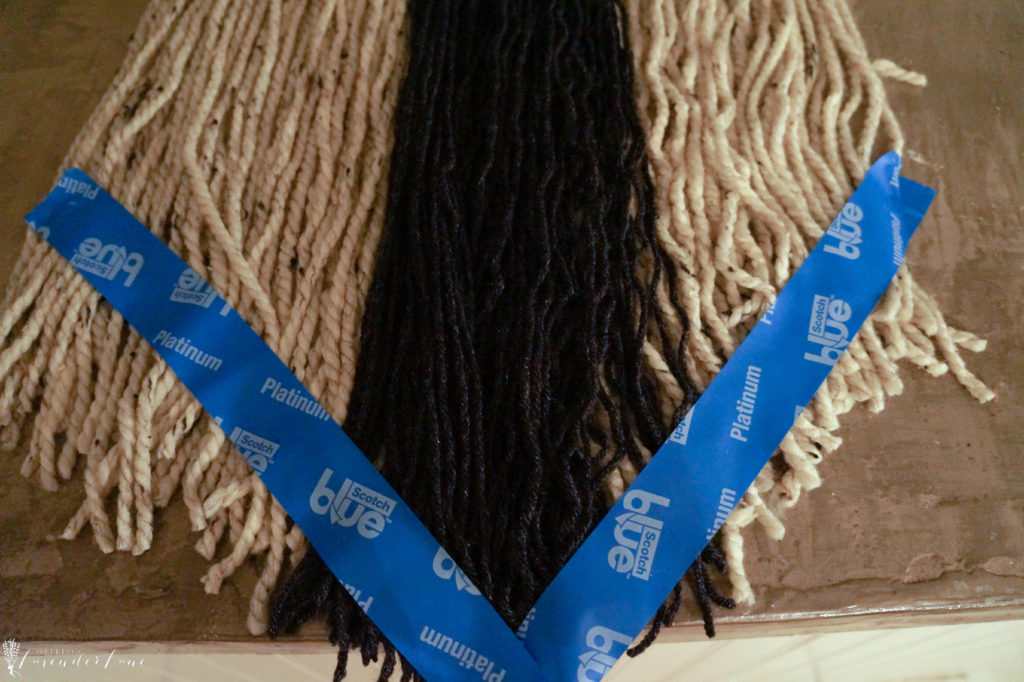
The cutting and knotting of the yarn, should probably take about an hour to do. Once complete, I blue scotch taped my shape. This just made it easier when cutting. I still had to even out the yarn pieces, slightly once I removed the tape. Let me tell you, I give hair dressers major credit for evening out hair…that was not easy!
and then tie twine to top of dowel to hang!
So what do you all think? are you loving the yarn wall hanging style? or are you on the fence about it with me? I mean I think it can definitely be a cute decoration…but maybe just not a permanent look for my house. I do think it compliments this room really nicely, and adds a nice texture to the wall for the Fall and Winter months.
Love for you to share!


This is great! I will be making one of these. Thanks for this super simple tutorial. Love your blog keep up the great job.
Hi Rhonda, thank you so much! I’m so excited that this inspired you to create your own.
I love this art piece!!! It adds just the right touch of color on a wall and can be for any color palette!!
Thanks Steph! yea, I can totally see this in color too, I stuck to my neutrals here but what else is new! : )
Girl, this is so fab! I think the little bit of texture for fall is perfect.
ashley@biggerthanthethreeofus recently posted…Simple, Rustic and Modern Cabin Renovation
Thanks so much lady!
I found this post on Diy show off’s link party! I just made one of these last week and actually have a similar post scheduled! You obviously have wonderful taste!!
Oh yay, thanks Cassie! These are hot right now, yet so expensive so why not find a way to recreate!