


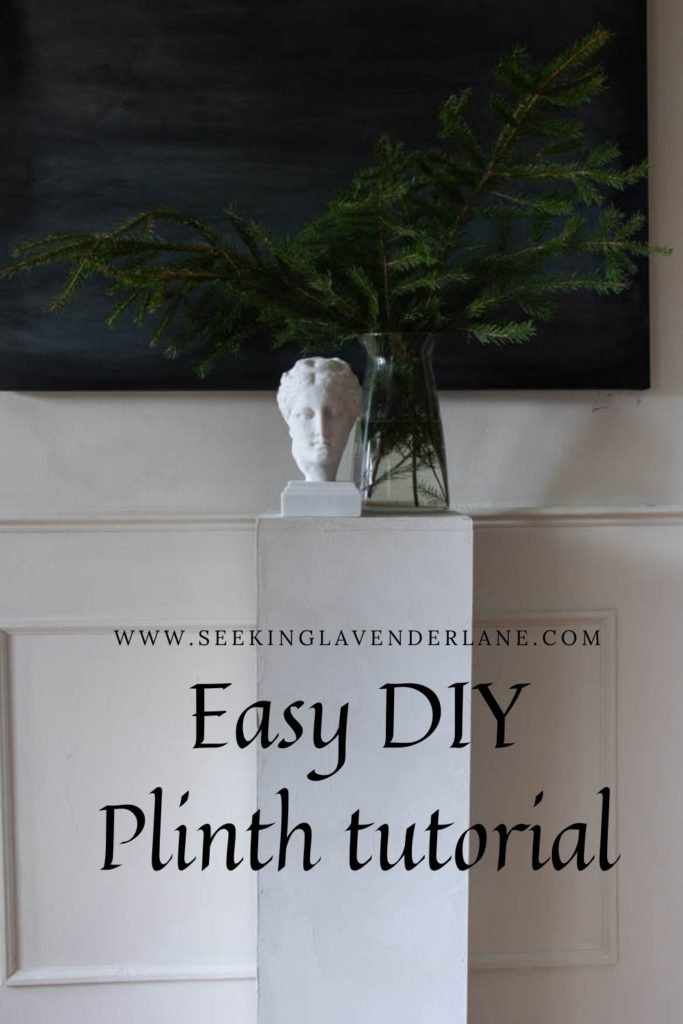
I have been admiring plinths around the design world for the last year or so. I was calling them pedestals but I have learned the proper name is plinth. It’s a very chic modern style table to display a beautiful vase or bust. I think they can be done in both modern, vintage, or eclectic style homes. I love how they bring that old world European museum feel to a home and really create understated drama. After seeing the $$$ behind plinths I decided this could totally be an easy DIY hubby and I can take on. So after a few months of dreaming up a DIY plinth, we finally built our very own with some affordable supplies.
Supplies to make a DIY plinth:
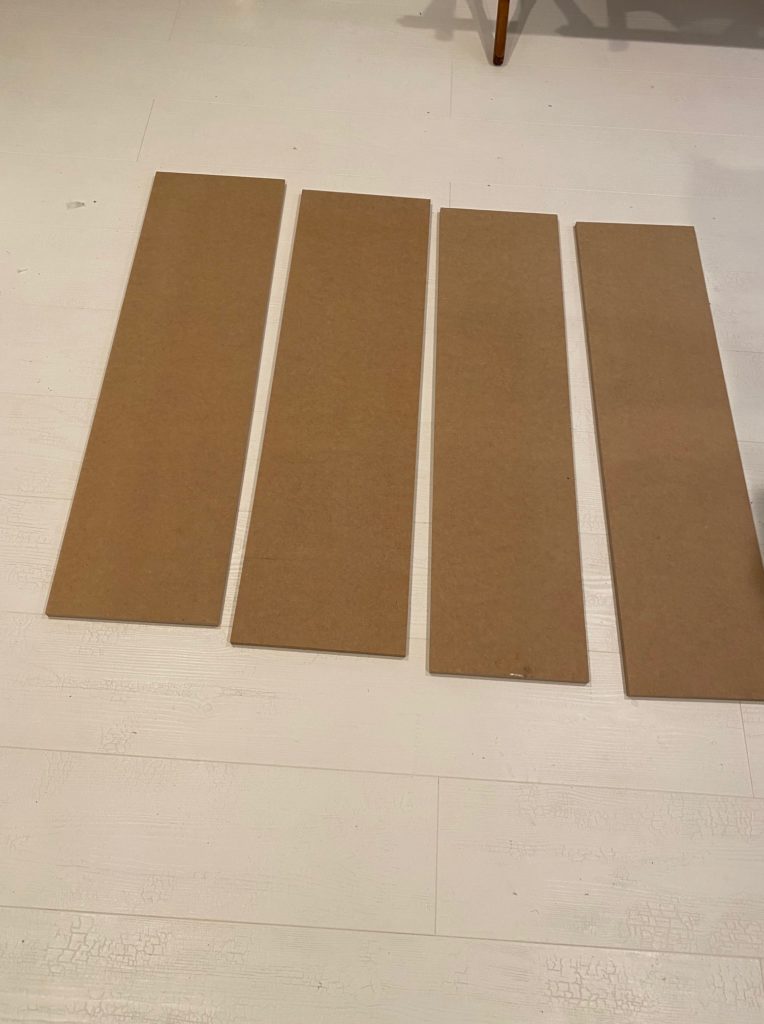
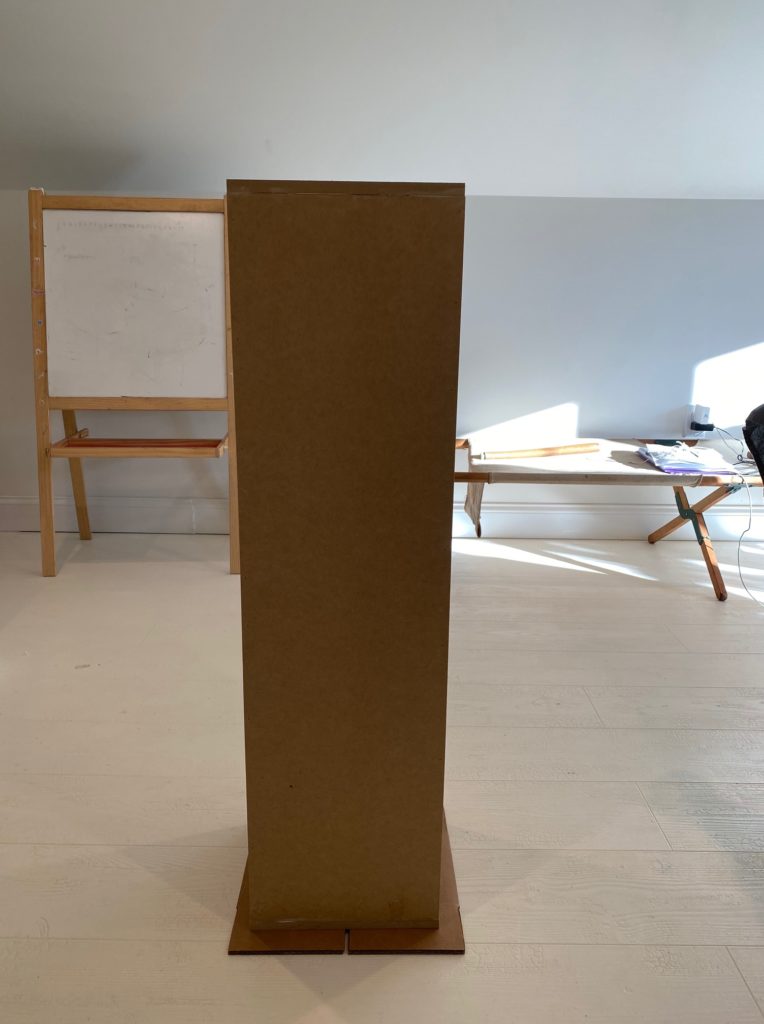
- 1/2 board cut down to (2) 10″x3′ and (2) 9.5″x3′ and (2) 10″x10″ boards
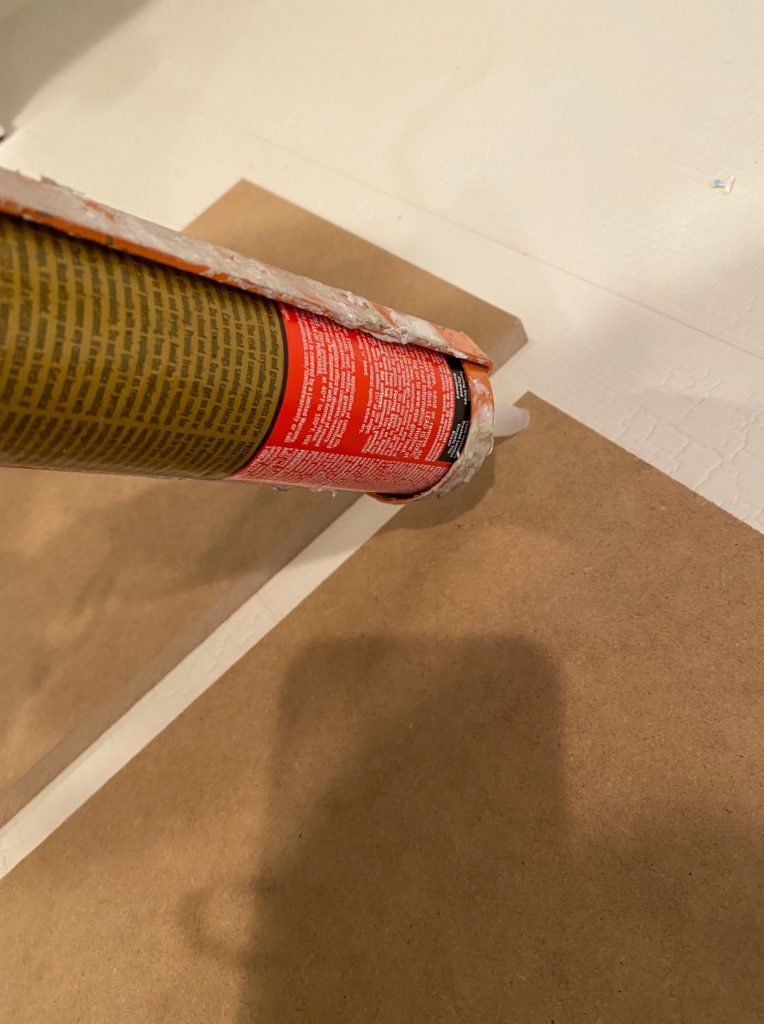
- Liquid nails
- nail gun
- paint of choice (I used pure and original lime fresco paint-to create a textured look)
We totally cheated this project and had the guy at Lowes cut the wood for us. Saved us one extra step, except for the top and bottom piece.
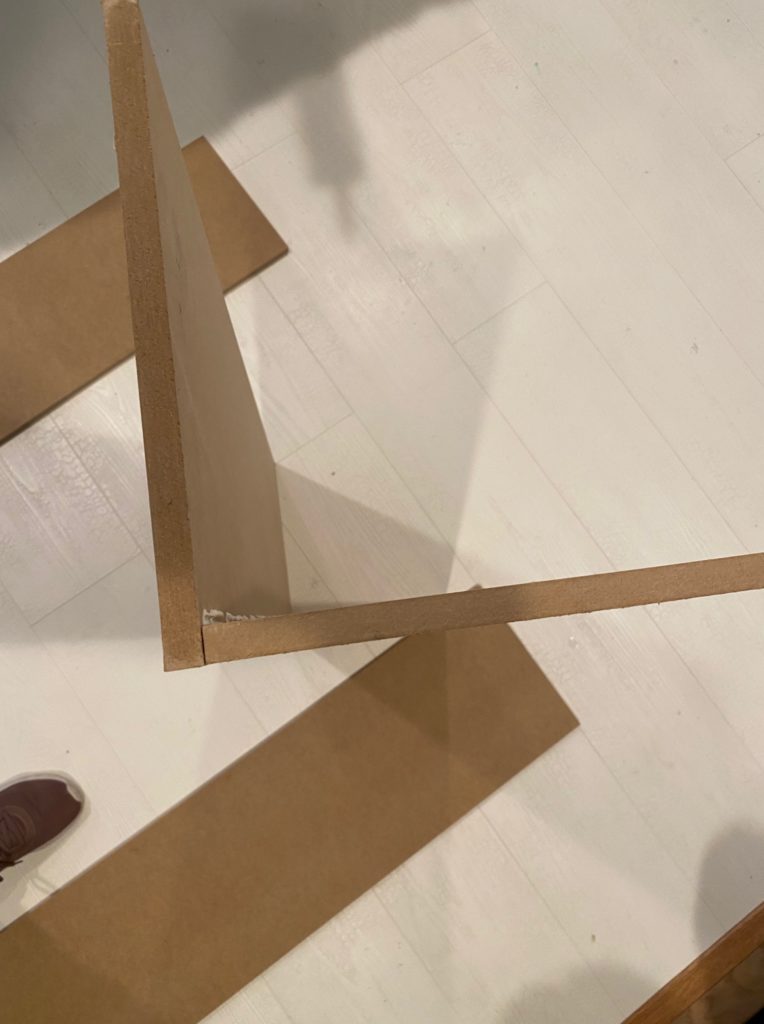
Then it was time to assemble! Glue each side and nail together using a nail gun.

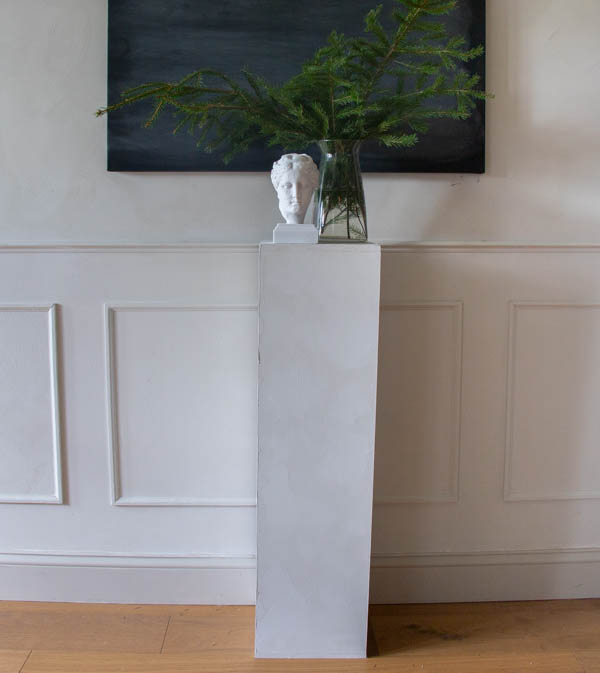
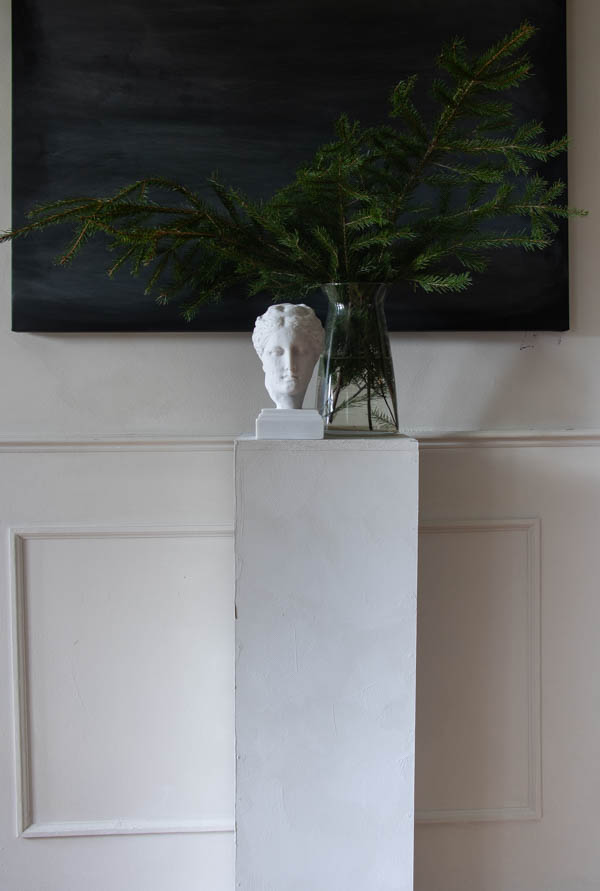
Now time to paint! You could even finish with Ardex feather finish or a marble peel and stick paper. So many ways to finish this. I chose lime fresco paint which gives a textured-plaster look.
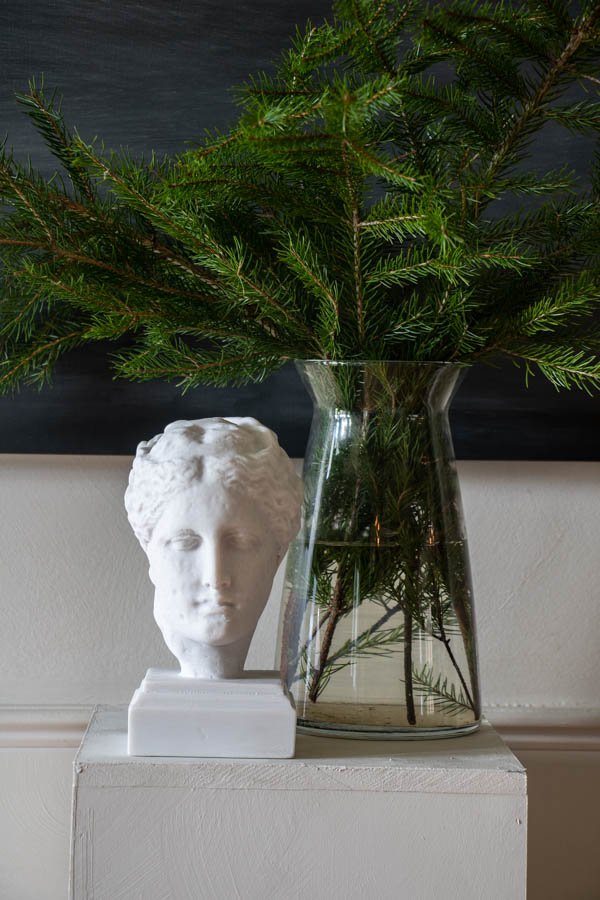
This is a very hard angle in my house to take photos, but I love the way it turned out! Accompanied by my DIY abstract chalk art. I painted a canvas with black chalk paint and then added some chalk to the front and wiped it to create a very Amber Interiors look.


14 Responses
A couple of years ago, I needed something to give an old-world looking urn a little more height. I used the 4 1/2 inch x 10″ shadow box I had in my garage as a base to make my “plinth.” I bought a 12″ square of wood from a craft store to make a base and add a little more height. I painted the entire piece–including the glass–with layers of chalk paint. I was able to duplicate the color of the urn well enough to make the two pieces work together. The end result was perfect for the niche at the end of my fireplace. Thanks for teaching me a new word!
Very smart way to create a plinth. I was today years old when I heard the word plinth for the first time! And learned what it was!????
lol I love that, the word is new to me too!
I purchased the same Italian head statue years ago and have always wondered how best to display it – now I need look no farther. This plinth is perfect!
oh yayyy!
Love it!
Learned today what a plinth is!
This is a great idea! It looks beautiful!!!
Learned what a plinth is and how to make one. Thanks!
The result is stunning
What a great idea:)
Where did you purchase your lime fresco paint?
It’s from Pure and Original paint : )
Deb I just love everything you do and this is no different. Simple and beautiful friend.