


Last, but not least! The final reveal/makeover for our New Year New Room Challenge. Some of the ladies will be sharing the reveals today, while those of us that shared last week are doing our final makeover tutorial, or round up, etc.
If you checked out my post from last week with the Family Room Reveal,then you had to have noticed the change to our corner cabinet. This was the easiest and hardest change ever. The easiest since all it required was some paint, dark wax, added molding to the windows, and the new knobs. The hardest because I was not originally satisfied with how it looked and contemplated painting it over again. Not because the color or cabinet did not look great…but more so because I felt it did not work well within the space. Was the color too dark? was it too gray? Did it have too much blue in the color? Well, a little tweaking and some adjustments and the new coffee table and it all pulled together. Speaking of…the coffee table that you all have been waiting for me to reveal in this space turned out to be the wrong decision. While awaiting the table I decided to just add my dining room bench in here so we had something until the piece arrived. Little to my surprise I LOVED the way the bench worked in here. The color, the farmhouse style, and the fact that it was small and did not take up much room in our very small space. So when my coffee table arrived, the color was much darker then I had thought and the width was much wider. TIP: always make sure to measure the table length, width, and height before ordering. I only measured the height and length out (which seemed good), but then the width threw it all off…wayyy too big! Gorgeous, but big! And besides the size the color showed up too dark for the space and I knew with this dark new cabinet I had to have a lighter color coffee table. So for now the bench will return in here and hoping the hubby will make me a new one just for this space (that’s a post for the future).
So, back to the cabinet. If you have never been here of forget what the piece looked originally let me share that first. I found this piece on Craigslist when we first moved into our home and bought it for $35! It was the top of a TV cabinet and I just new with some legs and paint this could be a beauty.
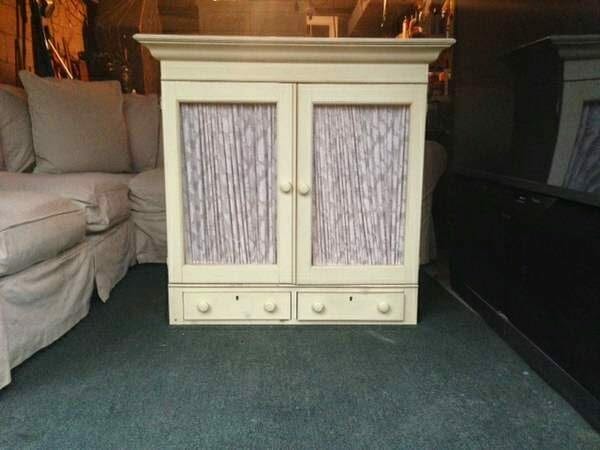
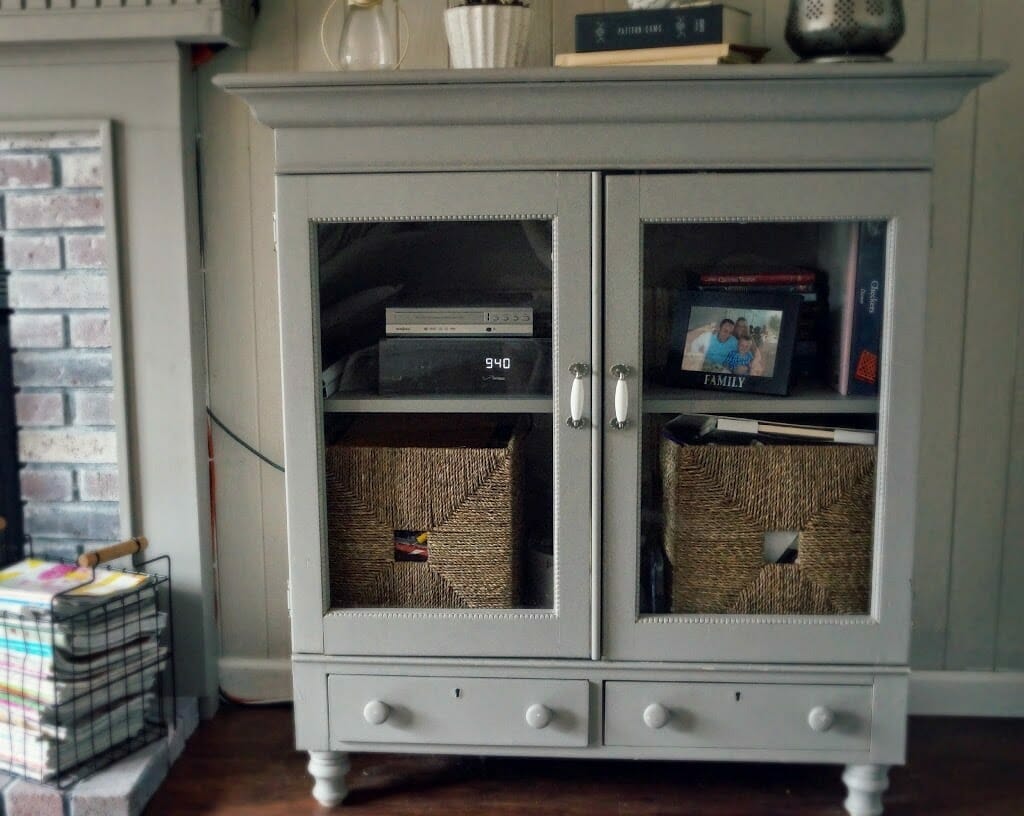
So then the piece looked like this. We painted it Winters Gate to match the fireplace, added some Plexi Glass to the windows, feet, and new knobs.
and now!

Let me share how I accomplished this.
First I painted the piece with Graphite gray from Benjamin Moore.
It felt a little too blue and still missing something!
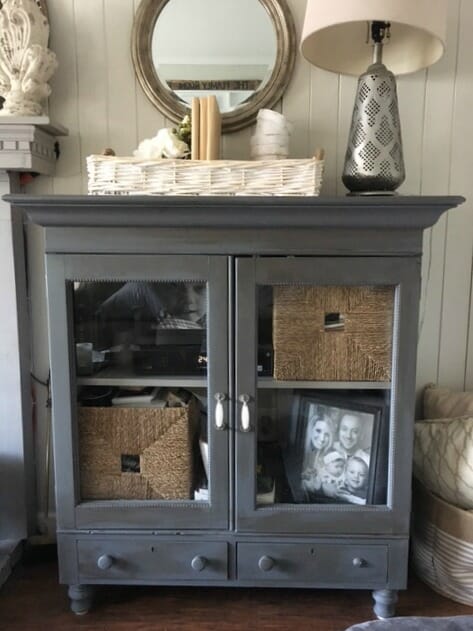
2nd: I decided to add a little dark wax to the piece, to darken. And add some molding to the windows.
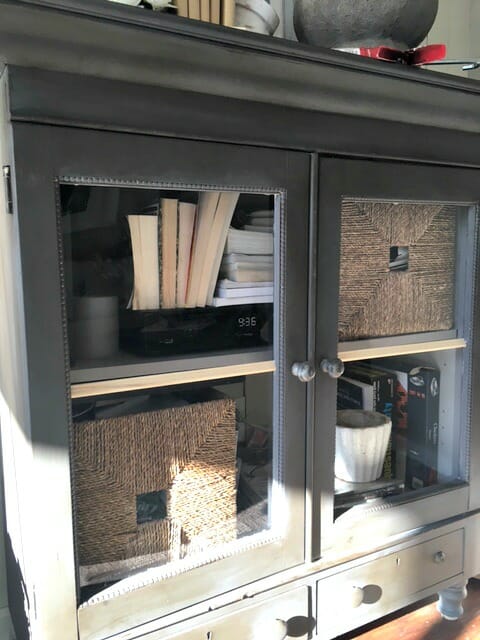
TIP: Measure to size and use liquid nails to hold into place.
3rd: I added the vertical molding glued, and then stained the wood.
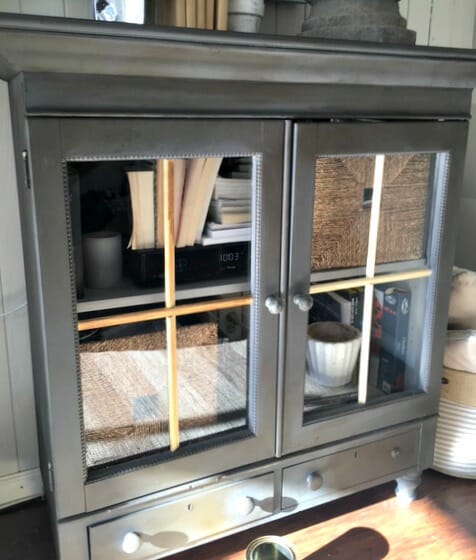
(sorry bad picture quality) See left side with stain!
I finished with some more dark wax on the molding.
Tip: Stain and wax before adding to furniture. I worked backwards which made it difficult to not get on window.
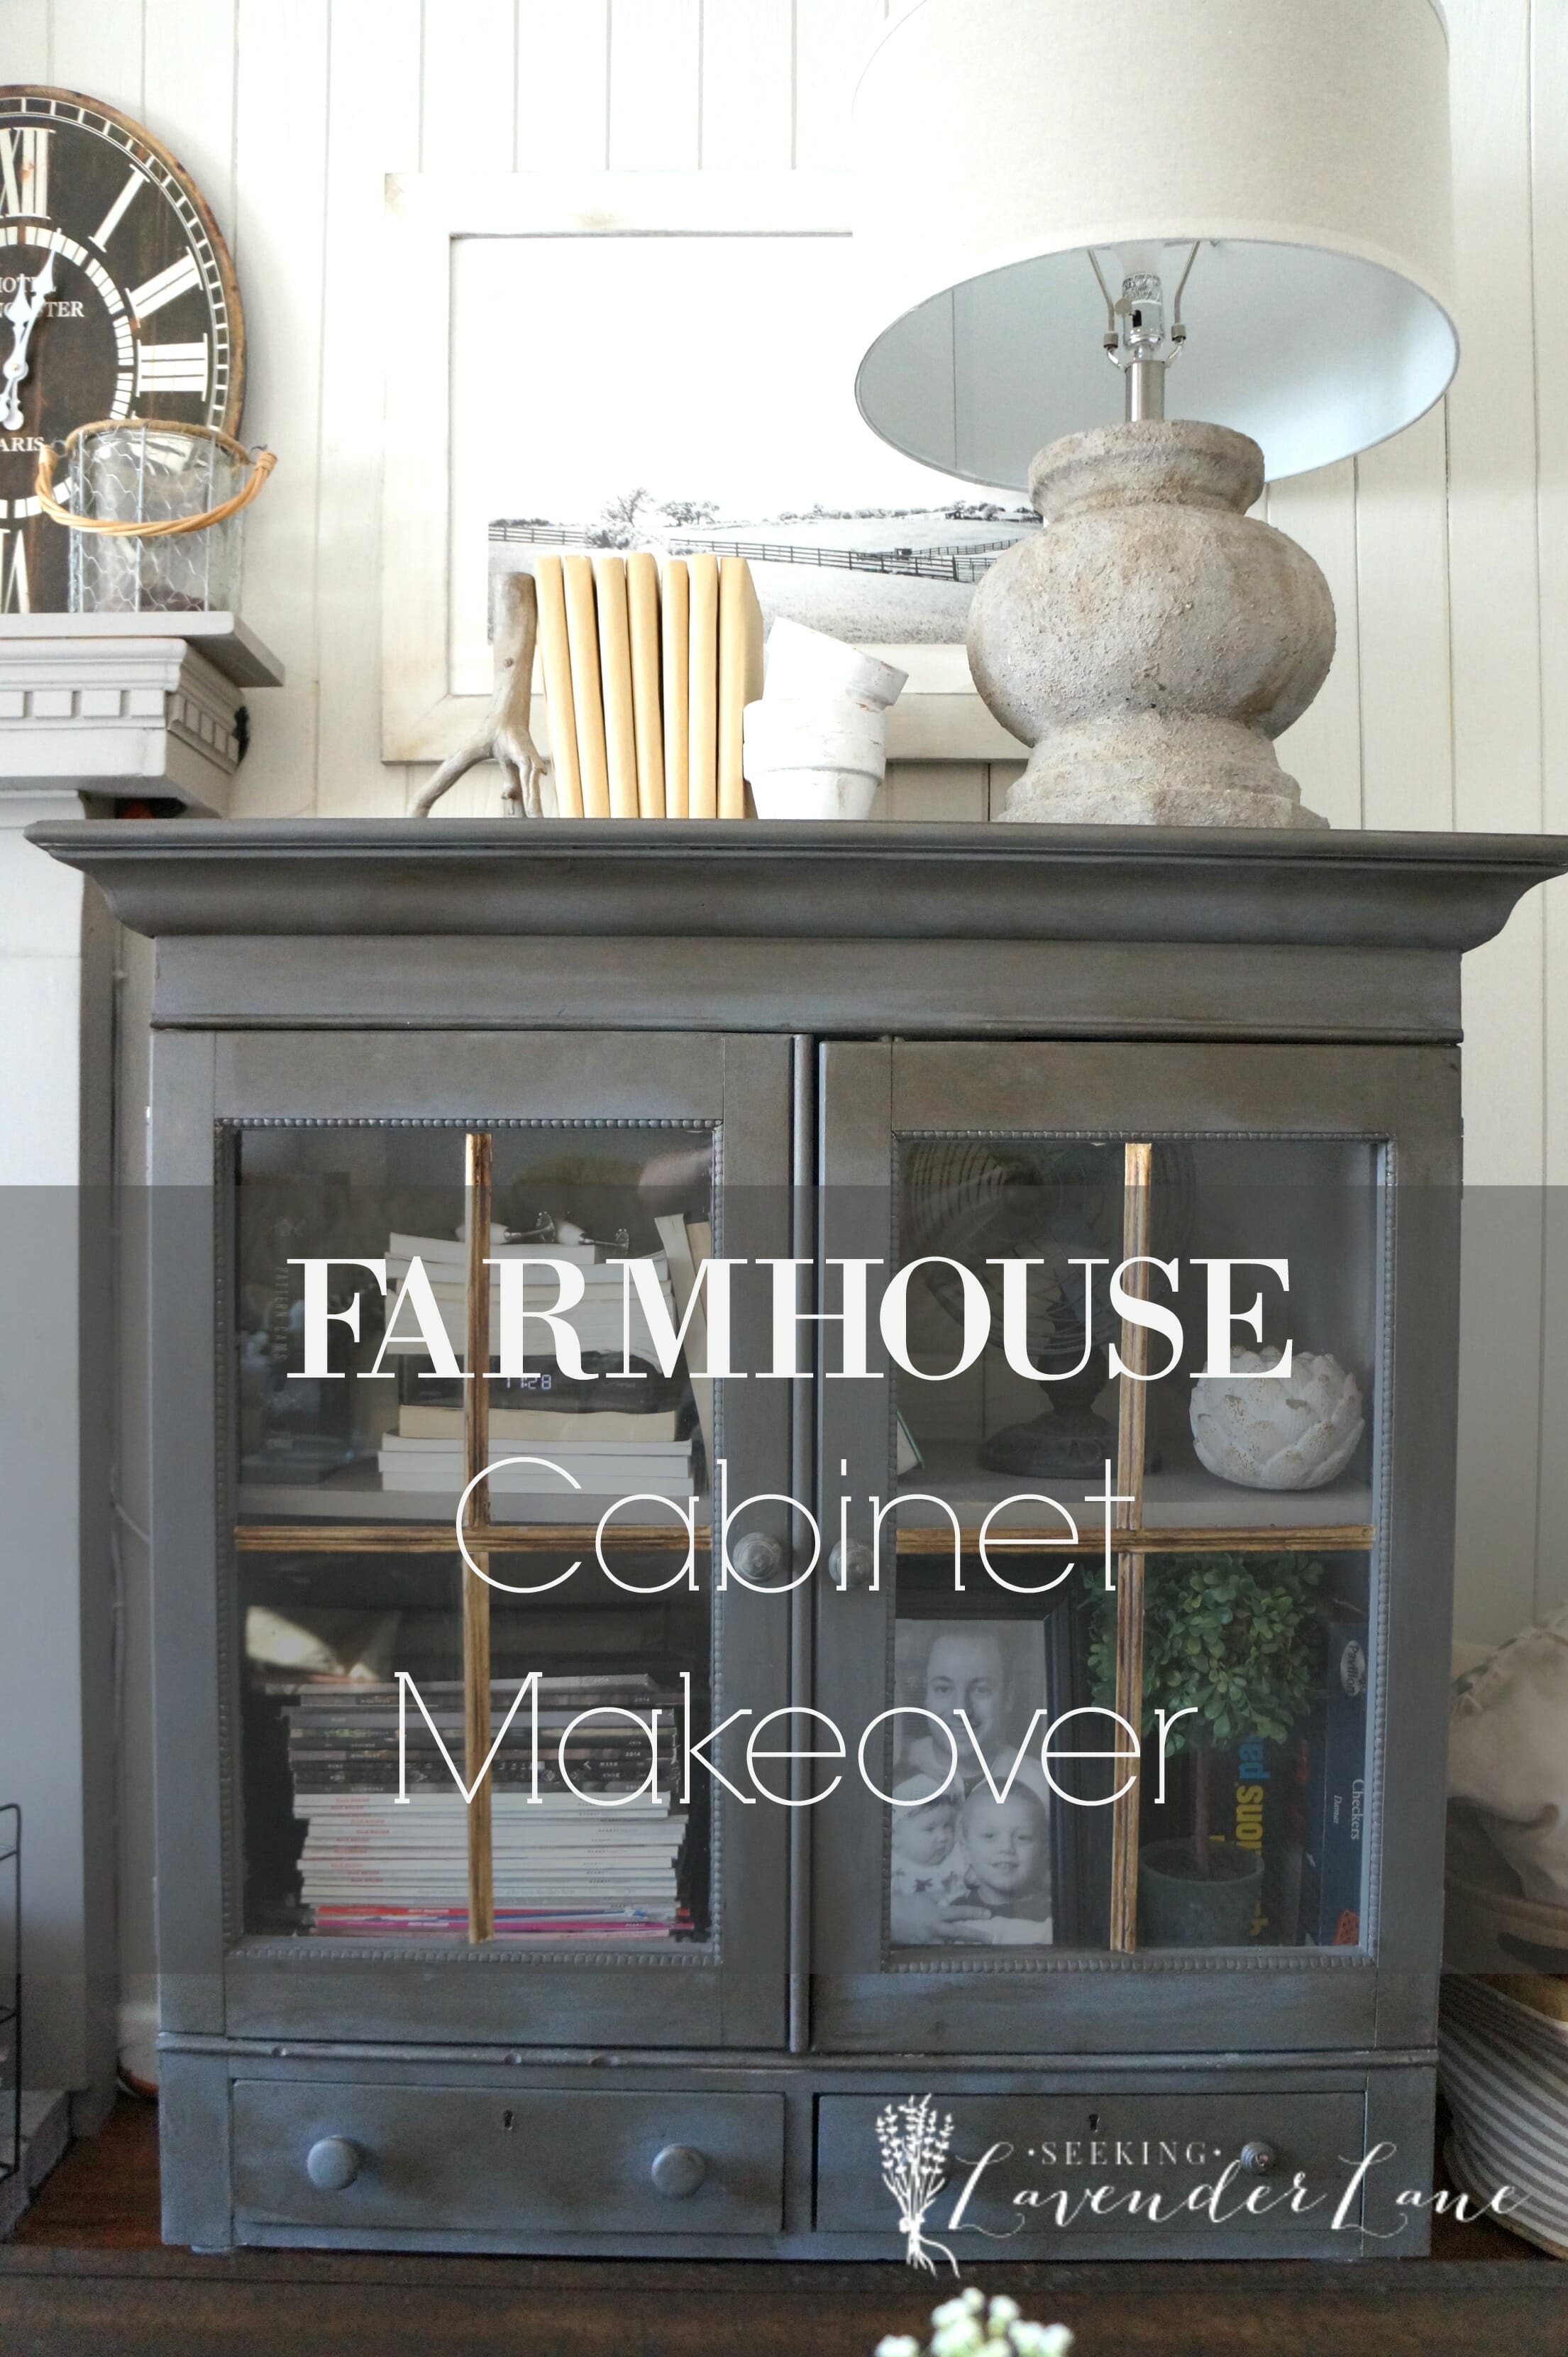
And the reveal!
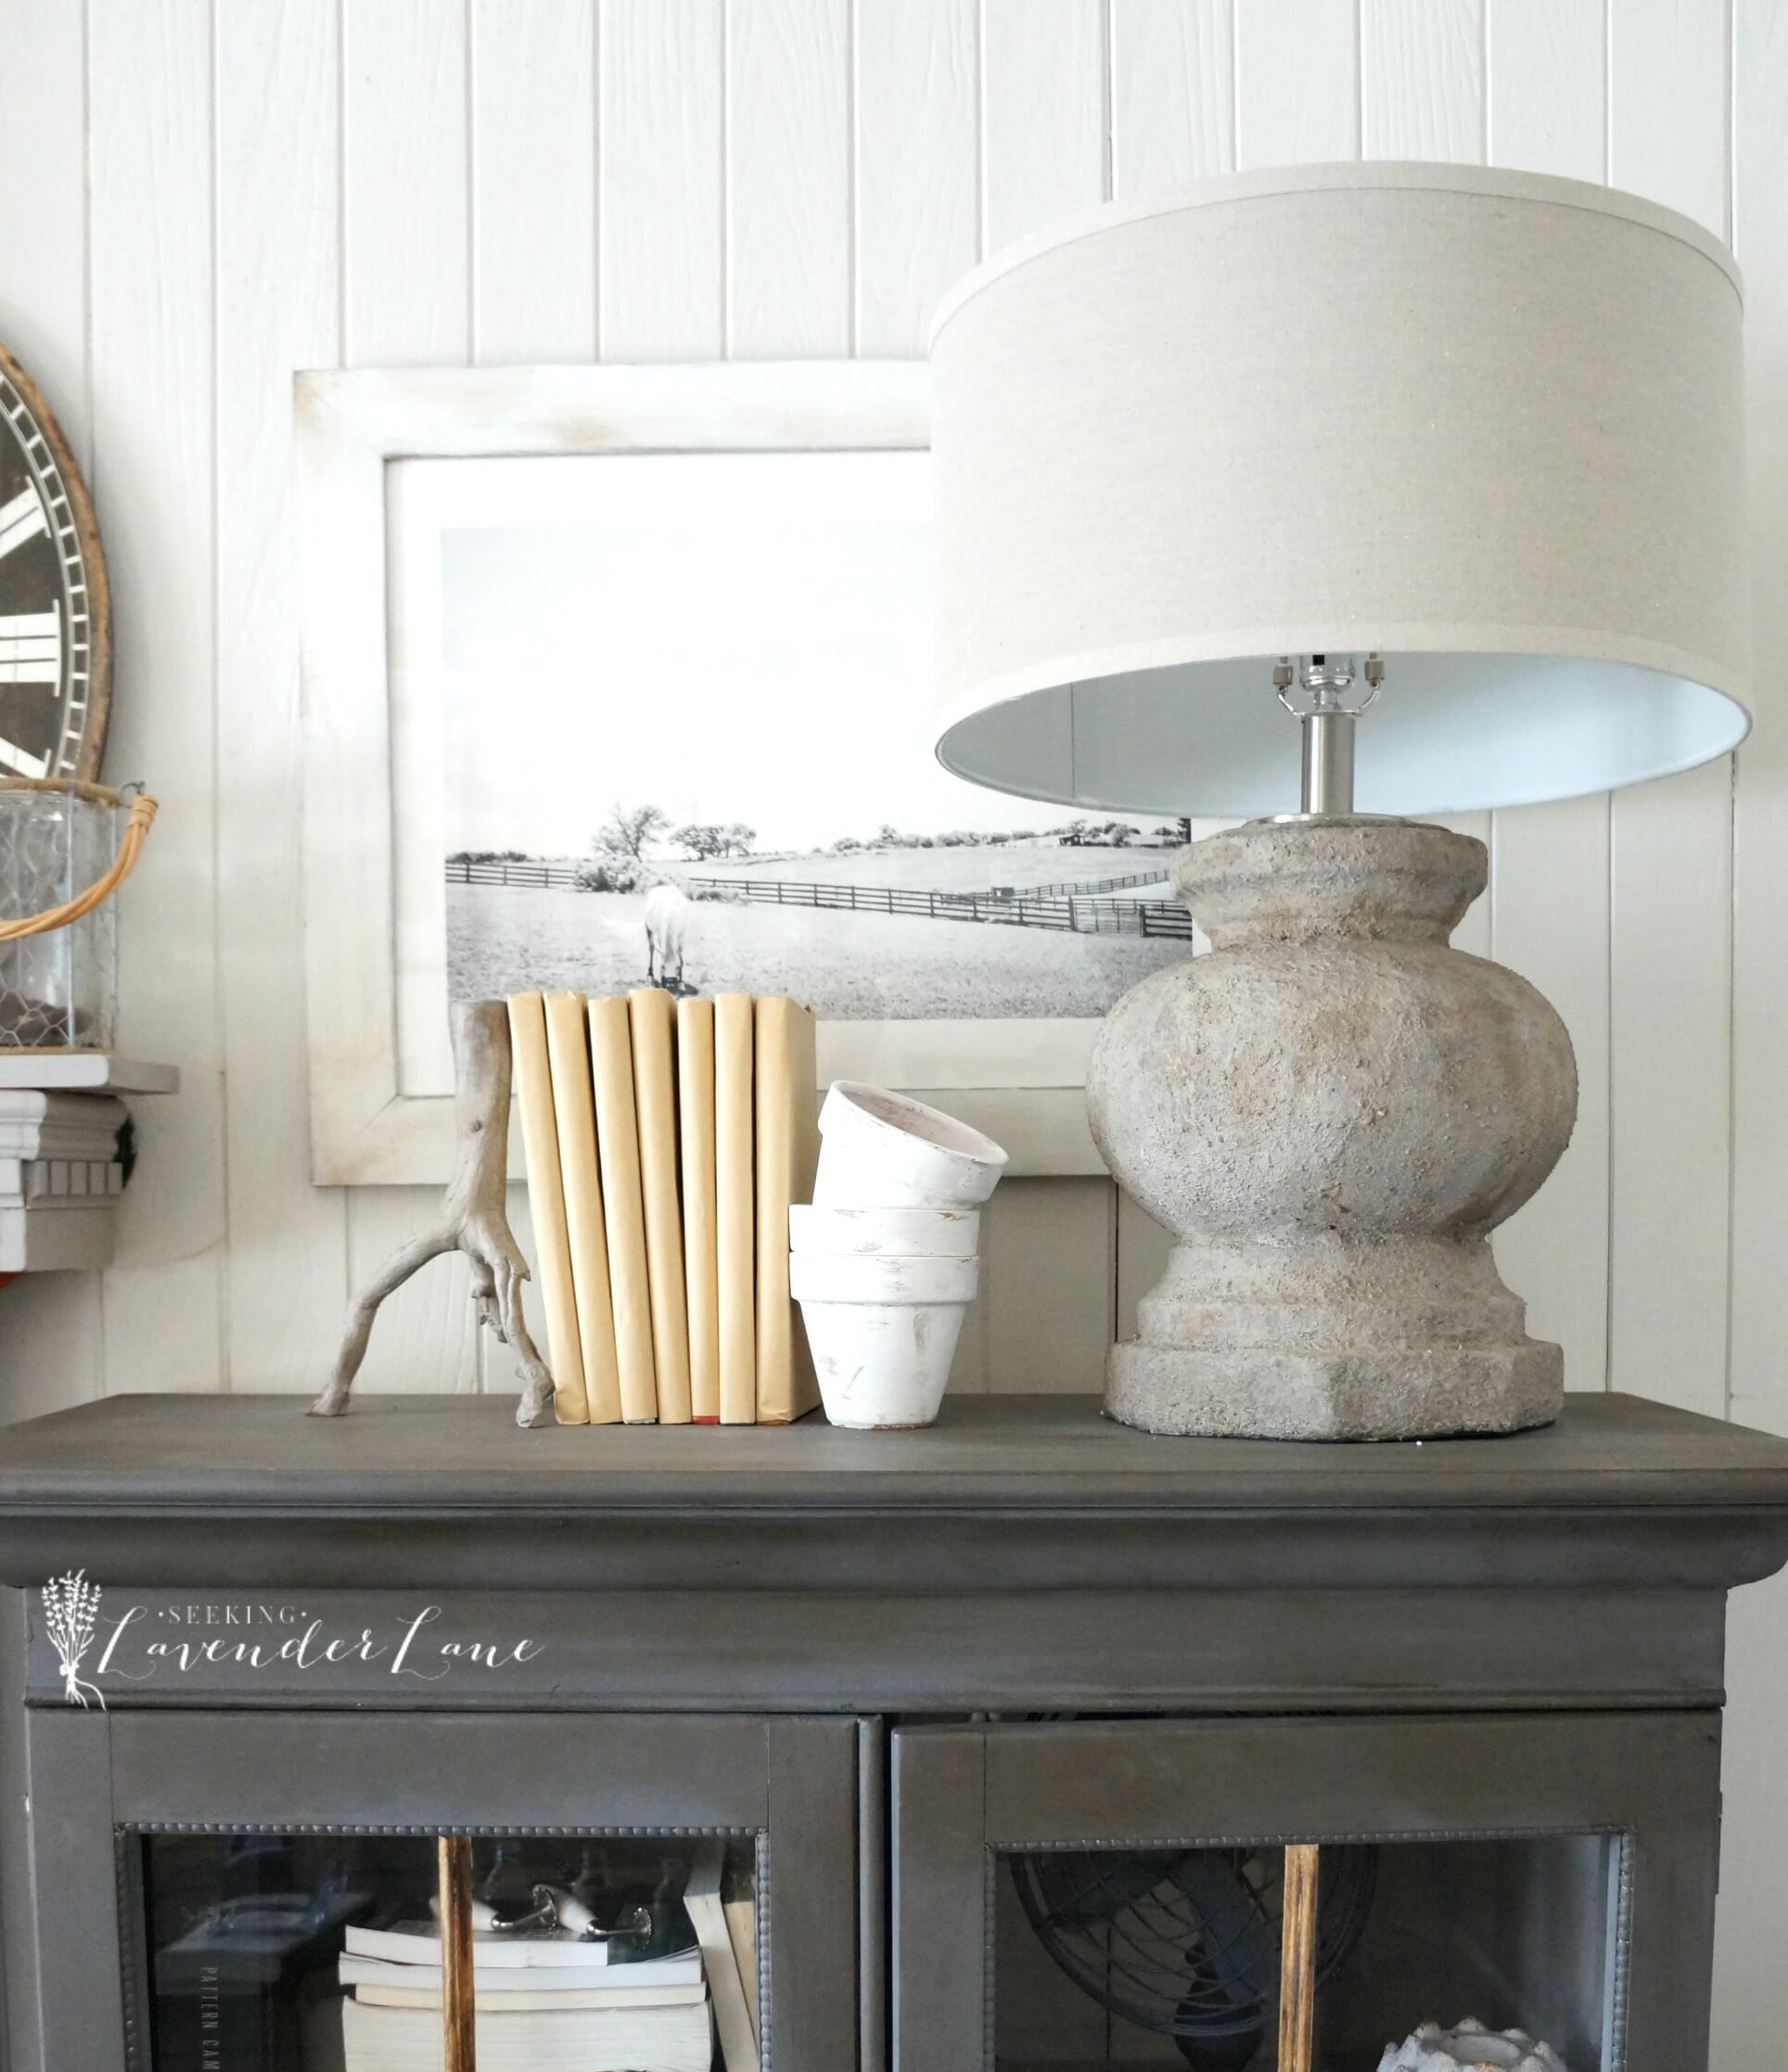
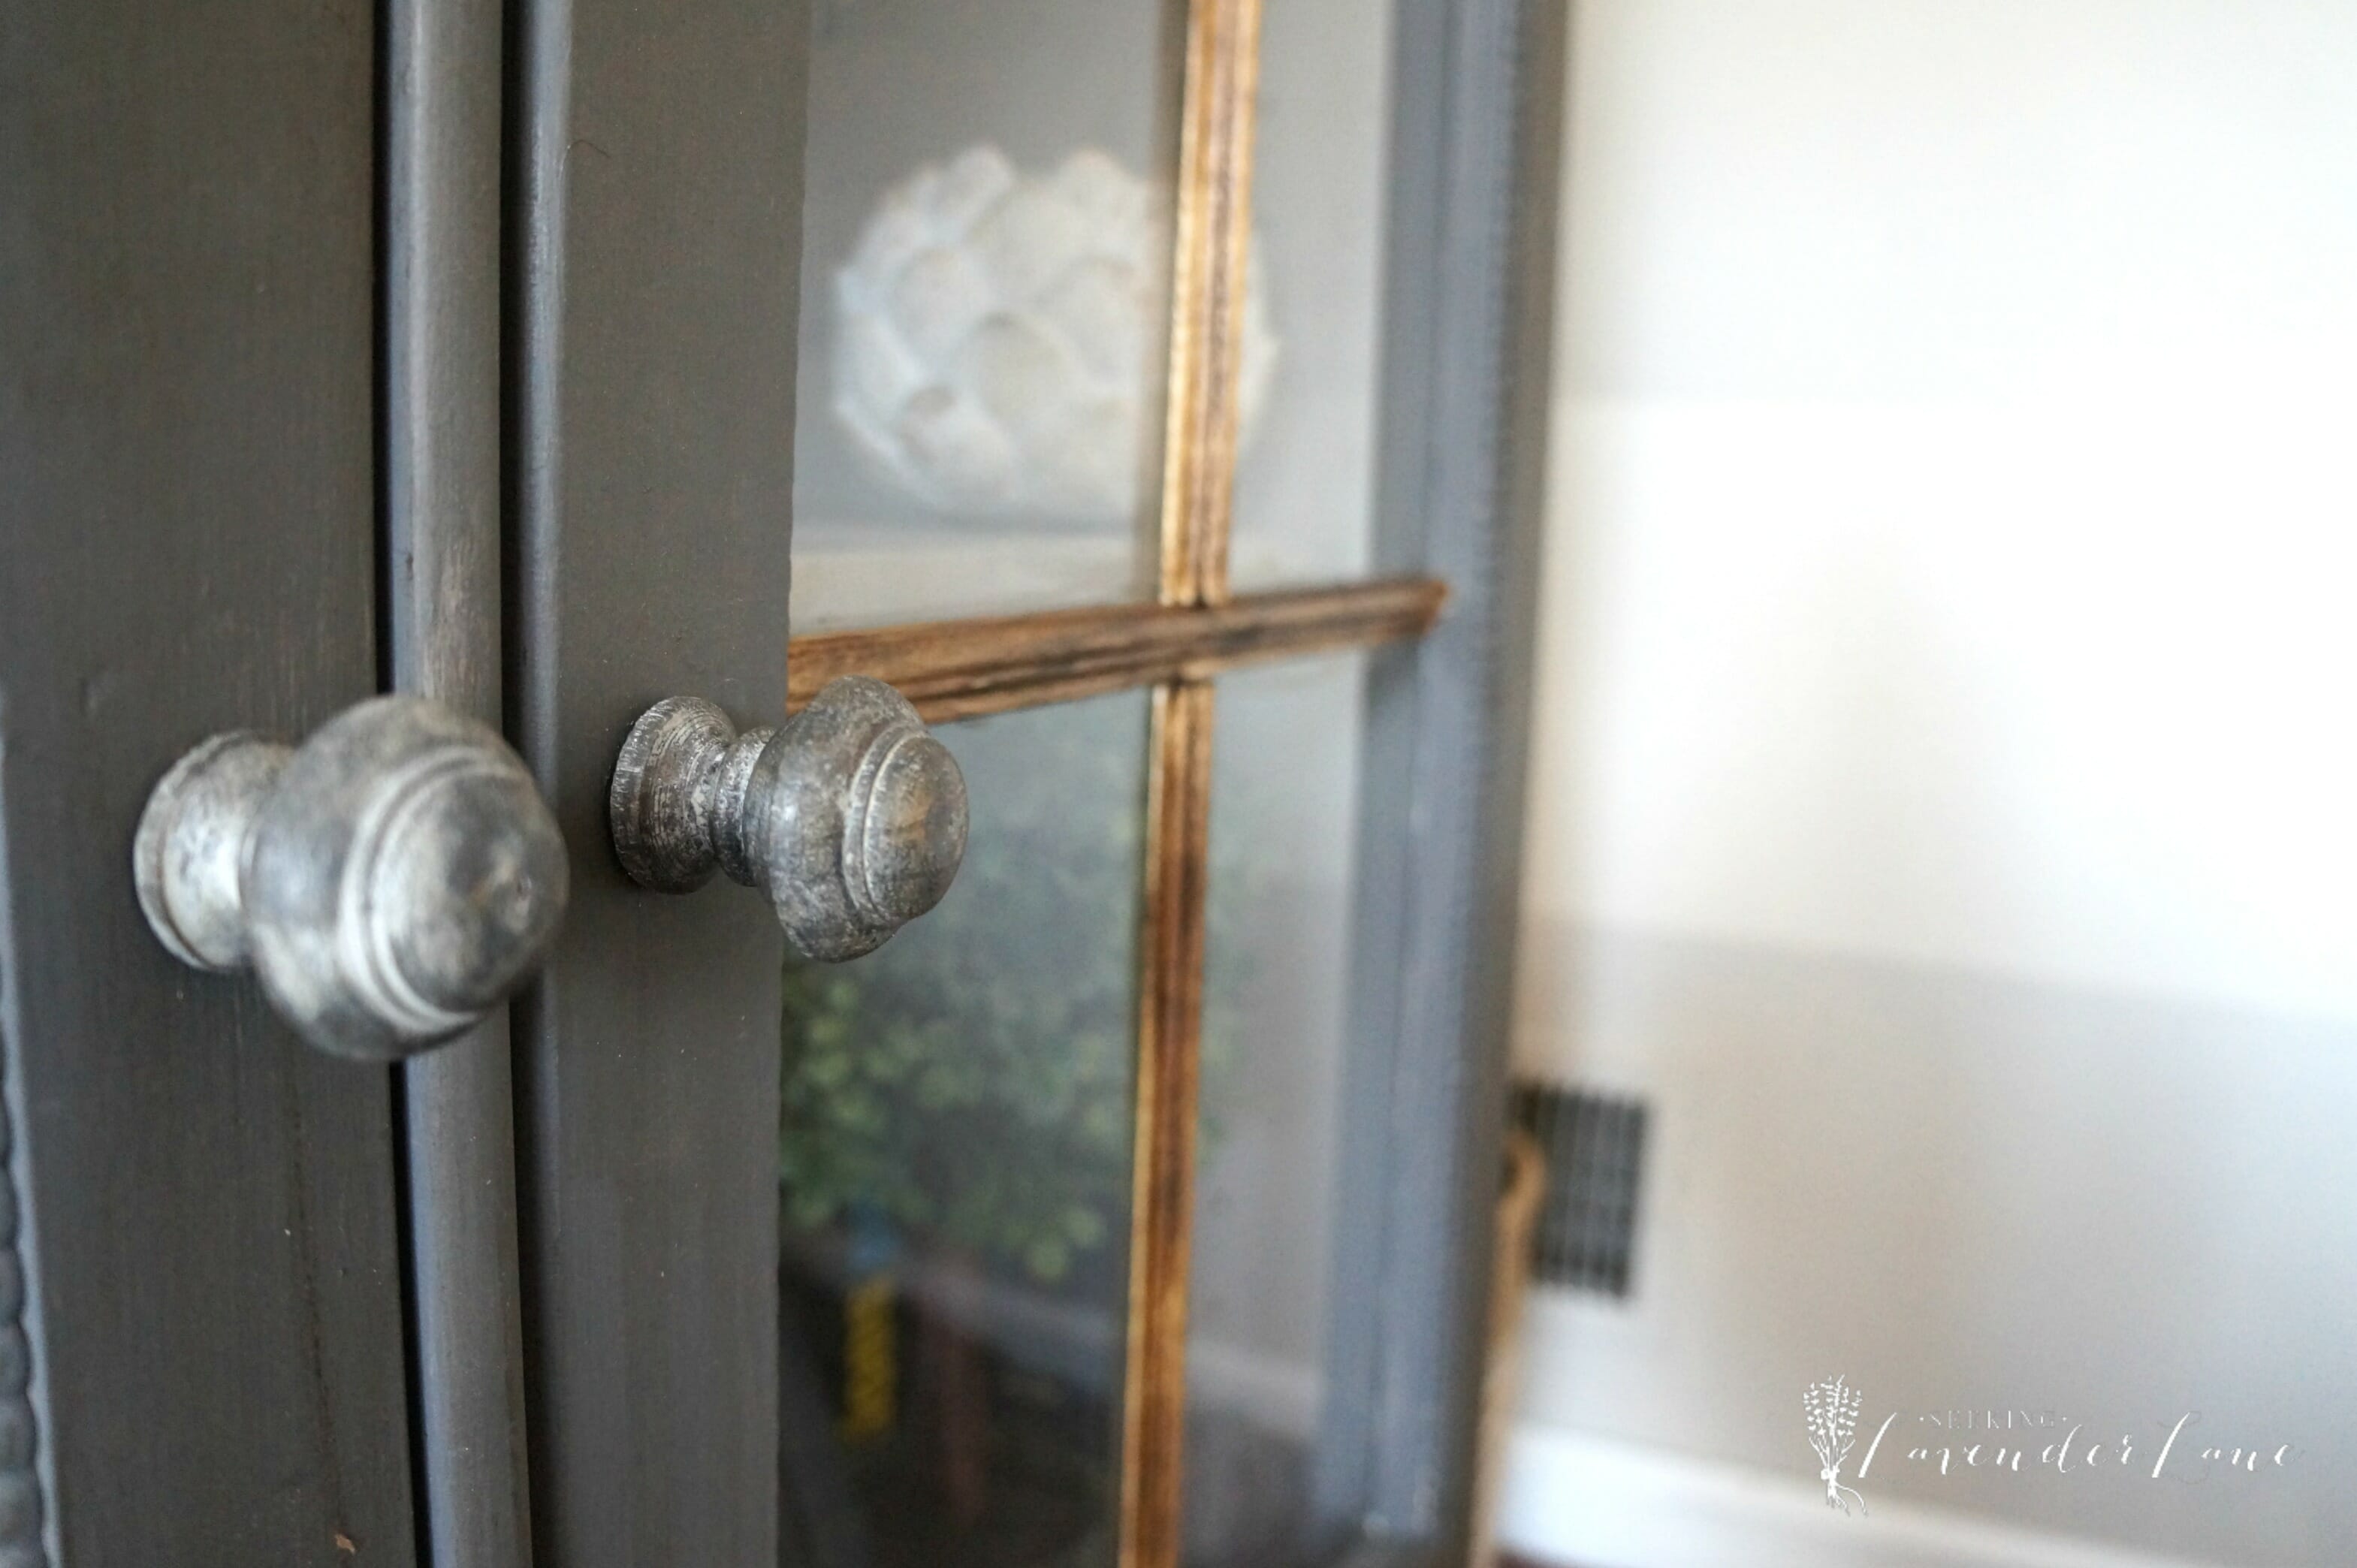
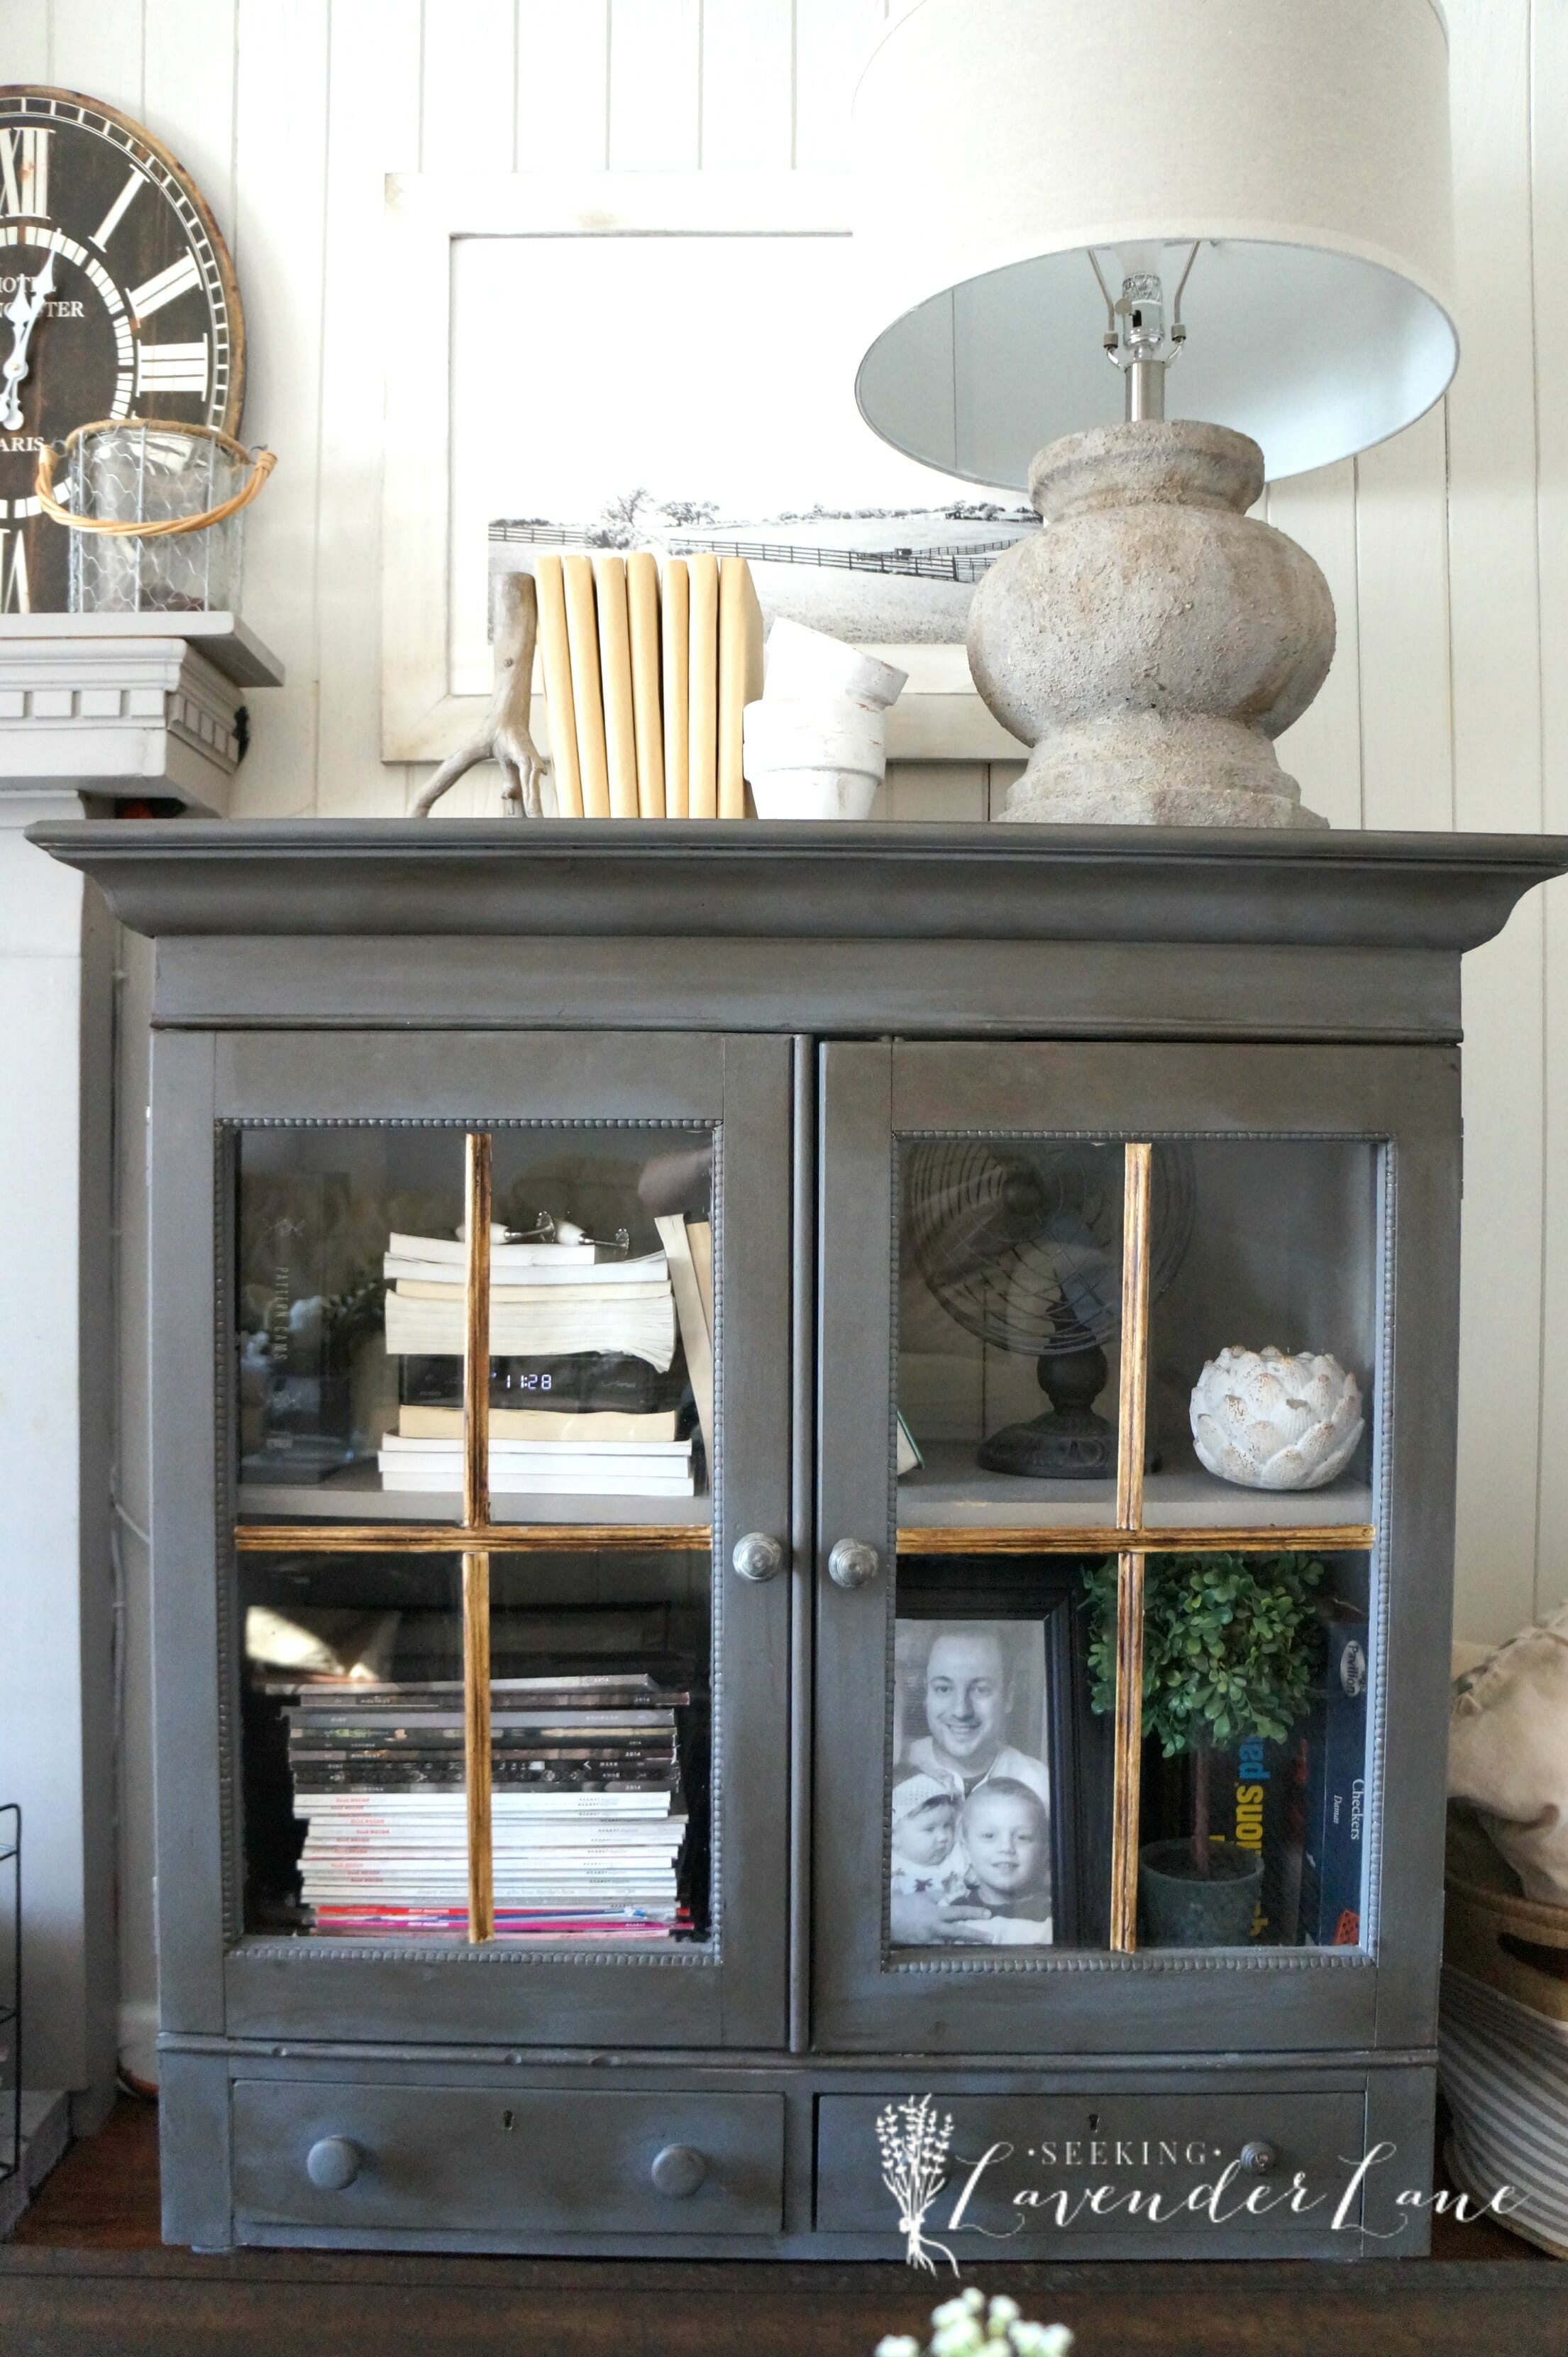
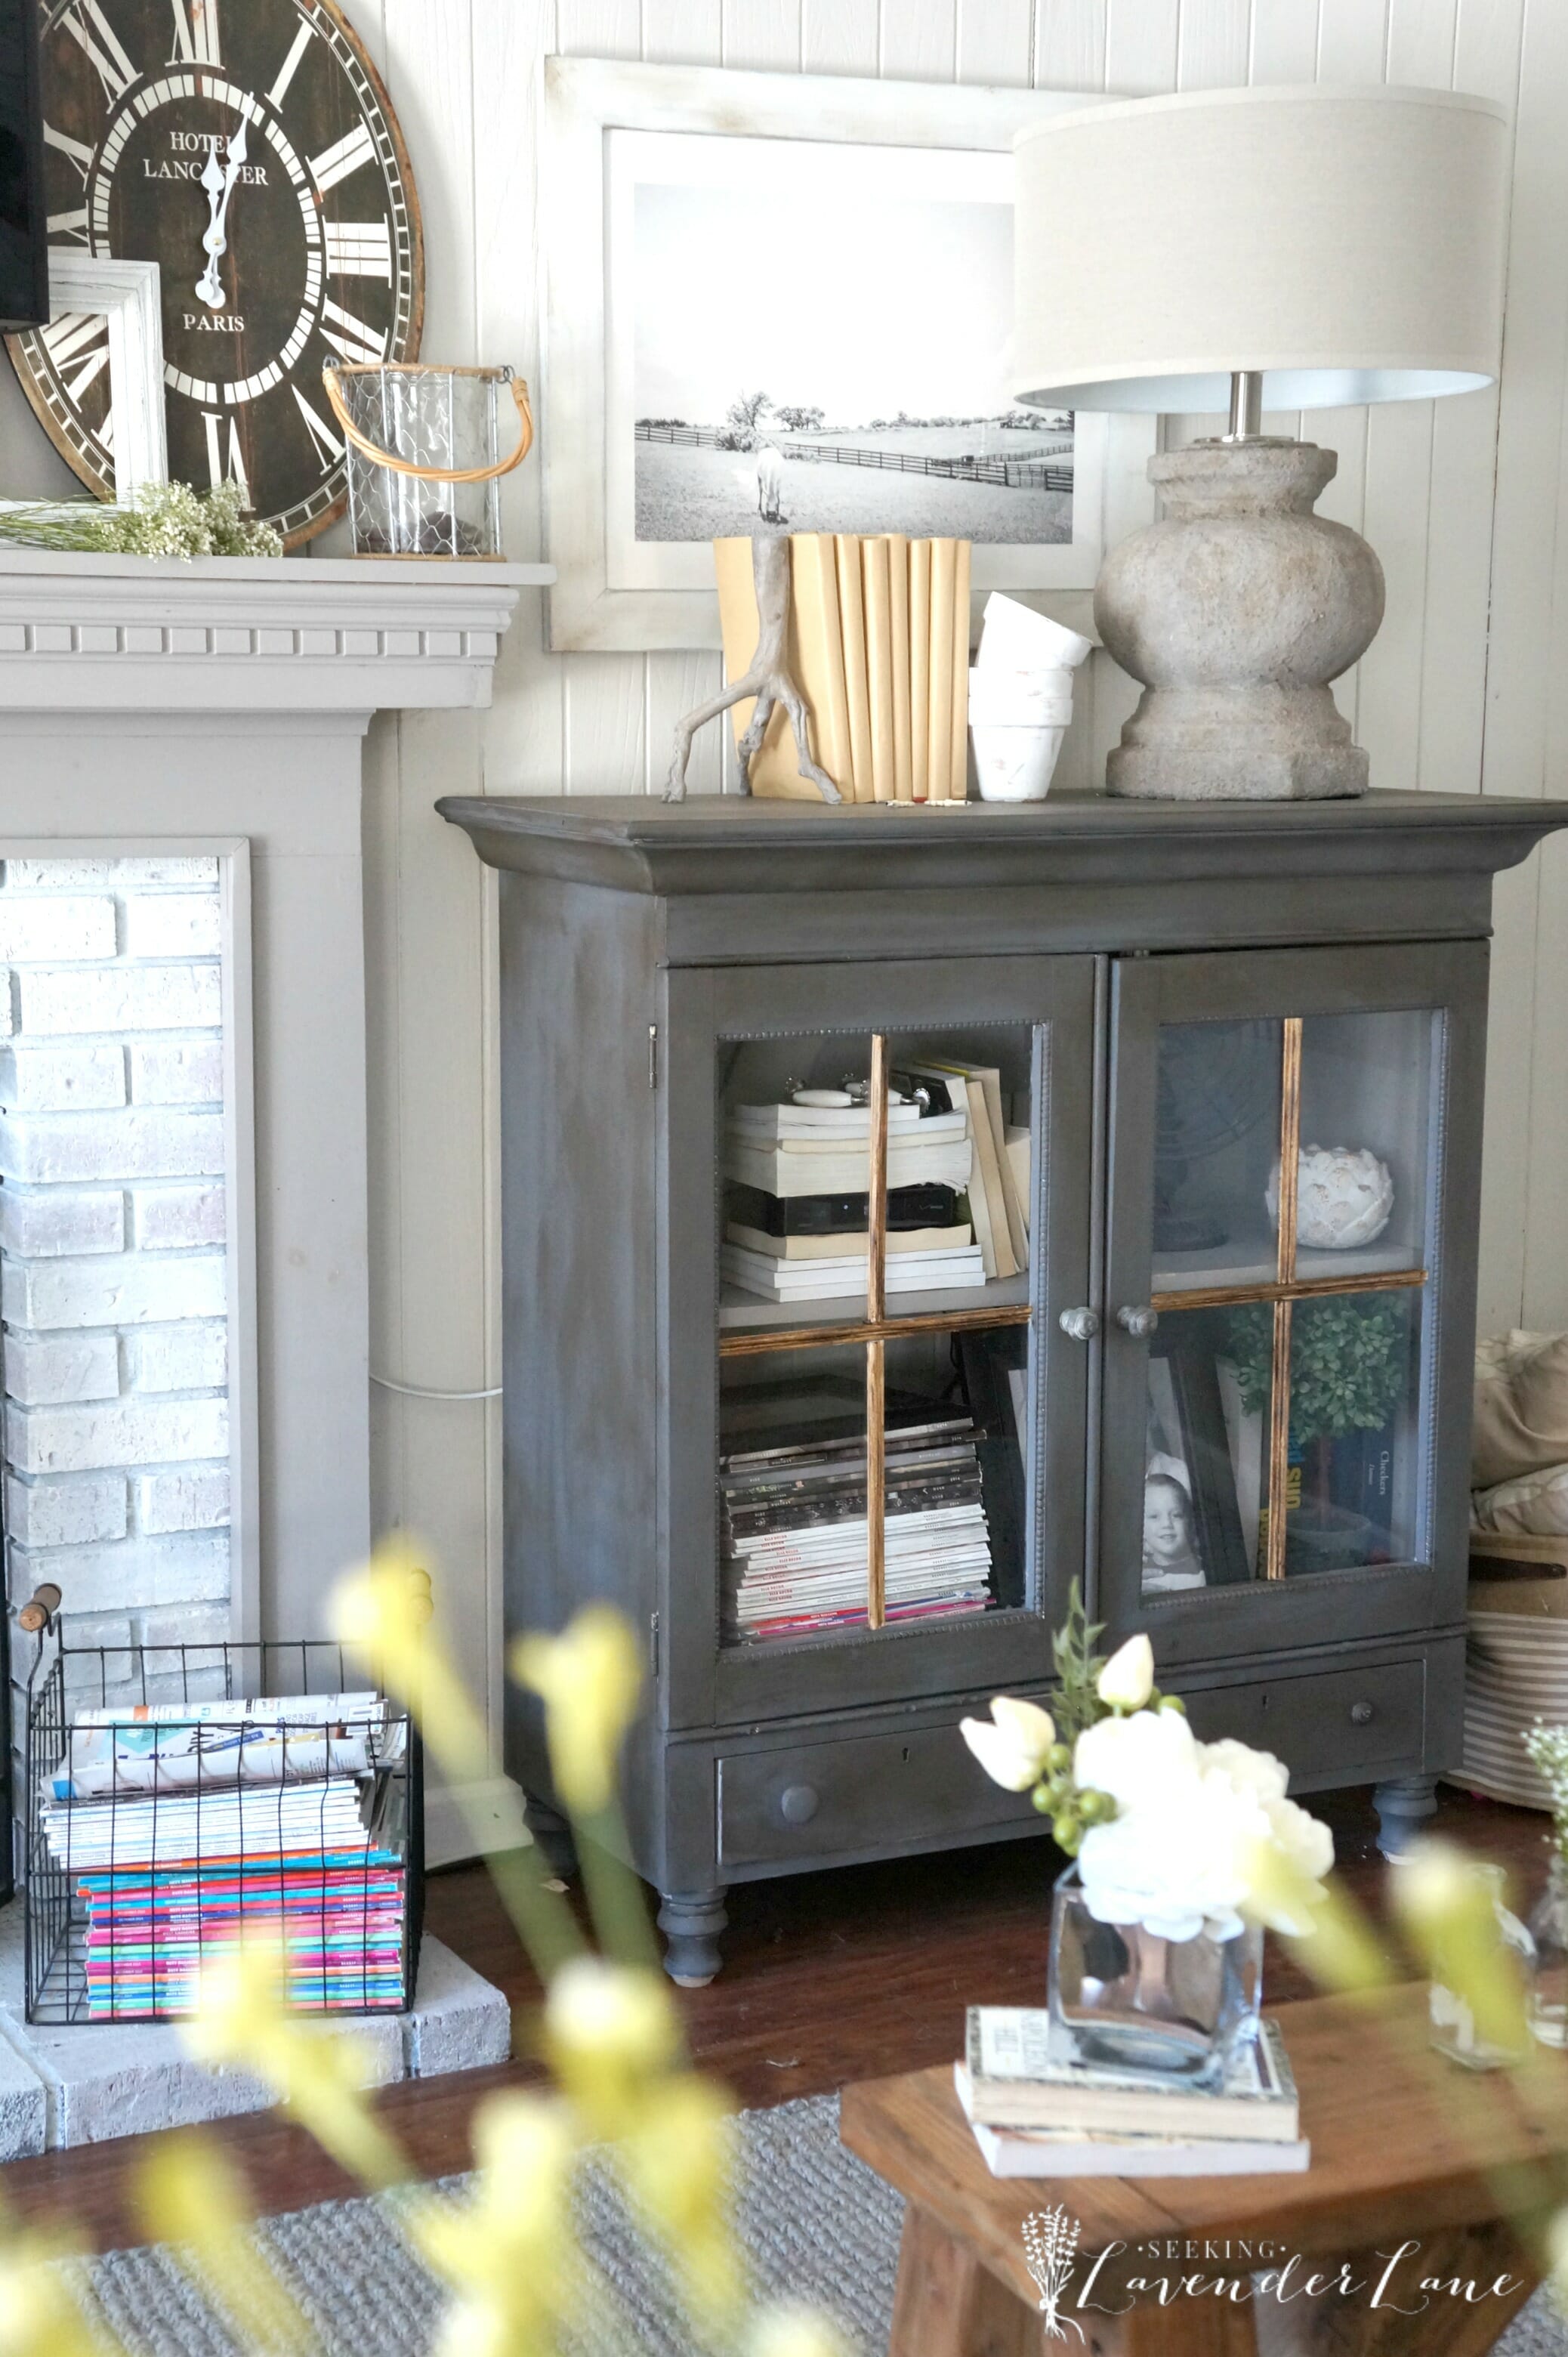
It all came together so nicely, and having the wood molding match the wood bench brought the colors in the room together. Adding that small detail made the piece seem more to my farmhouse taste and the new knobs blend better with the cabinet color rather then the white handles I had on before.
Just loving this space so much now and I feel it adds that extra bit of cozy with a touch of drama style that I love.
NOW for my friend’s reveals. I love how beautiful the rooms turned out last week for the ladies that shared so I am so super anxious on the final reveals. Be sure to stop by their pages and send them some Love!


15 Responses
It really is a stunning makeover, especially with the dark wax finish. I love how the darker grey looks with your fireplace. It definitely has more farmhouse charm with the stained window trim.
Marie, The Interior Frugalista recently posted…What To Do With An Ugly Sign In Under 30 Minutes
Thanks Marie! You’re always so sweet stopping by and leaving me such sweet comments!
I can’t get over that before picture. The little legs are perfect addition. And now, that color, oh my! It really is gorgeous! Major bummer on the coffee table!
Sara @ Shabby Grace Blog recently posted…Your Home Decor & More Link Party [Number 4]
Your cabinet looks wonderful, love the color on it. You did a beautiful job!
Thanks so much Christine!
I like how you styled the top of the cabinet (the glass trim was a good idea btw, really pulled everything together!). Can I ask you about the photograph on the wall above the cabinet – I really like the frame, did you make it?
Hi Jenn, thank you so much! The frame and photograph is from Minted. When the frame arrived it was so gorgeous and a white chippy look, but a little too white for the wall. So I decided to dry brush a warmer white on top and then finished it off with a little dark wax. It looks a lot better on the wall now.
I keep hearing about Minted but I’ve never checked it out. I probably should. Thanks for answering me.
It was really fun to see the evolution of this piece from the beginning. What a great transformation! I really like the added molding and I definitely would not have thought of that! This looks great in the room; I think the added contrast with the fireplace really helps it pop and like you said, brings a little bit of drama. 🙂
Britt @ white dog vintage recently posted…Choosing Accessories for Every Style
Loving the new look! It stands out so much more and the molding on the glass was the perfect touch. What a transformation from the original. 🙂 Pinning and sharing.
Wow, that cabinet has sure gone through a transformation. I really like the molding and the contrast to the dark paint. Beautiful.
Kathy recently posted…The Creative Circle, No 51
Beautiful piece, Deb!! That color is gorgeous and is just the right shade for that spot in the room! -Rachael
Rachael @ This is our Bliss recently posted…New Year, New Room Refresh Challenge | Master Bedroom Week 4: The Reveal Part I
Thanks so much Rachael!
What type of dark wax did you use, was it a glaze or actual dark wax? Love it!
Hi Mindy, I use Annie Sloan Dark Wax, I use this on like everything! I’ve also have had it for 3 years and I still have so much of it…so well worth the purchase.