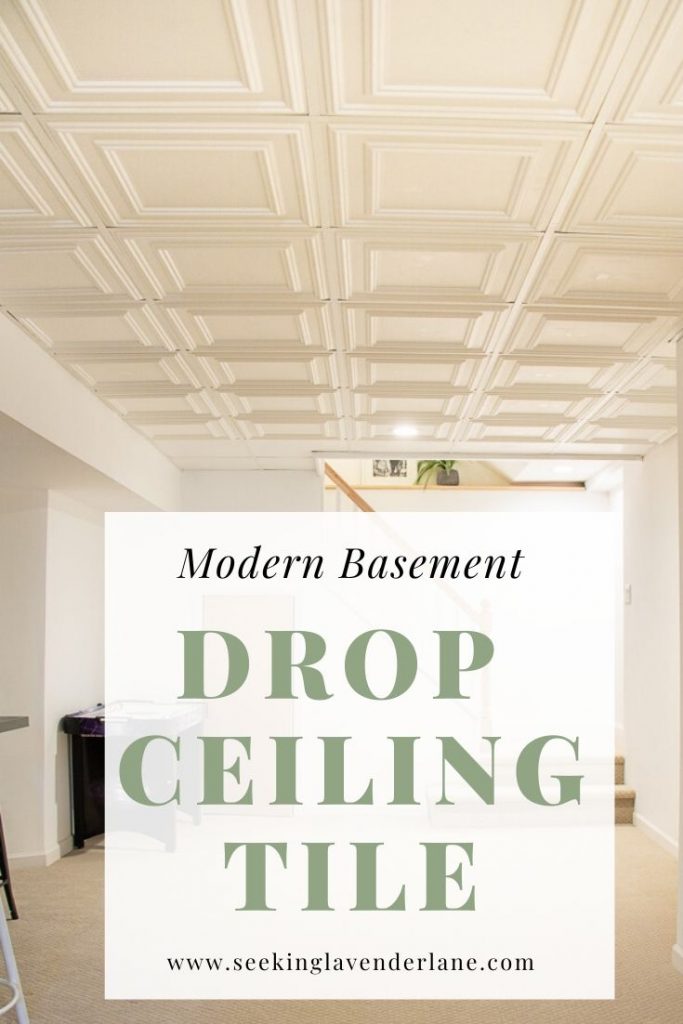
Drop Ceiling tiles for basement!
Did you know we were doing a basement makeover? Oh you didn’t…of course not because the basement has been the hubby’s project. Little did I want to partake in any basement makeover. That is until we were just about finished and then I got… shhh a little excited about it (don’t tell the hubs). See, I am not a basement gal, I prefer a warm space with lots of windows and a good smelling room. The basement space,though I know we needed it for the kids and to have more space for when we have guests over and storage…I just wasn’t worried about the outcome.
This is a collaborative post with DIY Decor store, though all opinions expressed are 100% my own.
Well, then the design details started happening, and as much as I gave hubby full reigns in the basement I started seeing potential in the space, and I wanted to make sure it had a few special touches.
Before I go into share full details of the basement…and there are a few more touches that I have left, I wanted to share the drop ceiling tiles that made this space feel like classic basement to ooo-la-la. I mean decorative ceiling tiles. Who knew???
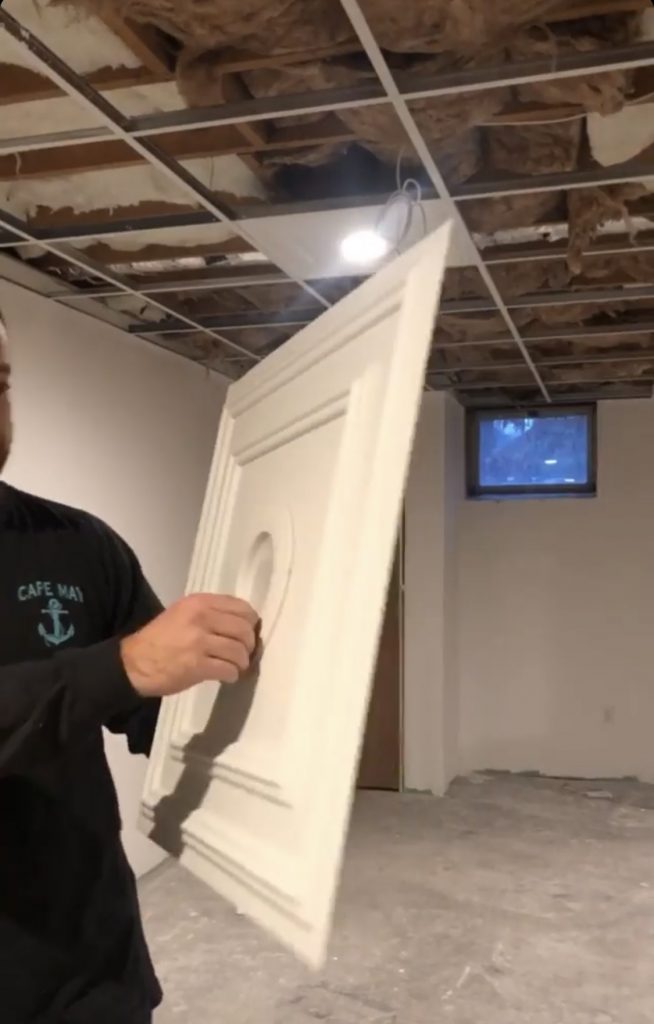
I first fell in love with these tiles when we were in the camper still and I partnered with them on a fun DIY project. I did a mini update to the standard flat panel door that was in our camper. It came out so good and I loved the idea of using the tiles to make over the door.
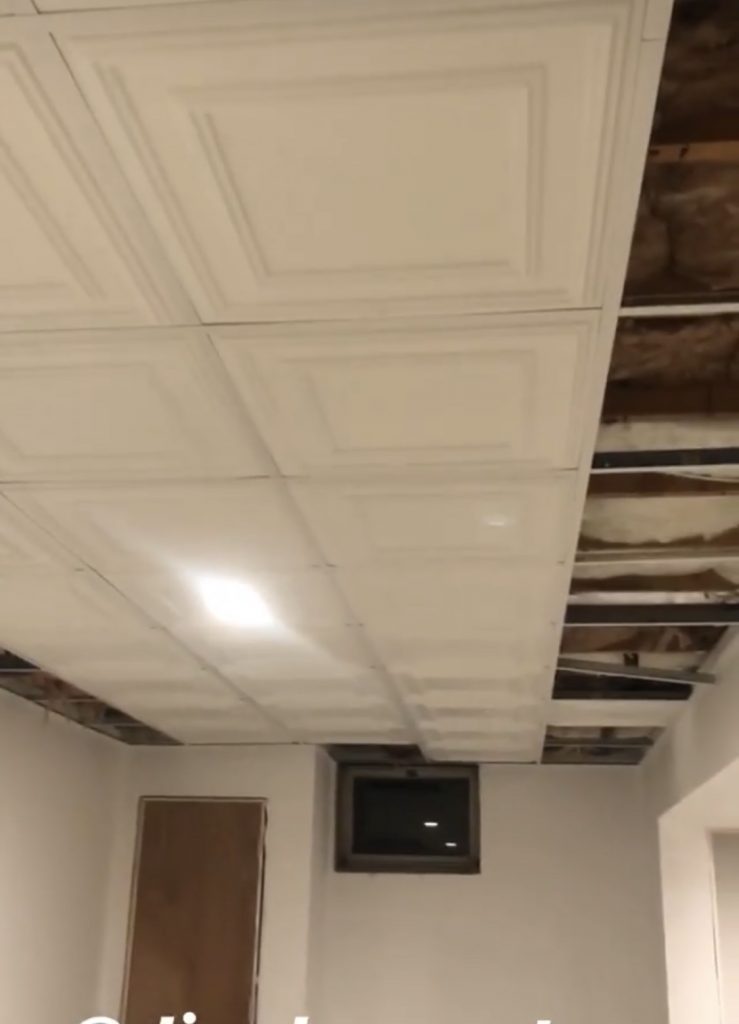
I kept the idea of using these again in the future for if we ever completed the basement. I just don’t love the look of standard drop ceiling tiles. Once, again basement last on my priority of rooms to design, but if I had a say…I thought these tiles would certainly make a major visual difference then the typical drop ceiling tiles would.
They had so many options and you can check them out here! I loved the ones that felt like a vintage style mold, but I thought for our basement there really wasn’t much character, I rather go clean and modern then to bring vintage into a space that really didn’t have a vintage vibe. Maybe if we had some exposed brick or some natural character to the space it may have been different.
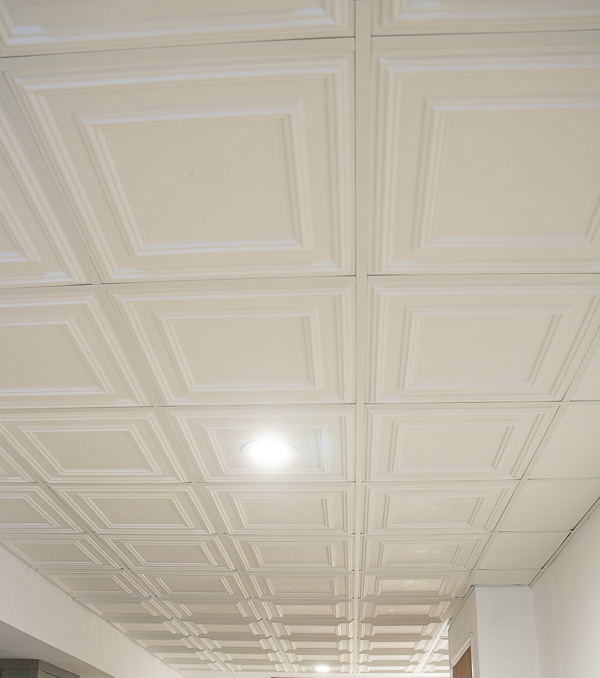
These are the tiles we chose! Now, we came to find out after installing the entire basement that we actually put them upside down…but I loved how they looked this direction. It felt like it had a little more added character but still with clean lines.
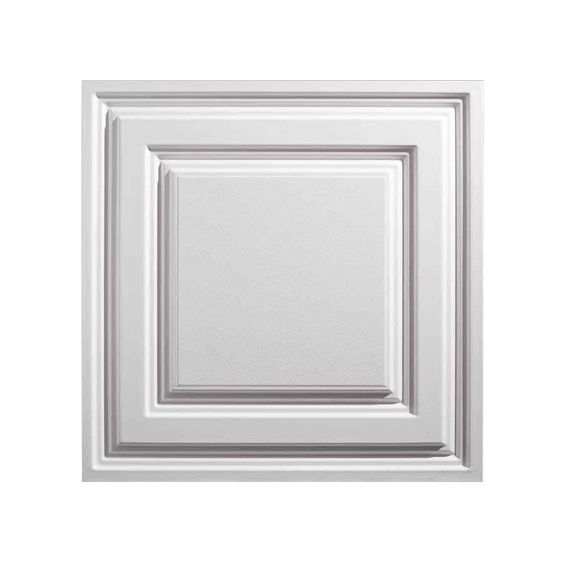
Something to add when installing the tiles, if the grids are not perfectly to size you can add plain boarders. We had to do that on the one side which really looks great. You can cut these, but I think the boarders make for a cleaner finish.
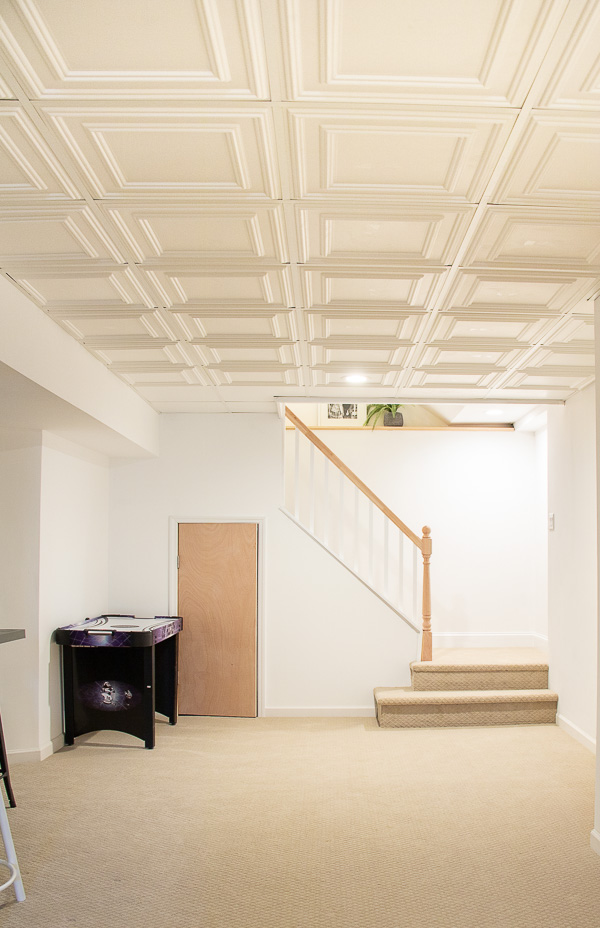
The space is still a bit of a work in progress, but after working almost the entire holiday break on it…we needed to part ways for a bit. I’ll share more plans for the space in the semi-reveal post.
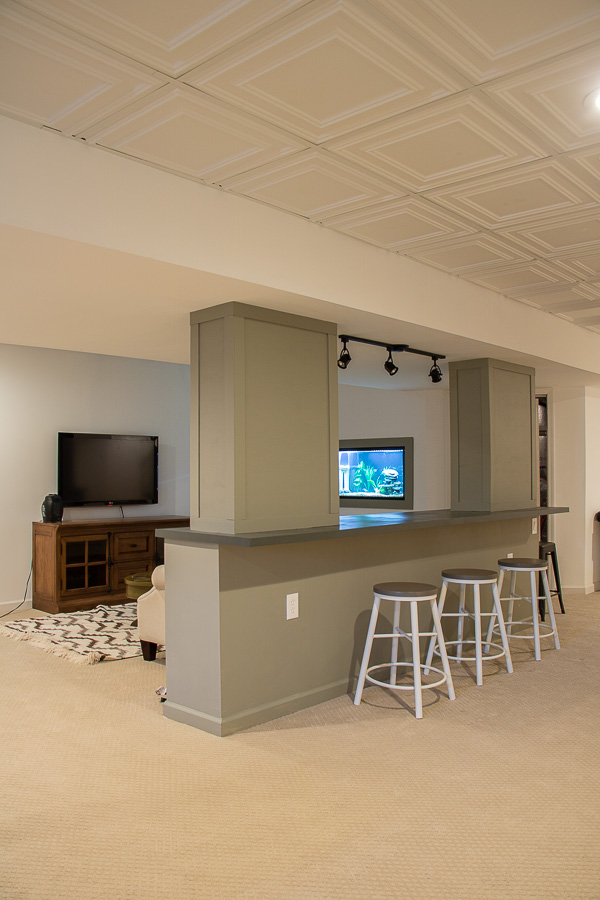
Well, that certainly made a difference, and we just love how beautiful and clean these tiles are. You may be wondering why we used a drop ceiling tile rather than sheet rocking the entire ceiling. Simple, we wanted to make sure we had access to everything like plumbing and electric.
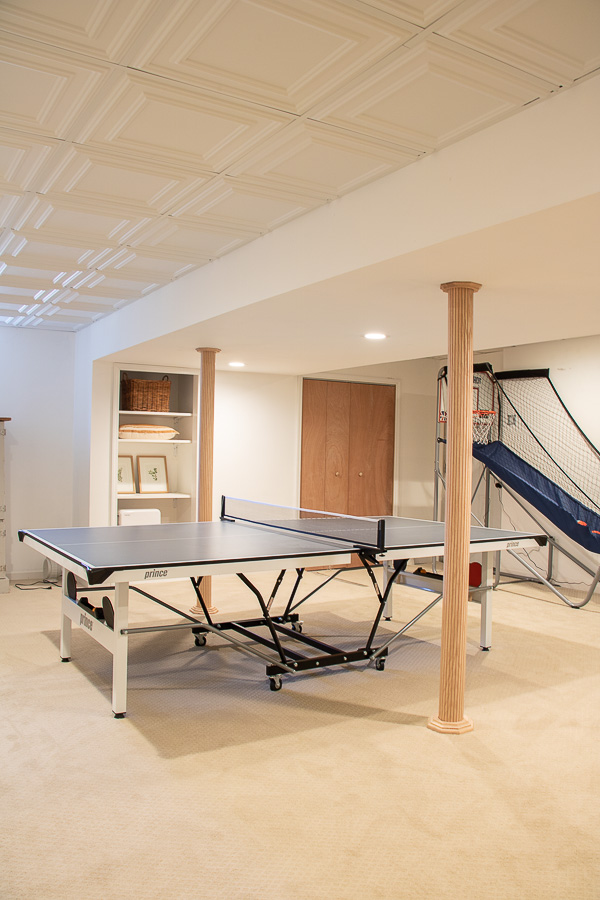
Anyway I thought I would share, because maybe you weren’t aware of this product or idea for your basement or any drop ceiling space you may be making over.
DIY Decor store sent everything right away too which I love how fast everything arrived at our door step rather than having to pick up from a hardware store.
Please Pin
