Old Fashion DIY Tree Swing
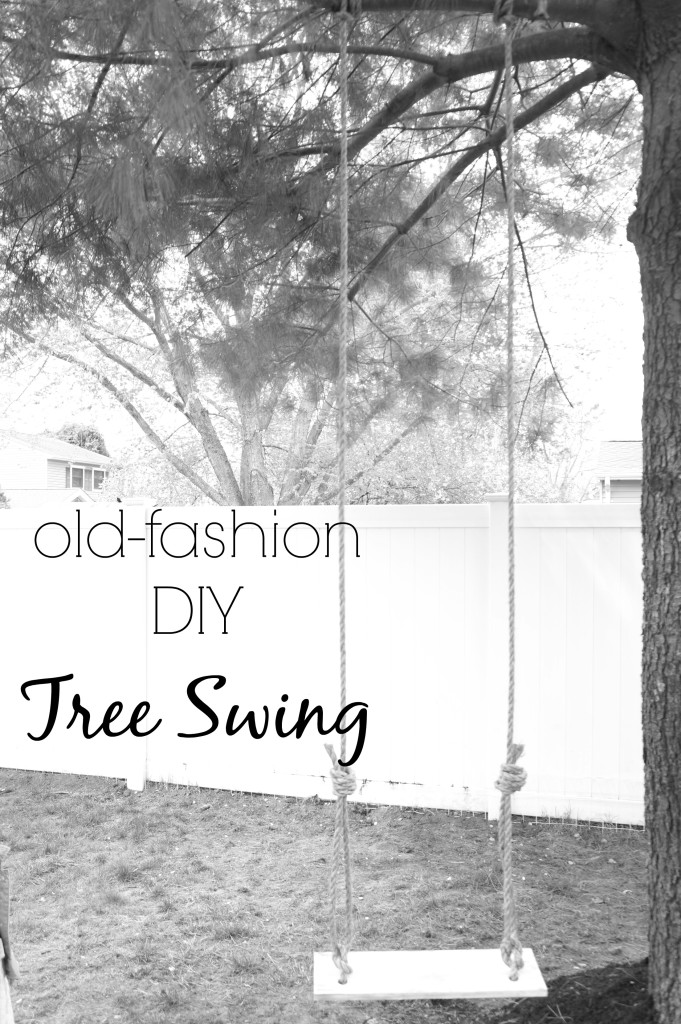
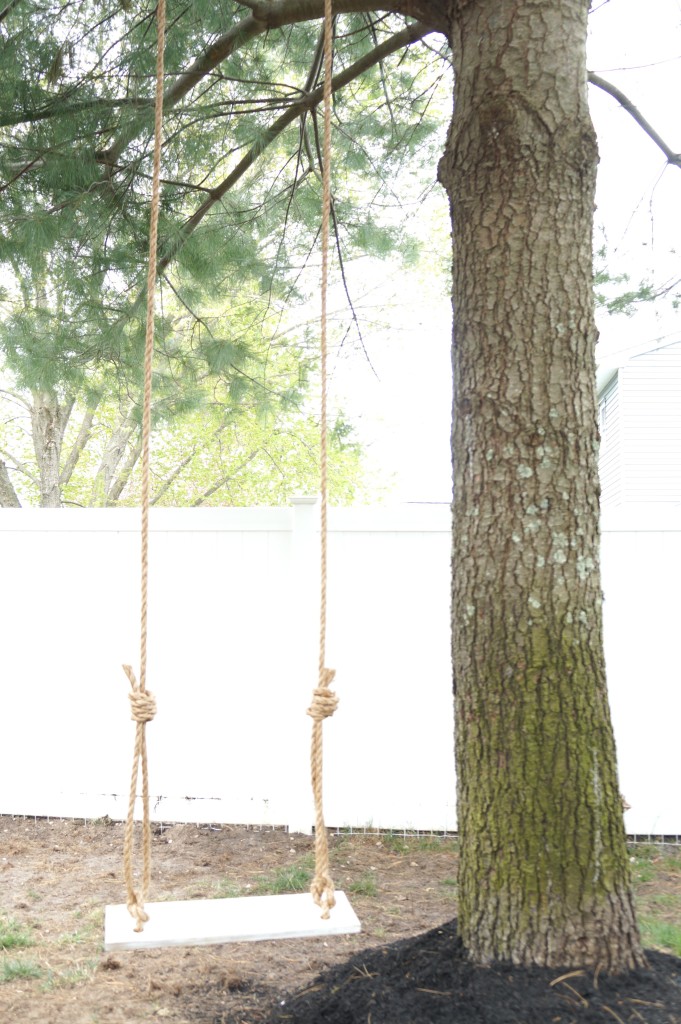
Hi friends! If you haven’t caught my blog post on how to build a DIY Vintage Tree Swing, over at Angie’s list…I am excited to be sharing it here today. . Who loves a great DIY, that’s affordable, easy, and great for the kiddo’s?! Well, I got just that for ya today! The classic look of a wooden tree swing hanging in your backyard has a nostalgic presence and I wanted to achieve the same look in our yard. Here’s how I created an Old Fashion DIY Tree Swing.
So, I have been wanting a tree swing I think since I was a kid. Since I grew up in PA, that probably would have been very possible growing up in the middle of the woods. Unfortunately, my dad was not really the “handy” type. So, thankful for the hubby and I being DIY King and Queen’s (not really), we decided to try it for our kiddos.
Materials
This post contains affiliate links for your convenience.
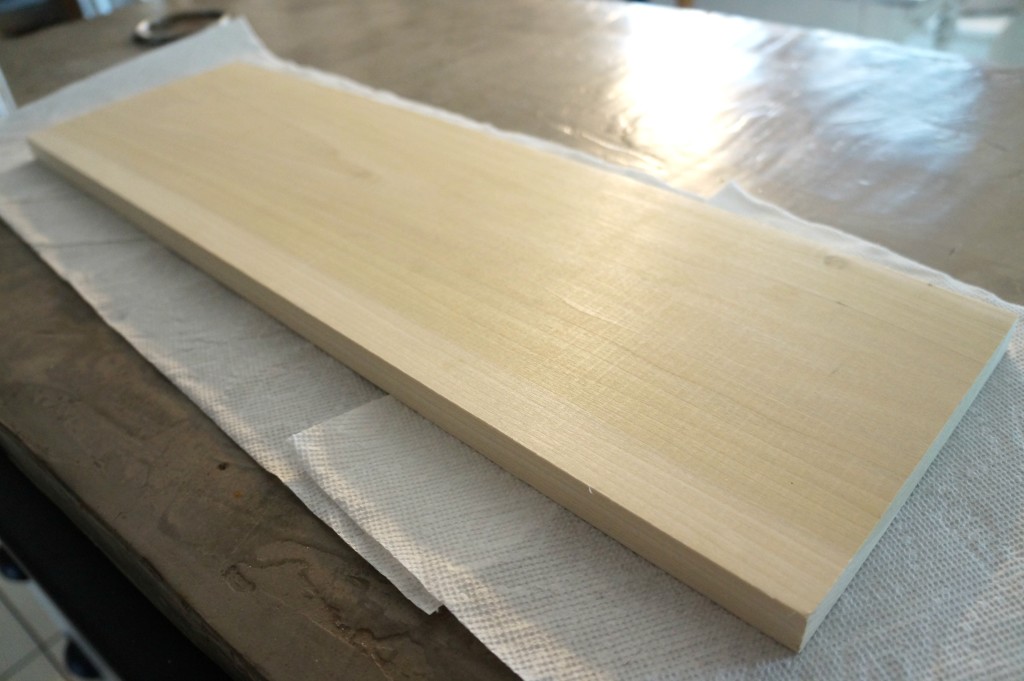
Wood: Our piece was pre-cut measures: 7″x 24″
Rope: Synthetic lasts longer, but I chose to go with a natural fiber rope for more of the authentic look
Paint
Stain or Dark Wax (as I used)
Lighter (for finishing frayed edges of rope)
Sandpaper
Drill
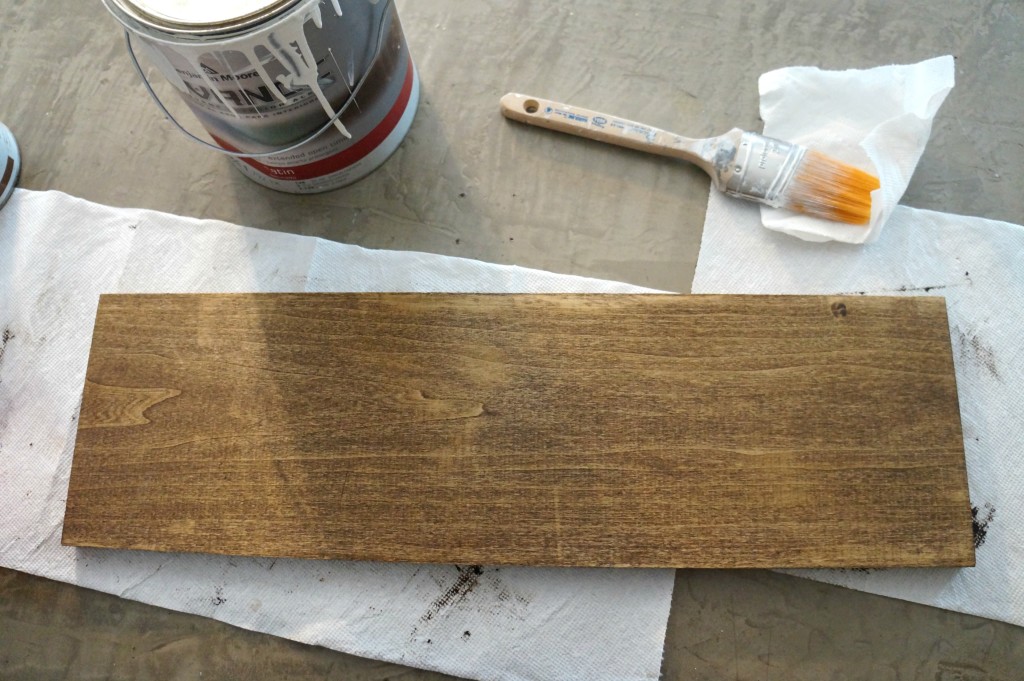
So once you have your wood, it’s time to stain the wood. I chose to use my Annie Sloan Dark Wax for this. It’s just easier, less messy, and dries instantly so I did not have to wait to paint.
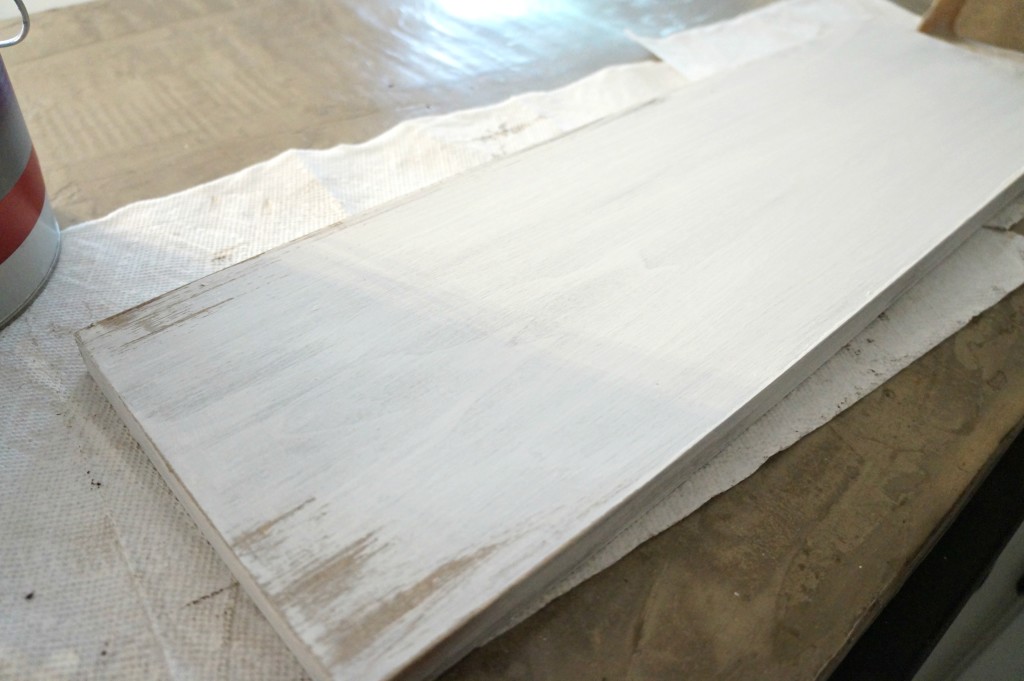
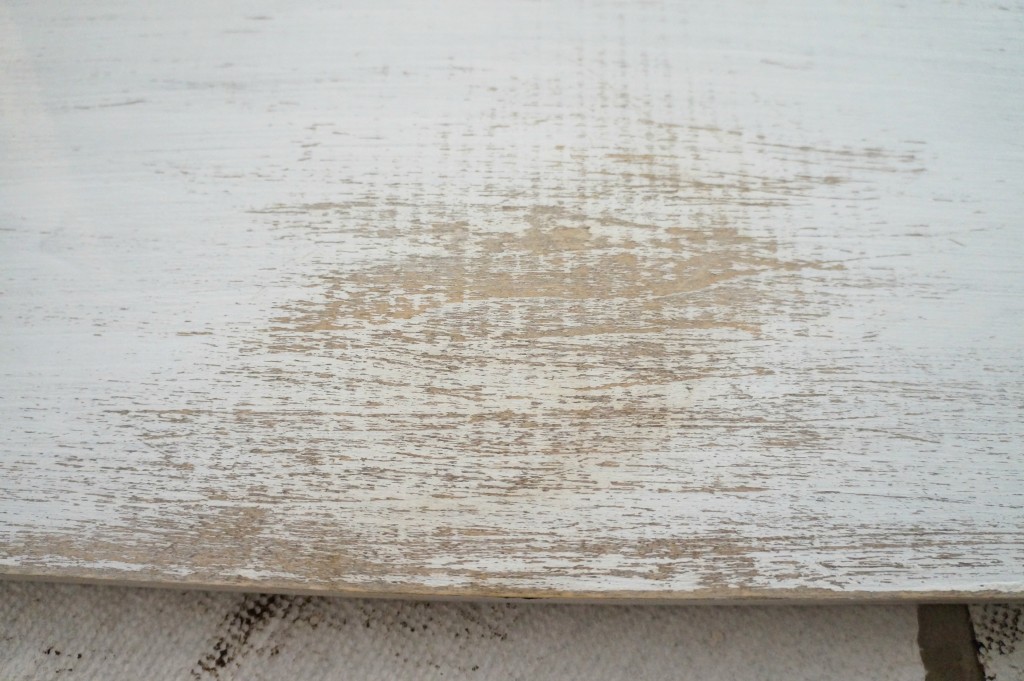
Once, waxed or stained then time to paint. Since I am going for an Old Fashion Tree Swing, I chose to distress the swing for a true vintage feel. If you’re not familiar with my blog I LOVE vintage and chippy paint, so this is pretty typical for me to do. Just use some sandpaper to remove some paint, exposing the stain/dark wax.
I made sure to really distress the center of the swing since that’s where natural wear and tear would be from sitting and gliding.
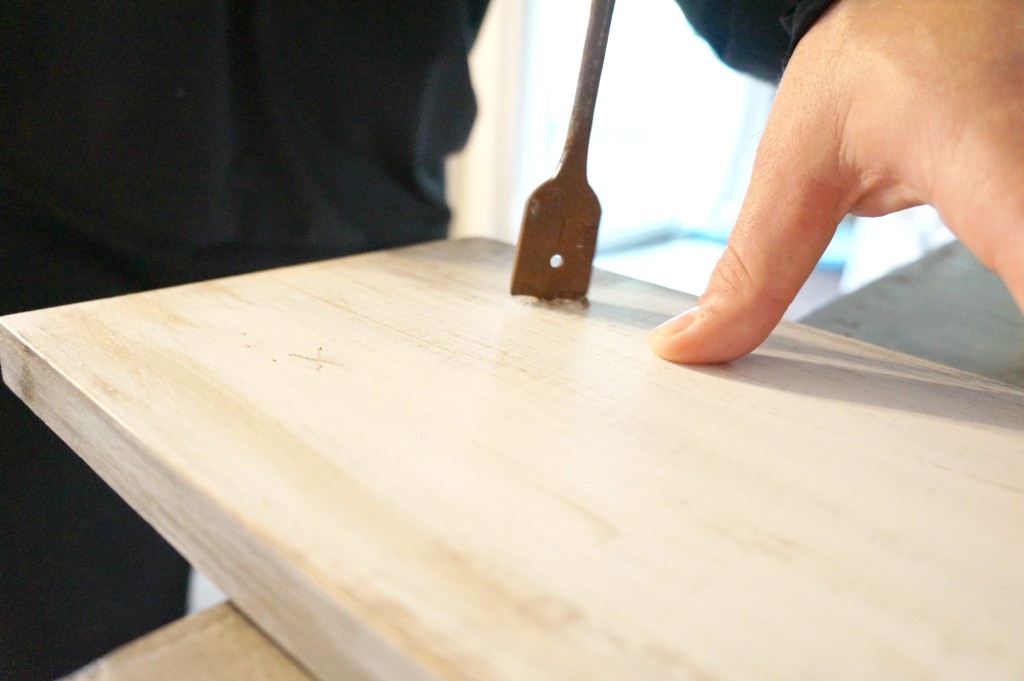
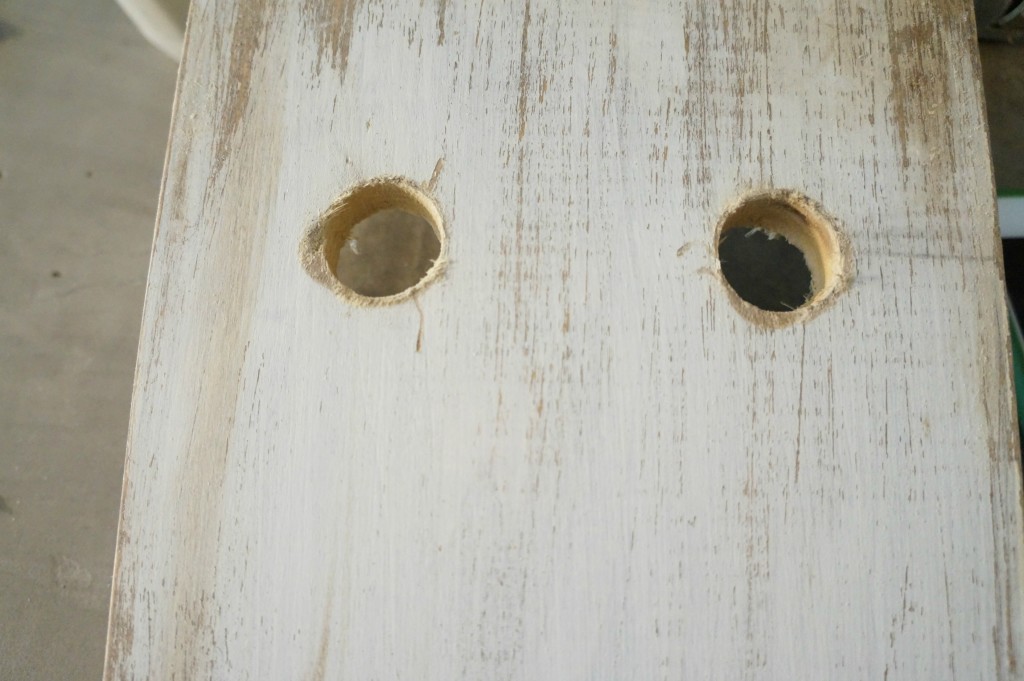
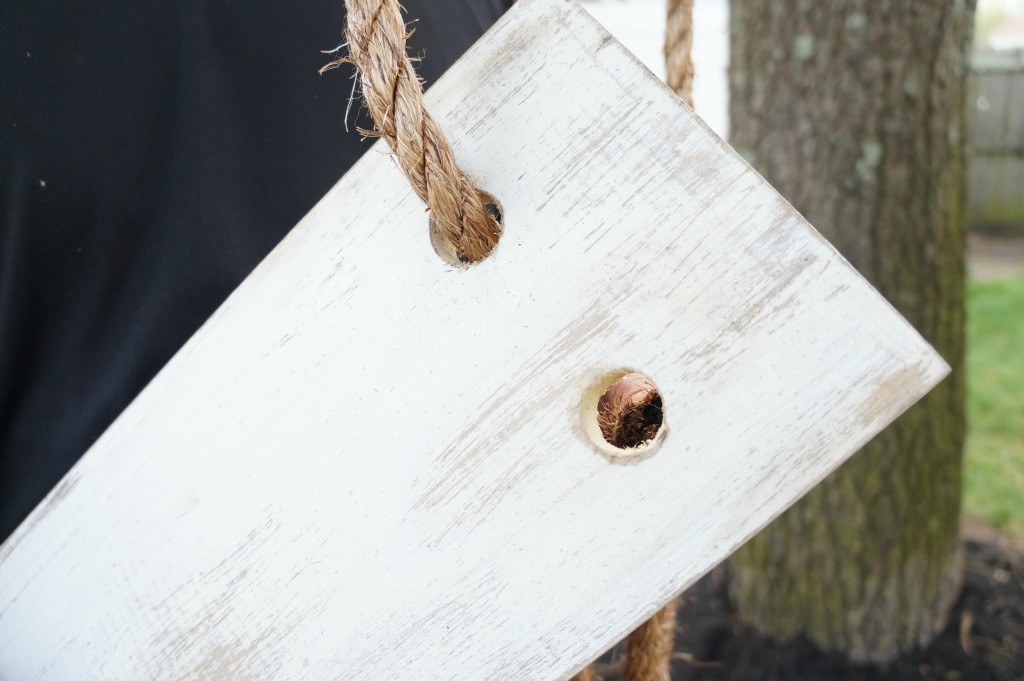
Next, once paint is dry time to add the holes for where the rope will be pulled through. Be sure to measure evenly. I chose 3″ from the bottom, and 2″ from the side. Drill into the wood, using a 1″ spade bit.
Once, you have all four holes, next it’s time to head outside to the outdoors. Pick that lucky branch and lets get started on the rope knot.
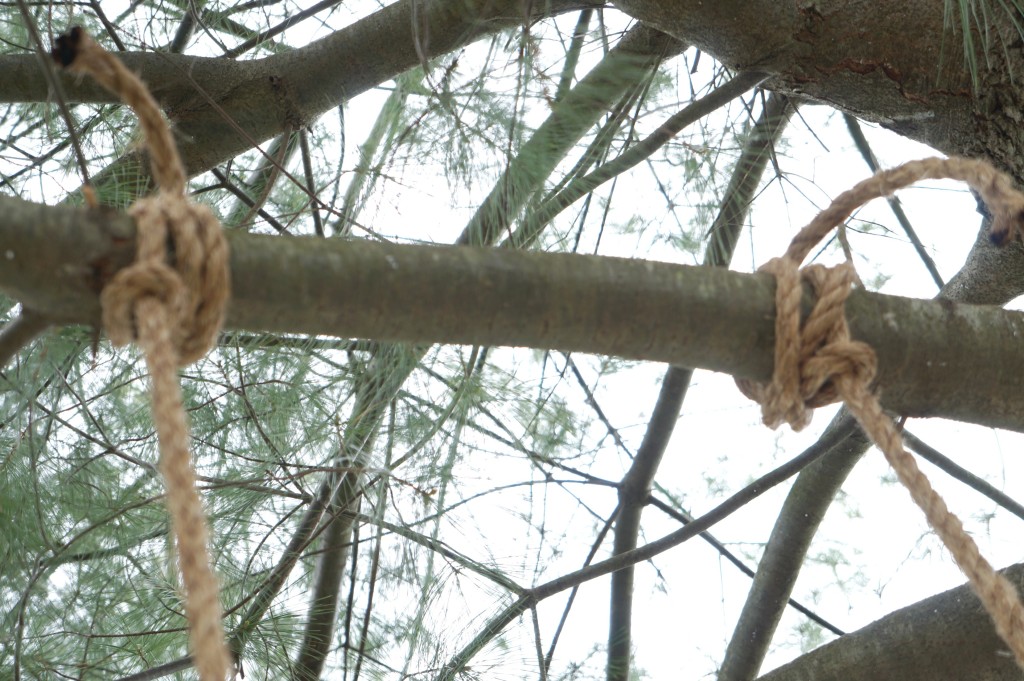
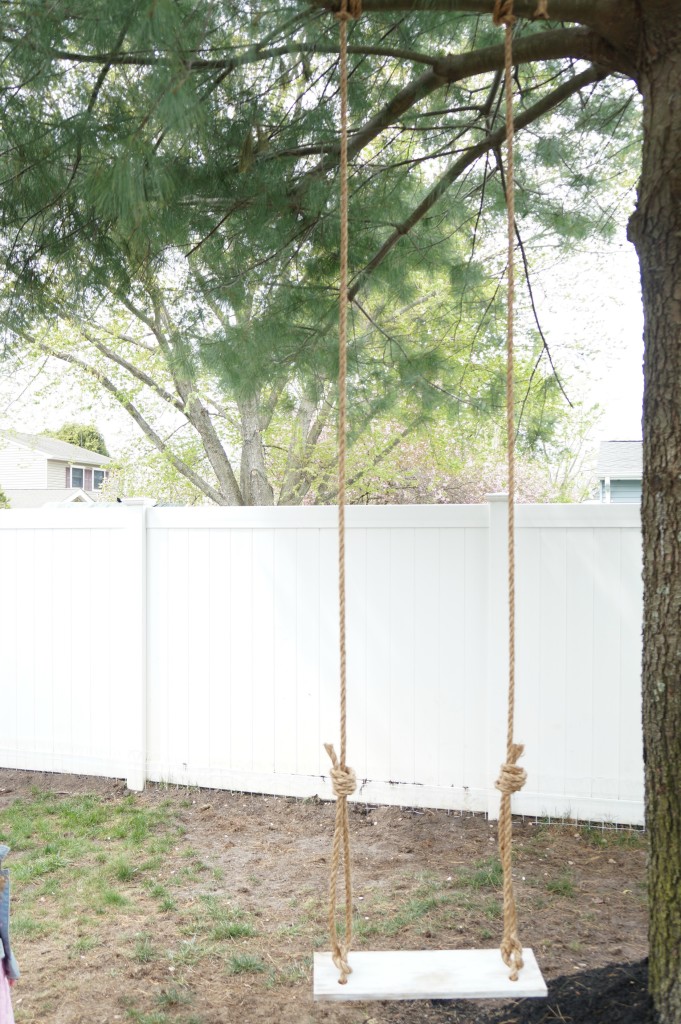
As you can see I used a Double Running Bowline Knot to secure the rope to the branch. I faced my fears, climbed the ladder, and did my first ever Boyscout knot I’ve ever done! Woo-hoo it was EASY!
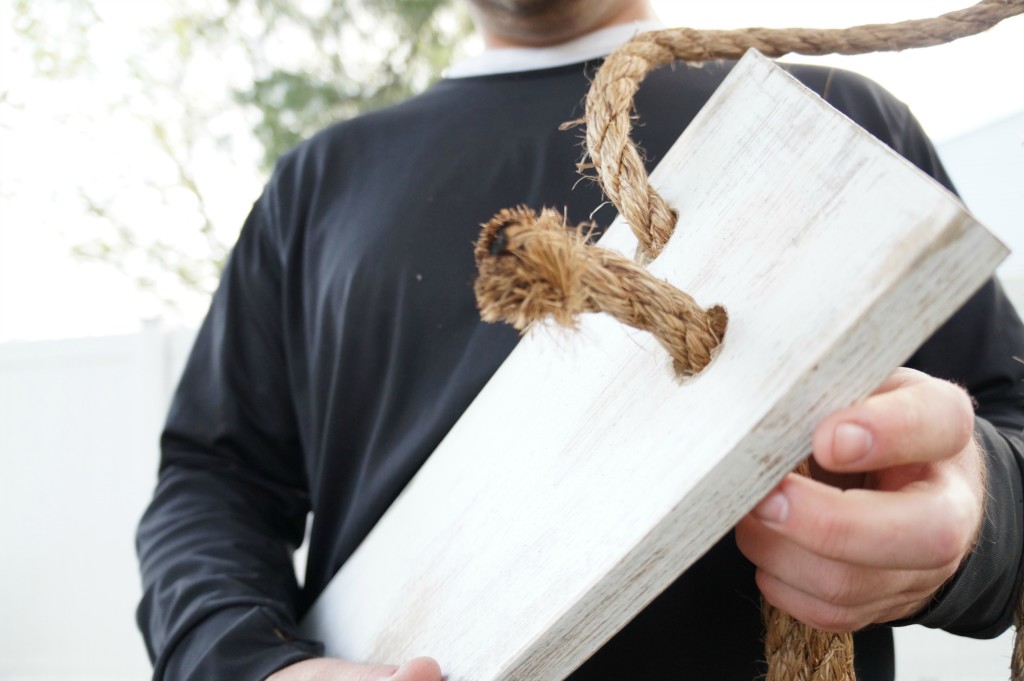
Next, use the remaining rope to weave through the two holes.
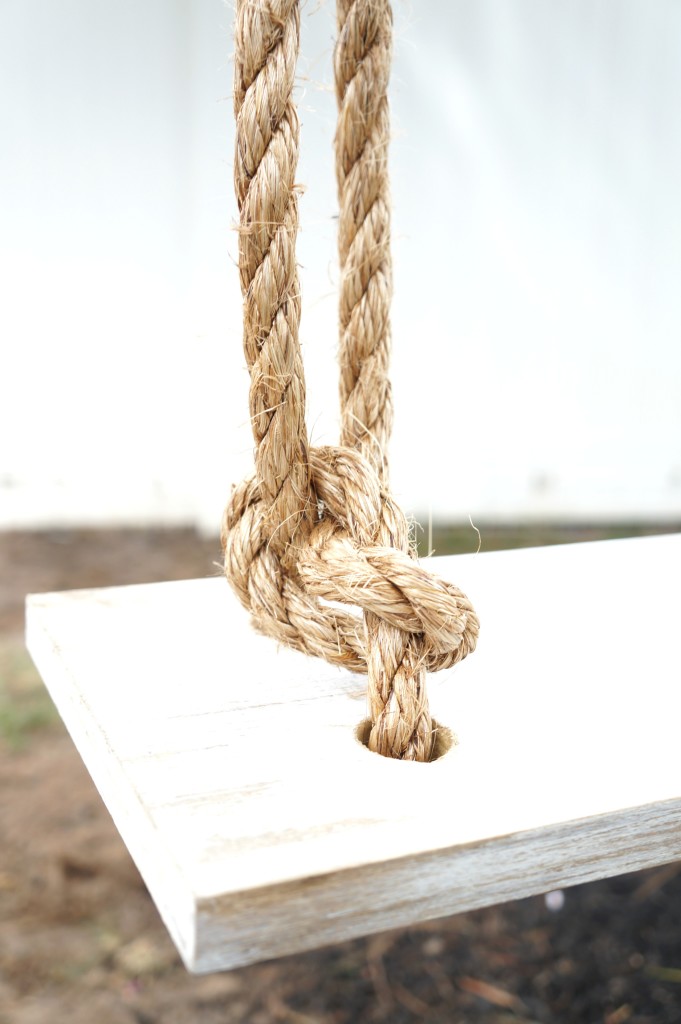
Okay, now is when it gets a bit tricky. I swear I was working on this for a good amount of time. If you know your knots this should be a breeze, but I had to watch a few Youtube videos and tutorials to figure this one out. I chose to do a knot just above the seat of the swing for more security. Some of the tutorials I had watched skipped this part…but this is me we’re talking about the more the knots, the better. We want a secure swing after all…so safety first!
Once, you got your basic knot now it’s time for that tricky knot. Now I really wanted an authentic look for the Old Fashion swing, so take your time. Start, by wrapping the end of the rope around the other rope (4x’s) going upward. Once you got this, you want to swing rope down the outside of what you just made and pull rope end up through the center and out to secure. Repeat on other end but make sure that the swing is level first.
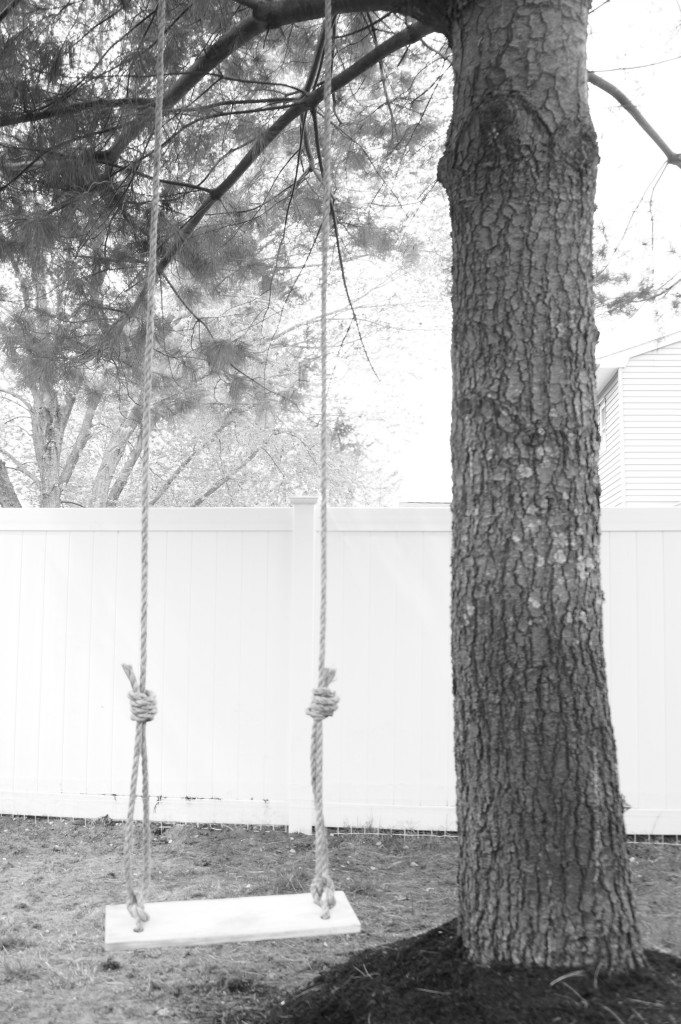
and there you got it! An Old Fashion Tree Swing!
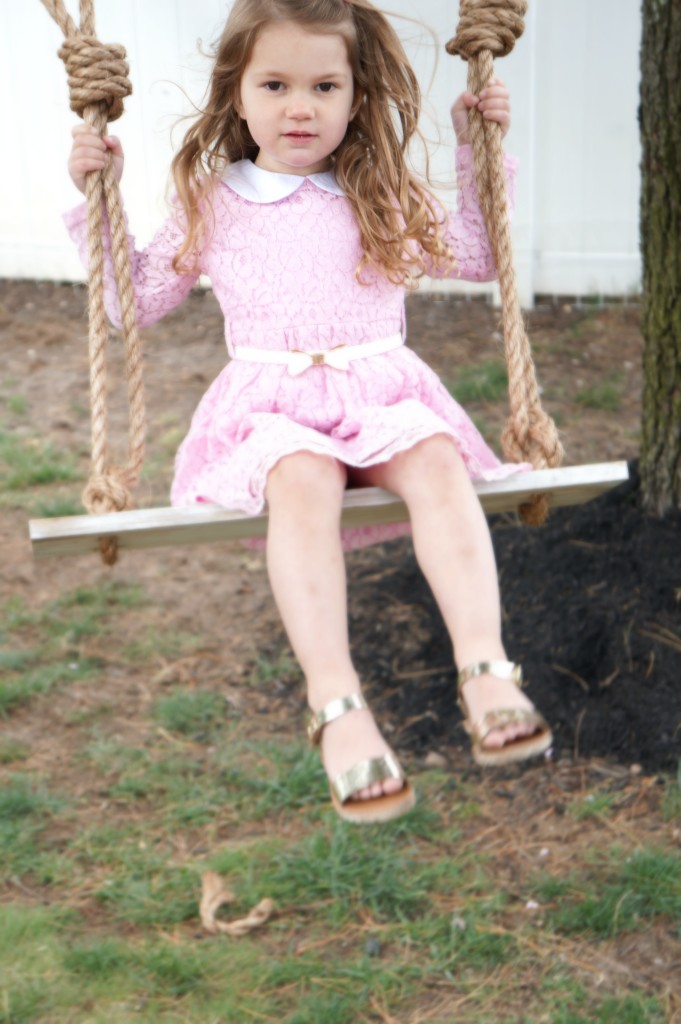
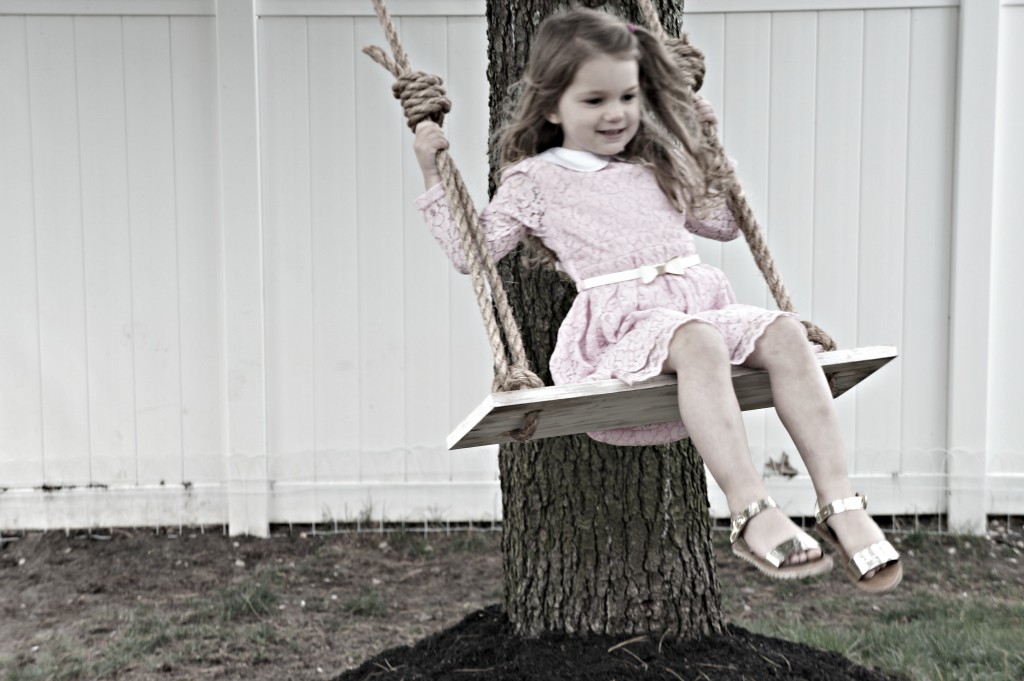
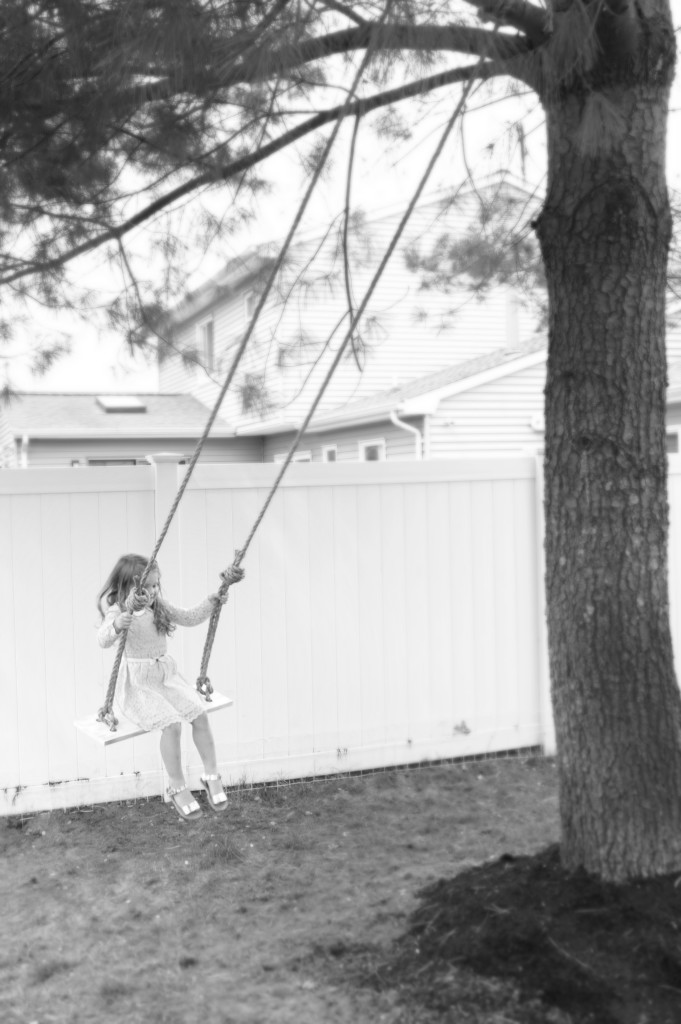
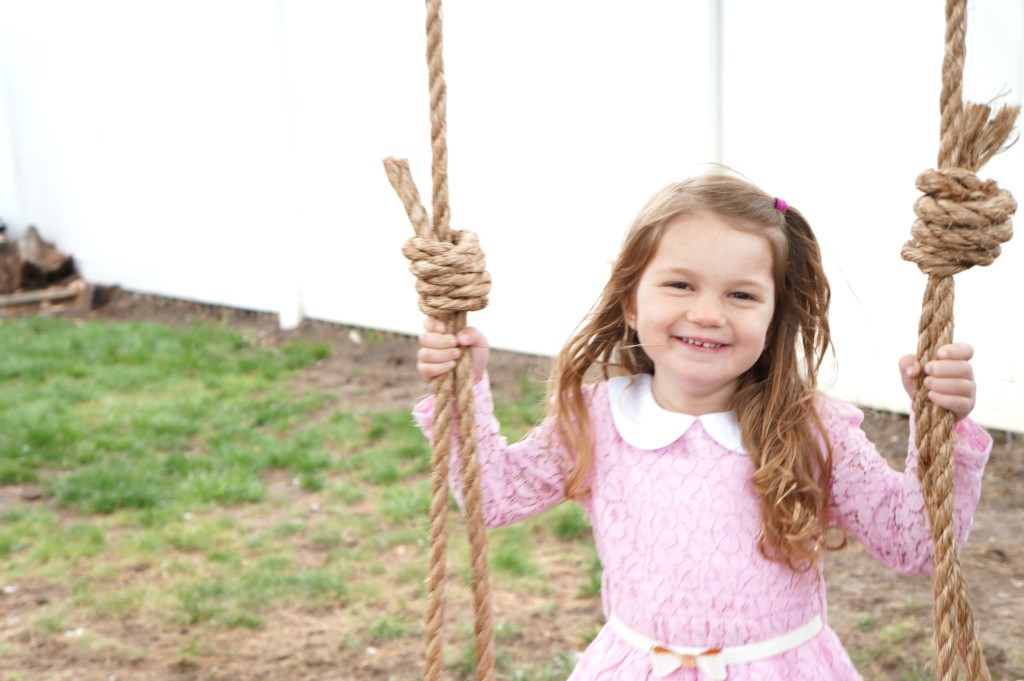
Now, a swing is no fun unless you got a cute little one asking for some pushes.
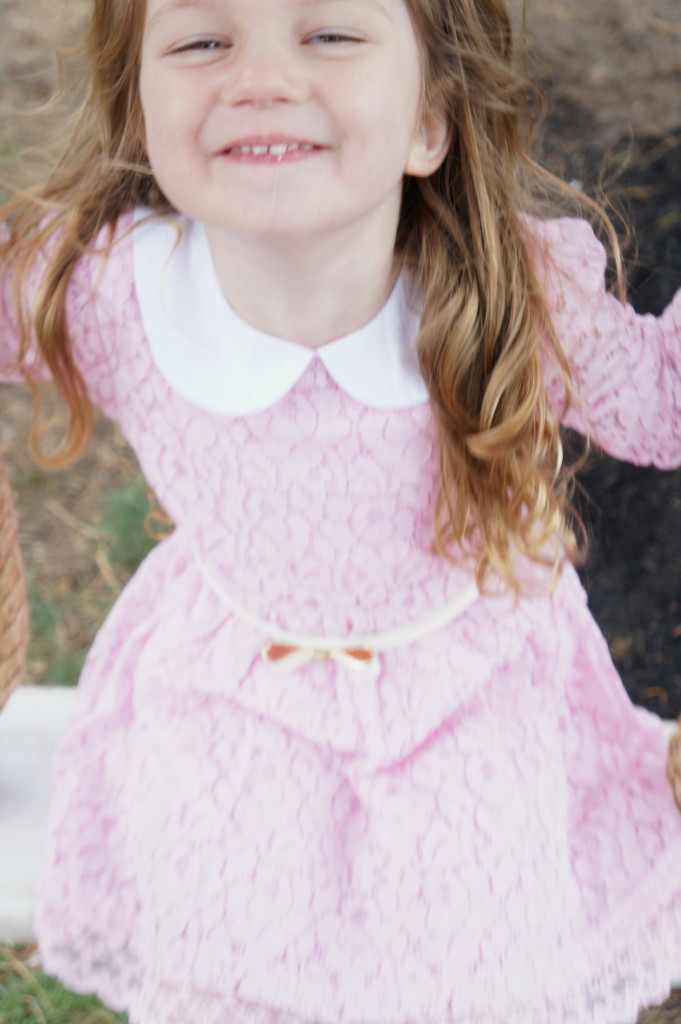
You think she loves it? I think by the last photo you can tell…right?
Oh, one problem..I got two kiddos, and one swing, I may need to make our backyard one more!
Have fun, this one your kids will love…and be sure to test it out before you place your little ones on.
Please Pin




Love it! So very sweet!
Samantha recently posted…Quick + Easy Upholstered Bench Cushion
Thanks Samantha!
This is soo cute! I wish I had a big tree to support the swing. I’ve always wanted one in my backyard. 🙁 Perhaps at our new house. Pinning for later.
Are you moving??? we love having it, I’m fortunate the tree we have worked out for a swing.
Sooo sweet! There’s something about tree swings that remind me of the good ole’ days! xo Love it!
Kendra @ http://www.joyinourhome.com recently posted…Repurposed Living Room End Table {Thrifted Item Makeover)