


Besides my love for European styled spaces I also have a big thing about texture! I love any styled space as long as it has added texture. Its something that brings any room to life whether its a white on white room or has color and patterns…each space needs a bit of texture to bring warmth and interest. So today’s DIY project did all that for us in our laundry room. The funny thing is we weren’t even planning to put this in our laundry room, but I love plan B! So the texture I am talking about is with a rug and I don’t mean on your floor…nope in this case we brought the rug to wall with this simple and easy DIY rug art!
Supplies for making Rug Art:
- An old Rug (any size you prefer the one I used is an 8×10 cut down to 6×8)
- 1×2 pine boards
- 1×2 premium pine
- Staple Gun
- Nail Gun
- Scissors/razor
- Stain ( I used a gel stain)
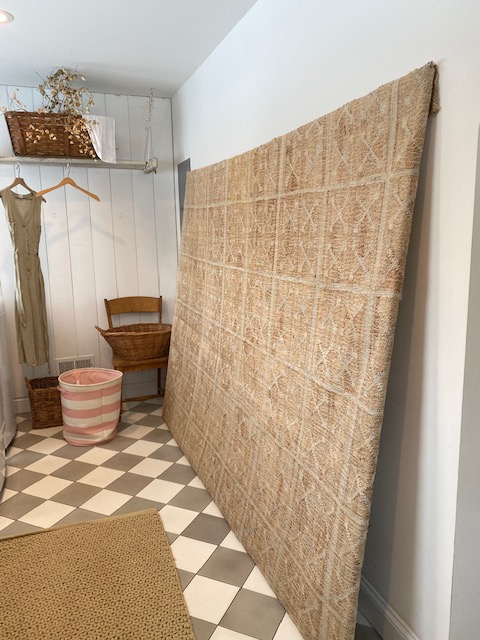
The story behind our gorgeous rug is that it ripped and curled and just wasn’t working in our dining room space anymore. I think if it wasn’t such a high traffic area it would have survived, but this family of mine really beats my house up. I was so sad about getting rid of it so I just rolled it up and stored it in my décor closet until I figured out what to do with it. I really wanted to use it again and so then in the middle of the night last week I woke up with this idea. How about framing the rug and hanging it up on the wall. I’ve seen rug art before especially in other cultures and it’s fabulous, but…I didn’t just want it to hang it, I wanted to give it a frame and more structure. Most of them are hung from something that looks like a curtain rod. We picked up our supplies and spent half of Valentine’s Day assembling this not-so-little rug art.
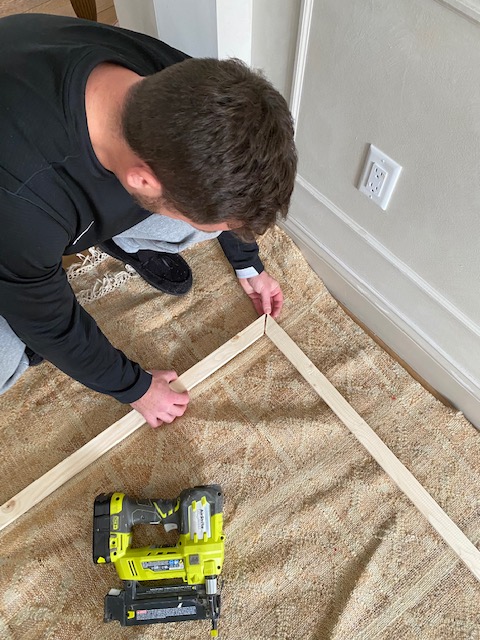
Step 1: Build your frame! Take your “crappy” pine pieces and cut to size. We did ours with 45 degree angles, but don’t tell hubby we def did not need to do that. Attach the frame together using both nail gun and staple gun. Keep in mind that this is going to be pretty flimsy but it’ll be fine once you get it up on the wall.
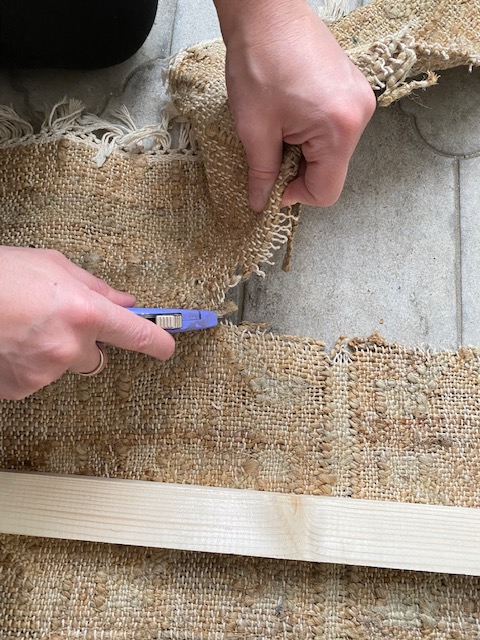
Then lay out your frame on top of the backside of carpet. Cut carpet about 4-5″ past your frame border. Staple the fabric over top of your frame. Continue all around and be sure to pull tight to get a nice stiff fabric.

From here we hung the fabric framed art to the wall using screws. Hubby thought it would be best just screwing right into the frame and into the wall. Do what works for you, but with the weight of the piece we thought this was best.
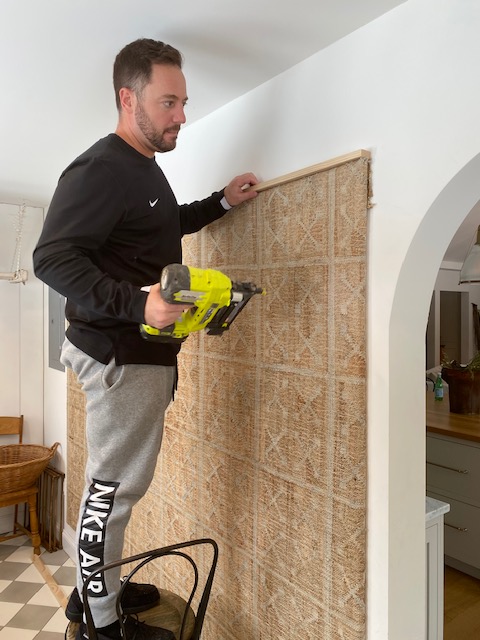
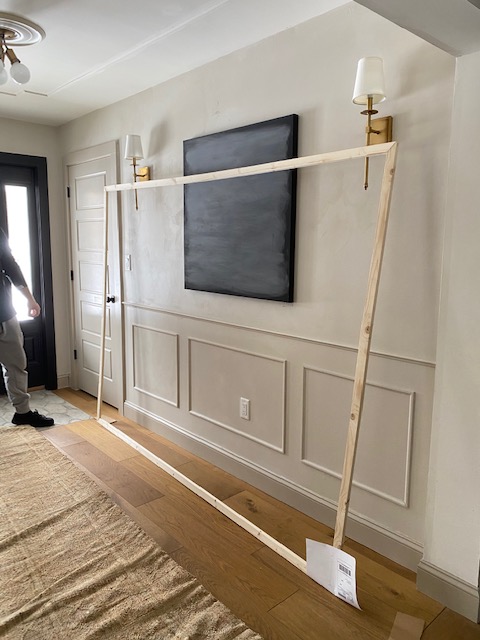
Next, build your frame. This is where I proved my argument right from the day before we needed longer pieces then our frame, but hubby insisted 8′ pieces were fine. Well, they weren’t so we had to compromise and couldn’t do 45 degree cuts and just butt our pieces up together. Which is fine, but I would have preferred a picture frame corner.
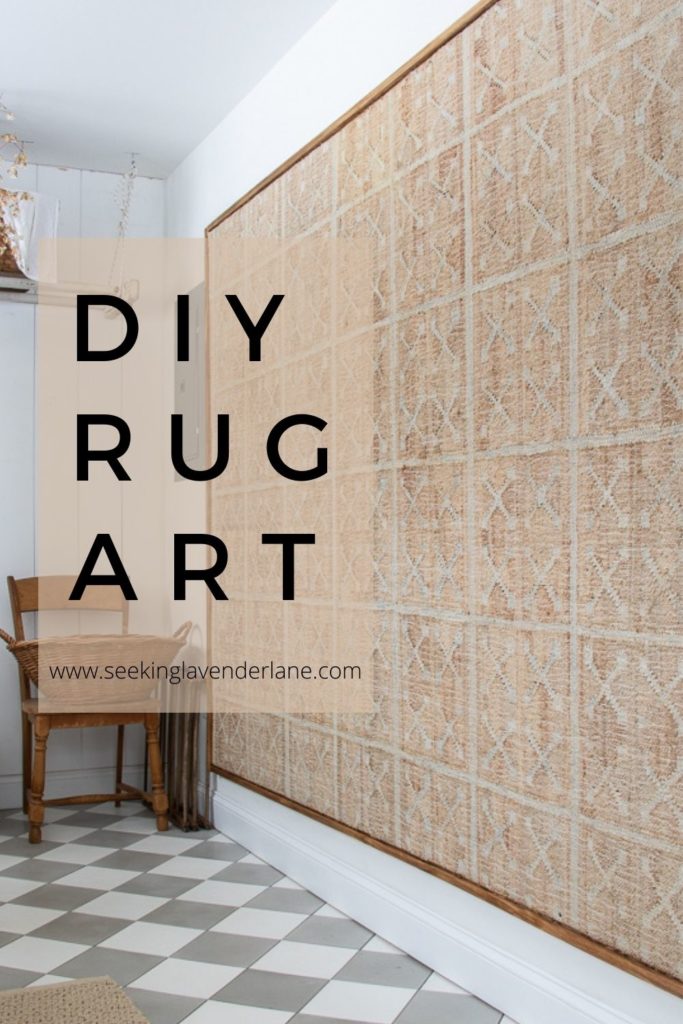
It’s so big it’s hard to photograph!
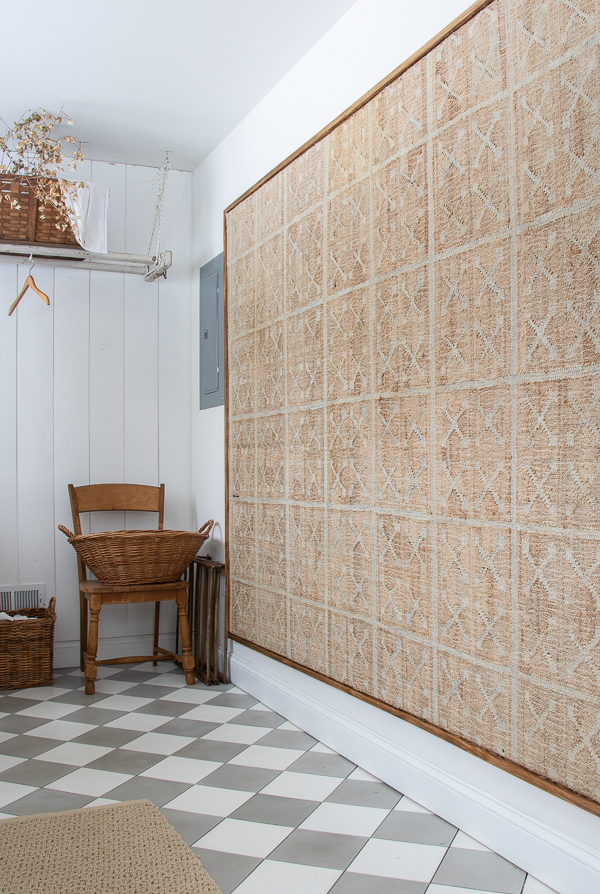
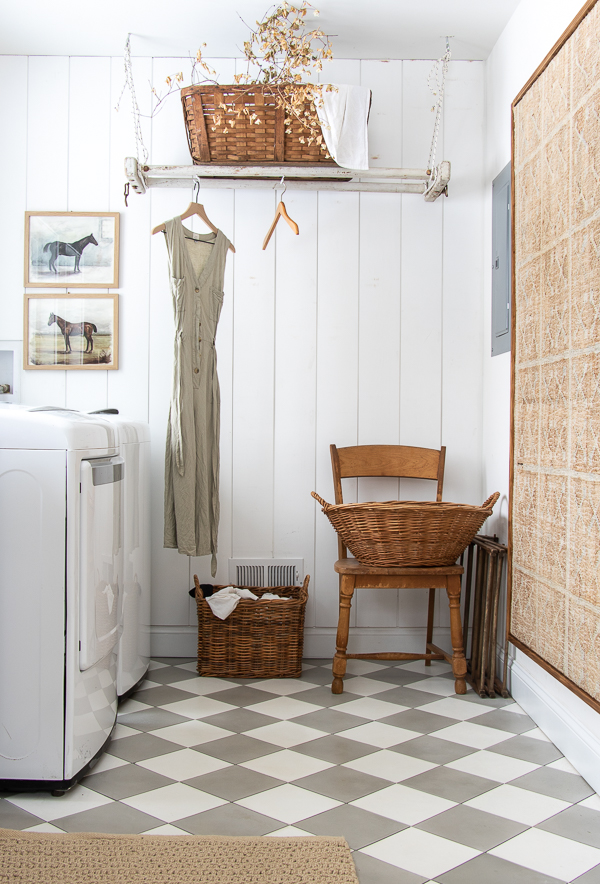
We nailed the frame directly into the frame and then I stained over top. Super easy….and now we have this dramatic textured rug art! Its the perfect way to bring interest to a room and especially for those awkward blank walls. I think this could be done in so many different ways, so def consider a headboard, ceiling art, a gallery wall with a bunch of small rugs…the creative possibilities are endless! I hope this inspires your next home project!
-Deb
PLEASE PIN!!!!!!


12 Responses
It turned out so awesome Deb! What a fun, creative, genius idea.
This is so inspiring!! I love that you repurposed this favorite rug. I have always loved this rug in your dining room. Is Wayfair still selling it? Also, what color/brand of stain did you use on your frame? It all looks fantastic and is such a cost effective way to have a huge piece of art. Thanks for sharing!
You can still get it on rugs USA. I just reversed searched it on Pinterest and it popped up!
Hi so sorry but you turned it around it looks great!! I love my dinning room rug also, it was a splurge so I get it, but honestly it looks so good, good thinking!!
So pretty, Deb. Blessings.
It looks beautiful on your wall!
Thank Sheila!
What a clever and great upcycle idea! Looks like an expense art piece.
Good idea to repurpose into art! Looks great. Creative thinking.
I love it! How very ingenious and resourceful.
Thank you Shelly!
Deb I love this so much! I need a space for something like this now…you have me dreaming!