Updating an Old Playground
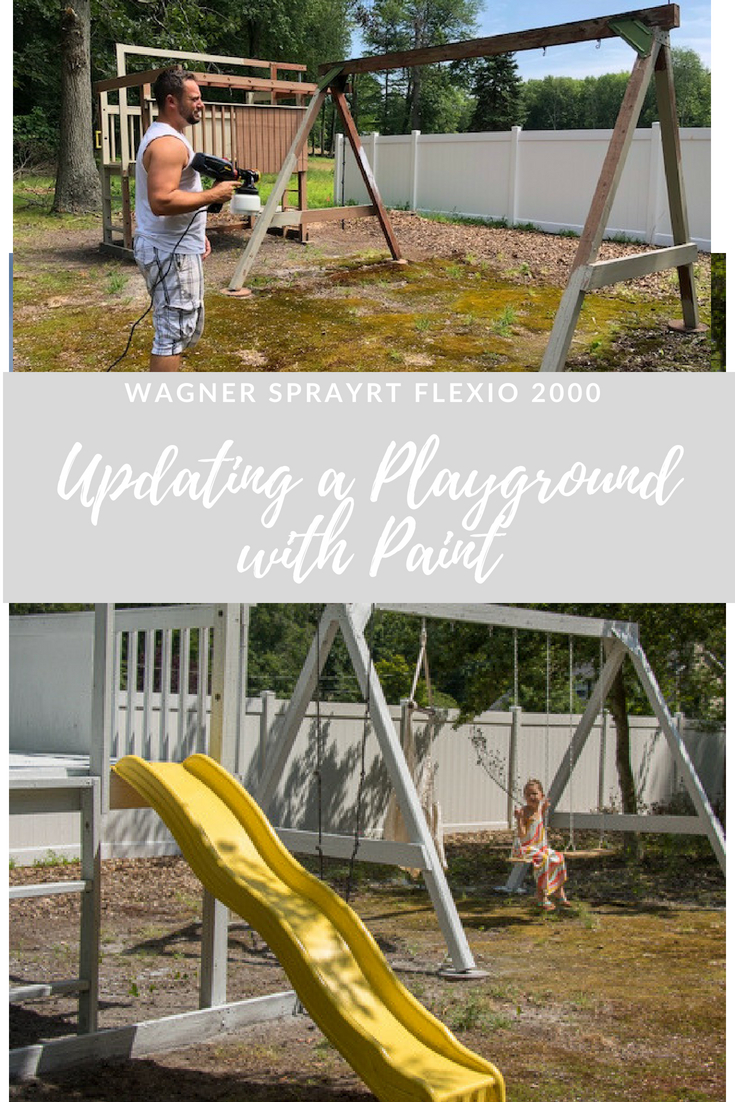
So, the housing project is coming along and the RV project is just about done…so what do we do? We work on the Playground! When we first saw the property we saw that the last family had left this kind of yucky swing set behind. The one nice thing it was solid wood and we figured maybe with some new swings and some paint and a little reinforcing we could really make the playground nice again. You know my answer to most design problems is paint! So I figured we could for sure spray the playground with some fresh white paint or something neutral to just give it a new look. Our kids will probably only be using the playground for a couple more years so no need to go buy a new one (I mean not that we have that in our budget or anything). Paint and some screws and a few DIY swings could really make this eyesore of a playground come to life again.
This is a collaborative post with Wagner, all opinions are 100% my own.
I was fortunate enough to receive a new sprayer FLEXIO 2000 Wagner Sprayer, which made this job easy peasy! I couldn’t imagine taking a project like this on with a roller. The time put into the project goes a lot quicker and is much more efficient. This sprayer has two different settings which I love and can paint a wall up to 8x’s faster than with a brush. You know leaving time to still head to the beach or for us a Sunflower Farm with the fam. Because if you’re like me during the summer I want to be sure I have plenty of fun time left after a project on the weekends.

Products used for Painting an Outdated Playground
Wagner Sprayer (this is the one we used)
Paint/Primer
Gloves and Paint clothes (it get’s a bit messy)
So, the sprayer was easy to use. We just added paint to the container, tested it out first with just some water, and on our way we went. We loved the easiness of it and my husband was really impressed with the overall product…and I was impressed with him getting it done without complaining (That’s a WIN).
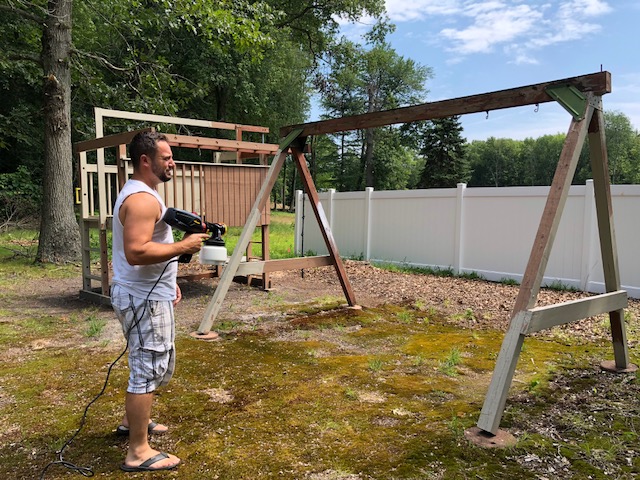
See how it really needed some LOVE? At this point hubby already reinforced everything so this way it was ready to go and safe.
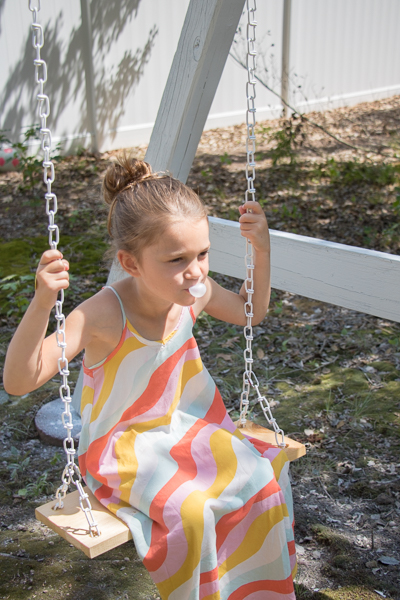
We made some wooden swings using the same tutorial as HERE, but used a white chain instead of rope since it would be easier to hang.
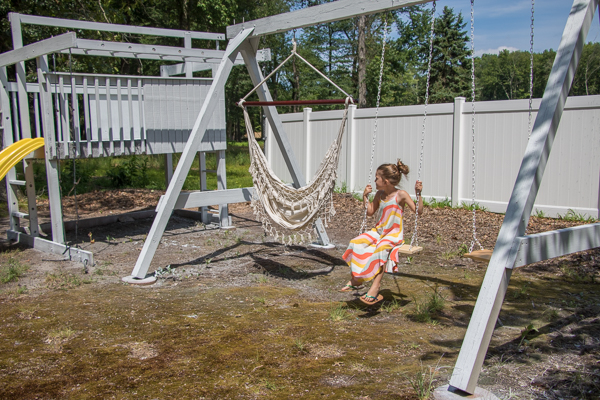
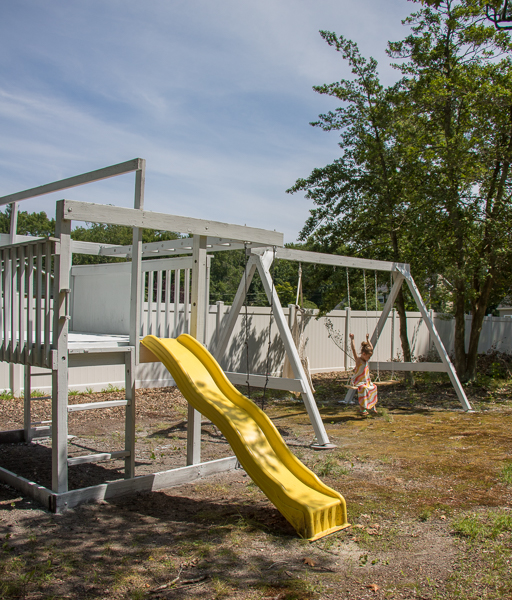
I’d love to eventually put some pea-gravel or wood chips under the swings but I’m saving that for next year. With the property not being so pretty and all the construction no point in doing too much work, but I think that would look beautiful. Also, we are trying to find a tarp to add to the top. I think I may want to do black and white stripes to make a bold statement.
The Hammock was a last minute decision but I think that may be my favorite part! Now mama can also enjoy the swings ; )
Please Pin
See more Easy Summer Wagner Sprayer projects!
Painting a Windsor Bench with Robb Restyle
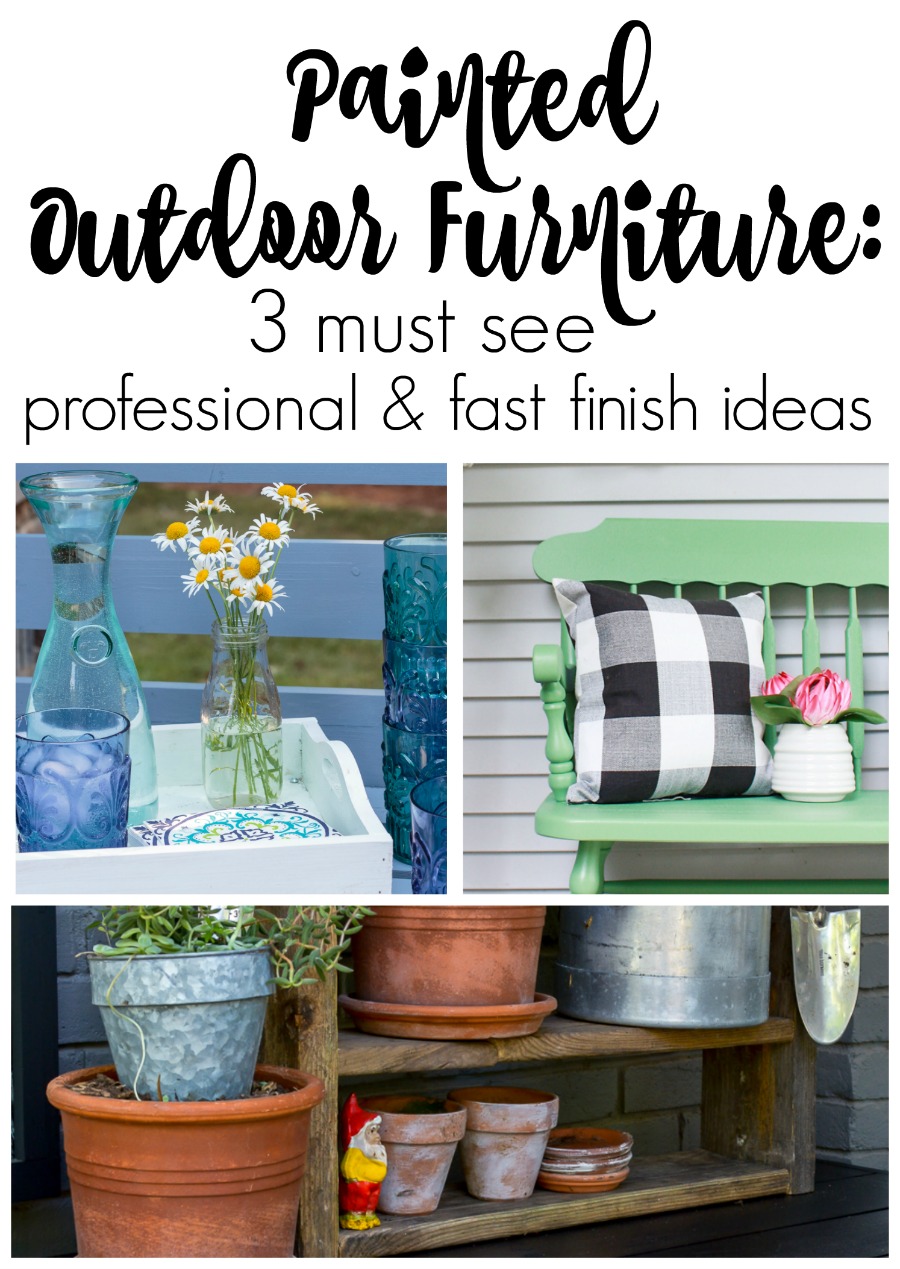
Patio Furniture Makeover with Atta Girl Says


Love the hammock. Where did you purchase?
Hi Beverly, here’s my affiliate link for the hammock: http://bit.ly/2vdc07O
Outdoor furniture is lookin’ good.
?hugs. ~linda of no.cal.
Wow! It looks like new! I’m sure the kids are enjoying it. Maybe you can read in the hammock while they play! I’m so happy for you that you got a sprayer!
Paint really does wonders to furniture, don’t they? Plus I love that there is a hammock hanging there! Hoping to do the same with mine 🙂
Thanks Karen! Yes, I’m so glad I hung the hammock here!
Beautiful transformation. Love the hammock addition too! Great tip on using the power sprayer but I can’t believe you posted a photo of the hubby in those pants….omg
LOL! That’s so funny Betty Lou…that’s my chip ; )