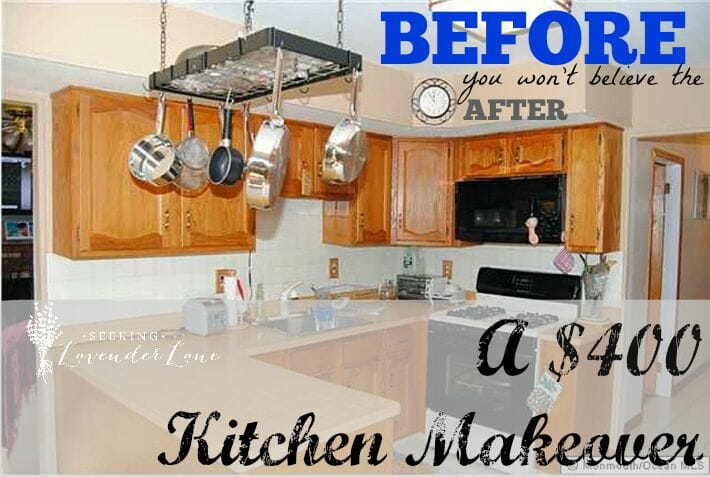
A $400 Kitchen Makeover
It’s time to reveal my kitchen makeover!!!
This by far has gotten so much attention and compliments from all our family and friends that have seen the before and after. We are so proud of all the hard work we had put into this project. It’s not all perfect, but knowing it was more than money put into the project we are so proud to call it ours. Everything here we did ourselves…I’ll take you step by step
1. Sanding the cabinets ugh…the most annoying part to the process. I think When I told my husband take the cabinets off week 2 of moving in, he thought I was crazy. I told him no time could be wasted…which he agreed, but once the reality set in and the sanding begun there was no turning back.
What did I care, those cabinets were so hideous I couldn’t wait one more day.
2. Next, Priming the cabinets using white primer from Benjamin Moore.
3.Painting the cabinets (3 times) We used Benjamin Moore Advance Paint. We felt it was a great product, but by the 3rd layer we felt maybe the priming was not necessary since it still took us 3 extra coats. We chose the color simply white which we were very happy with and continued to use this color throughout the house for other projects.
4. Once the Cabinets were done, we chose some “black finish” hardware. This cost us about $100 dollars probably one of the most expensive parts to the upgrade.
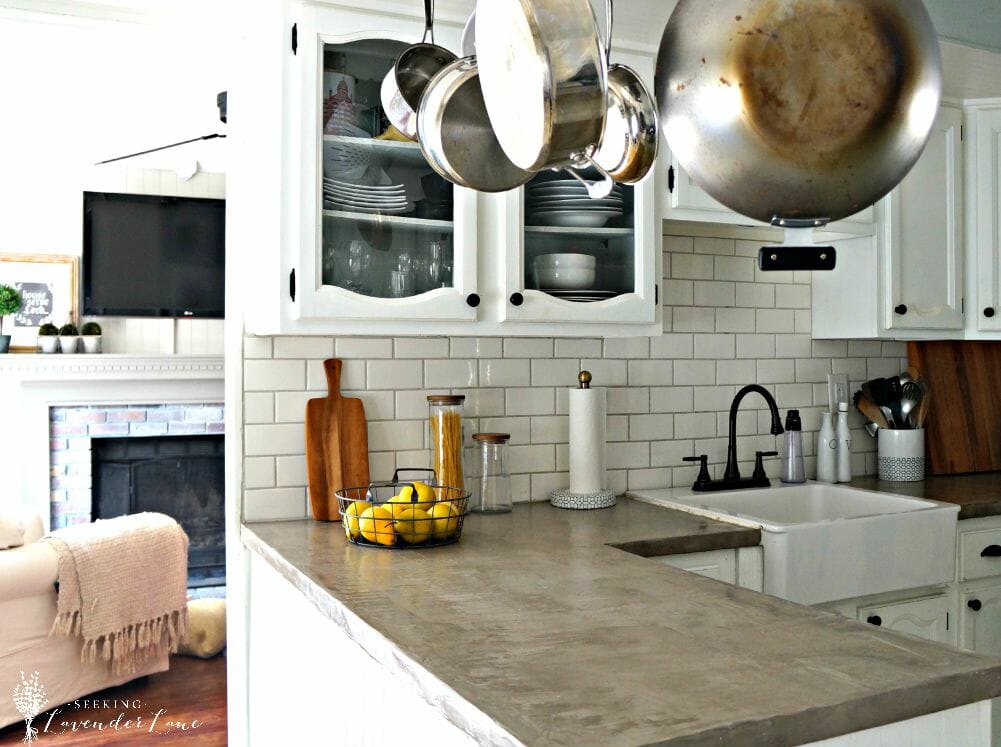
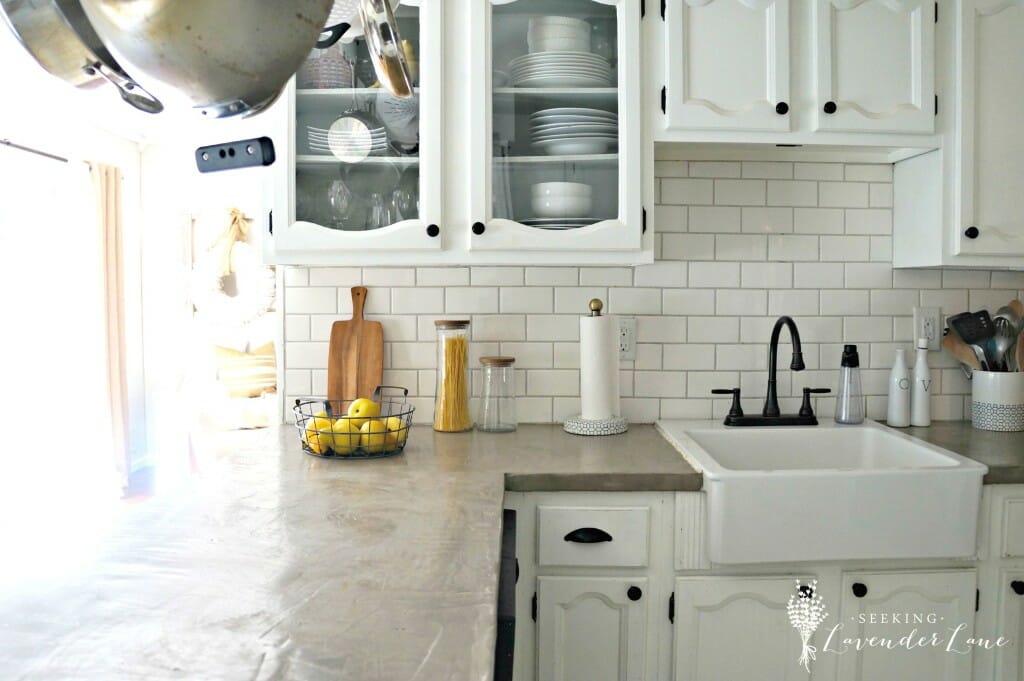
5. It was time to decide what type of “cheap” countertop finish we wanted to go with. We had a laminate countertop that looked like “OAK” it just was not working and kept the Kitchen looking dated still. My design plan was to go for a cottage/farmhouse kitchen. So we thought lets try the Ikea butcher block countertops, which I LOVE! This unfortunately fell through due to the amount of inventory they had and our lack of time to get this done. So we researched a couple other ideas and found a great product, Ardex Feather Finish which is a type of cement. Such a great product that allows you to apply this right overtop of the current laminate countertops. It only costs around $15 (update 8/6/15 $35) and can be bought right on Amazon,com We were thrilled with how easy it was to use. We unfortunately could have used a second bag with some of the imperfections that we had, but since once again we were in a hurry and on a budget I bought some cement paint from Sherman Williams and blended the countertop together. We finished it off with 3 coats of cement high-gloss sealer from Home Depot.
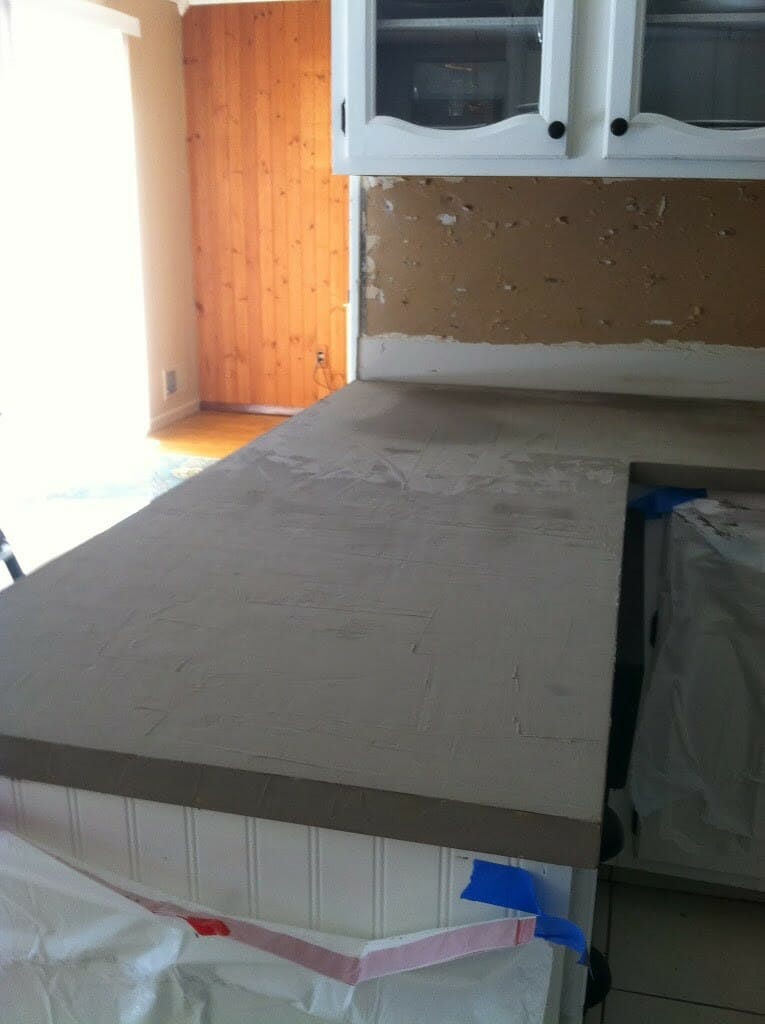
PHOTO BELOW: Pre-countertops, backsplash, and sink
BELOW: We removed the backsplash and started a layer of Ardex
UPDATE: SEE post for new layer of ARDEX with out painted layer, click here for post.
6. The sink I thought I would never have, came next! This is the an amazing priced farmhouse sink from Ikea. I was sold on this idea for years now planning for the day we bought a house. After researching farmhouse sinks and realizing how pricey they could be, I did not think it was going to be possible. Then we researched Ikeas products and could not believe how affordable the sink was. Paying less than $200 on it and after cutting a very large hole into our cabinets my husband managed to place the sink in and it just created the farmhouse kitchen of my dreams. We also added trim around the sink where sink and cabinets meet.
7.We then went shopping around for tiles for the backsplash. My original plan was to go with the very classic and currently trendy subway tile. I feel we could not go wrong with this look especially since it is incredibly affordable. I just have an eye for clean lines and I am really not into a busy backsplash at all. My husband was not keen on the subway tile and thought he could convince me to go with a different look. I of course felt that I did most of the deciding for the overall design and would be open to some of his ideas. Well, that fell short once we realized how costly other tiles could be. So the classic white subway tiles were bought for a whopping $40!!! We chose a grey grout to match the countertops which was perfect for the soft color pallet we were going with for our kitchen. We had some trouble with the tiles especially once we realized our countertops were uneven, so in the end they may not be 100% straights once staring at them for a while, but at first glance they seem pretty great haha. No one notices unless we point it out of course.
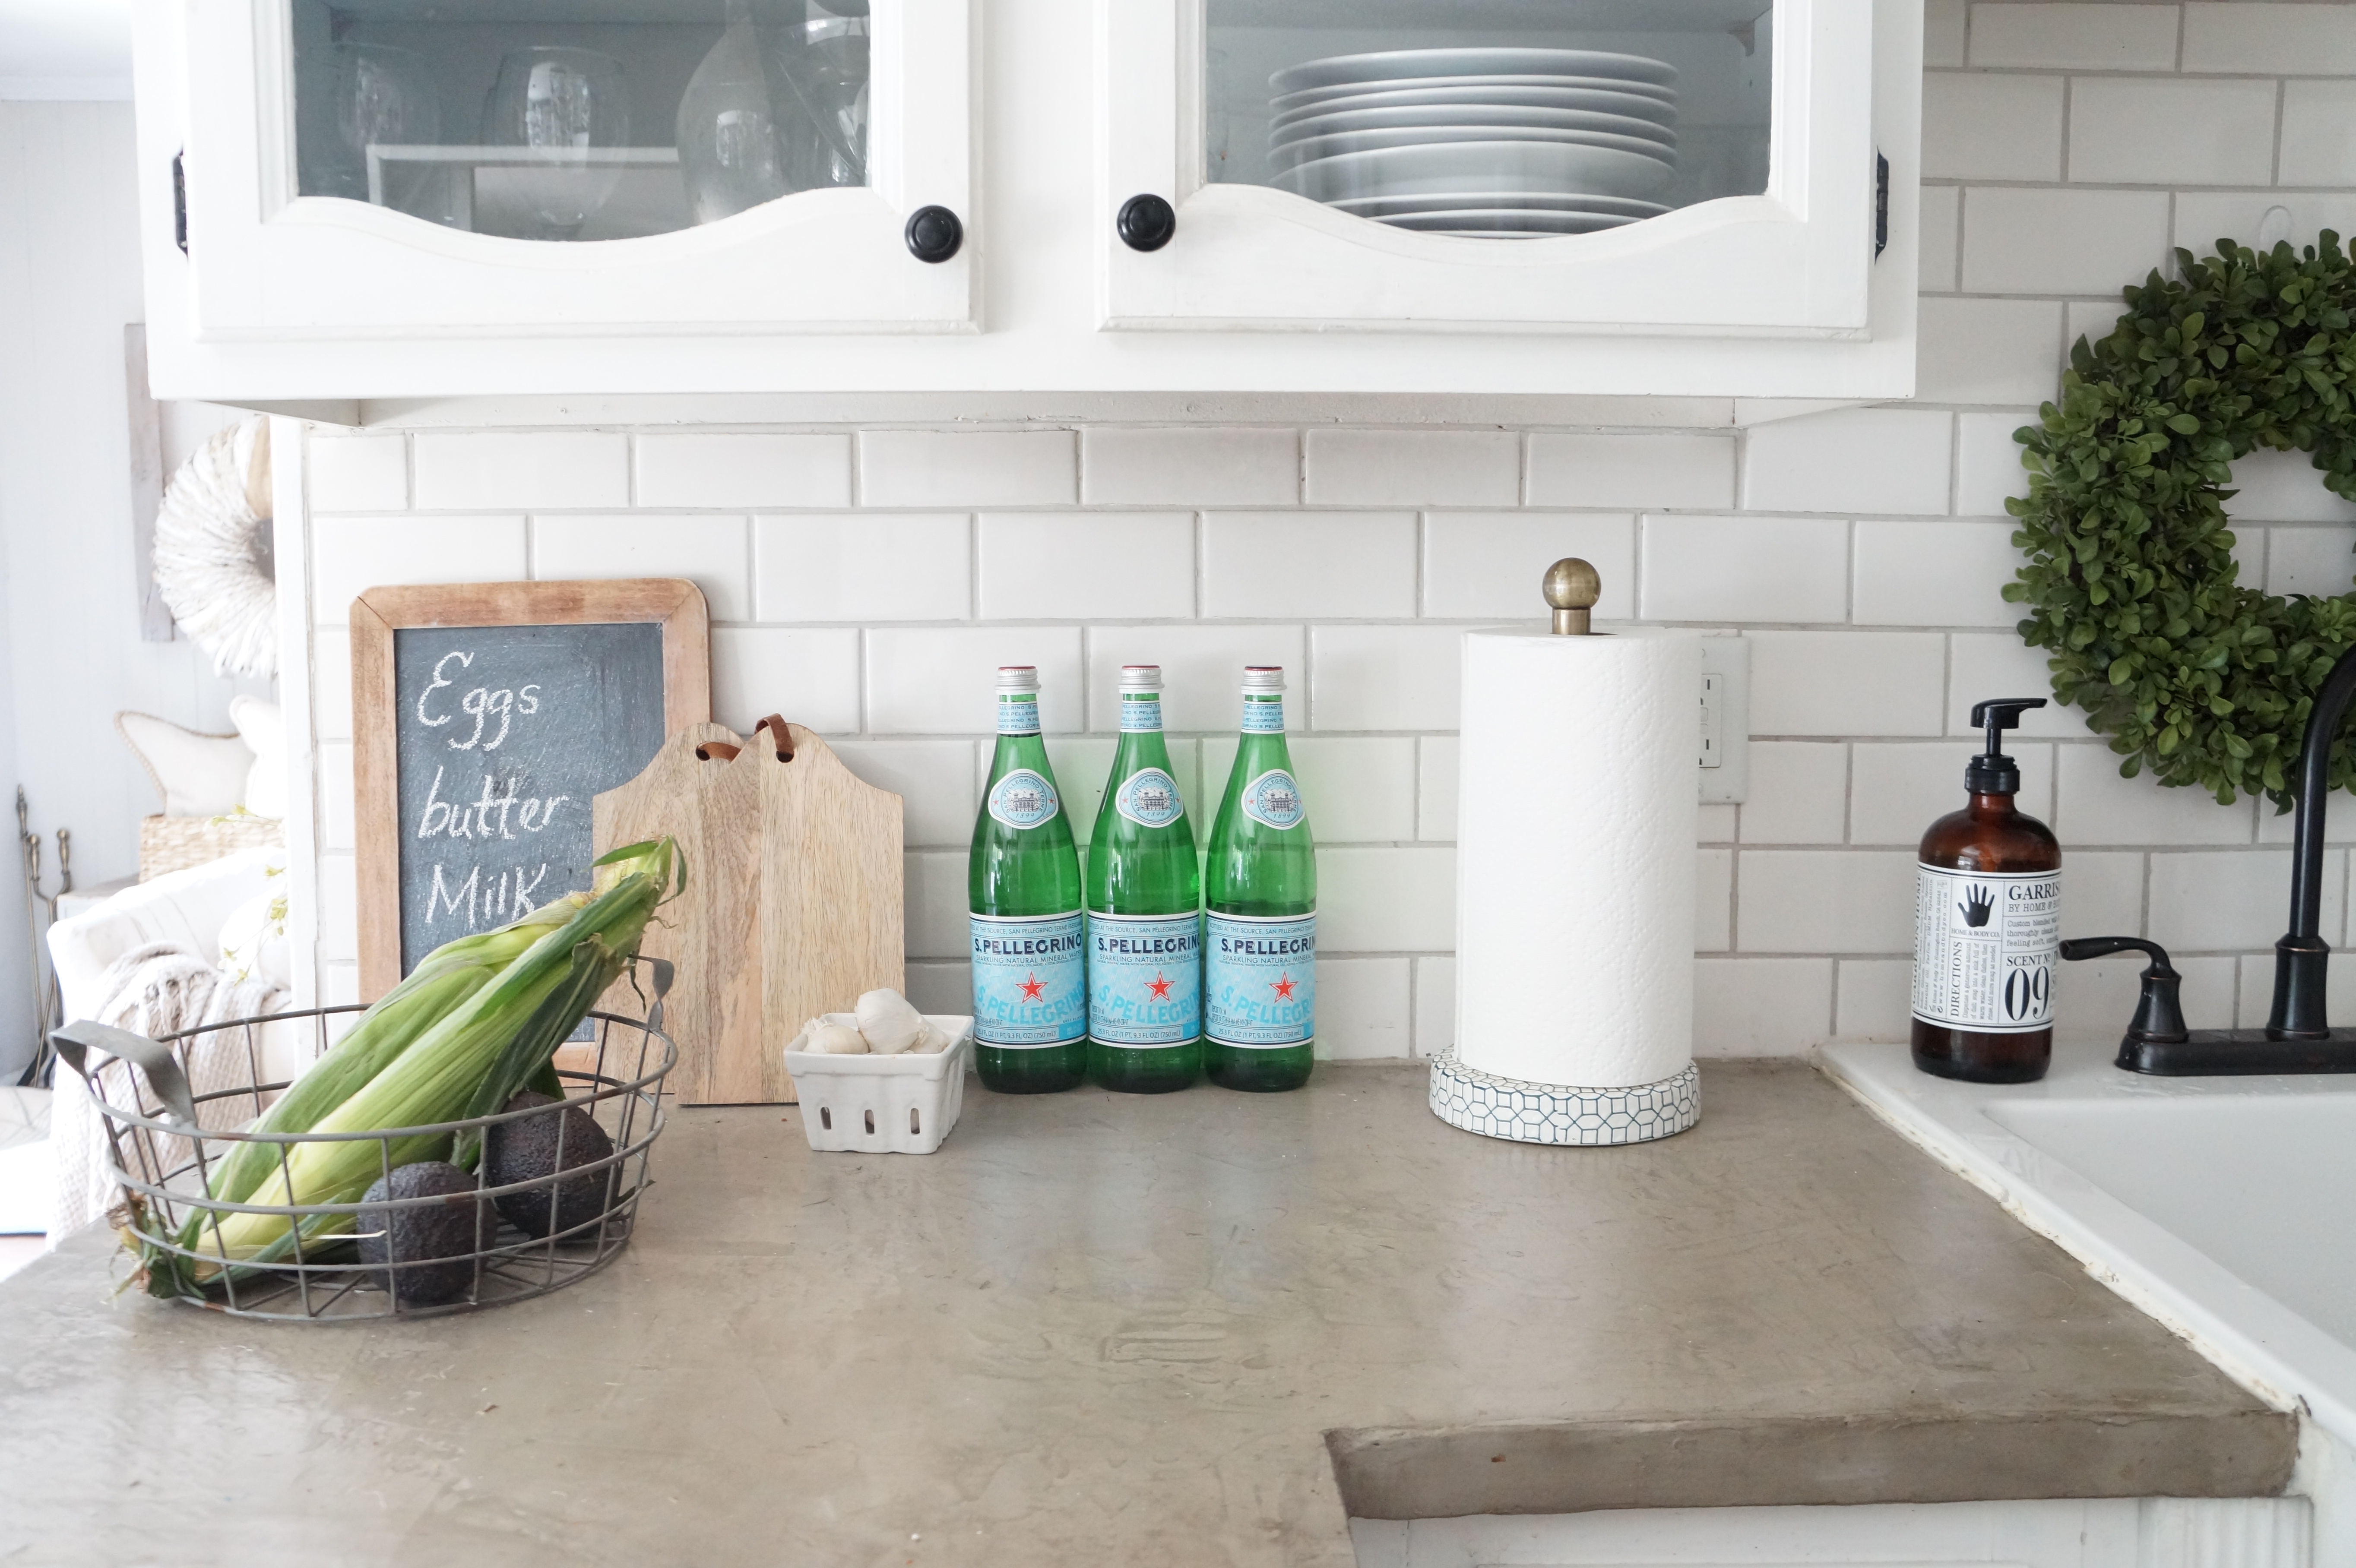
8. Last was accessorizing! I knew I wanted to continue with the very clean look of white so I picked up a few great pieces from Target and bought a few clear canisters to keep it from looking to cluttered.
9. Oh and I forgot to mention the glass door we created. We needed to open the space up slightly since it is a U-shaped Kitchen so instead of just leaving shelves or removing the cabinet (which we really need for storage) We cut out the center of the cabinet and added glass for an additional $16. This really made quite the difference in the overall design.
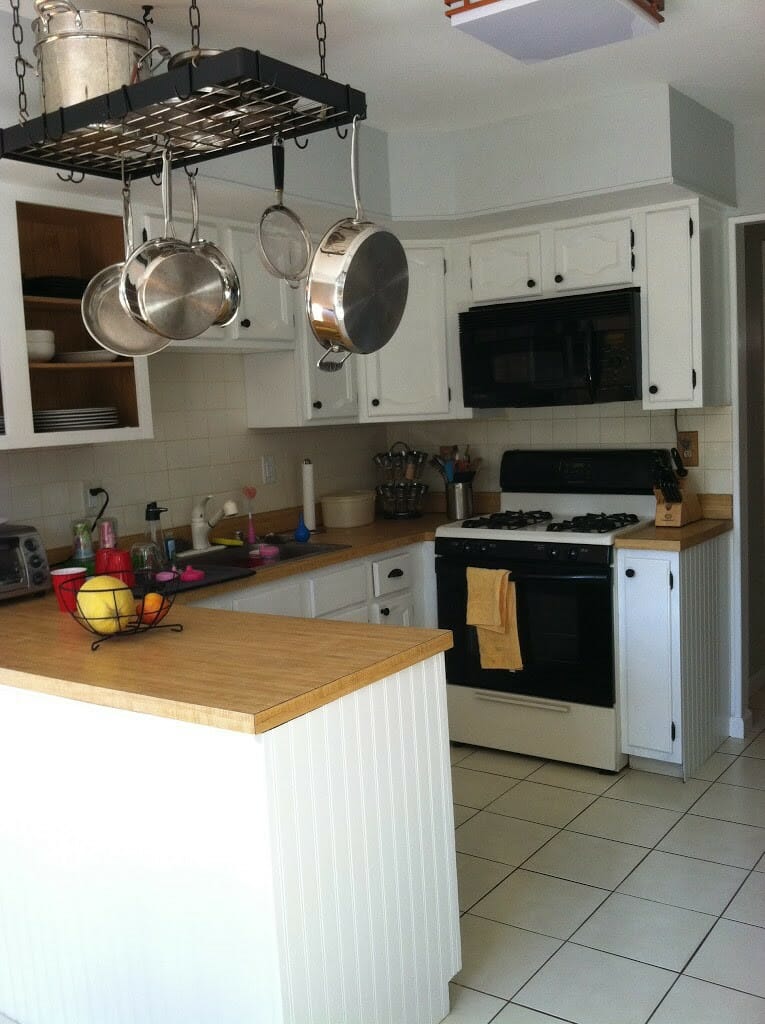
Hope you enjoy the photos of our “new” Kitchen. I just really want to share that with a little bit of money and a lot a bit of hard work you can really create a “dream” kitchen for yourself. This was what I envisioned the first time I walked into this house and I couldn’t be happier cooking meals for my family and spending time in this space.
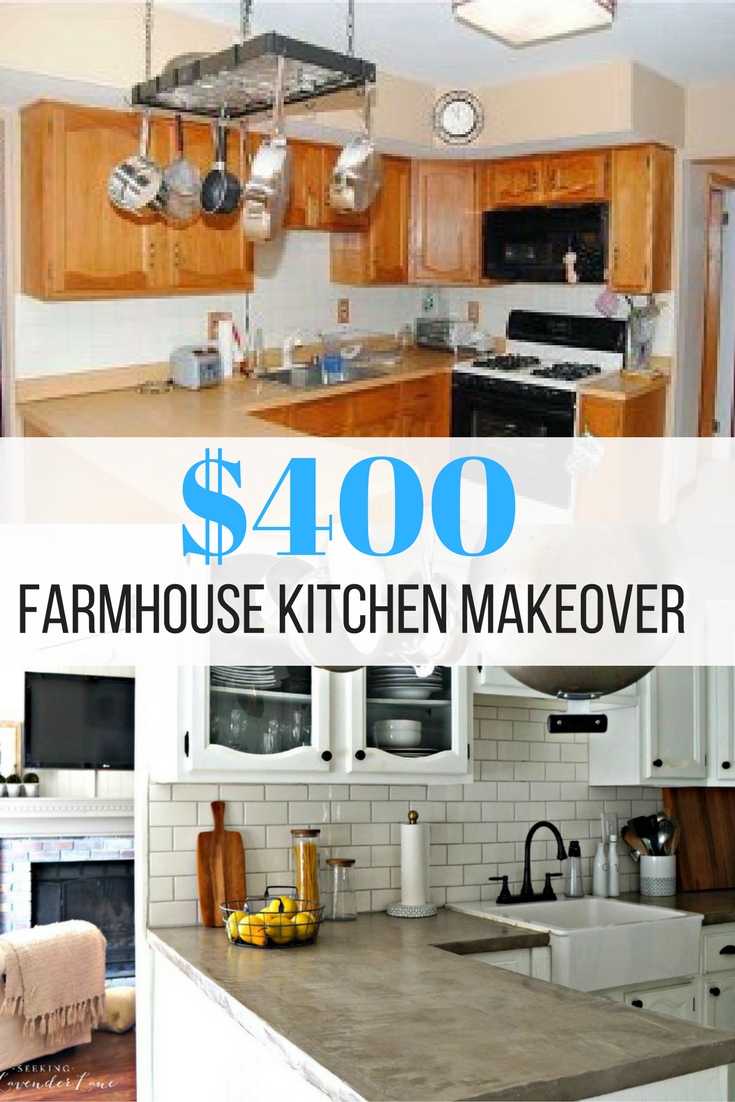
BEFORE
AFTER
PLEASE STAY A WHILE


Beautiful job! We’re about to redo the kitchen in our next home and you’ve given me some wonderful ideas (such as getting the sink from Ikea – we checked the big box home improvement stores and were told those apron sinks won’t work with our existing cabinets. Ill be checking out Ikea for one!). It looks like you also have added some bead-board to your lower cabinets, correct? Looks great!
Hi Suzanne!
The Ikea sink was great since it was able to work with our existing cabinets. I know my husband had to make a few changes with the counter top and holding the sink. Let me know if you have trouble doing this I’ll have him give you the step by step on it. and Yes! We did use beadboard for the bottom cabinets. The wood was pretty beat up plus I wanted to add a little charm ; ) Good Luck let me know if you have any questions would glady help. here’s my email dfoglia413@gmail.com
It looks completely different now! Well, it’s no surprise, given that you practically replaced everything. Haha! It’s pretty obvious that you’ve put a lot of hard work to accomplish this; and all of it was worth every dime and effort, what with such a delightful result. Thanks for sharing!
Gordon Fox @ Prince And Sons
Fabulous makeover!!! I’ve been so intrigued by those cement counter tops I’ve seen lately! Such a cool and inexpensive idea!
It looks incredible! We are in the midst of a kitchen remodel right now too! I just hope ours ends up looking half as nice as yours.
Jennifer Dawn recently posted…A Little Bird Told Me Link Party #151
Oh thank you so much Jennifer! Can’t wait to see how yours turn out! I love an entire room makeover : )
HI Deb! I was wondering if when you went back to apply the 2nd time around Ardex, did you remove the sink?
I have the product at home, and am waiting for a long weekend when we aren’t busy to start this project. I am trying to decide if we should remove the sink, or if i should just apply the ardex around it. the Sink is cast iron, so its heavy, and detaching and reattaching the faucet is a pain, not to mention i wouldn’t have any water in the kitchen! but if it’s worth it- i will do it! thank you!
Hi Pam, We did not remove the sink, we just worked around it..and it was completely fine. Maybe just tape off a little bit if you’re afraid to get the concrete onto your sink…but I did not have a problem.
Hi! I’ve loved the ideas for your kitchen remodel, and am excited to try out the Ardex Feather Finish on my countertops. Did you use a concrete stain for the countertops before the sealer?
Hi Stacy, I decided not to do use a stain only because I liked the natural look of the concrete. I’ve seen stains though and it turns out beautiful as well. Maybe black stain would be gorgeous!
Hi! My husband and I will be starting on our kitchen in the next few months, and I was curious as to how well your countertops have held up since you applied it. How long ago was it that used the Ardex finish? Thanks so much!
Hi Stacy,
I think the ardex feather finish has held up fantastic. The only issue I have had is with oil, the oil leaves marks in some areas. We originally did the counters almost 3 years ago, but due to the fact I painted them they peeled and I had to sand them down and do them again. I think it’s a great solution for a few years…since it’s affordable and looks great. Just seal them really well and you shouldn’t have any issues.
Hi! I was wondering if you used any wood grain filler before painting. If not, did the wood grain come through? Did you paint the cabinets with a brush, roller, or spray? I love your kitchen and is almost exactly what I wanted to do in the house we are closing on. Oh one more question, was the finish on the simply white paint satin?
Hi Shelley, We did use wood putty when filling in the holes from the previous hardware. The wood grain did not come through the doors, we did sand down the cabinets prior to painting and priming. I painted the cabinets doors with a roller and a brush (mainly brush) and the paint finish was semi gloss. I wanted to go with a flat or satin finish, but my husband and the guys at Benjamin Moore recommended semi gloss for kitchen cabinets. I have to admit it does make it easier for clean up, but I like less of a shine. Thank you so much for your questions and I wish you the best with your kitchen makeover. Would love to see the before and after photos! If you want to email them to me I would love to have them up on my blog. Thanks again…enjoy every minute of your Kitchen Makeover : )
Deb,
We too have the hanging pot rack and nearby one of those flush wooden box lights. Do you have any ideas of what to do with it? Also, have you heard back from hobby lobby about those framed crowns?
Hi Shelley! We replaced the light to something more modern and matches our hallway light (much better) something flush mount though. The pot rack we left up and I kind of love it. It gives the kitchen character and we honestly have no space for the pots in our kitchen. I am lucky I’m short though or else it may make me crazy bumping my head on them all day. As for the crowns…they are items they pick up in the store one time. She did give me sku numbers that you can look up at your near by store only and see if any of their surrounding stores may have them. If you send me an email I can forward the email she sent to me. So sorry about not getting back to you sooner about that.
I love how your kitchen turned out! Gorgeous! I’m in the process of painting mine so this is giving me hope for a beautiful end result! Where did you get your paper towel holder? Adorable!
Ruthie recently posted…Kitchen Makeover Phase 1
Where did you buy the glass inserts?
We purchased them at a local glass company.