Happy Almost 4th of July Weekend!
We had a wonderful weekend celebrating our little Gemma turning 2! Just a quiet little barbecue with friends and family and some Minnie Mouse decor. This week we are getting ready and looking forward to Thursday and Friday for some 4th of July fun! I, unfortunately have to work Saturday and Sunday but we are going to make the best out of the two days we have together. I promised the hubs I would not bombard him with projects and just have some fun with the kids…I am sure we will sneak at least one project in there though ; )
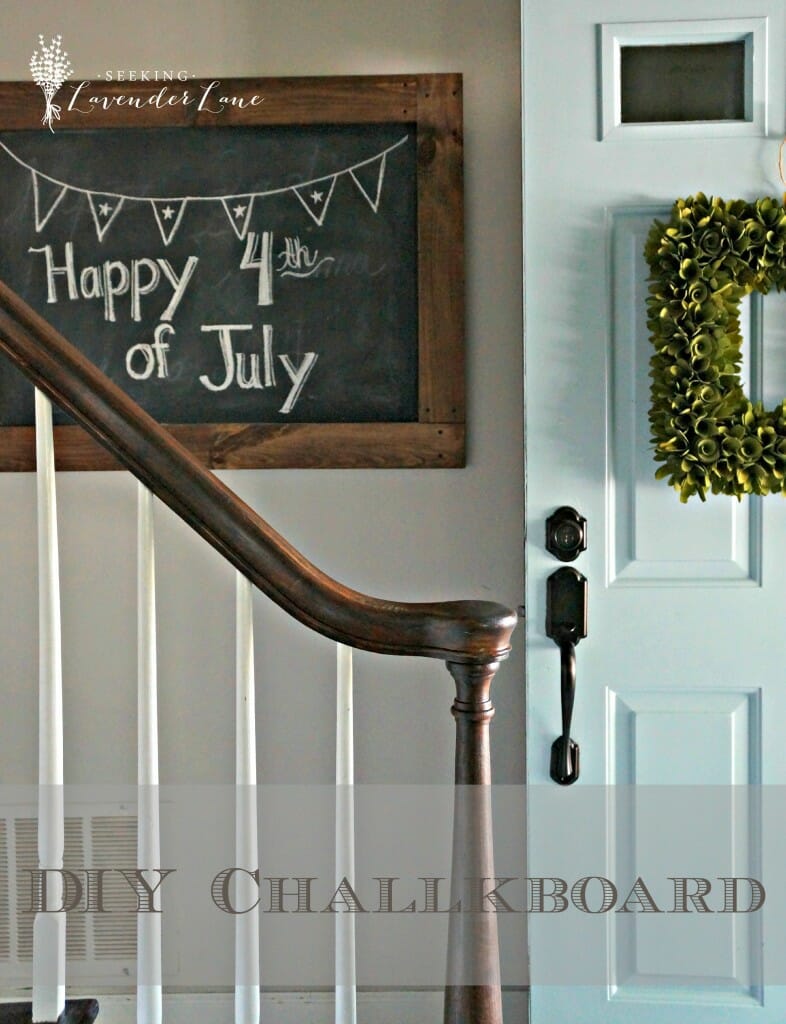
I think he is a little tired from all the catch up projects we were doing last week with getting the house ready for the party. As I mentioned in previous posts we were prepping for the party we had for Gemma and doing a few small projects to get the house ready since this would be the very first party we are hosting at our house. One project I posted about on Thursday was our Super Easy Industrial Style Ceiling Fan, a great way to update our very 80’s oak and brass style ceiling fan in our family room that I was too embarrassed to have everyone see. Today I am going to show you my DIY Chalkboard that I added to our empty wall in the entryway. I once again for months have been planning this project in my head. Figuring out the details and deciding on how I was going to break the news to the hub that we were going to do another “silly little project” that I of course knew was going to make quite the difference for such a small $.
If you follow my Instagram I am sure you saw the first glimpse at the chalkboard on there!
Here is what I used to create our chalkboard:
- One large 1×4 to make the frame (Thicker than the plywood but the right size so it will be flush against the wall and not become too heavy)
- A pre-cut or a large sheet of Plywood with smooth surface. (My Chalkboard measures 30×40 so we had to have our piece cut to size right at Lowes.)
- Chalkboard Paint
Directions:
Measure each piece to create the frame. I chose to do a staggered look to keep with a rustic feel.
Once each piece is cut to the right size measure to make sure it fits perfectly on top of the plywood.
Stain or Paint the Frame whatever look you are deciding to go for. It was a toss up for me on this one if I wanted to paint the frame grey or stain it to match the stairs. Mr convinced me that we should stain it and I think it was a great choice. Paint the plywood with chalkboard paint (about two coats should work).
Once everything is dried ( I was to impatient to wait for everything to completely dry), screw the frame onto the plywood. I went with a pattern on mine which I felt added once again to the rustic feel I was going for. Once this was done we screwed it right into the beams and waited until the next day to draw on it.
Another really easy week night projects that only took us about an hour to complete.
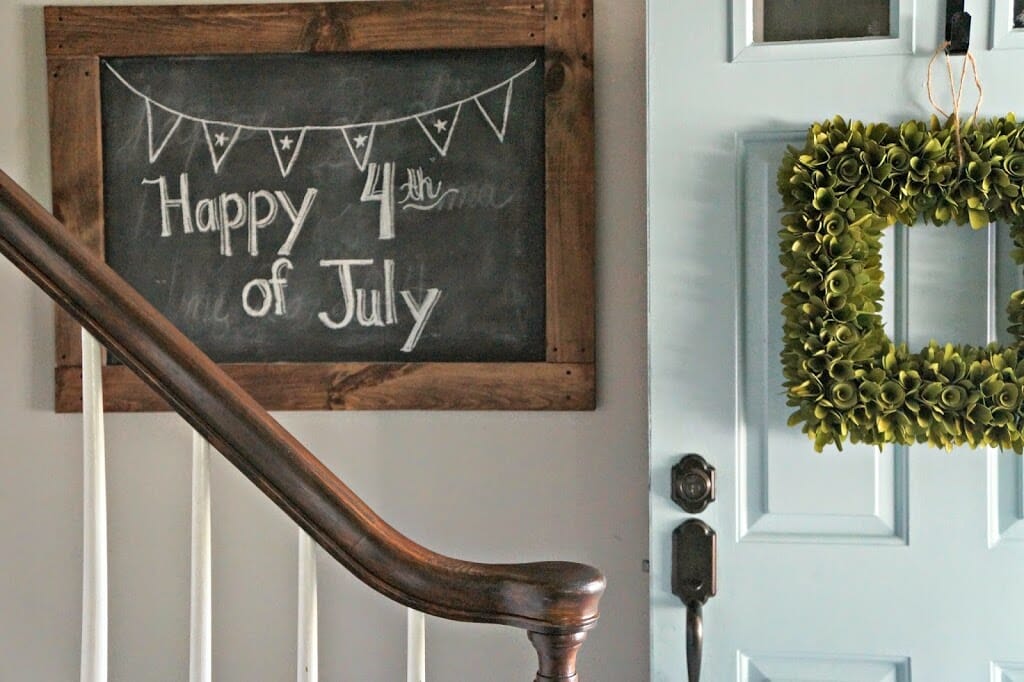 |
| With Door open |
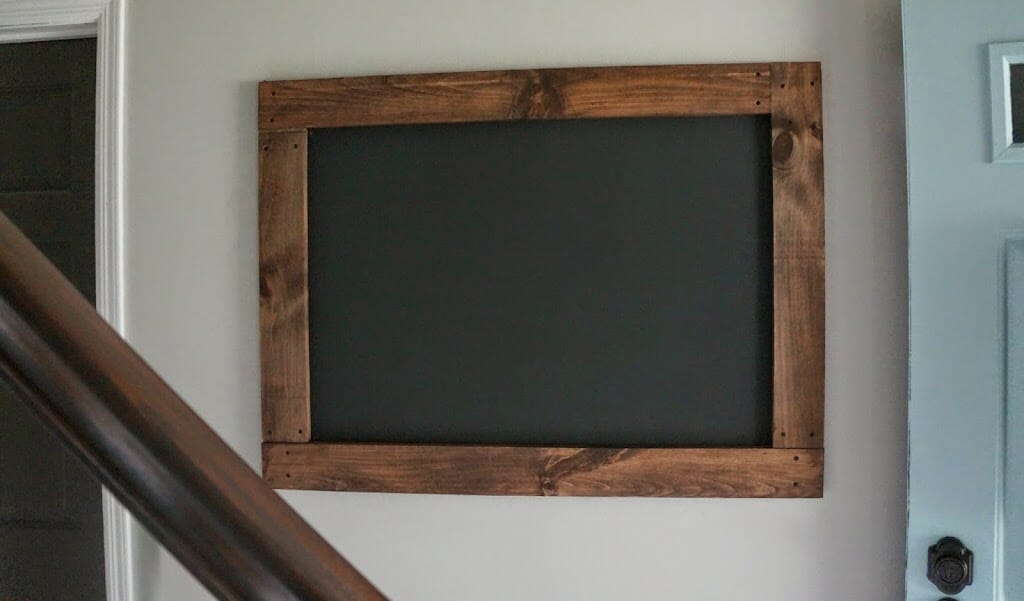 |
| Blank Chalkboard |
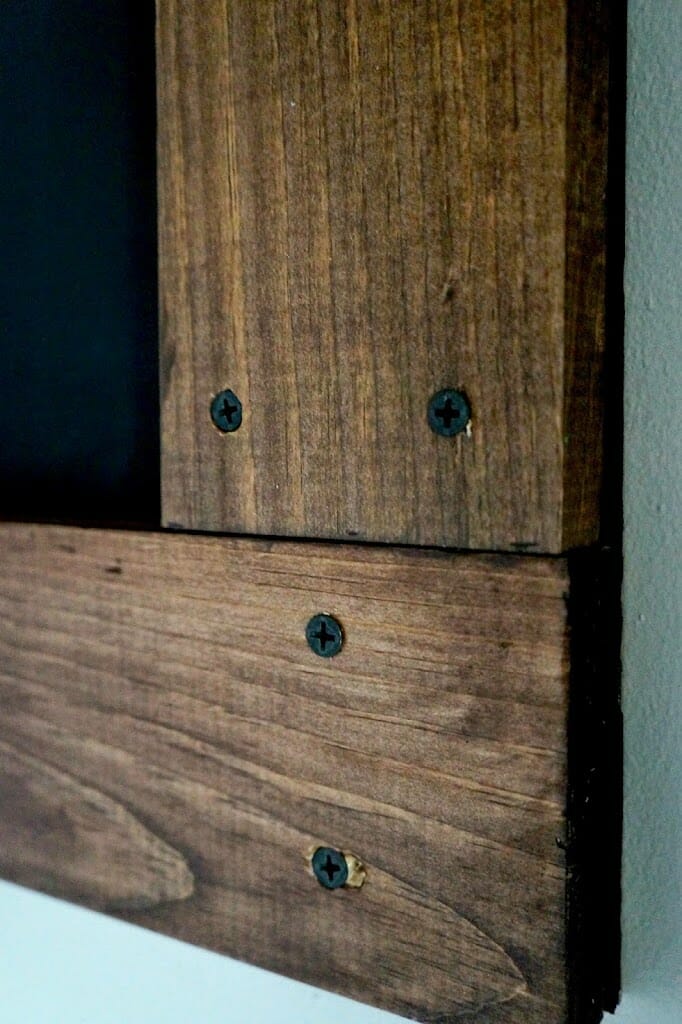 |
| Details of Wood and Screws |
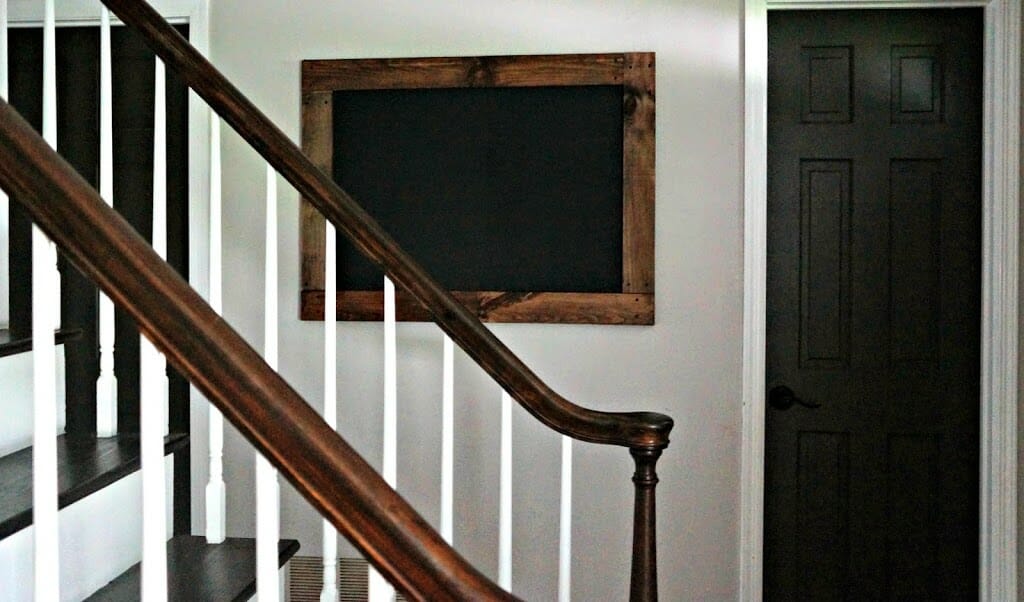 |
| Closed Door |


Love the frame you made for your chalkboard! Have a great 4th of July.
Thanks so much for your visit.
Mary Alice
Thanks so much Mary Alice!
Love the rustic look of this with the stain and the screws! Visiting from Migonis Home 🙂
Thanks so much Emily!
Great job with your chalkboard! It fits your space perfectly. I had to chuckle when you described explaining yet another project to your hubby – I can totally relate! In fact, I may just be explaining this project to my hubby… Have a happy and safe 4th of July holiday!
Thanks Amy! Hahaha our poor husbands…being married to an ADD decorator ; )
I’m adding this to another project I want for my foyer! Thanks for the inspiration!
~ Ashley
OH GREAT! That makes me happy : ) Love inspiring others on DIY projects
So cute… I have been wanting to make on of these… thanks for the tutorial 🙂
Thanks for stopping by Stasia! Would love to see how your chalkboard turns out.
Cute and simple, ie, perfect!
Thanks so much Becky…glad you stopped by : )
Happy 4th! I couldn’t find your email address. Just wanted you to know that today you are featured at my weekly Welcome Wagon Friday post, where I introduce new bloggers to my readers. Welcome to our neighborhood!
Brenda
Thanks You so much Brenda that is so sweet of you…I am truly honored : )
Saw you featured at Cozy Little House! I love this blackboard project. Especially the way you’ve done the frame! Hope you are enjoying your holiday…
Thanks for your sweet comment Gayle and for stopping by!
I love the natural wood up close! What a fun project and one that you’ll enjoy year round! I’m visiting from Brenda’s too! Welcome! Hugs, Diane
Thanks so much for visiting my page Diane! Yes, I love how I can change up my entryway so easily by adding something new to it daily or seasonally.
Love it! This makes me want a chalkboard in my entryway!!!
Thanks so much Nicole : )
I love this! I just put a large chalkboard in my son’s room. I would love to add one to my foyer!
Thanks Megan! I just love chalkboards I feel like you can never have too many!
I love a good chalkboard project!
Looks perfect in the entryway!
So glad you stopped by and thanks so much for your comment : )
Love it! This is so so cute. (You’re really not helping me save myself from my chalkboard obsession.) Another awesome project that doesn’t fail to disappoint from SLL. 🙂
Hi Lauren! Thanks so much…yes I have a chalkboard obsession too…my husband keeps saying to me another chalk board? lol From my kitchen I can see about 3 and a chalkboard picture. Oh and the one outside I made for the kids…so that’s 5!
Glad you stopped by again : )