Remember the Faux Brick Exposed Chimney, I posted? Remember how I said that would be part 1 to the makeover?? and how this was going to add loads of character in our 1980’s bedroom?
Well…welcome to part 2!
Exciting right? Well…I know I am excited. Not only do I have a centerpiece to our Master Bedroom now, but it feels like something I stole right from a Vintage space and placed it right here. The best part it cost less than $150!!! Woohoo…those vintage Mantels usually start around $400, or at least the ones I’ve seen.
This project started out with a lovely little sketch. The sketch turned into me taking the measurements and picking out the wood. Love my man, but he left me alone on this one. He couldn’t get inside my brain and it was up to me to figure out the cuts and measurements…as long as he did the cuts (in our very cold New Jersey garage) and put it together for me. This point in the project he likes to call me “Heidi” Do you have any clue where that’s from? You probably do if you’re a big 90’s fan like us. Remember the heart throb JTT? oh yea it’s connecting now…Home Improvment. I’m the blonde helper on “Tool Time”. Not gonna lie Dan does a pretty good Tim Allen impression (hoo-hoo-hoo-hoo-ha).
So back to the assembling of the mantle. Since we had the Brick Chimney we had to work around it so that the sides were covered as well. If you have plans on making your own mantel without the “chimney” this will be much easier. You can create the box so it is even on all sides. Considering, we had to work around it…this step took a little more thought. This being so, the top of the mantel is done in 3 pieces. The long strip of wood on top and the two short pieces that are the same width of the brick but match together with the front piece.
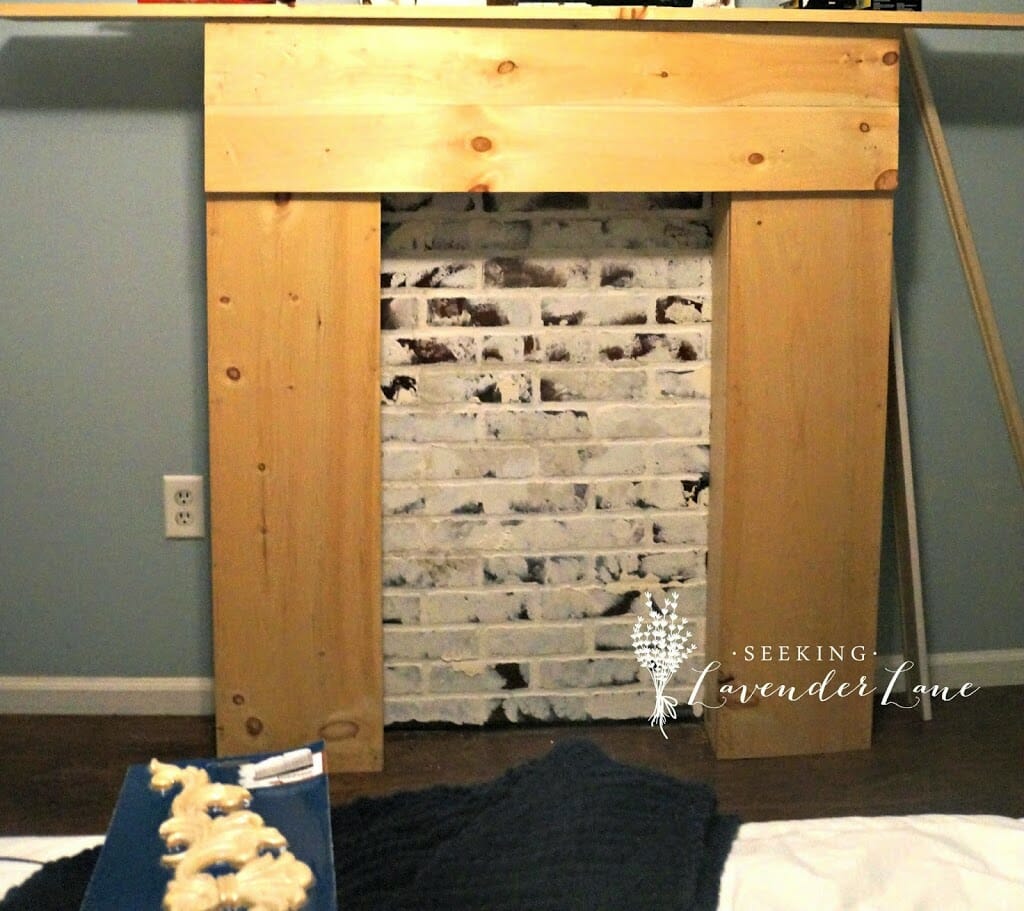
The idea to creating the frame is coming up with a box…and using your desired measurements. Make sure to assemble with liquid nails, and finishing nails to create a secure piece. Once the box is completed the mantle will look less of a mantle and more of a very plain shape. Don’t doubt it yet…here’s what mine looked like.
DIY Vintage Mantel
The worst part was…we had to live with it like this for about a week. I kept doubting that it would not work…even though I had an image of what the finished product would look like. Keep in mind ever mantle has dimension and this is where it is still lacking. There is still hope!
Once your frame is complete time to fancy it up! That’s where molding comes in handy! Molding is probably one of my favorite DIY tricks. Honestly it makes a difference no matter what you use it on. Furniture, Walls, Ceilings, Windows, Doors, etc. It can make something so simple become a custom look. Remember the difference it made in my daughters room underneath and around her window.
I’m not gonna lie…I stayed cheap on this one. Some molding can get very costly…beautiful, but costly. I did not feel it was necessary to do intricate molding here. I wanted to go vintage, but I also wanted to stay with a classic but simple farmhouse feel. The only piece I got a little fancy with was the middle decal…which was on sale for $6.99! Can’t beat that! This piece really brought it all together.
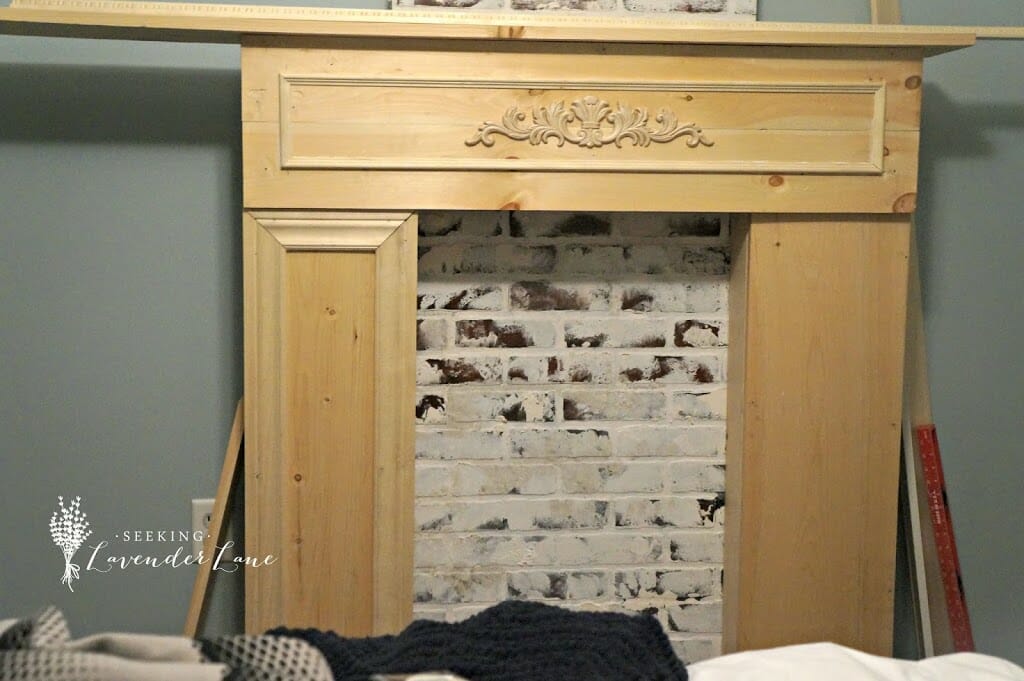
So we chose 3 separate moldings (besides the wooden decal) a thick piece to frame the sides, see how plain and large they seem in the above picture? and we also created a small rectangle to frame the decal and add dimension to the top. Lastly, the molding that frames the ledge of the mantle. This is important because it really adds dimension to the piece. I chose only a two inch thick piece, but you can definitely go bigger. To really add the finished look to the molding is to add a top piece of wood, which becomes your ledge. This is where your decorative accessories will sit on. If you really want to get fancy stack another piece on top to give it even more dimension. Make sure when doing so you have a slight overhang from the last piece. Maybe if I did not have to wrap around the brick I would have gone with one more layer.
Here you can see how the Molding is creating the dimension to the fireplace. Comparing the left to the right…it is an extreme difference!
Nothing is perfect and we definitely had some hiccups in this project.
1. Don’t forget you have molding on your wall!- we forgot to include the molding on the bottom and that caused us to make additional cuts and the mantle to stand away from the wall a bit. I did not mind so much since I was going for the look like I added this to my room, rather than it looking as if it was a functioning fireplace that was always there.
2. Don’t go overboard with the liquid nails. If you plan to stain the piece the liquid nails that dries will not be able to stain. Luckily we planned on painting, but if we hadn’t this would have been a problem.
3. Make sure the two side pieces and the the front piece should be the same size. I initially went with a smaller board and had to add another piece underneath. It just looked odd and not proportionate.
Next Step Finishing the Piece.
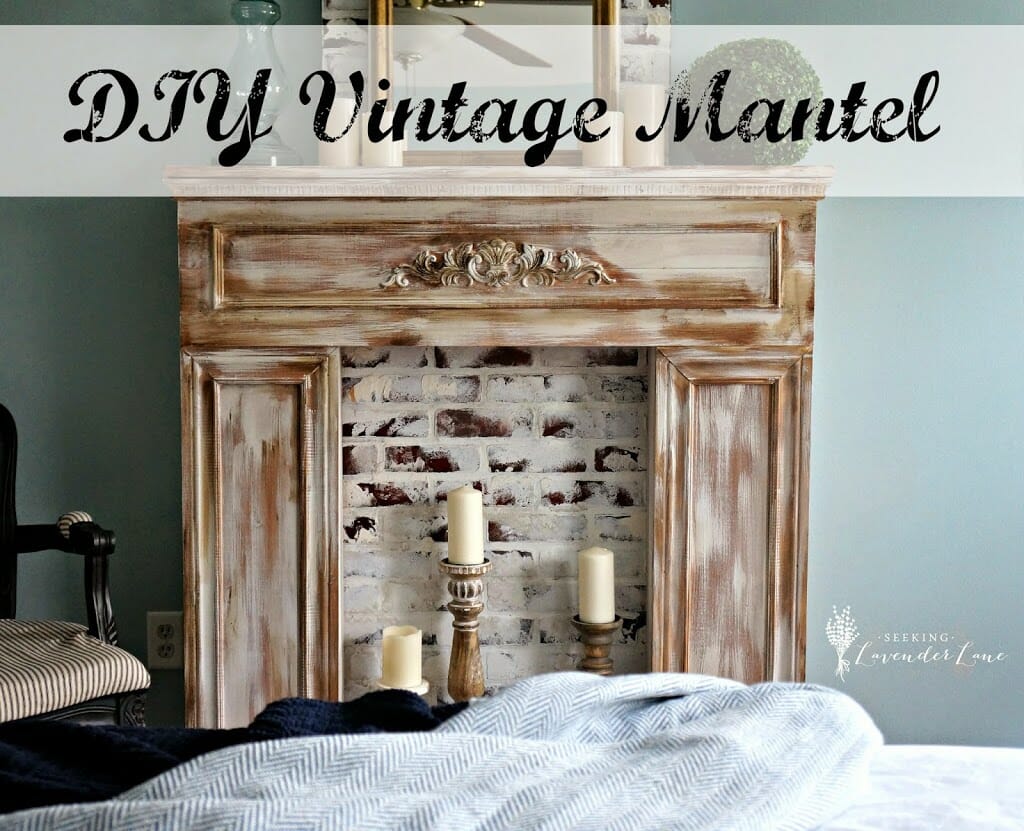
You can do anything you wish…paint it white, grey, black, or give it a good stain. I chose my own method…which was not originally planned but sometimes things hit me as I go and it turns out better than I imagined.
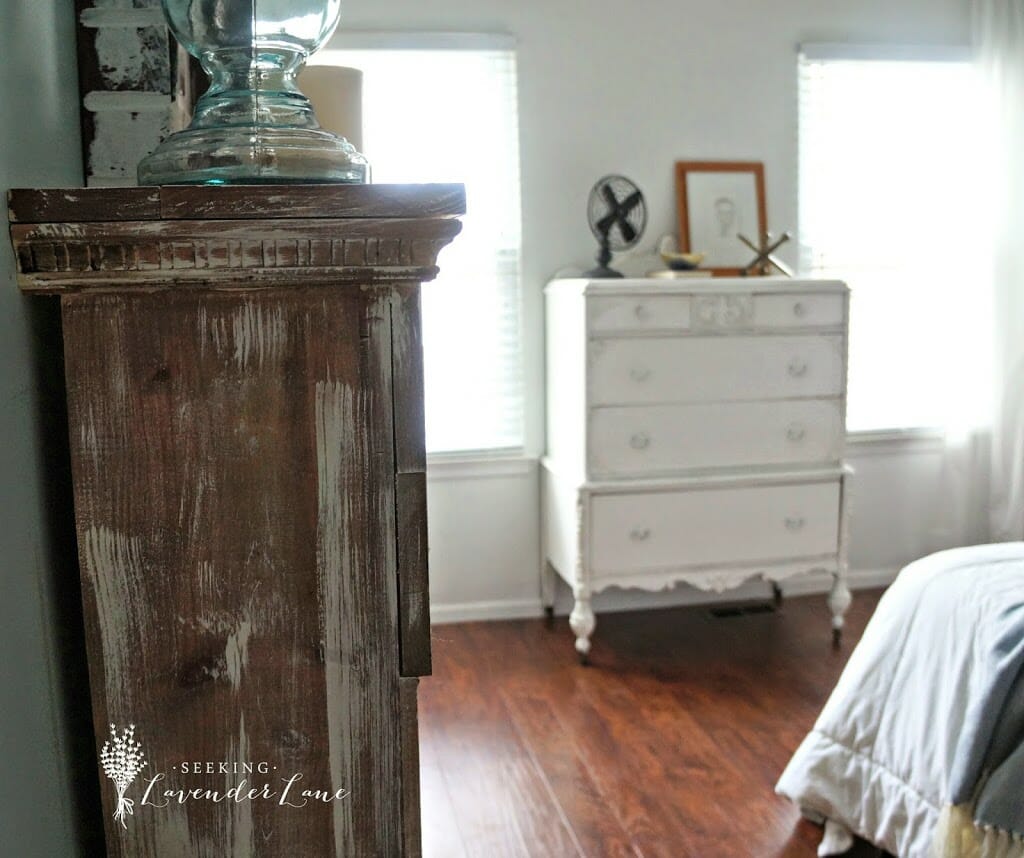
So, I decided to stain it with my DIY stain. A consistency of apple cider vinigar, and dissolved steal wool. I created the mixture when I made my DIY Paris Map frame. The mixture sat in the garage for a few months so turned out slightly more “orange” than grey, but it all worked out. This DIY stain just creates a reclaimed wood look. Something I definitely thought would add more of that vintage feel that I was going for. Next I thought I would paint over the piece with white and then sand down the edges and details, but this changed. As I was about to paint, I tried just dry brushing the white on. And I was loving it. So I did the whole piece this way…thinking if I did not like it I can always just go back over it with more white. To my surprise it looked better than my original plan. After I added a bit of Annie Sloan Dark Wax to some area to create more dimension ( I use this stuff on everything..just love it)
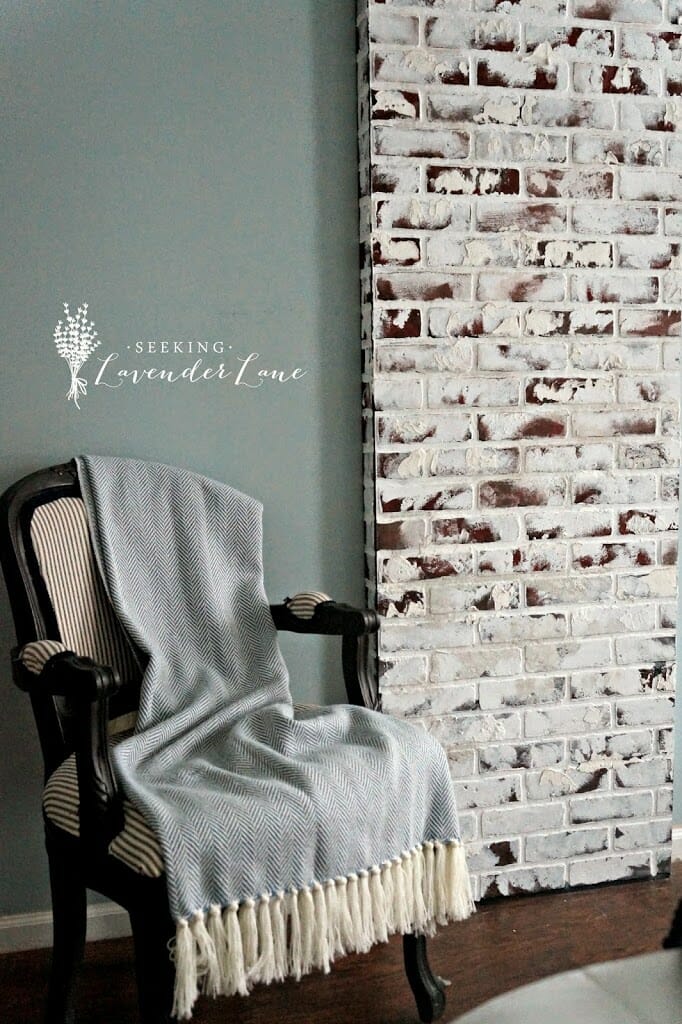
One more look at the before fireplace….
And you can see more on that post here

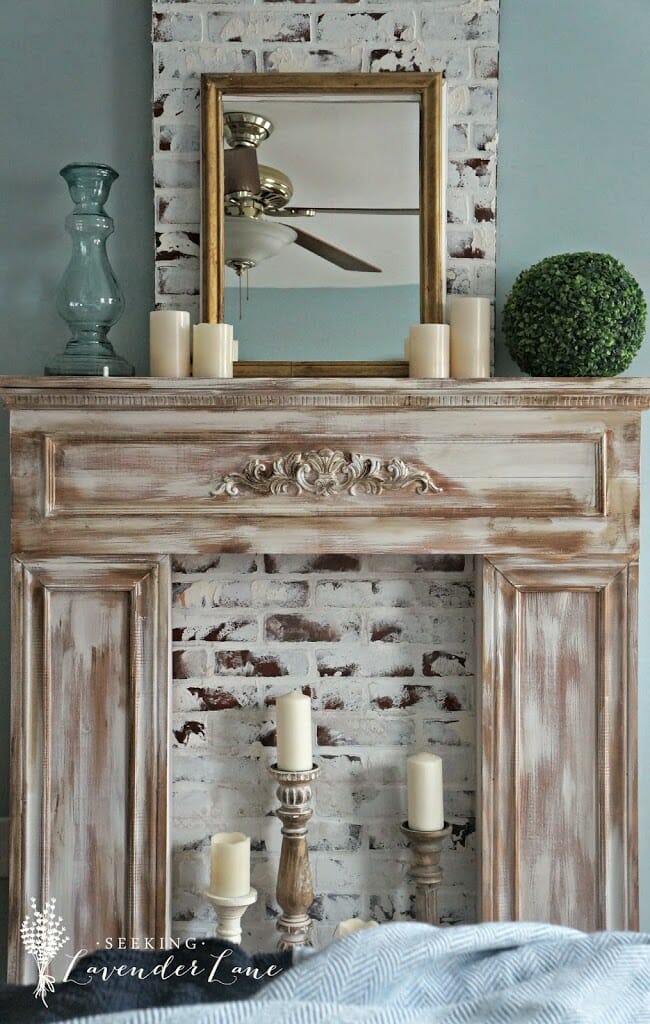
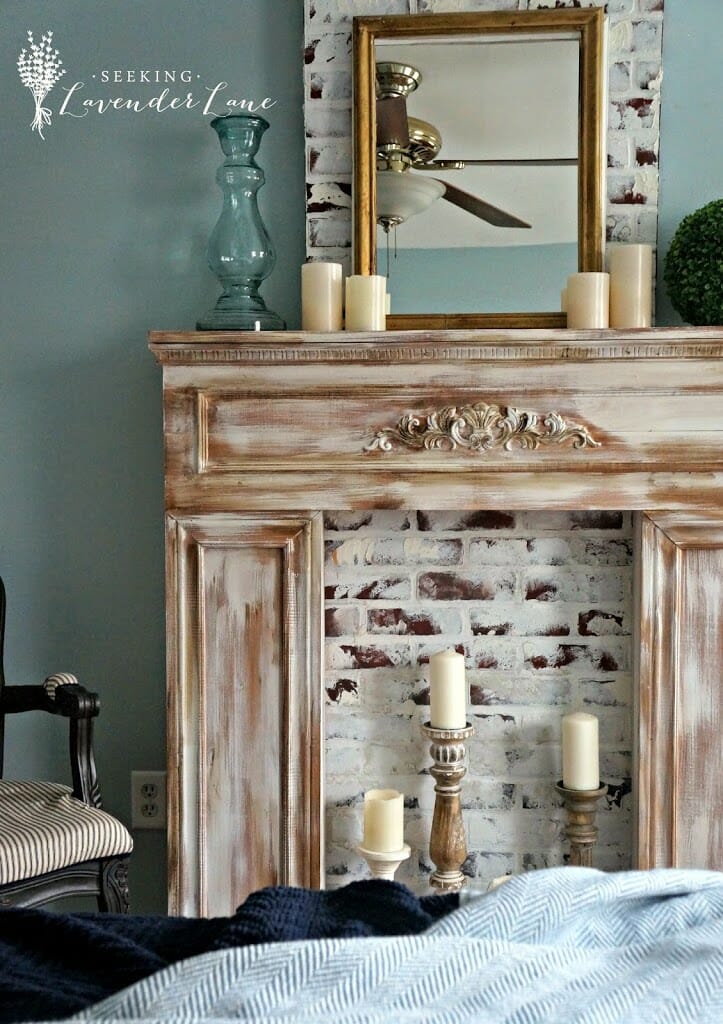
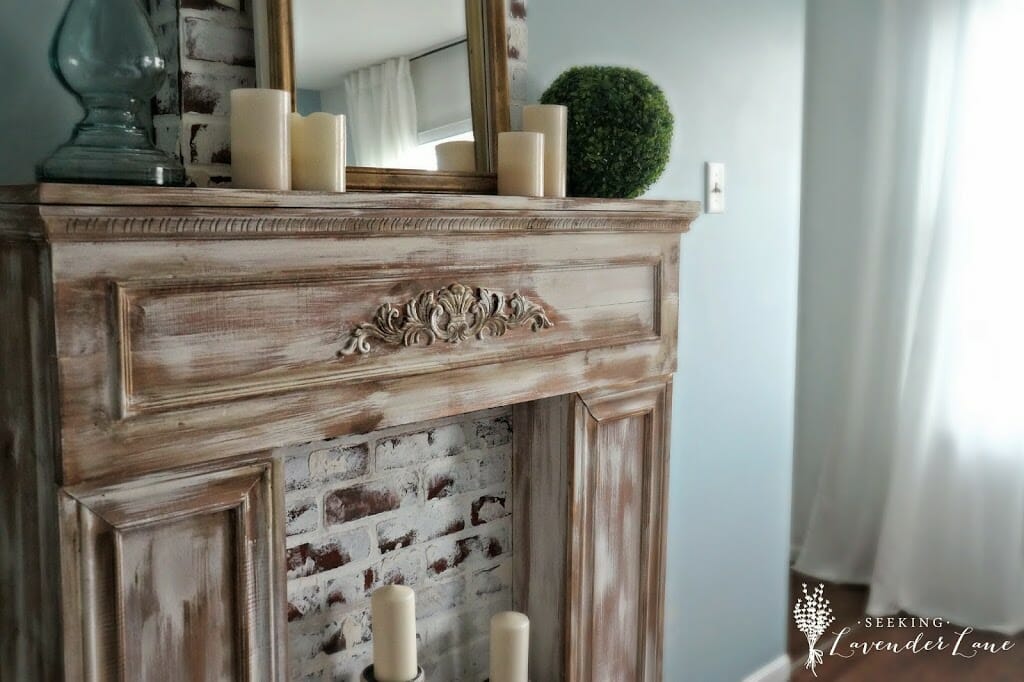
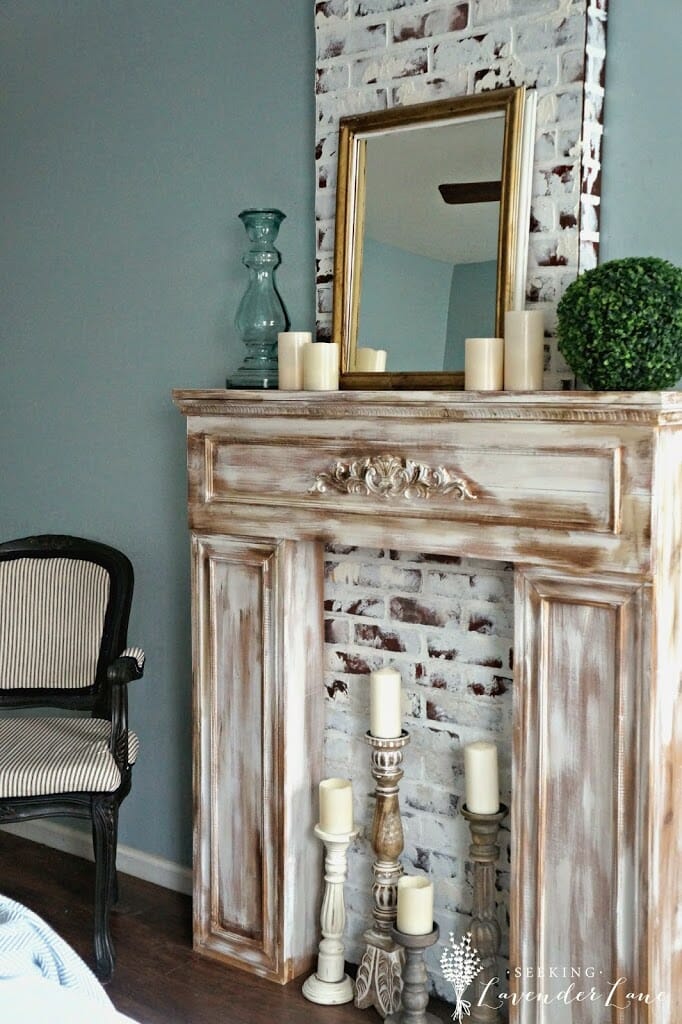
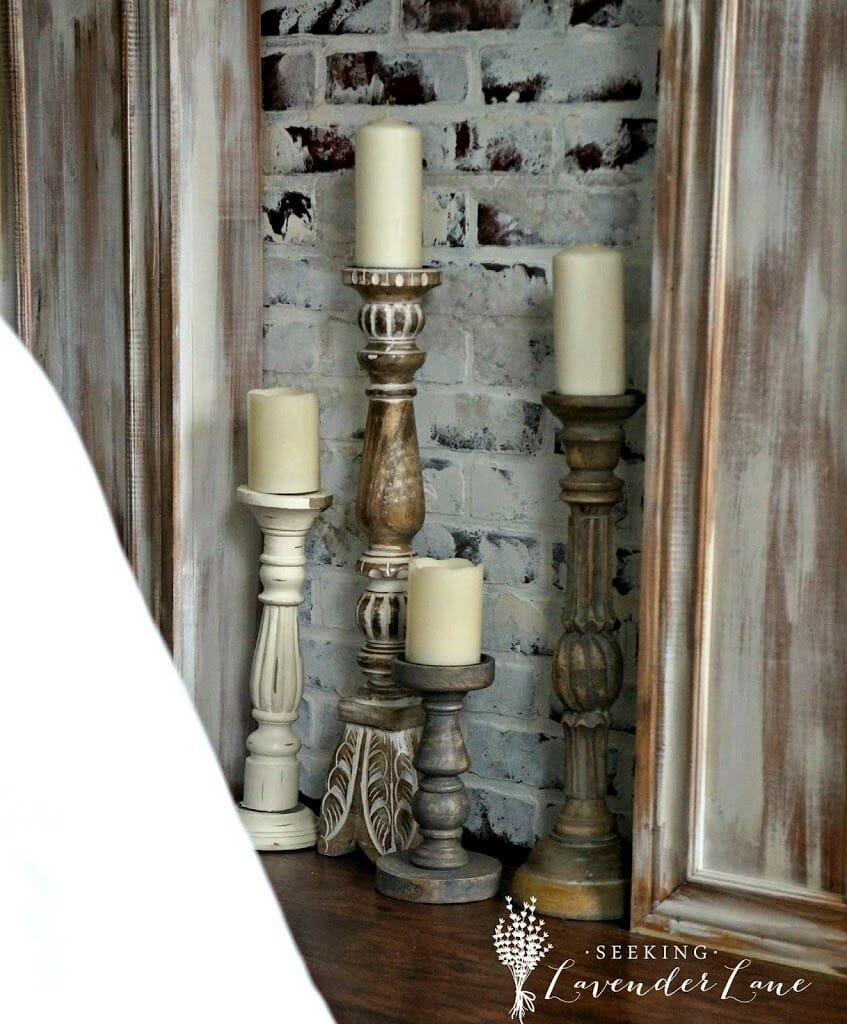
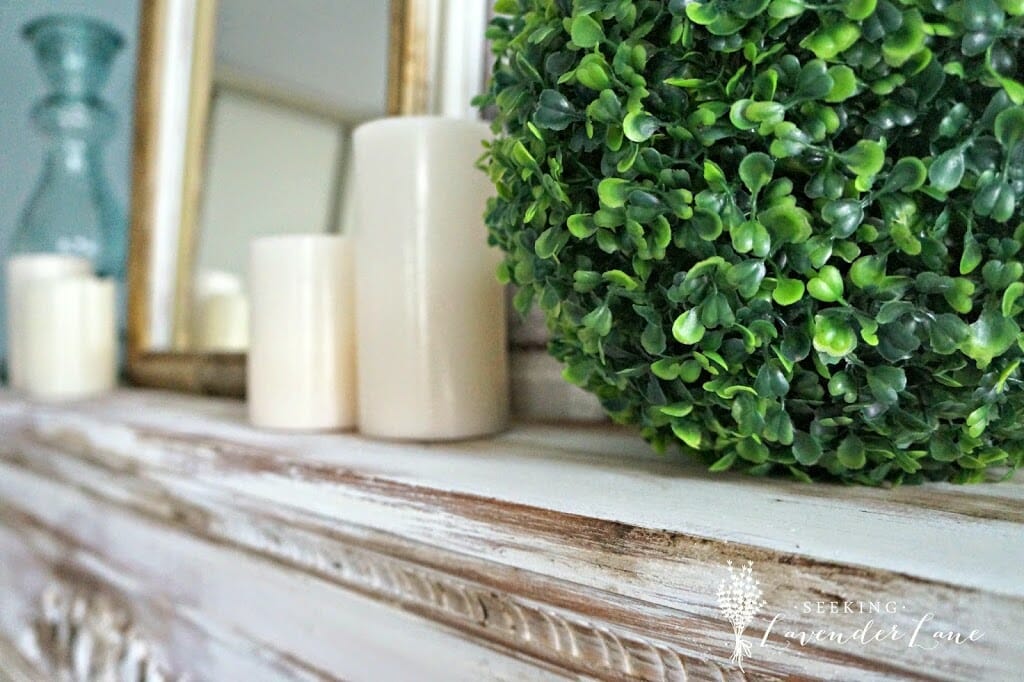
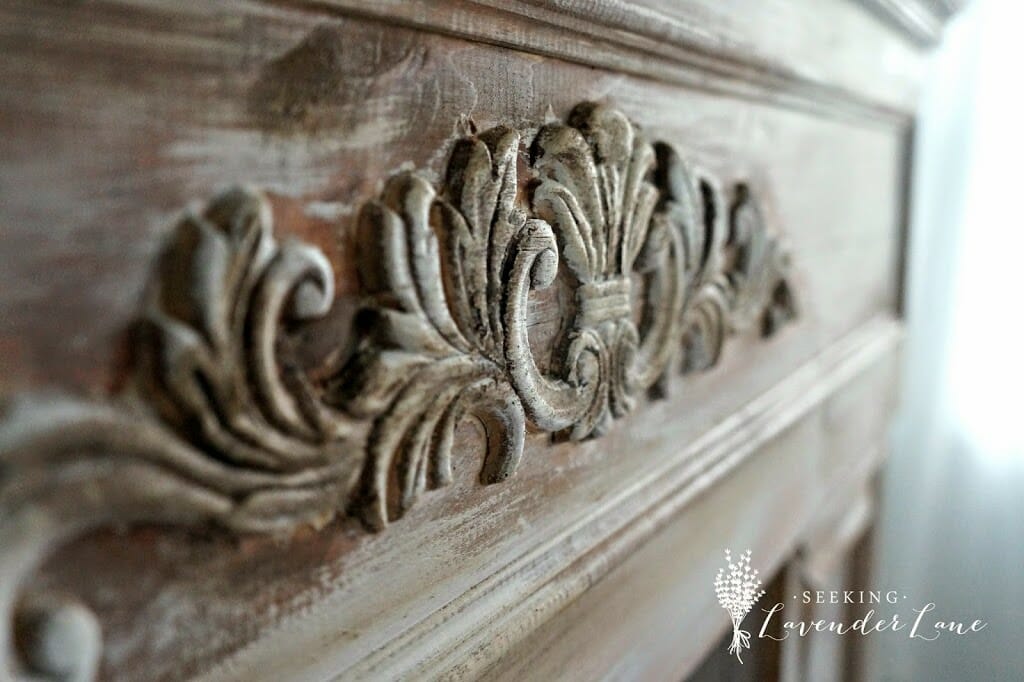
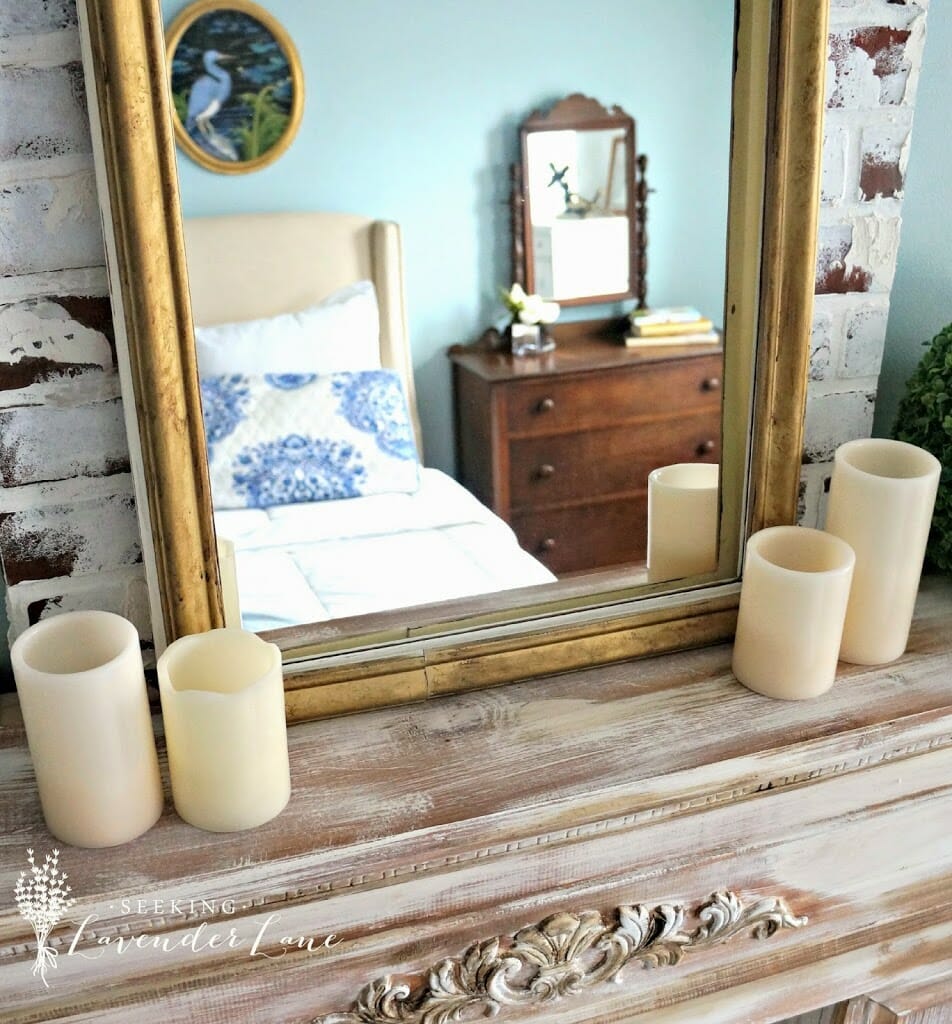
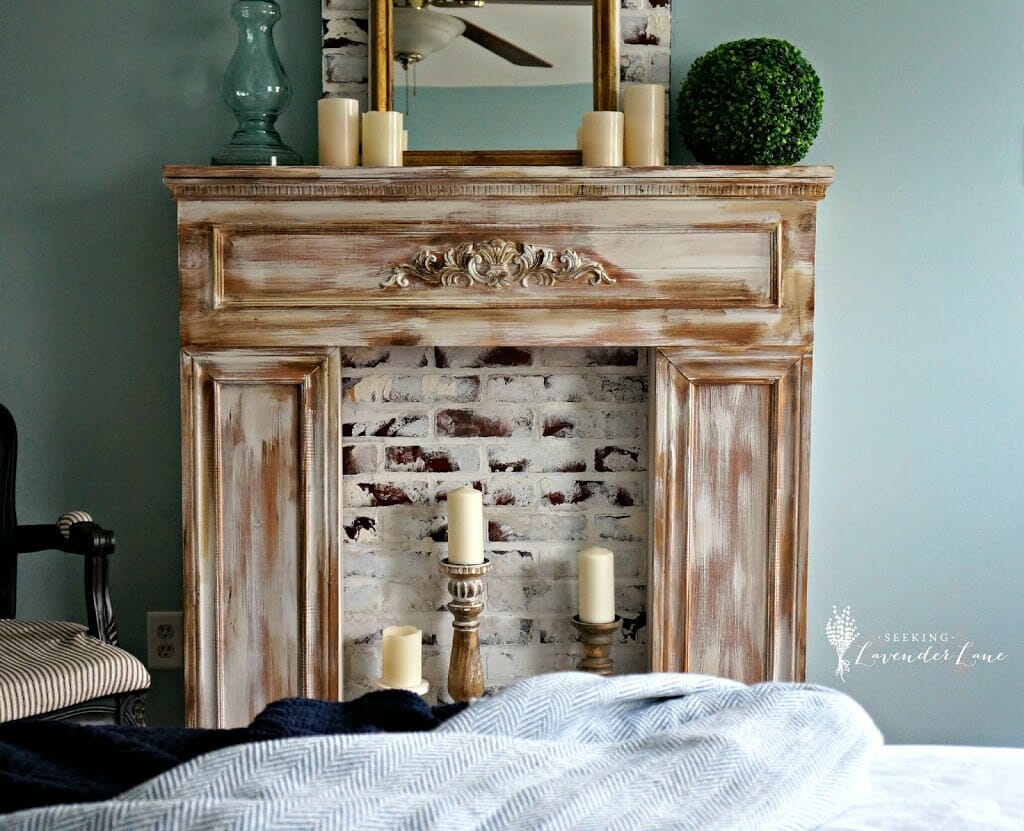



It turned out just perfect! I love the coziness it adds to your room. Thanx for sharing at THT!
Thanks Pamela! Definitely adds that cozy eliment
I love it! It turned out So beautiful, and looks like it’s always been there. I love the vintage feel in the paint job you did. Loving the candle inside, too! Adds such a cozy element to your bedroom. 🙂
Thanks Amanda! The candles are my favorite part. I bought flameless just in case with the cardboard brick…don’t want to start a fire.
This is beautiful! If I just looked at this I would have assumed your home is a older home, not from the 80’s. And you are just fixing it up, amazing. I have a late 90’s home that I am trying to add character to, doing similar things, adding wood work is a great way to do it. Love the finish on that fireplace!
Thanks so much Emily! Love hearing that…I’m all about the old charm!
Wowzers! Love the completed project. I didn’t even envision it like that. Bravo girl! Thanks for sharing on Merry Monday.
Wow! Great job on the stunning mantle and the brick background! So creative!
What a wonderful transformation. Love the old look treatment you did to the wood. I’ll be featuring this project on tonight’s Merry Monday link party so be sure to check it out!
Thanks Amanda…I will for sure stop by!
Stopping by from Merry Monday. Love this project, just showed my hubby. I’d love to create this look in my bedroom too!
Thanks Shirley! That’s so great so glad I inspired you…hope you share how it turns out!
What a gorgeous project! I love the character of the wood finish and the brick. Stunning!
Thanks so much Kristen
Absolutely stunning! Thank you for the tutorial!
Danielle http://www.thesummeryumbrella.com
Thanks for stopping by and leaving me a comment Danielle!
I absolutely love this! I will be featuring this! Thank you for sharing on Show Me Saturday!!!
This is just so cool! I loved how you created the faux chimney, but I love the addition of the mantel even more!! Very creative! Thanks for linking up at Creative Spark. Hope you’ll join us again this week 🙂
Thanks so much Emily! The mantle now has function and adds a cozy element to the room on top of character. Looking forward to another Creative Spark party!
This turned out beautifully! I have been wanting to make a fireplace mantle (we just have tile now) but all the ones I’ve seen online seem so COMPLEX! This is simple and perfect 🙂
Thanks Angela! Yes it was very simple! Just by starting with a frame and adding trim to it can create such a pretty and easy piece.
Oh my gosh – I did a double take – this is almost identical to one I did last month !!!
AND It’s also in my bedroom LOL !!!
Great minds…………….
Yours looks gorgeous – love the brick background !
xox
Hi Suzan,
I had to stop by your blog and take a look at your mantle after seeing your comment. Oh my so so similar! Just love it!!!! Thanks so much love how it brings character to my room.
Whoa. You have done a fabulous job on this vintage fireplace! I love the paint and texture this piece has.
Thank you so much for sharing on Show Me Saturday! We love this project!
Thanks Ashley! so glad you love i!
Beautiful! I can’t begin to tell you how much I love this. Thanks for sharing your project at the Share Your Style Party.
xx,
Sherry
Thanks so much Sherry : )
what a wonderful DIY, it turned out beautiful, and it really adds the romance! thanks so much for joining in for the first Share Your Style!
Looooooove this! Just another reason why I wish we had a fireplace. I really love the finish you did, that dry brushing technique really take this to another level!
I’d love for you to join me at Talented-tuesday-link-party that is live right now!
-Kristina @ myownhomeblog.com
Thanks Kristina! A last minute decision for the dry brush technique but so glad I did it! Love to join the party..thanks for the invite!
Thanks for sharing part 2 of this project with us at Pin-Worthy Wednesday! I love how the mantle turned out, great project all around!!
Thanks so much!
super cute! Love the look with the brick! Hope you will link up at Motivational Monday again tonight!
Thanks Becky! I will