


The initial plan was to create an ottoman of some kind for my living room. I knew I had my old kitchen table in the garage and thought it could be possible to put some padding and fabric on it and maybe some tufting and create a really great large size round ottoman.
We started with our old table…
Kind of hard to see but I think this may be the only photo I have of it, when we first moved in.
Just a typical round table about 25″ across and made out of particle board with an easily scratch able surface. We bought the set 3 years ago and we paid $200 for it which was great for our last apartment, but we no longer had any use for it here.
So the Ottoman plans…yea well one wrong measurement and 5 screws later and that idea was out the door. So on to Plan B….
Plan B? Painting the table of course.
At this point in the renovation and decorating process in our house, I have probably painted about 90% of the furniture in our home. I wanted something definitely different and just had to come up with a plan.
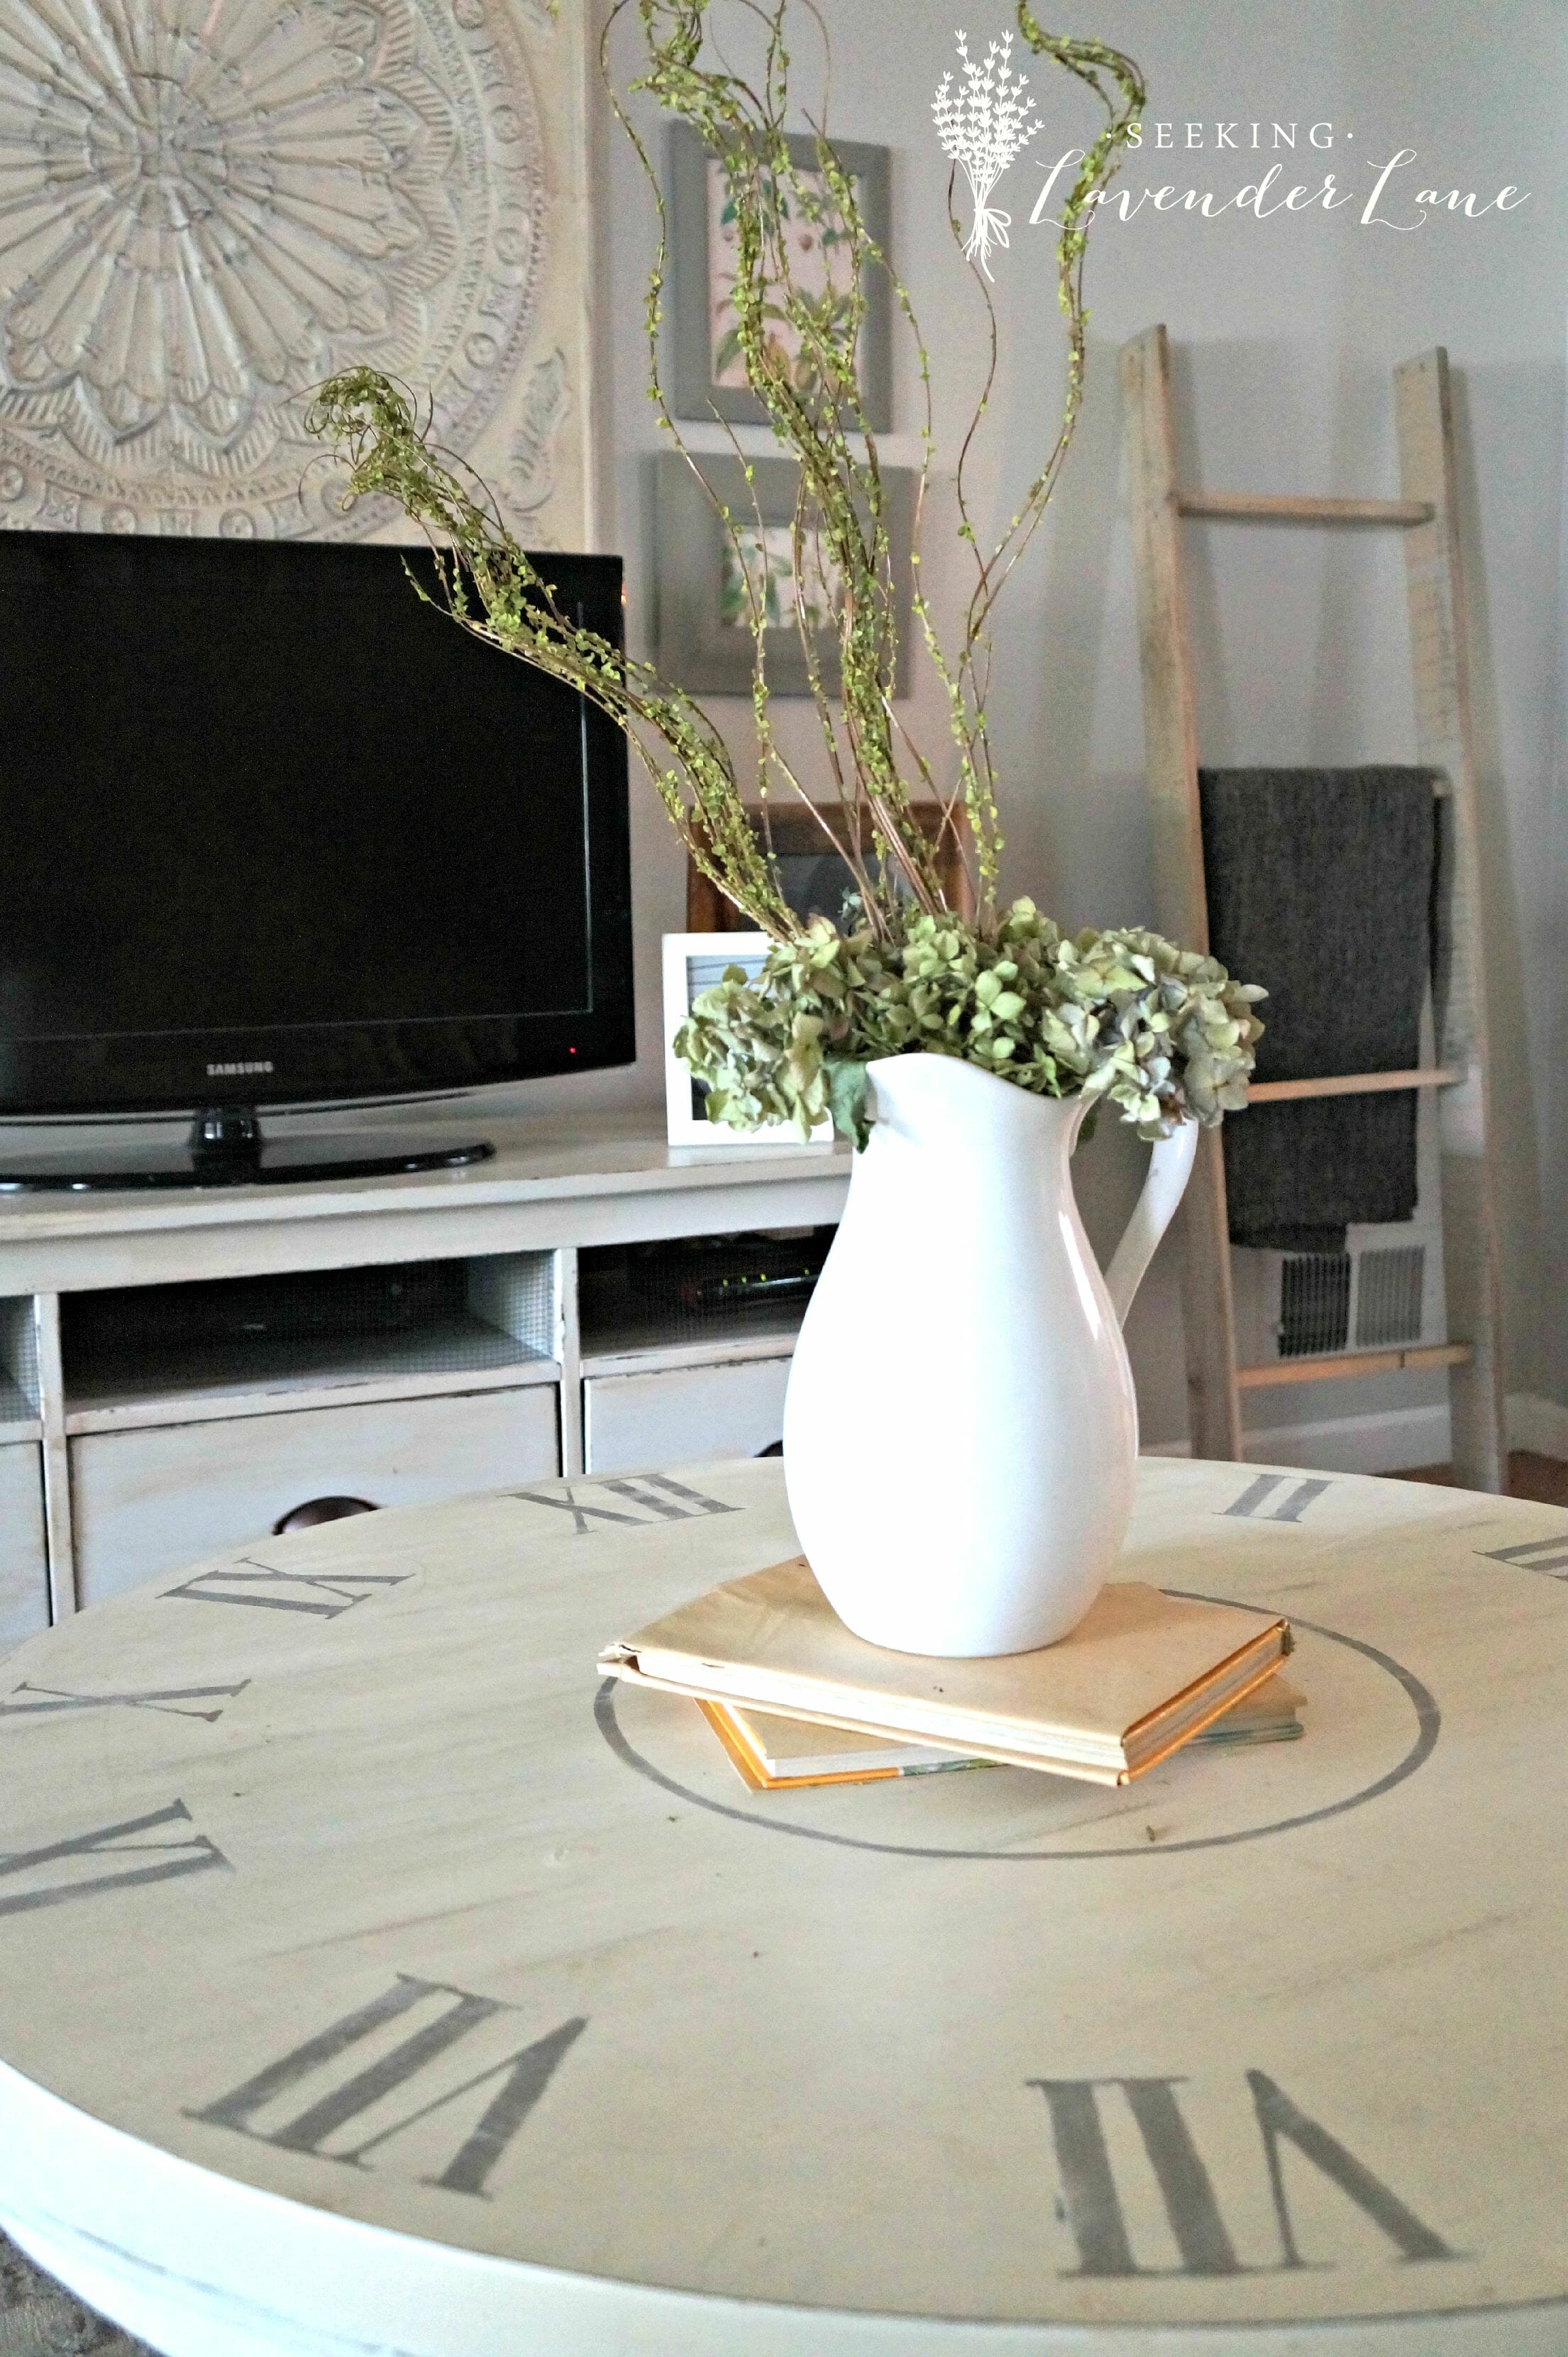
After searching round tables from different décor sites, I came across the “clock table” design. Definitely different and very suitable for my French country/modern living space. I guess that’s what I am calling at this point. Maybe more Ballard and Pottery Barn inspired with a ton of DIY help.
So anyway…thanks to my cans of Annie Sloan Old White Chalk Paint, I painted the top of the table and used Charcoal for the legs and stenciled and dry brushed the top with French Linen.
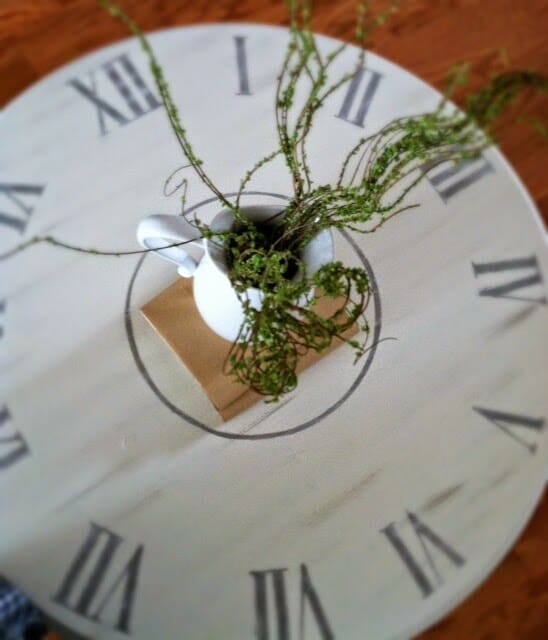
I think the most important technique I had was to dry brush across to give the table a distressed/vintage feel. This I did prior to stenciling on my numbers.
Adding the roman numerals to the table was the most difficult. I wanted to save money (of course) and did not purchase a stencil to do so. I printed out a X, I, and V in a 450 size font and cut this out, retraced it to cardstock, and then cut them out again and used as my stencil.
Tip: using cardstock becomes a little messy…if you are using chalk paint you can always sand down the sloppy edges and then finish it off with a dry brush technique in the old white to fade some of the those not so nice spots.
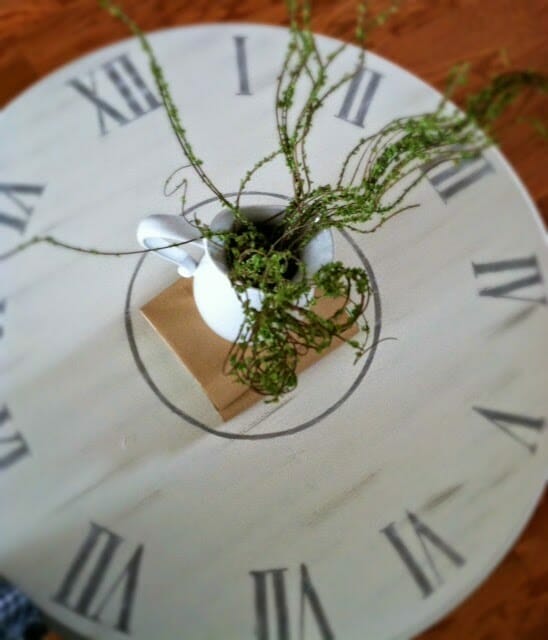
Finish in with Annie Sloan Clear Wax…and you have yourself a FABULOUS clock table!

Hope this was an easy explanation…feel free to comment with questions.
PLEASE STAY A WHILE

Making the Perfect Tea Party Table for Under $50
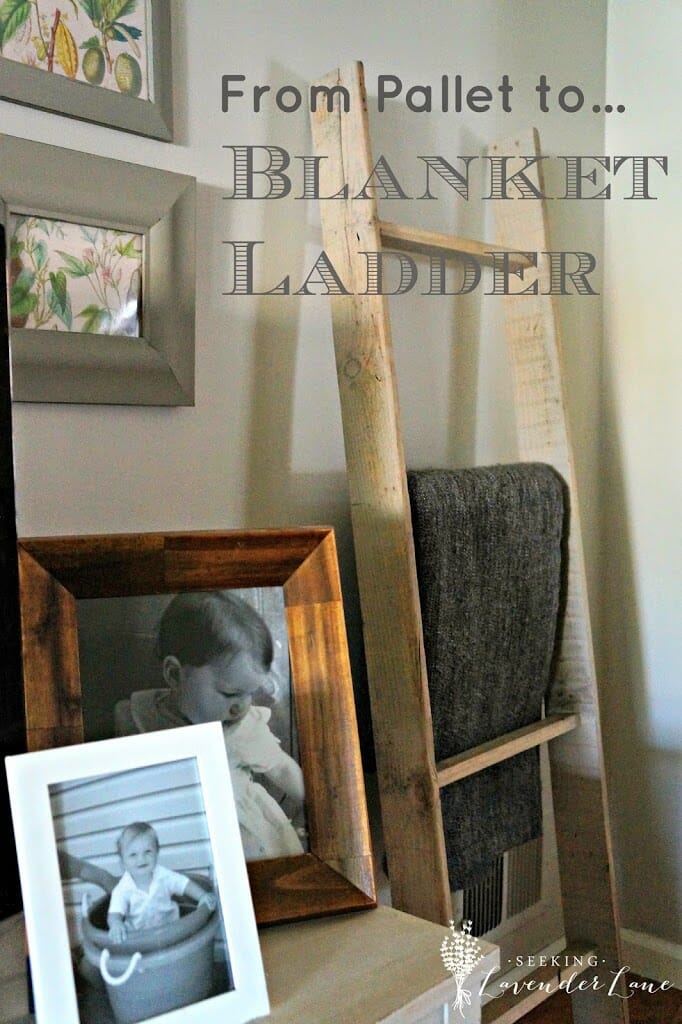
DIY Blanket Ladder from Pallet


10 Responses
I love your clock table! Chalk painted? Super cute! I may need to try this out myself! 🙂
Paige.Rose
wwww.thequaintsanctuary.blogspot.com
Hi Deb! Found you from Lauren at Bless’er House. I love this table! What a great idea…I will have to file this on my to-do list! Thank you for sharing 🙂 Kim
Deb, just found your blog today – love all the changes you have made to your home and on a tight budget! This table is so cute/clever – saving it for my to list for when I retire in 17 months! Thank you for all the great inspiration!
Thank you so much Becky! That’s so exciting enjoy retirement and no better way than with some DIY projects!
Your table is adorable! Can you tell me the significance of having 2 – VII and 2 – IX. Thanks!
nope it was just an error when making the table. Thanks though!
I’m curious, did you cut down the base of the table? I have a similar table that I stenciled a compass on. I would love to turn it into a coffee table (instead of a kitchen table) but don’t know how to cut through the thick base so that it would still be level. Any tips?
Hi Jill! We cut the table down with a saw zaw. Just be sure to measure all around to be able to get an even cut for it all to be level. It’s definitely a bit tricky…so I don’t want to make it seem like it was a piece of cake. I’m pretty sure we had a few takes at this one ; )
Thanks for the tips! I finally got around to transforming my table yesterday. We also used a sawzall per your tip and carefully marked and measured. I was expecting to mess it up a few times before we got it right (my DIY norm….) but it was a good day! We got it right on the first try! Hooray!
yay that’s awesome! Yep, we always mess our DIY projects up. I don’t know if there has been a project yet that has gone totally smooth. Happy to hear it went well. Love to see if a photo if you want to share with me on facebook.