What a successful weekend! So glad to be sitting here with my feet up on my coffee table relaxing : )
We worked so hard on finishing some unfinished projects this weekend and am I so glad we did. It amazes me how each new project we do on our house just keeps completing this picture of a home for us even more. Always more to do and of course some projects/furniture/accessories are sometimes put on hold due to finances and time. Looking back at how far we have come from last year at this time I feel so blessed. I am really looking forward to decorating and entertaining this year for the Holidays especially now that our house is more complete.
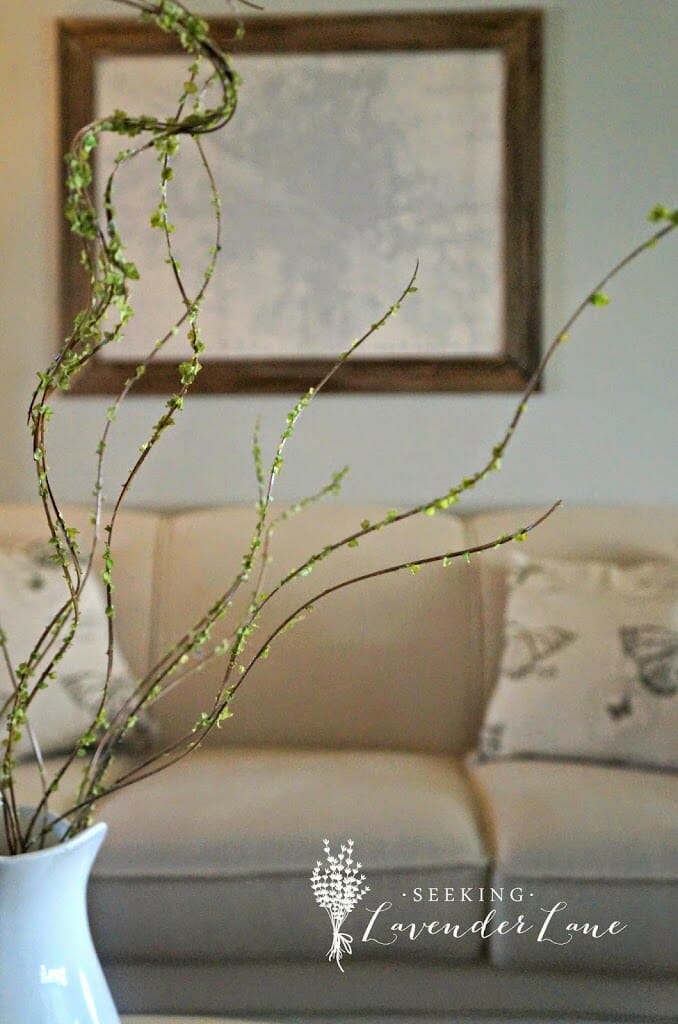
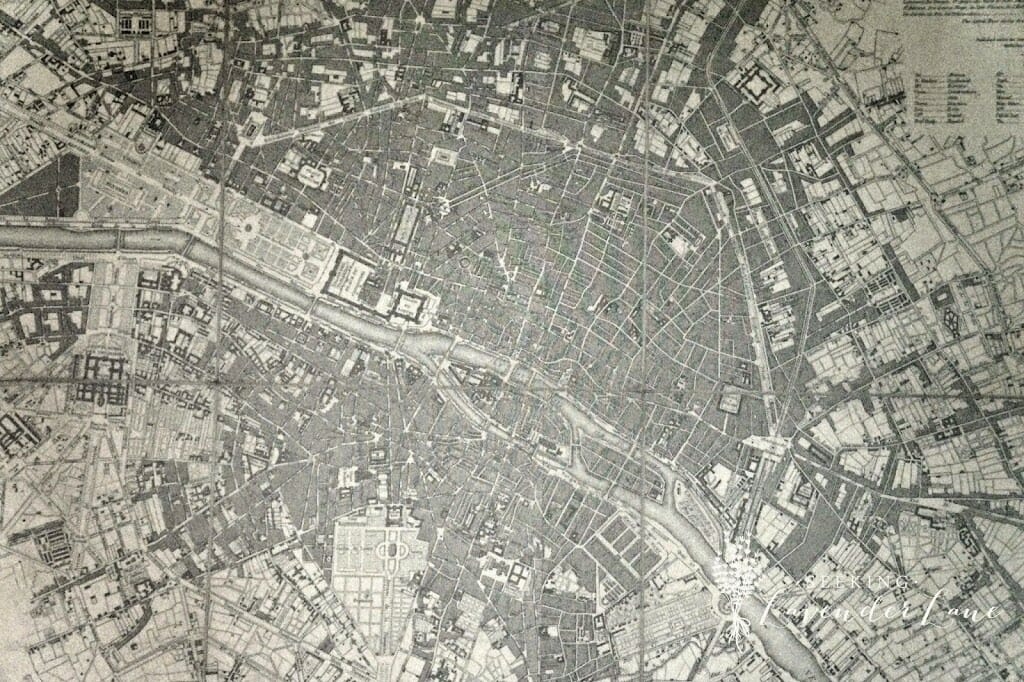
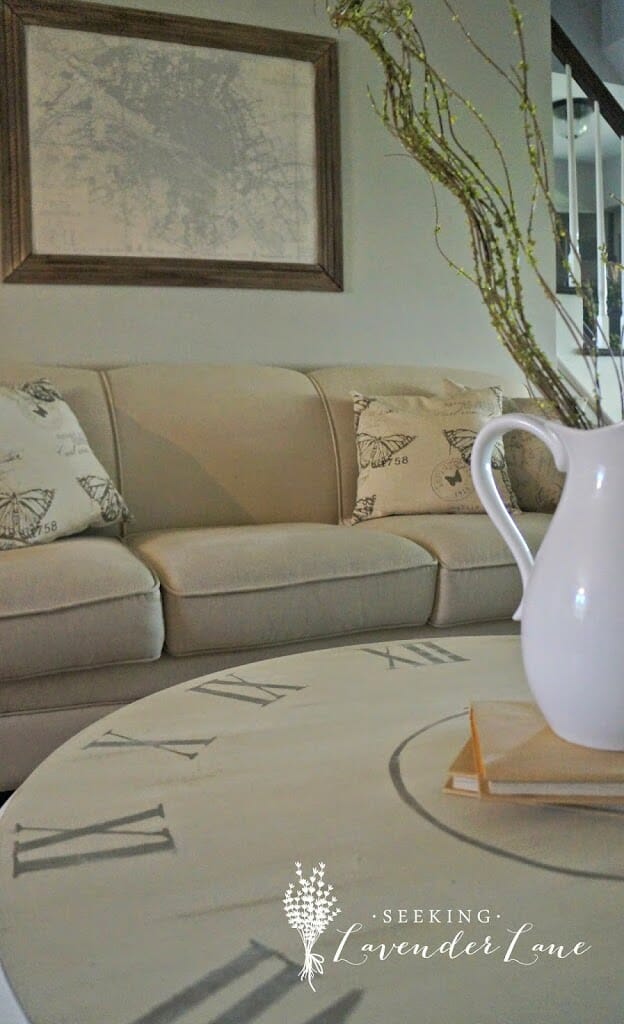
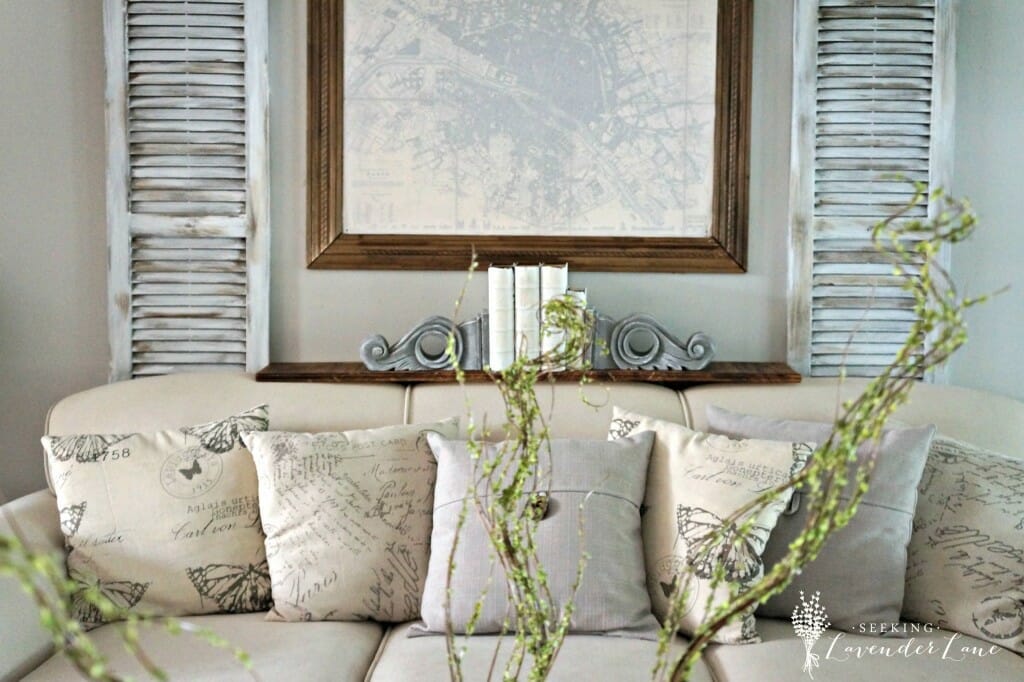
Anyway…one of the projects on my to do list has been to complete a DIY map art for our living room. I posted about a month back some inspiration with my Map Decor Post. Such great inspiration out there and some overly pricey pieces that can be copied and done for a fraction of the cost.
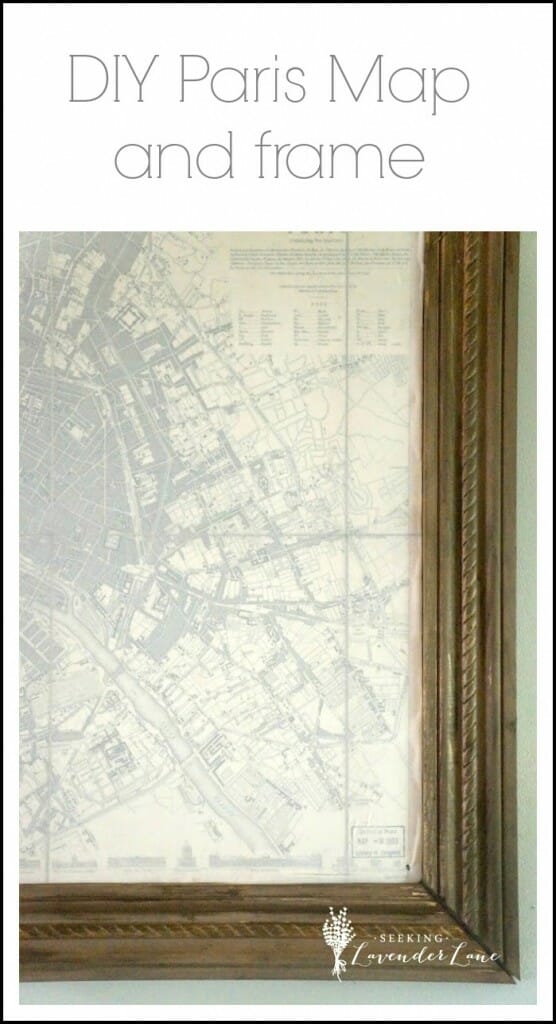
I first started the process by finding maps sold on Amazon for under the $40 price point. I spent $35 for the map and shipping. I wanted to add more of a fabric and matt feel to the map so I came up with covering the map with a shear piece of fabric.
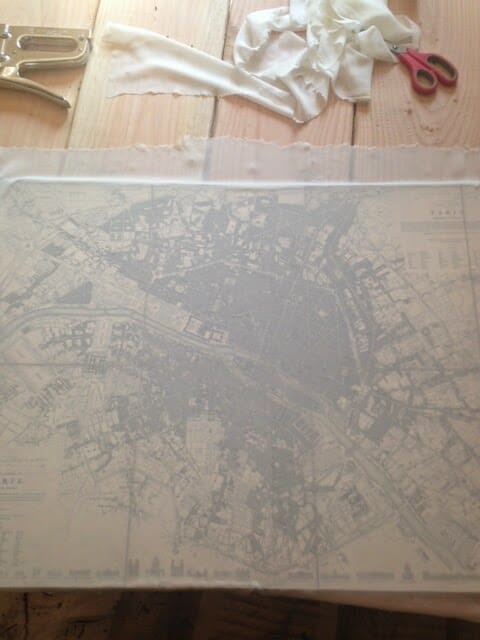 |
| Here I added the fabric to the poster. |
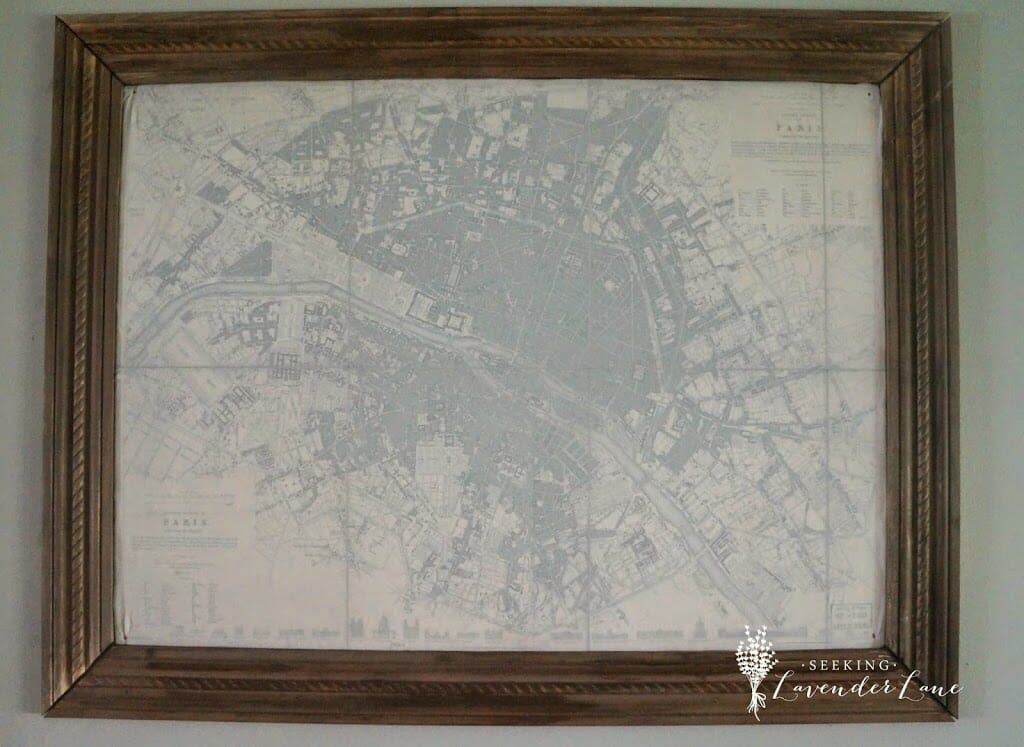
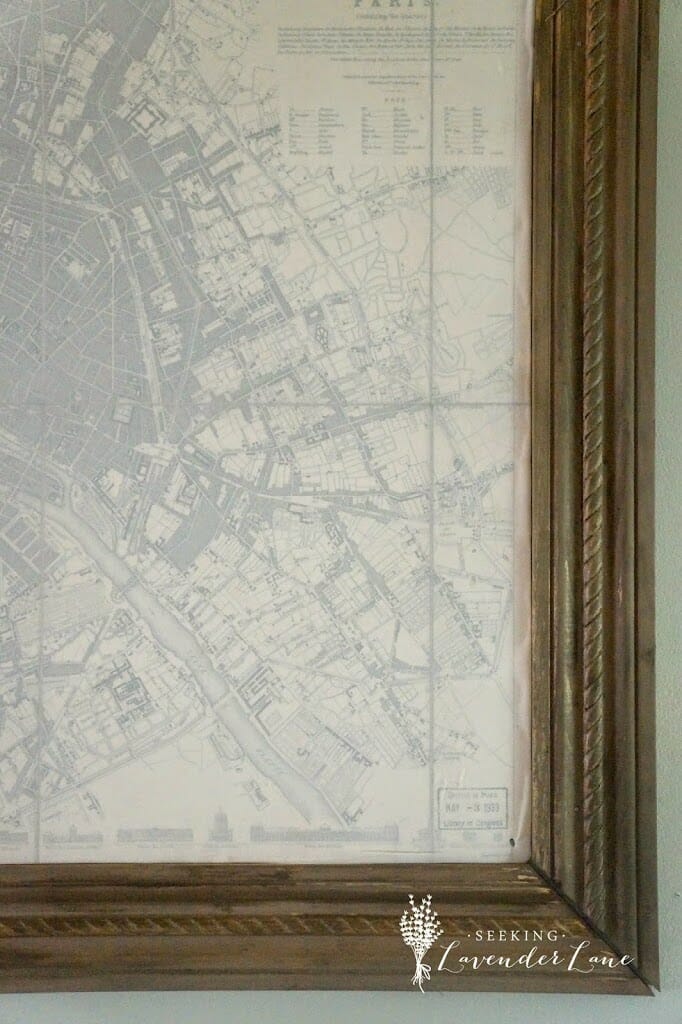
The next step was to pick up some molding from Lowes to create a frame. We cut the frame into the perfect size and stained it with our homemade stain mix. You can do any stain you choose, but I wanted to give the wood a more vintage look. After doing some research I thought to try the mixture of apple cider vinegar and steel wool and let it sit for a few days. After it sat for a few days it was ready to use and I applied just like a stain. Once dried I added some Annie Sloan Dark wax to give even more dimension to the trim.
To add it to the wall we first nailed the poster board with the map and then added the frame parts one by one.
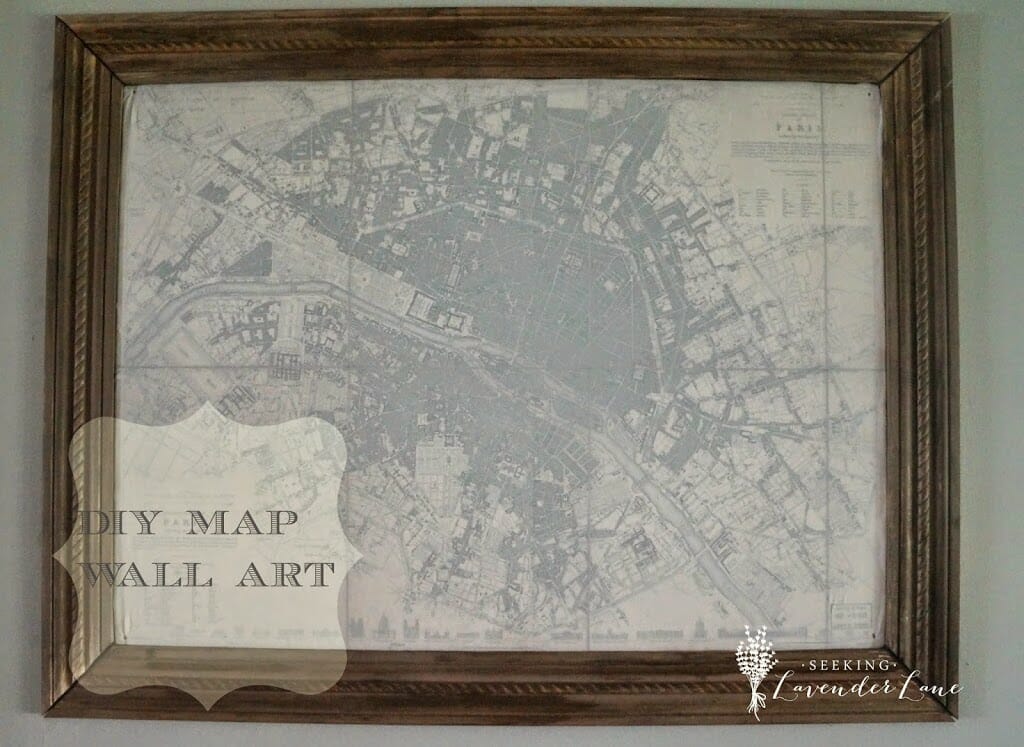
So happy that I did this project I love the way it turned out and it just helps to bring this room even more together.
With the new full time job I can not post daily, but I have an upcoming post with out DIY dining room table and bench that we accomplished this weekend as well…another project just in time for the Holidays!
 |


Such a clever idea to cover the map with sheer fabric! It looks great in your room!
Thanks so much Lisa!
I love this – thanks for sharing it at the Vintage Inspiration Party at Knick of Time.
For future reference, I have free antique map printables at Knick of Time (see tab under my blog header), and you can have them printed at Staples in large scale on blueprint paper, for less than $5. It would have saved you a whole lot of pretty pennies!
Thanks Angie! Wow how I wish I knew that prior to ordering mine through Amazon. Hopefully if this post inspires others they will read your helpful post and find a great map for their home.
What a great way to create such a nifty wall hanging, my husband loves maps and has some that need updating, clever idea. Thanks for sharing on Oh My Heartsie Girl!!!
Thanks Karren! Such a fun way to add style to your home…for sure dig up some of those maps that would sounds like fun!
This is such a great method to achieve the look you wanted! I would never have thought to use fabric!
Thanks for linking up at the Talented Tuesday Link Party 🙂
Thanks so much!
Deb, this is beautiful! I would have never thought to use fabric, but it is a brilliant idea! It really turned out great.
Thanks so much Nikki..it was a quick decision and so glad it worked out!
Love this. My wife and I paint some so we thought we would paint something for our guest cottage. But after seeing this, I can’t wait to hang this up with a local map (Mobile Bay). Pinned.
Oh yay! I’m so happy to hear that. This was such an easy and affordable way to add artwork to a space. Even though if I was a painter I think I would just be making all my art work, how awesome!