


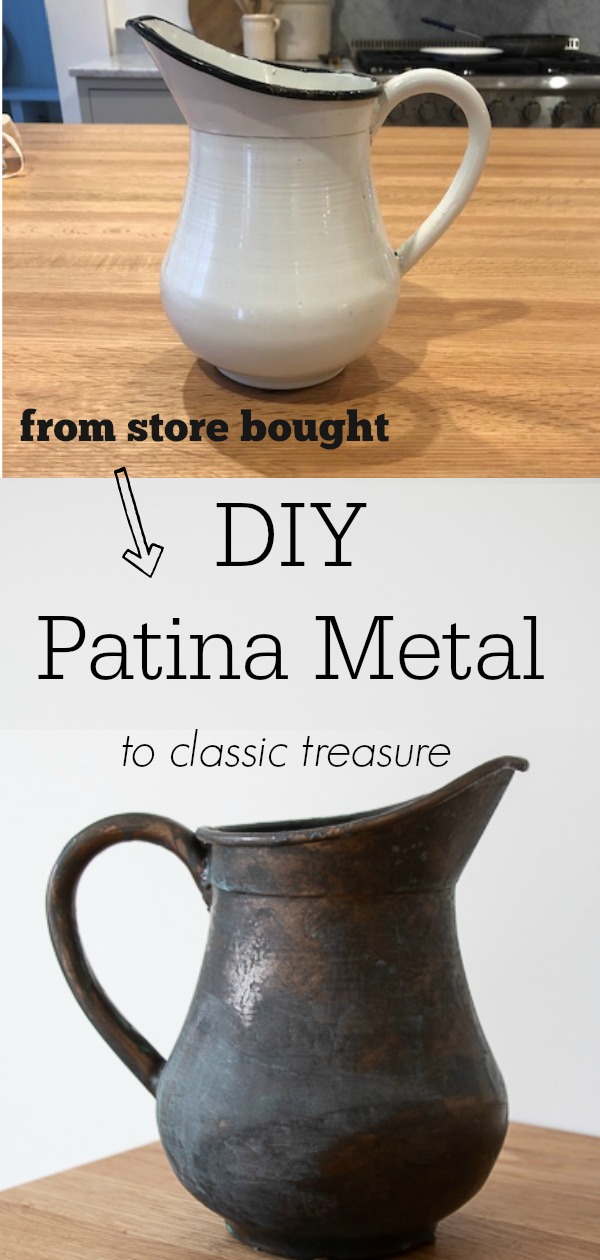
DIY Patina Metal: From Store bought to Vintage Classic
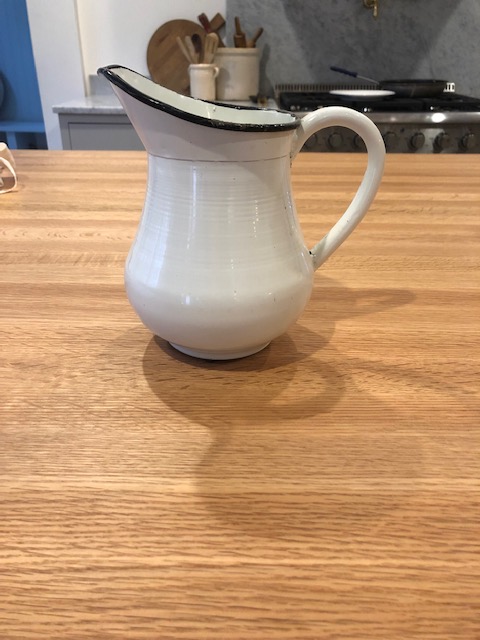
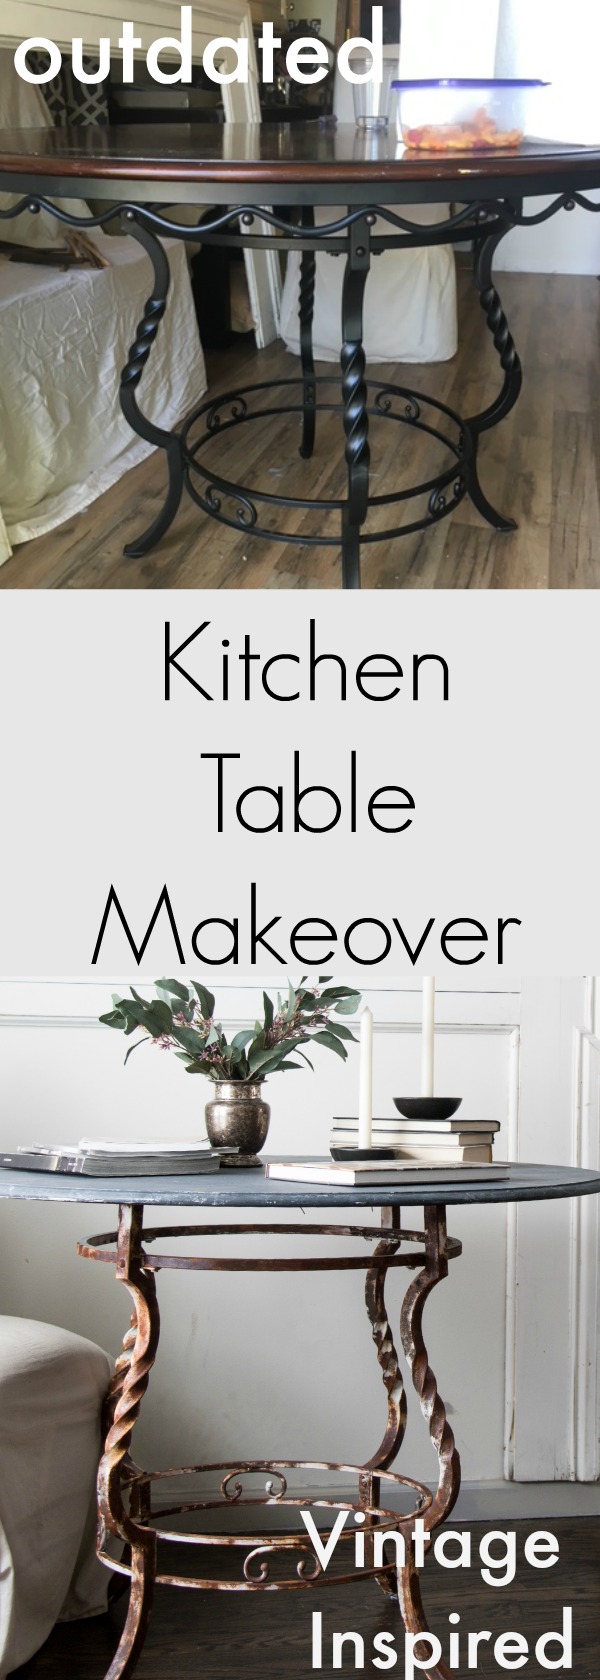
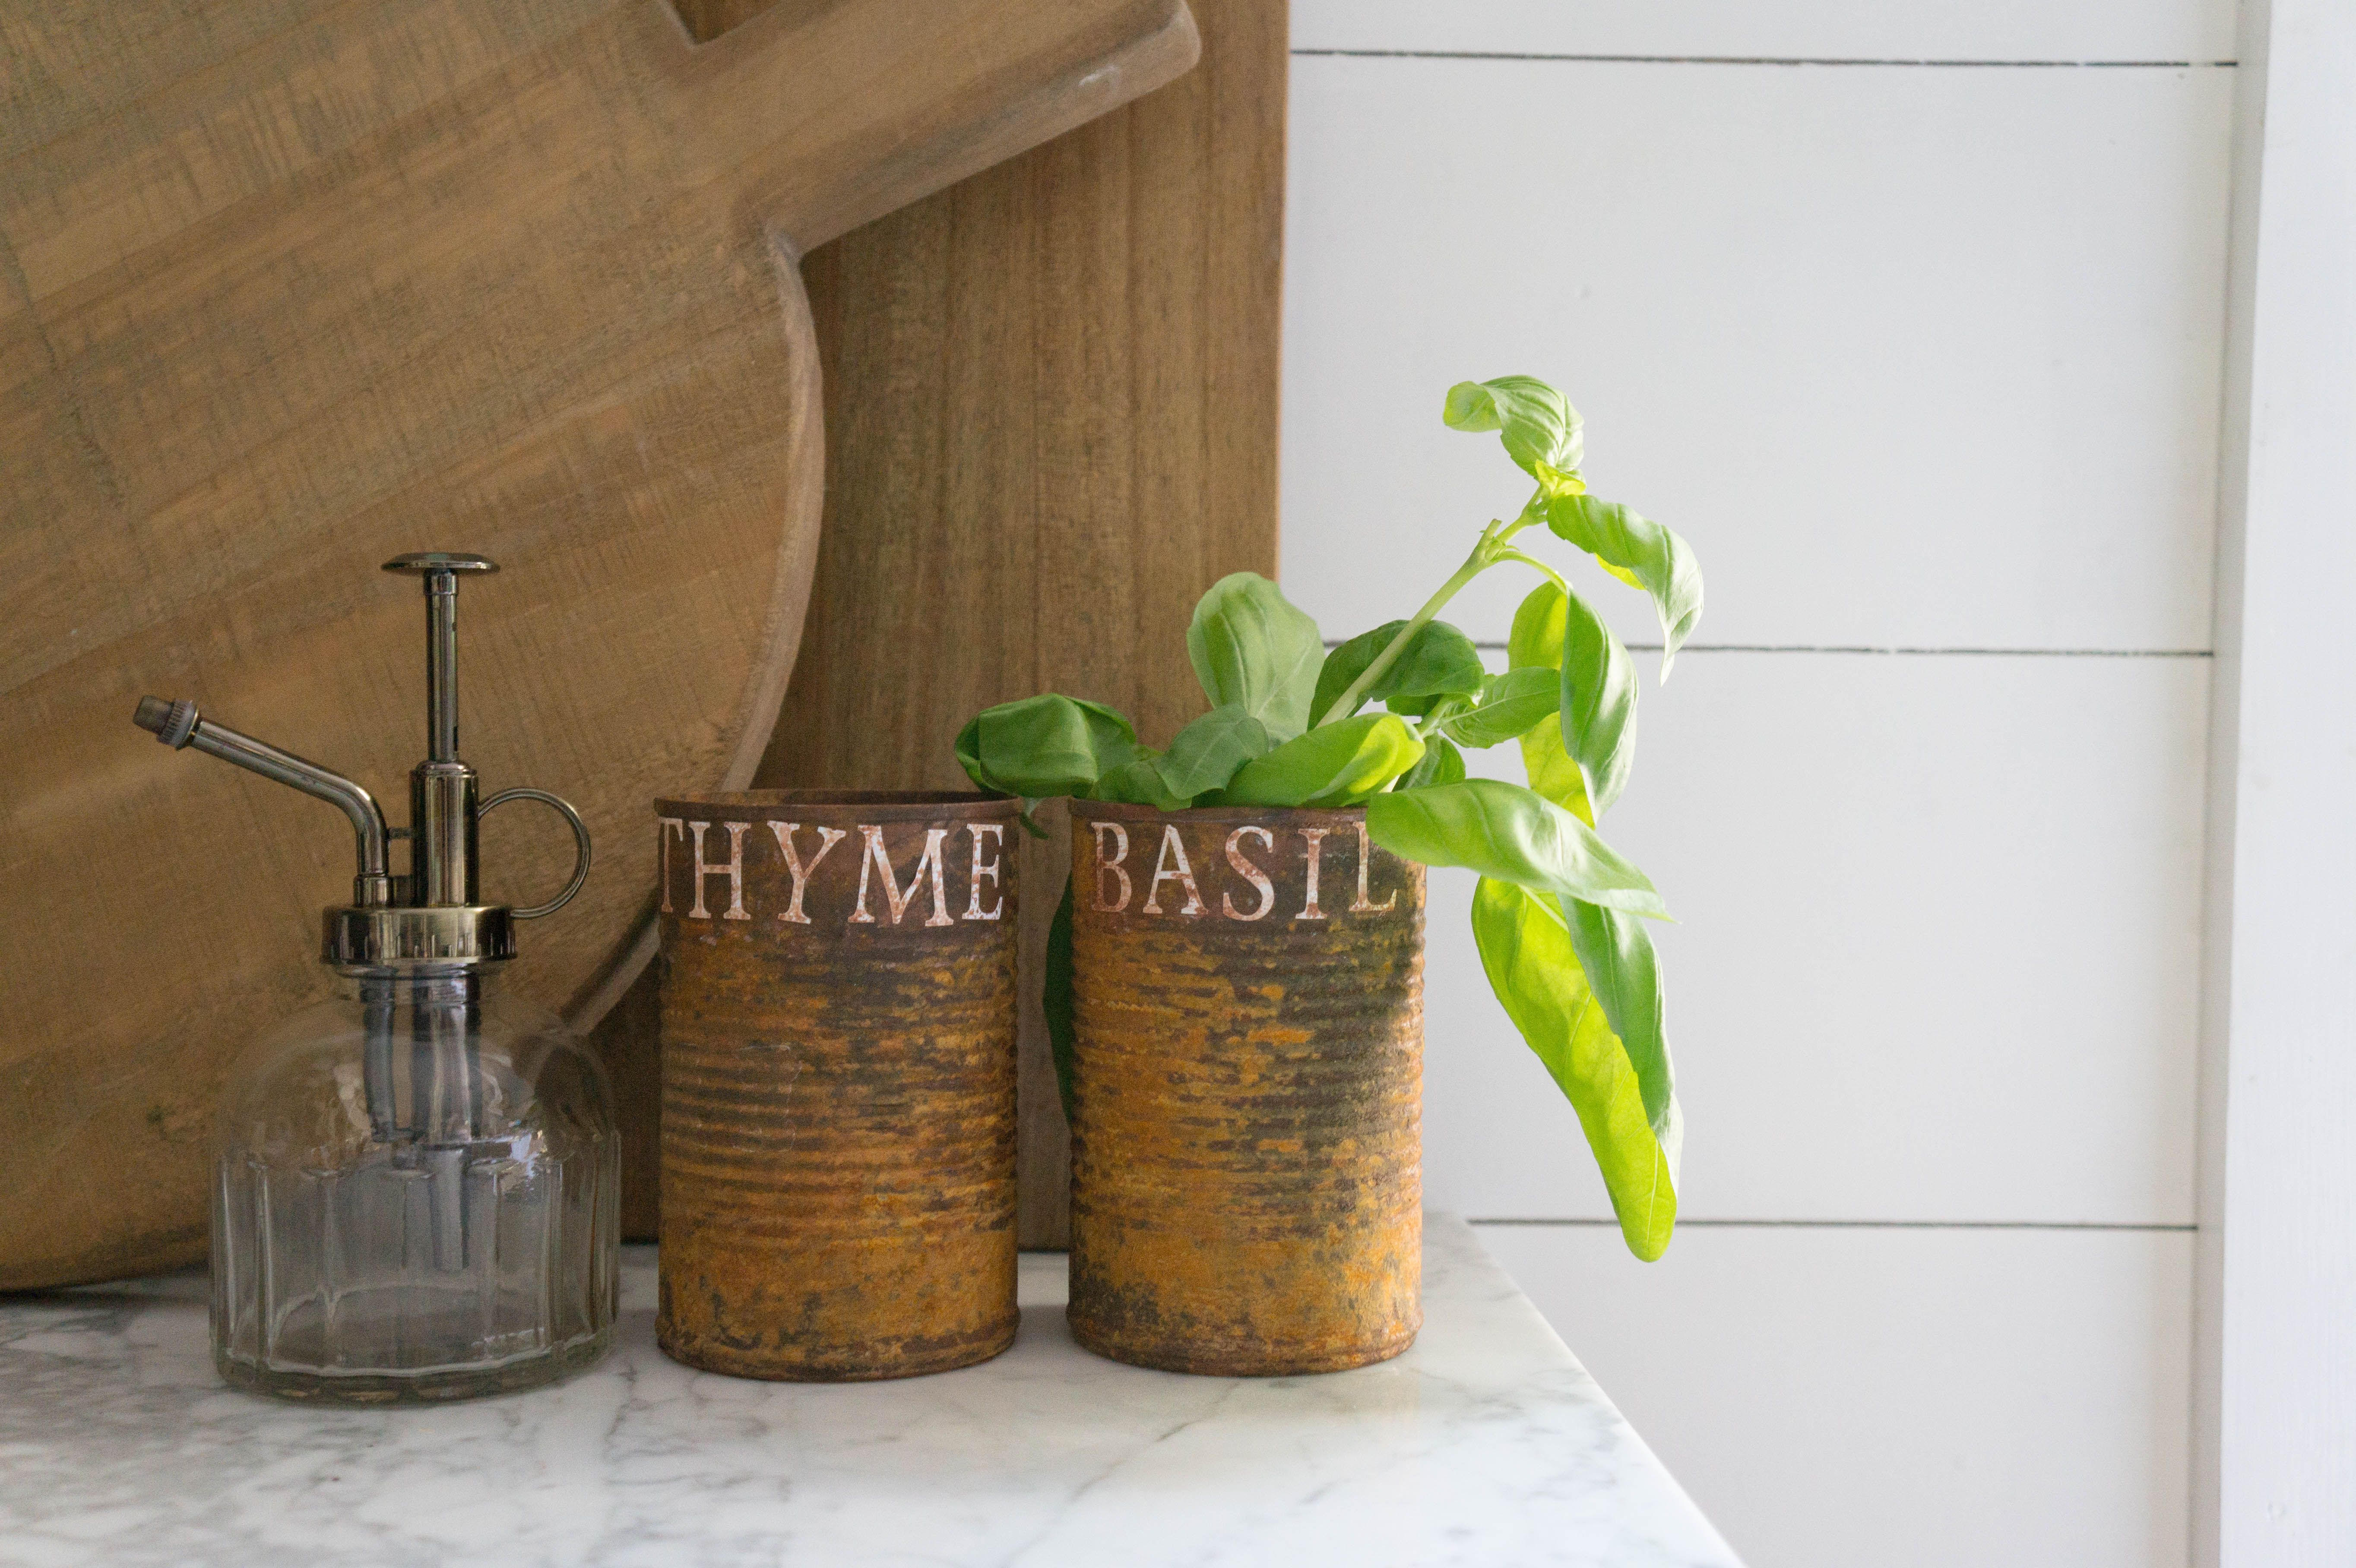
I am seriously on this kick of looking for authentic vintage, French vintage, and a ton of plates, vases, and pitchers to fill up my open shelves in our pantry and kitchen. I’ve been purging a few things and already saving up yard sale items as my taste has changed a lot or at least I think I am limiting my taste. There are a still a lot of looks that I appreciate but having a new start in our home I really want to find items that I fall in love with. Not to just put just anything in our home…and of course that can be difficult when you need a lot of knick knacks to fill your space. So that brought me to an idea…maybe not everything has to be tossed or sold. Maybe some things I can re-purpose and make new. So, I had this perfectly sized white enamel pitcher on hand , but the white enamel look seems to not fit with my current home style. So, I figured I could give it a makeover and create a DIY patina metal effect to the the exterior. I’ve done this a few times now as I used the “rust” technique on both this table and these cans. I love how it kind of feels like magic and it is also so easy to do. This time around I changed my finish and used a green patina that I felt would resemble that copper feel rather then rust. I highly recommend trying out any of these finishes you will be impressed with these products from Modern Masters as they can bring that true vintage and flea market style to your home (which we are all loving). Modern Masters offers a wide variety of products for the creative and I’ve got my eye on a lot of other products they sell to create beauty to our new home.
This is a collaborative post with Modern Masters, product was provided to create great content and inspiring ideas for you all. My project, photos, and opinion are all 100% my own. This post also contains affiliate links which I make a small commission from with no added fee to your purchase.
Step 1: Clean enamel pitcher
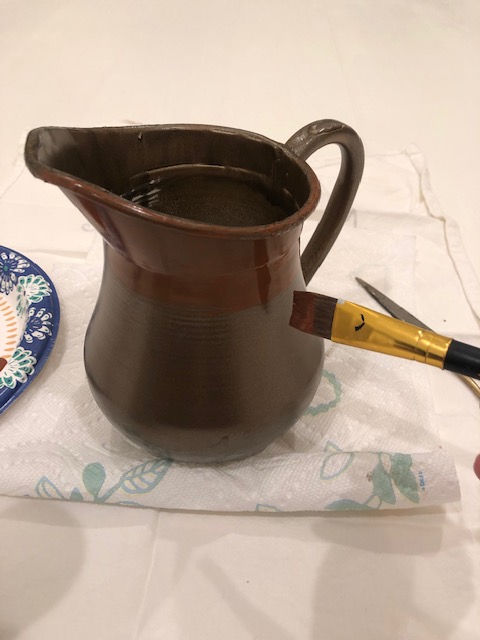
Step 2: Once surface is washed spray paint white surface. I chose an antique brass paint that is close to a bronze finish. I think oil rubbed bronze would also be a good choice. This step will help to cover that white surface really well.
Step 3: Apply the Primer Metal effects to surface. This is going to protect the metal underneath. Use sponge brush or paint brush to apply.
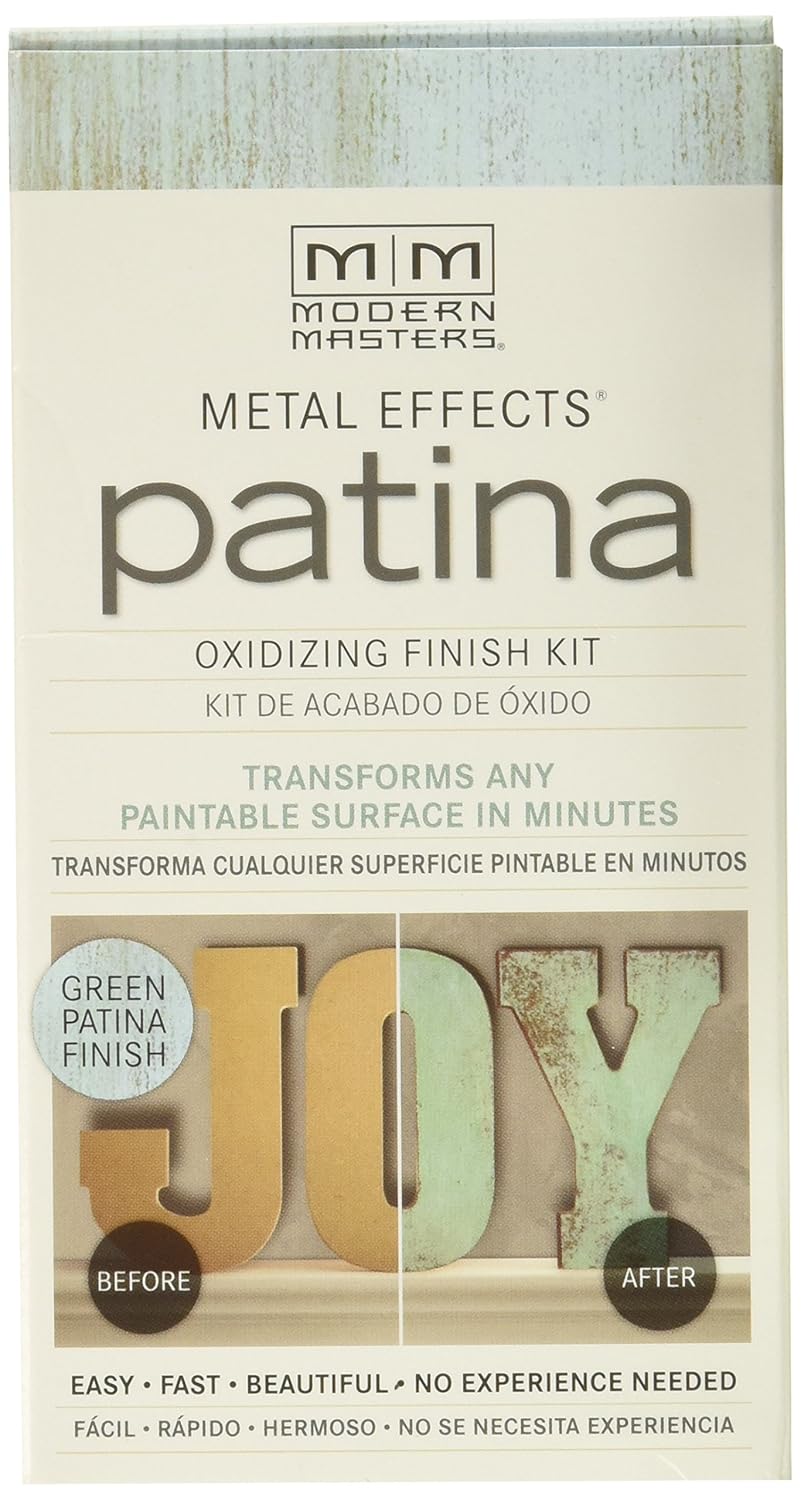
See kit here to shop to create the patina look below.
Step 4: Apply Metal Effects Oxidizing bronze paint. This is going to be your primer and what will help to create that oxidizing patina look.
Step 5: Once applied, before surface is completely dry apply the Green Patina Aging solution. I used both a brush and paper towel. The surface being round was a little tough to keep the liquid solution to stick so I did a combo to get to stick without getting drip marks. start in small sections for a rounded surface area like this pitcher. If you have a flat surface then you should be fine applying all at once. Also, don’t be afraid to go back and repaint with bronze paint and re-apply until you are completely happy with the finished look.
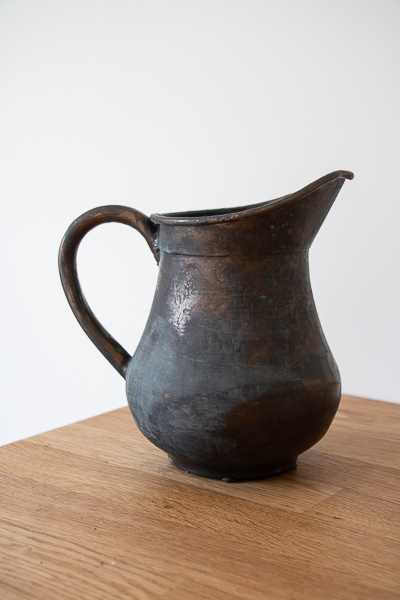

Look at that beautiful finish! I love how it looks authentic and like this was a true treasure found at a flea. it has the bronze peeking through, the dulled look of an antique with that slight hint of green. I did not want to over-do the patina as I feel then it would loose that authentic aging look. Always remember when creating a vintage or worn look to an item to pick the area where it would most likely be worn down. For example on the stem of the pitcher or the top where you would be pouring water in an out. It truly turned out beautiful and I am so excited to add some fresh flowers and to now display with the rest of the treasures in our new home. I’ve also got a ton of ideas to use more of this product in adding age to materials I have on hand.
Please Pin
See More Up cycles Below
![]()


11 Responses
Love the transformation, really gorgeous!
Thank you Shirley xoxo
oh my gosh, that is wonderful. i luv it.
Thank you Erika!
That’s crazy! It looks so beautiful!!
Thanks so much Kathy! I love this stuff!!!
Deb you are so talented. I absolutely love this transformation.
Thank you so much Debbie! it was so easy and so fun to do.
This looks so authentic! My question is, it looks like you painted the inside too, so can you actually put water in it to put fresh flowers in it?
That’s a good question Barabara, I don’t know the answer to that one…but I did only paint about 2-3″ down so no where near where the water would be. I hope that helps.
Wow! What a difference! Thank you for the tutorial. I just happen to have a white tin pitcher. ?