


This post is sponsored by Everywhere Agency on behalf of Tarkett; however, all thoughts and opinions expressed are my own.
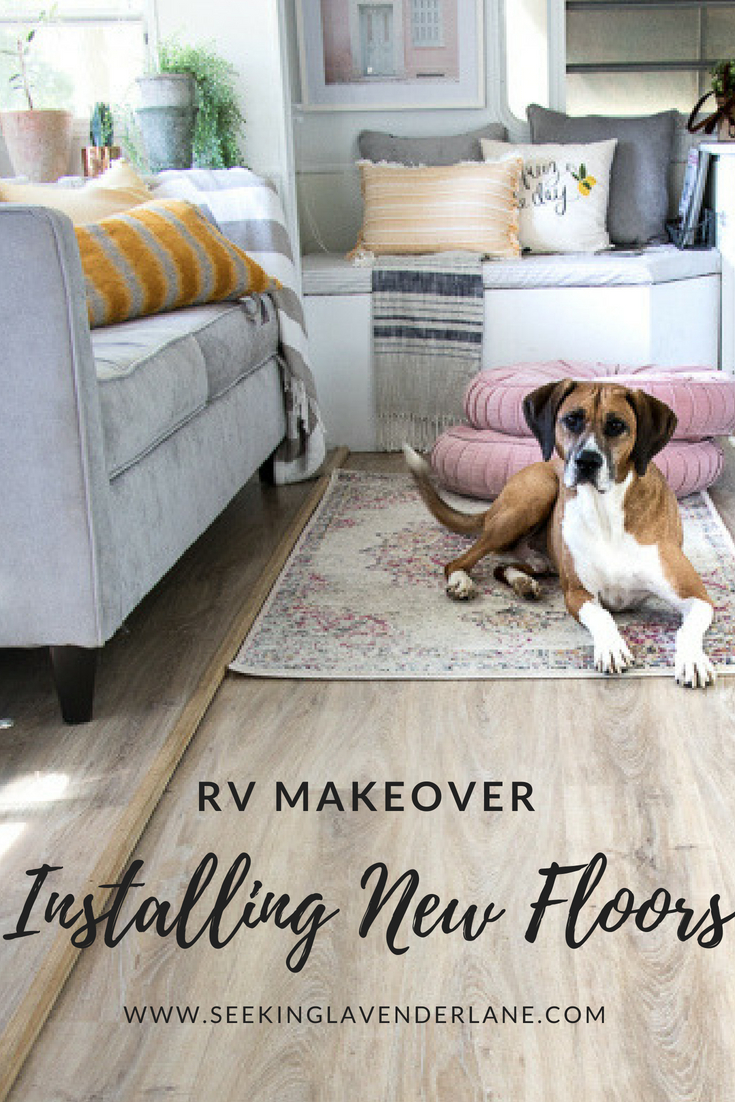
Installing new RV Flooring
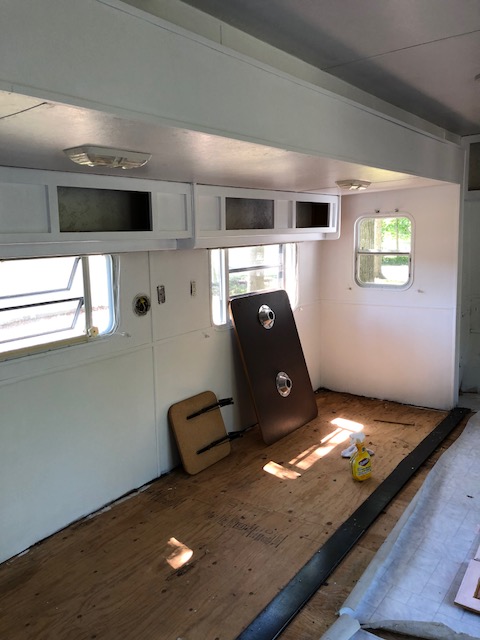
Well, I’m a little behind getting you all caught up on the process of our RV, but mostly because I’ve been waiting to get some pretty photos to share! So, we are all officially moved into the RV, but we have some finishing touches mostly with decorating and small projects. Once that’s all done I’ll be sharing the reveal here. One of the biggest projects we took on before we moved in was getting the new flooring down. If you remember the before photos of the nasty blue carpeting and ugly vinyl that the camper had was pulled up immediately. We decided to prime the floors with some KILZ to kill some of the smell since removing the carpet brought out an odor in here. We thought it was just a bagel that went bad in our garbage, but once the smell wasn’t going away we knew it had to do with removing the carpet and whatever had seeped through must had left an awful fragrance. So, once we primed it was time to select some pretty flooring that not only would compliment the design and style of the RV but also be easy installation and work for the RV quirks like the slide out.
Let’s take a look back at the BEFORE

After the Demo
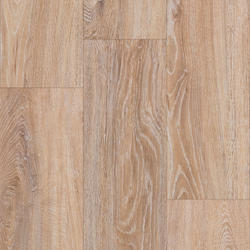
I was approached by Everywhere Agency for Tarkett for our makeover and after browsing their beautiful selection of ProGen flooring I knew this was going to amazing! This luxury vinyl flooring has a stunning finish and the planks are a great thickness that allows the slide out to slide over and also easy for cutting with a razor blade as well. It’s also temperature control, 100% reclaimable, requires no acclimation time (woo-hoo), and you can use your standard razor blade to score and cut flooring. It’s a great product for that DIY flooring that we could take on ourselves which gave us less anxiety especially since all our anxiety was already up at this point in our makeover and living situation.
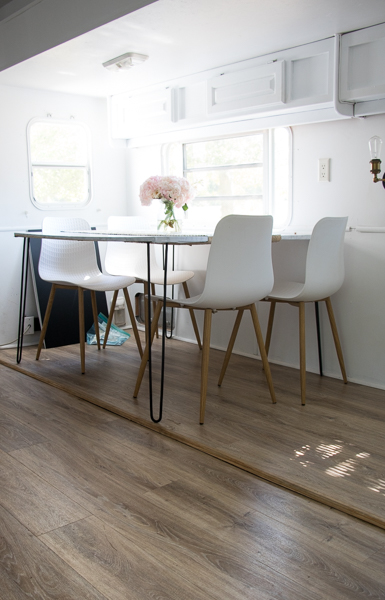
I chose the Vista Oak Limed Natural color because it was light enough for the RV with a hint of gray and white which I knew would work with the pink, gray, and white color scheme in the camper. It truly is so pretty and I so happy with my choice.
Directions for Installing Laminate in an RV
So, I would be lying if I told you we were pumped about installing the flooring. Though we have done laminate in the past it’s fairly simple to install we just were getting tired by this point of the RV makeover. We were also racing the clock for our move out date of the rental and into the RV. That added additional pressure and before you know it we would need to be living here. So flooring had to get done and that required late nights and after work and after school trips here to get it done. Oh did I mention we had no AC still at this point and it was getting HOT!
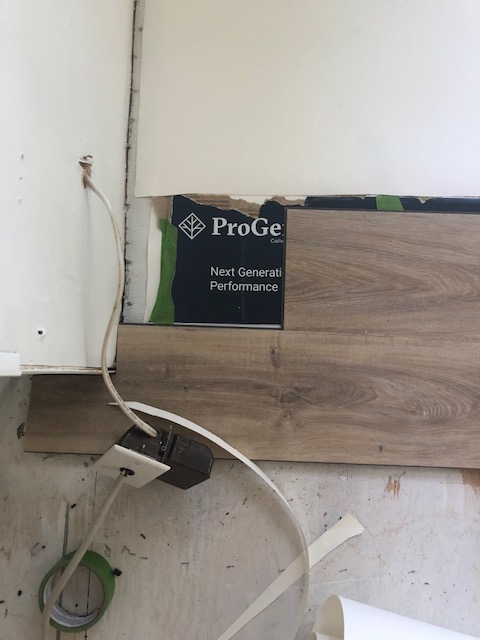
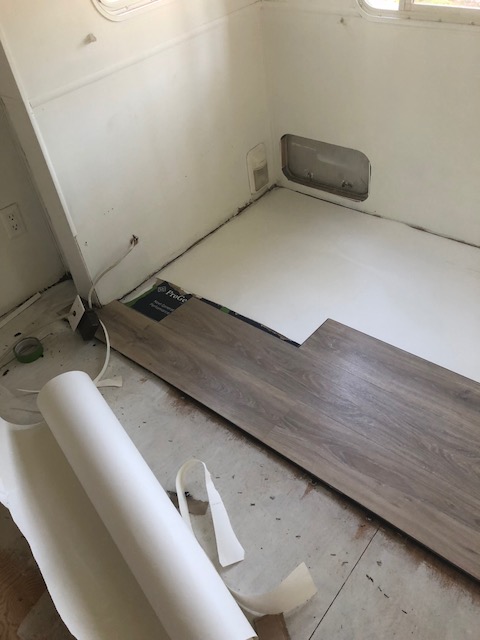
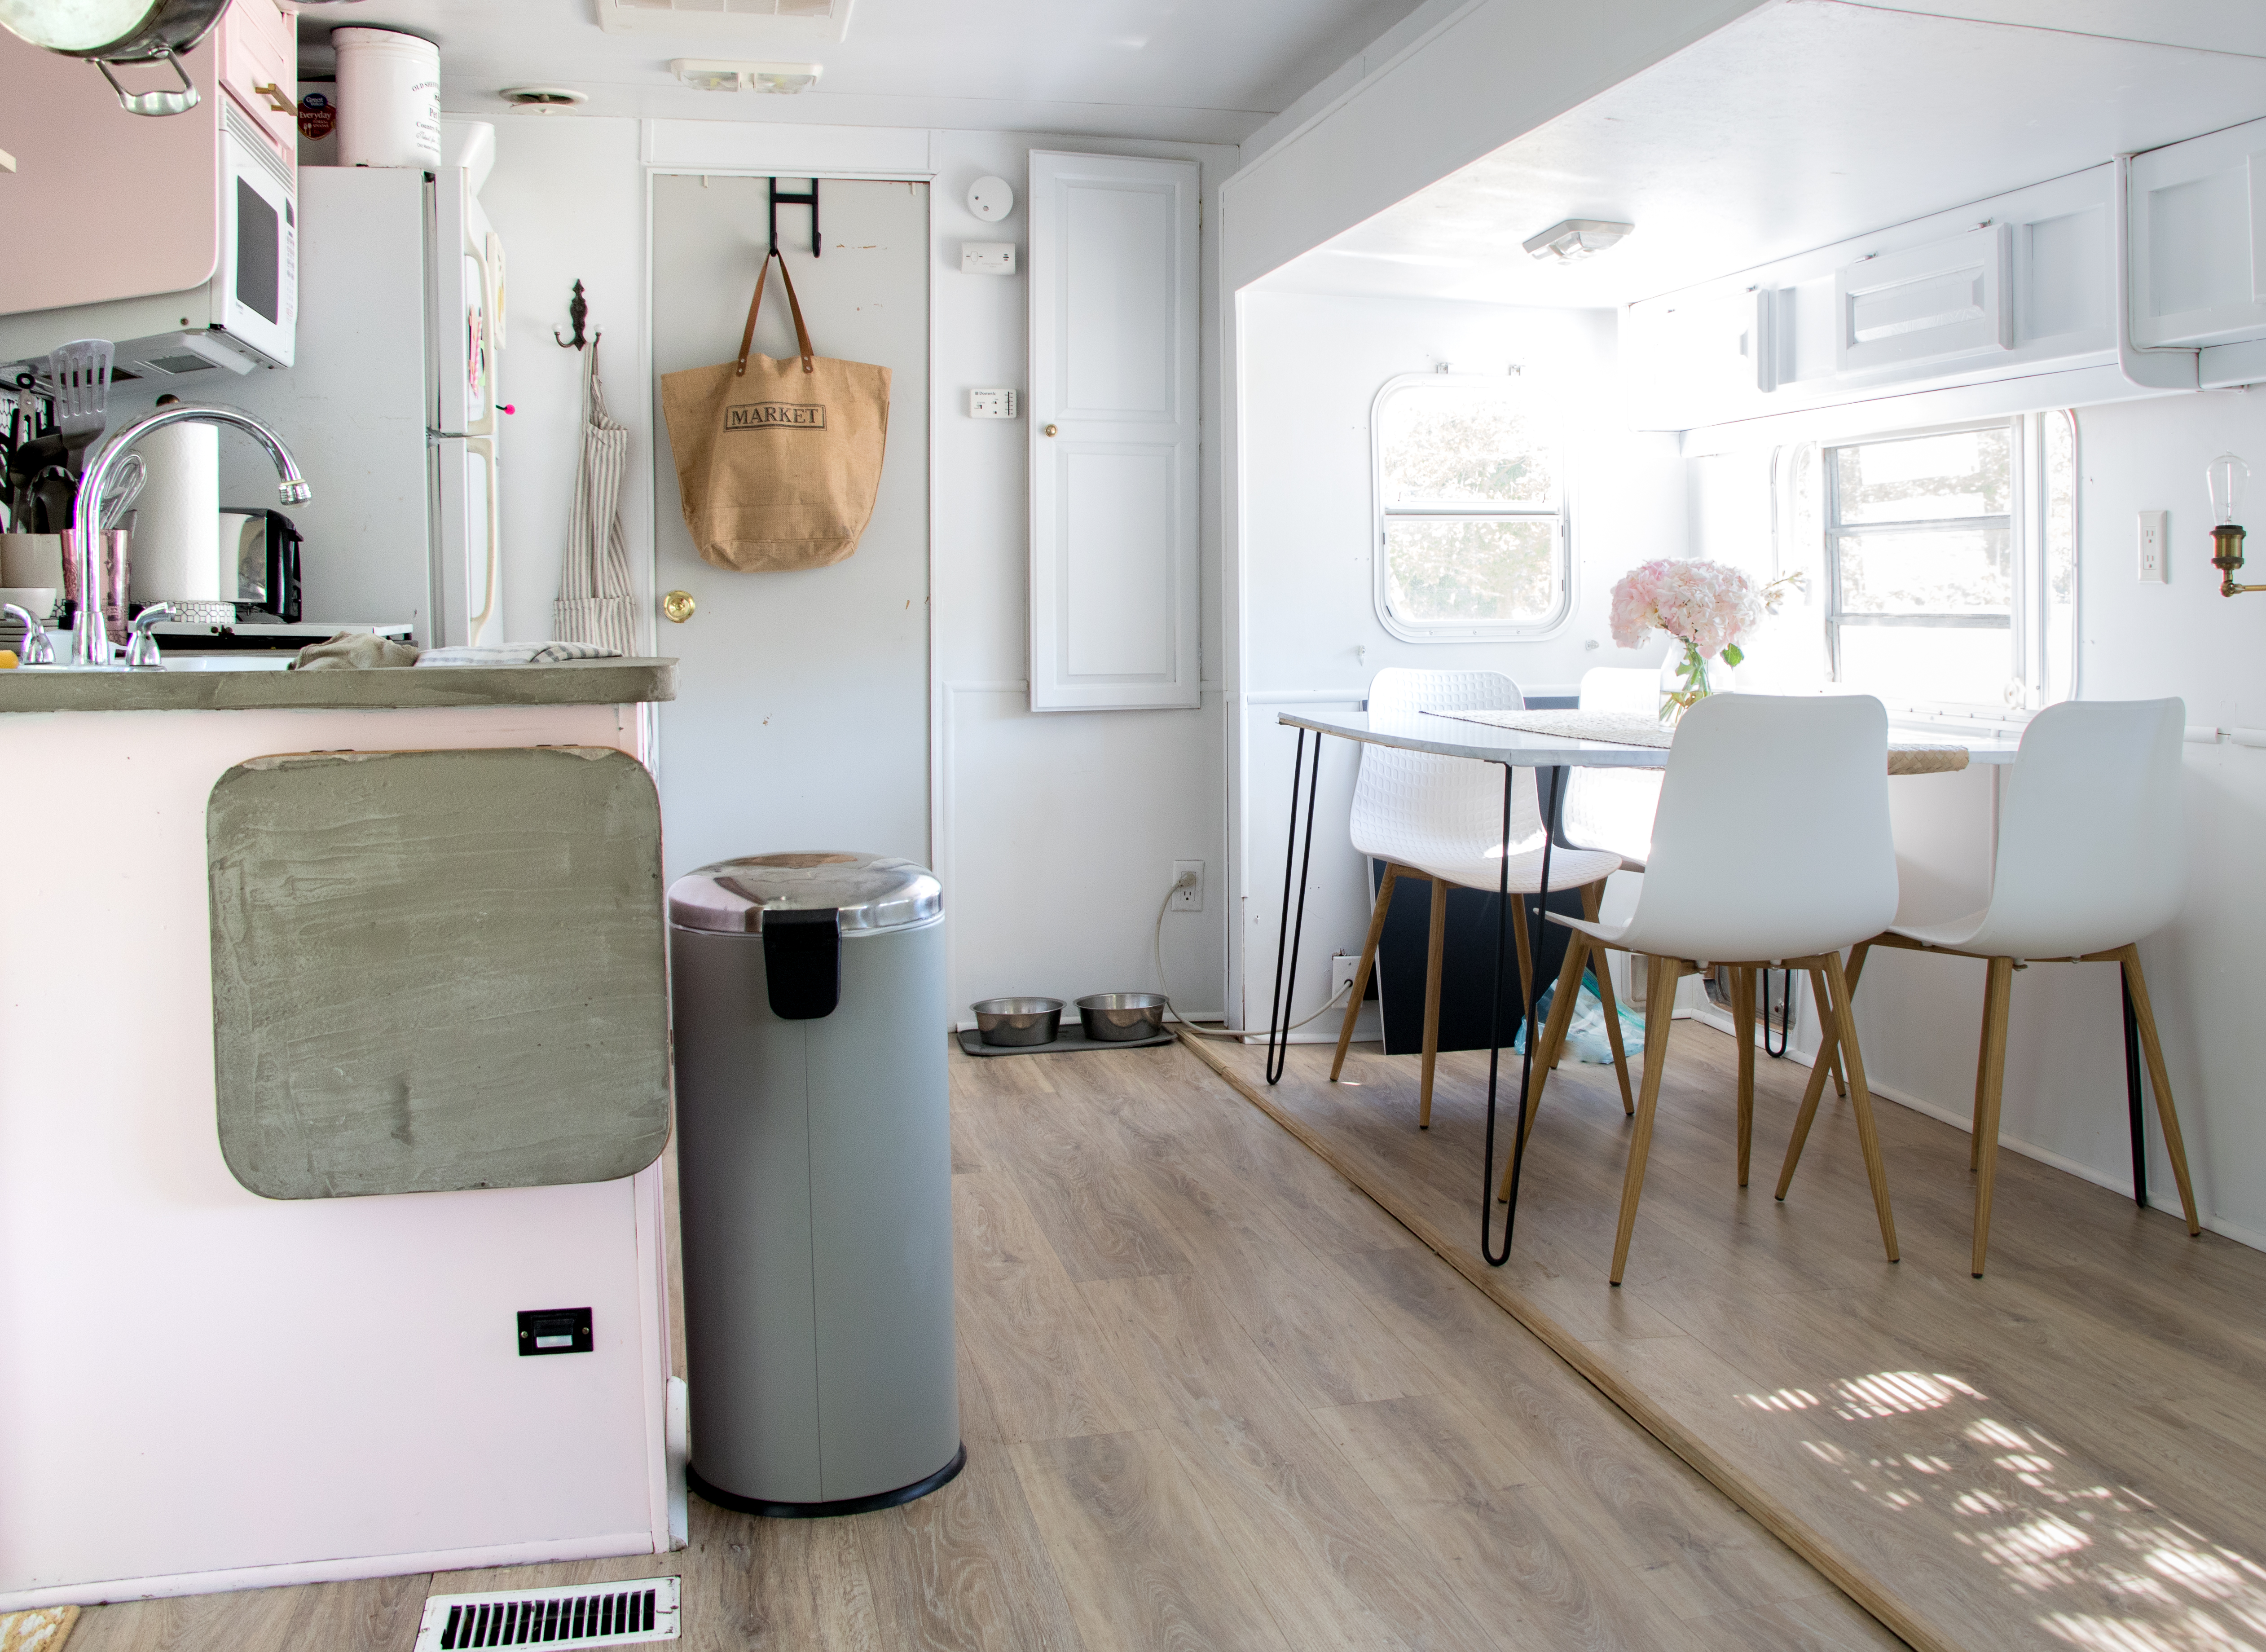
The easy lock-in system made the process surprisingly so fast. We had a few angle cuts that were a bit tricky, but other than that the process went quickly. We started with the slide out first. Its the largest wall and we had all straight cuts here. We had to be clever when working over the metal piece that separates the slide out from the rest of the RV. Hubby decided to just use some cardboard underneath to make for an easy transition overtop. We chose to use a razor blade here and score the flooring which made for an easy cut.
Then we moved onto the rest of the RV. The easiest way to transition from the slideout to the permanent flooring is starting from the kitchen cabinets. We worked our way from there to the slide out and then worked our way from the cabinets to the exterior wall. This way there were no odd slivers in the center. Fortunately hubby thought of that because if I was doing the work I probably would have started with the slider and had no idea what I was doing (that’s what I got him for lol)
I truly loved working with this product and couldn’t be happier than to share this product with you all. It’s a great laminate for the first-time home buyers or those first time DIYers! I promise it’s easier than it looks and is like installing a great big puzzle piece. It was a great option for our camper, but I would love to see this in our new home and we already thinking about ordering some more for our basement makeover. It’s a great durable product so when the kid’s and dog are playing on it, I’m worry free!
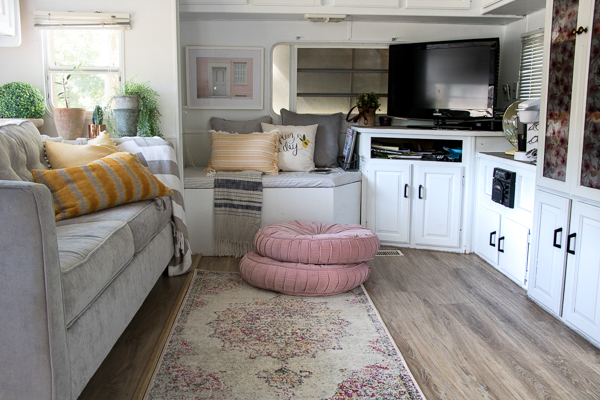

The Rv is not quite done yet…but we are getting there and I am certainly seeing the light at the end of the tunnel. Mr. Luca is getting comfortable here too!
Please Pin


16 Responses
Looks great! Can’t wait to see the whole tour of it.
I hope RV designers are taking note of your reno, this would make me interested in buying one. Definitely a home away from home. Beautiful!
Thank you so much Sharon!
Looks great. The color is perfect.
I love the way your floors turned out and what a timely tutorial..we are just embarking on the same journey of reno for our 5th wheel…A couple of question if I may regarding install and finish..the flooring is interlocking, but do you use glue or is it adhesive backed and ready to stick down? Also, what did you use to finish the edge on your slide out and where did you get it? Love the color, I think its perfect..thank you for the tips..:)
So, we did not glue down it is totally interlocking. Our slide out was done with an L shape wood moulding that we glued and nailed down to the flooring.
I posted about the lovely flooring you used for the Rv reno, but forgot to ask about the cute Gray sofa you have in your RV…Is it a regular sofa/love seat, or is it specially made for an Rv..Im wondering because how did you get it through the door of your RV..does a regular sofa fir through, or does it have to be one designed specially for RV’s…our 5th wheel is also that blue color scheme and want to get a new sofa and dinette…Thanks for letting me know …:)
Hi Paula, I’ll be posting the source for all our furniture and all in the RV soon. It is a regular sofa bed and fit perfectly through the door. Our RV has a slider though instead of a regular door.
WOW – it looks amazing. I love seeing the transformation from the beginning to end and can’t wait to the final finish. If I lived closer, I would totally buy the [gl]amper off you!!!!
Wow! It is really looking like a home! We have used Tarkett flooring and loved the quality and ease of it. 🙂
Looking good!
I am so glad you shared this. I knew it could be done!
These floors are amazing!
I could totally live in this RV. You have done a fabulous job Friend!
Thanks girl!
It looks amazing! I would start to camp again if I had something that looked like this! Does the new flooring effect the slide out at all? It can still be pulled in for transport?
Yes, you can still slide out with the flooring.