


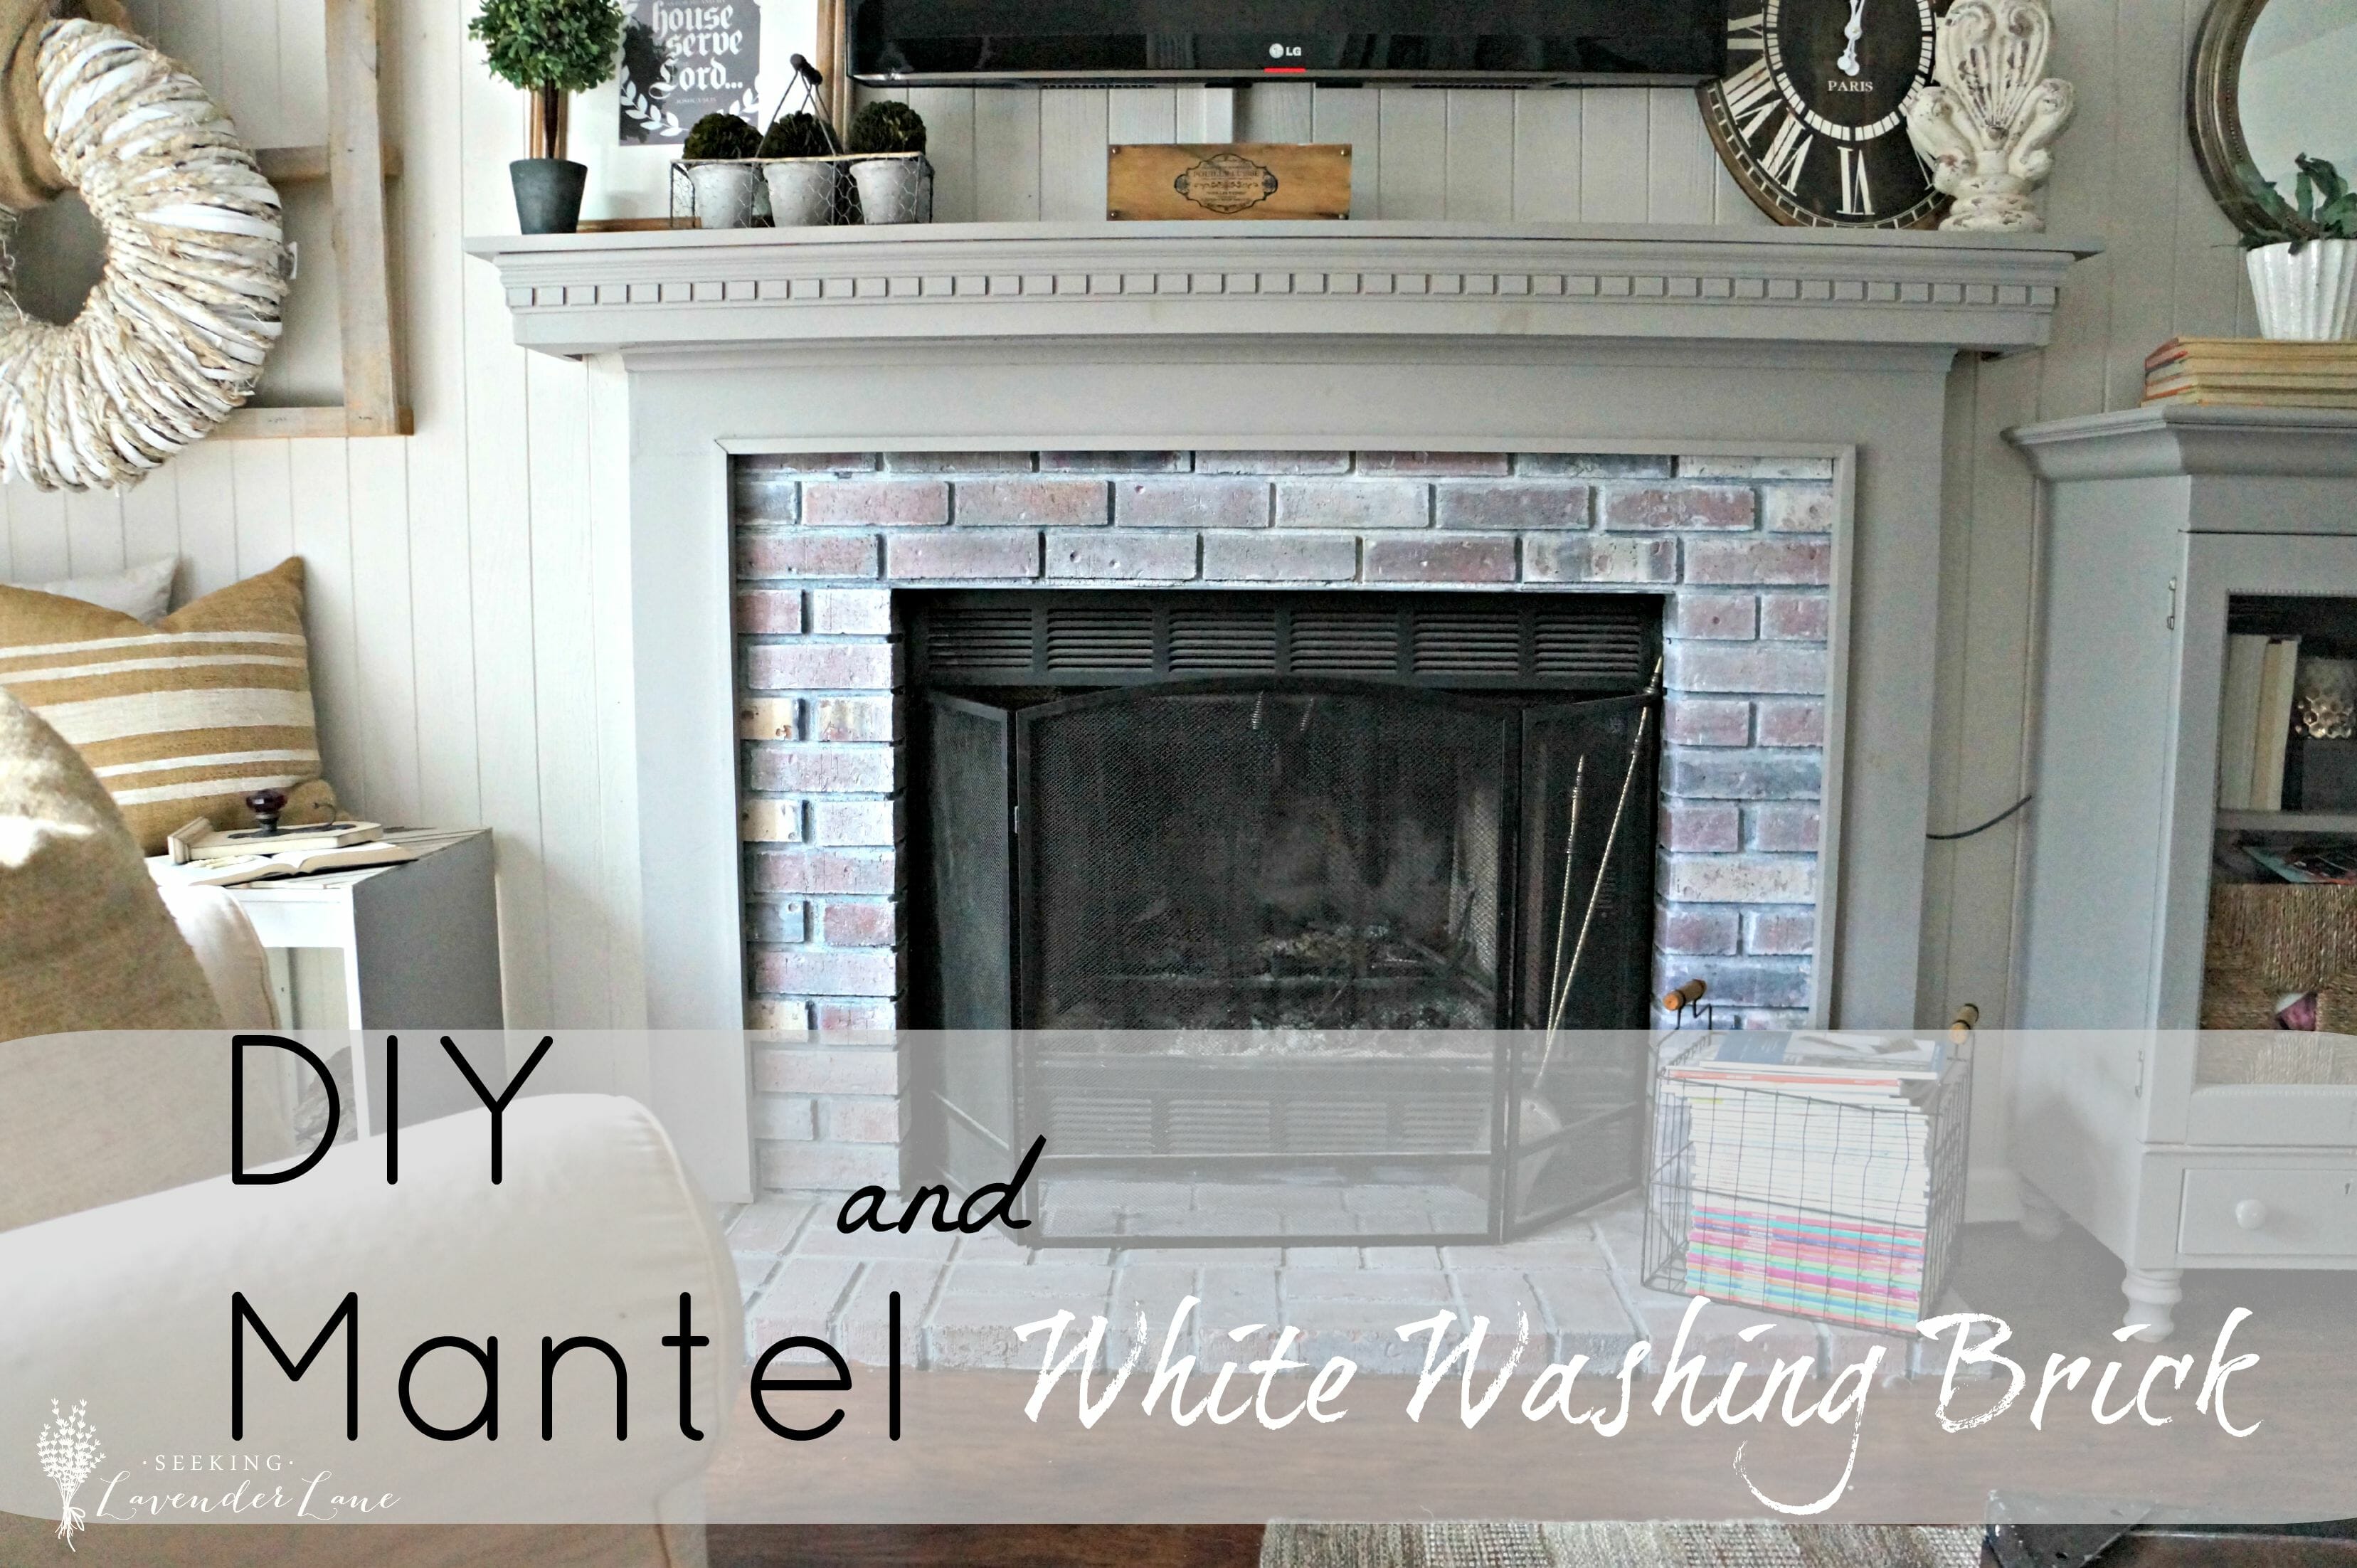
The Fireplace Reveal!
White wash brick….check!
DIY mantel…check!
Staging the fireplace…check!
Relaxing near our cozy cottage-style fireplace….priceless!
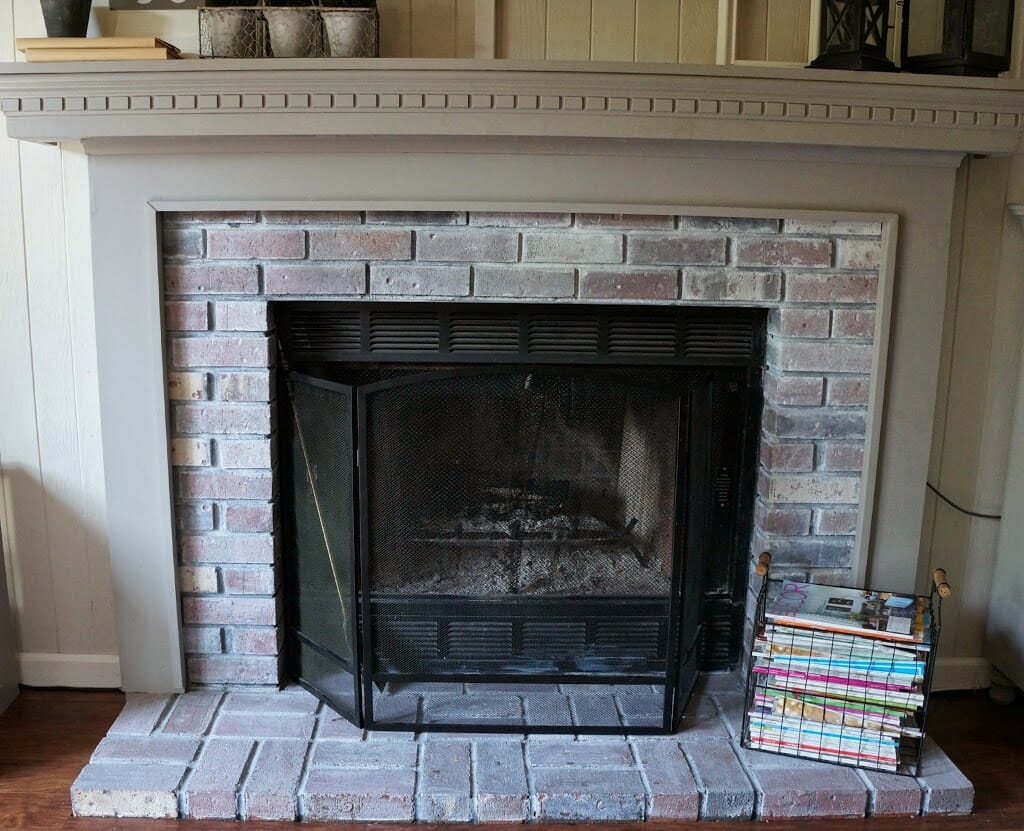
White Washing
Our first step was to white wash that tacky 1980’s red brick. After reviewing multiple whitewashing techniques I knew I could not go wrong with this project and went straight for it! A little bit of white paint (Benjamin Moore “simply white”) and a little bit more water and I had my white washing mix….THAT SIMPLE! Some bloggers wrote a very precise measurement for each, but I eyeballed the whole thing. I got out my little red solo cup a paint brush and a rag and went straight to work.
Brushing on paint…wiping off…brushing on some more paint…and wiping off. Some bricks required two coats, but I liked not having every brick be perfectly covered to keep that warn look.
This took about two hours or so which was a little more time consuming than I had thought, but well worth it.
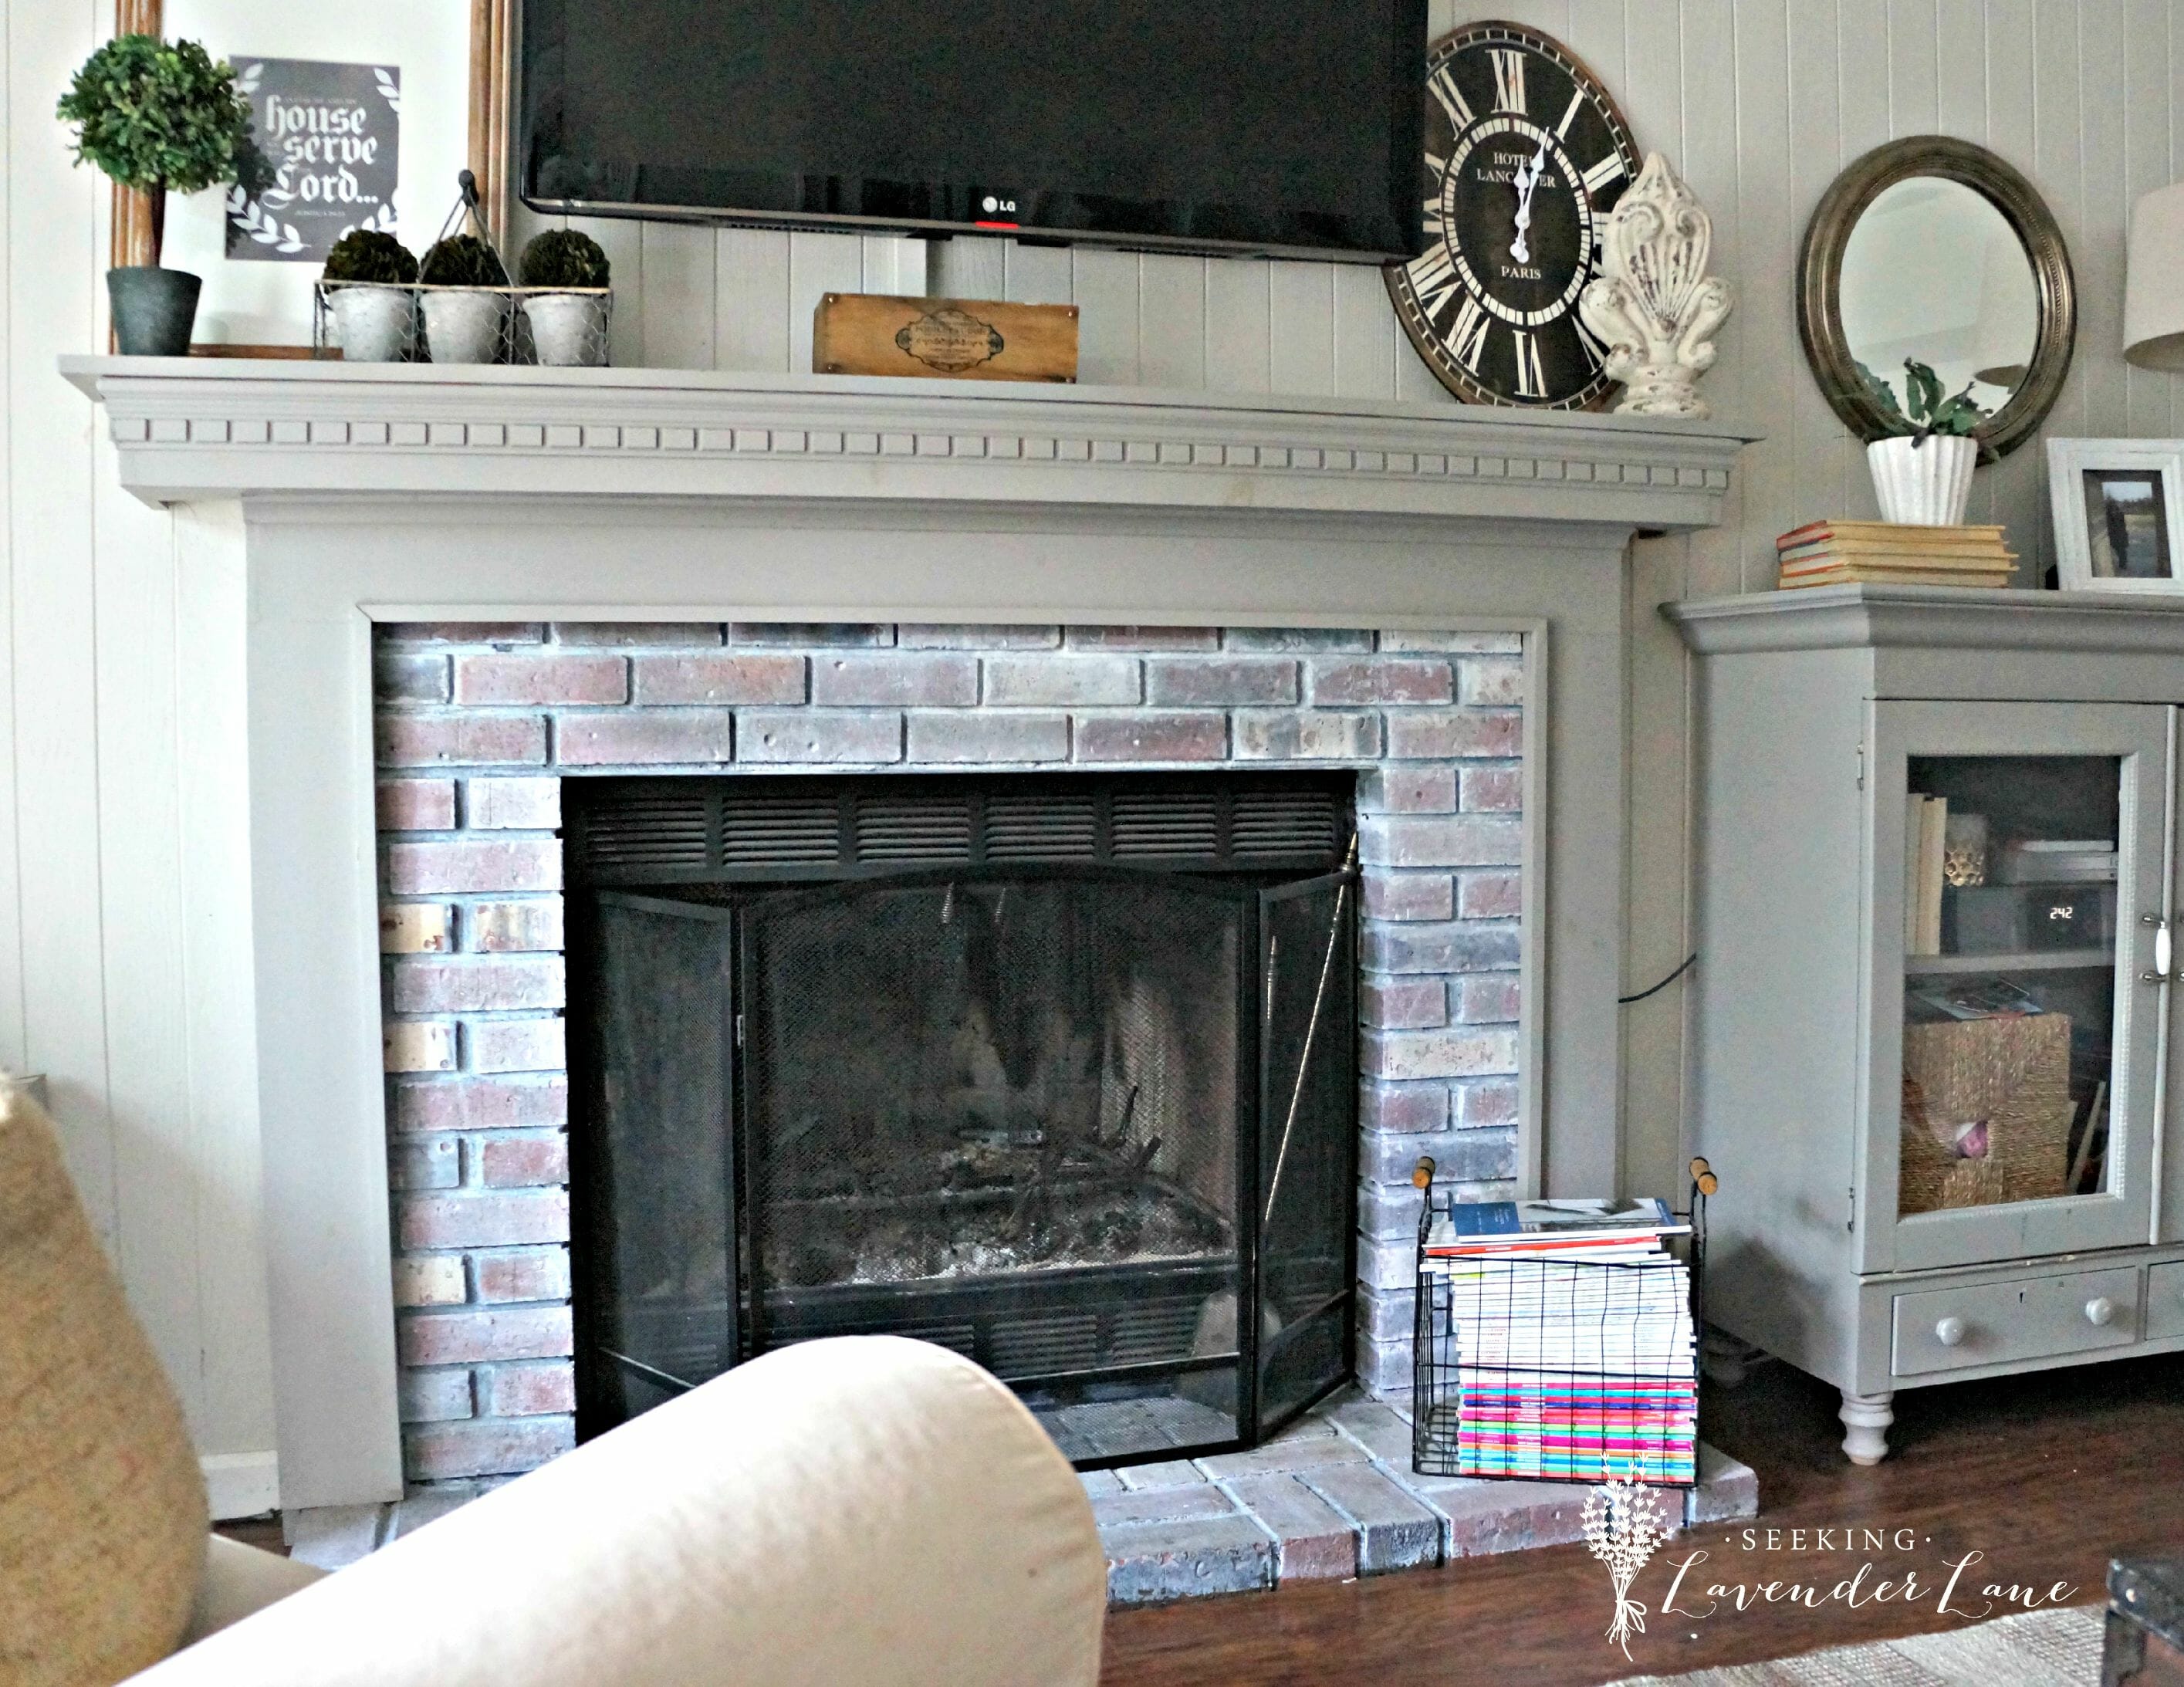
Building the Mantel
After a few weeks we got to designing the mantle. This was a little tricky since there is an existing cement mantle that we needed to work around.
We had to first box out the mantle with wood and then we built sides around the brick face. Adding some decorative molding and then make many very very precise cuts we had our mantle. We used both nails and nail glue to put it together and left a gap in the back of the top of the mantle to fit the wires from the TV and Cable. I did not originally want the TV over the fireplace but after living in the house for a few month it just made the most sense since it’s visible from both the family room and kitchen.
We knew we wanted to paint it gray so to save money I went with the gray paint we used in my son’s room. It may not have been first choice, but once dropping so much money on paint the first few months of living here, we had to cut some corners and this was the best solution.
We love the way it turned out, and I am so proud of my husband for building it on his own. It was probably the first project that we had done, that he was not sure he could pull off. Just proves if you put your mind to something it can be done.
Here is a before photo again from when the previous owners lived here
 |
| Before Family Room |
A close up of that red brick and a great photo to show that previous cement “mantel”
 |
| Red Brick Before |


8 Responses
Wow! What a huge transformation! Great job!
Thank you Melissa!
That’s amazing! I am loving going through your blog!
You are so sweet Charlie thank you so much!
I love this transformation! One question and I can’t seem to find it on your blog. How did you paint the tongue and groove knotty pine walls? I have some I need to do and am worried the knots will bleed through and contemplating just white washing it.
Great job! I LOVE your work!!
Hi Stacy, You’re not the fist person to ask me this question. I think this must be common for the paneled walls. Fortunately, I just never thought twice about it and just went for it and painted them. I think we did about two coats, but have had no problem with them. We painted the wall about 2.5 years ago and still no problems. It’s only one wall so we decided not to prime, but maybe if it’s a full room I would prime first. I hope this is helpful.
Hi Deb. I have been admiring the room you have transformed and it is gorgeous. I too want to paint my notty pine in my kitchen and after reading your reply to Stacey I’m wondering also did your notty pine wall not have a clear stain over it? Mine does and wondering if I have to sand or prime?
Thanks
Hi Debbie,
Our paneling did not have a sheen to it. Depending on how much work you want to put into it. I think a little sandy doesn’t hurt…and then I would try a primer first. I did not have to stain or prime my wall, but I think having that sheen is going to make it a little tougher for the paint to stick. I hope this helps, love to see photos when you’re done with your wall.