


Happy Tuesday! I hope you all are ready for the second week counting down the reveal of the New Year New Room Challenge. This week I am sharing all about how I re-whitewashed the Brick Fireplace. Yes, re-whitewashed If you all have seen my original post on how we updated our fireplace, I did originally whitewash the brick. The only thing was I did one coat on the brick and for a few years now I have been slightly unsatisified with the outcome. I guess its the DIYer in me that wants to make things perfect always change things up. After all that was towards the beginning of my DIY days I’ve had some practice at lots of paint stained clothes at this point that I am slightly more confidant in my DIY and painting skills. Even though the hubby still thinks I’m a sloppy painter (maybe).
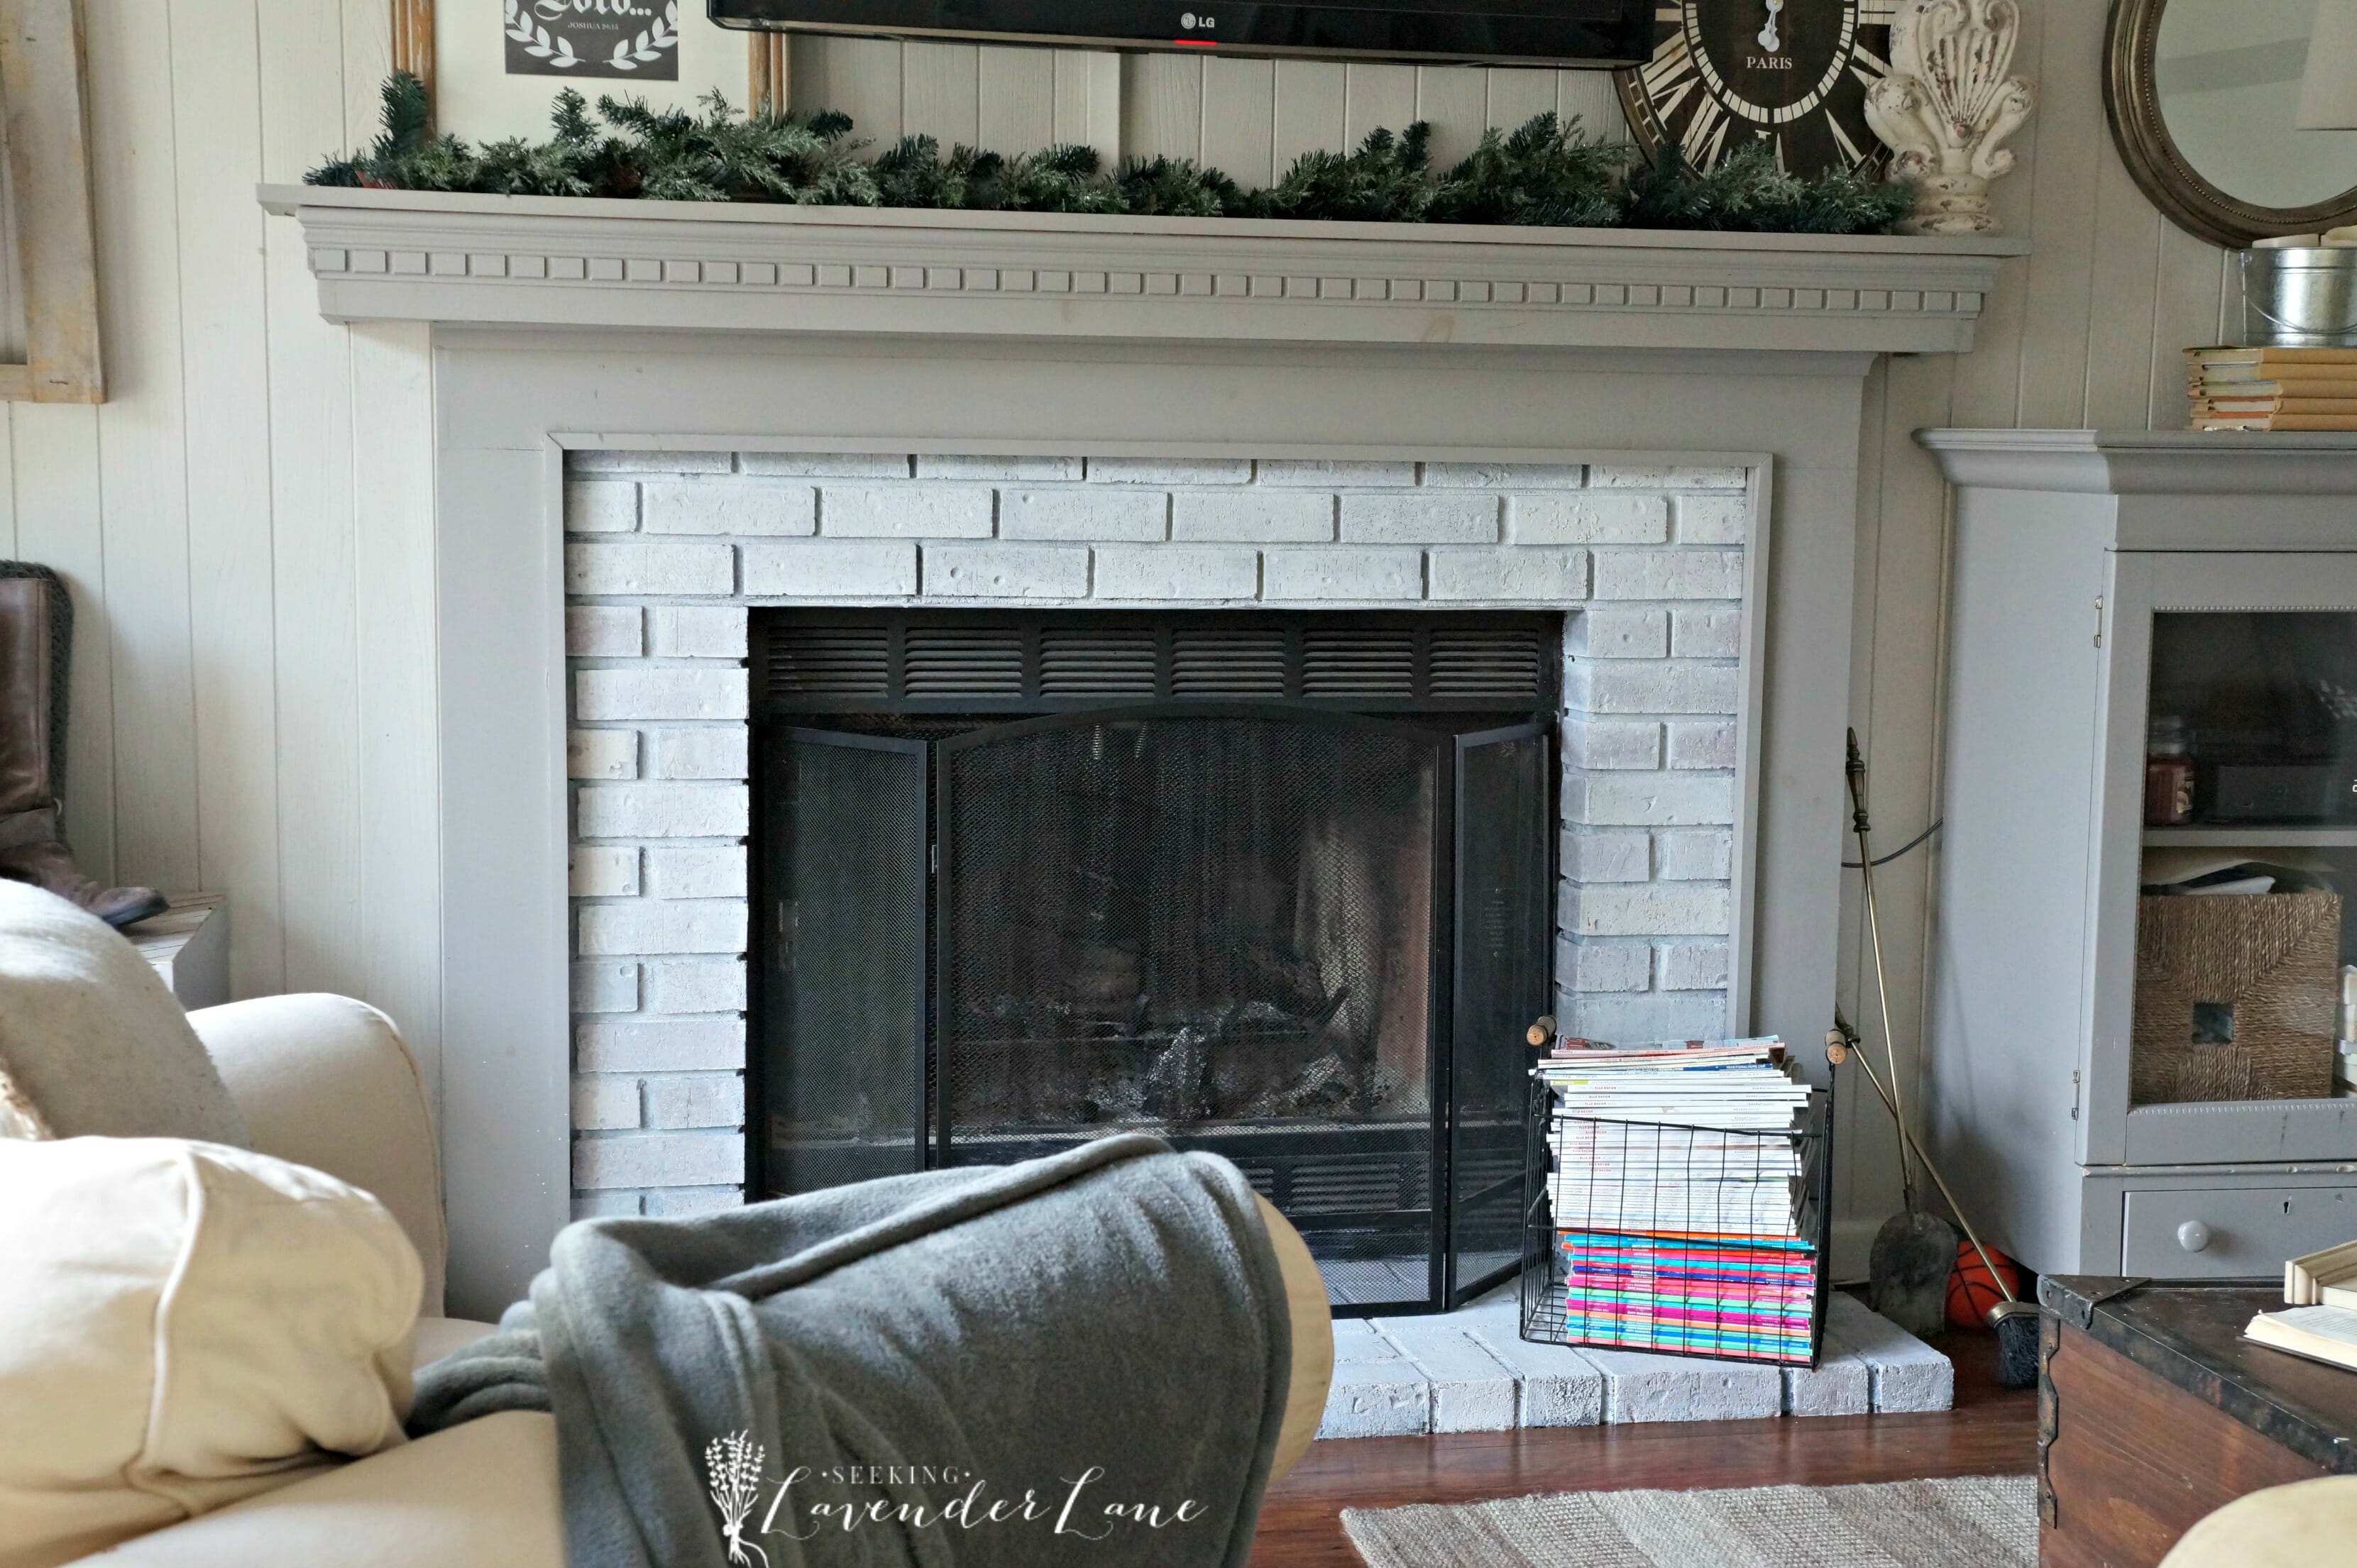
So about 2.5 years later I’m at it again with the whitewashing. Same exact formula as last time with the 1 part paint 1 part water in my red solo cup. This time I thought I would change it up though. Instead of wiping off with a rag after applying, I decided to just apply and let the paint soak into the brick. This being the second coat and using this technique will allow more white to show up. I think my fear after seeing how it turned out the first time was that the bricks took on a purple hue and I really wanted them to appear more white.
Important fact when whitewashing is to start with in between the bricks and then work your way out onto the brick. Allow some brick to be brighter then others going heavier on the paint on a select few bricks.
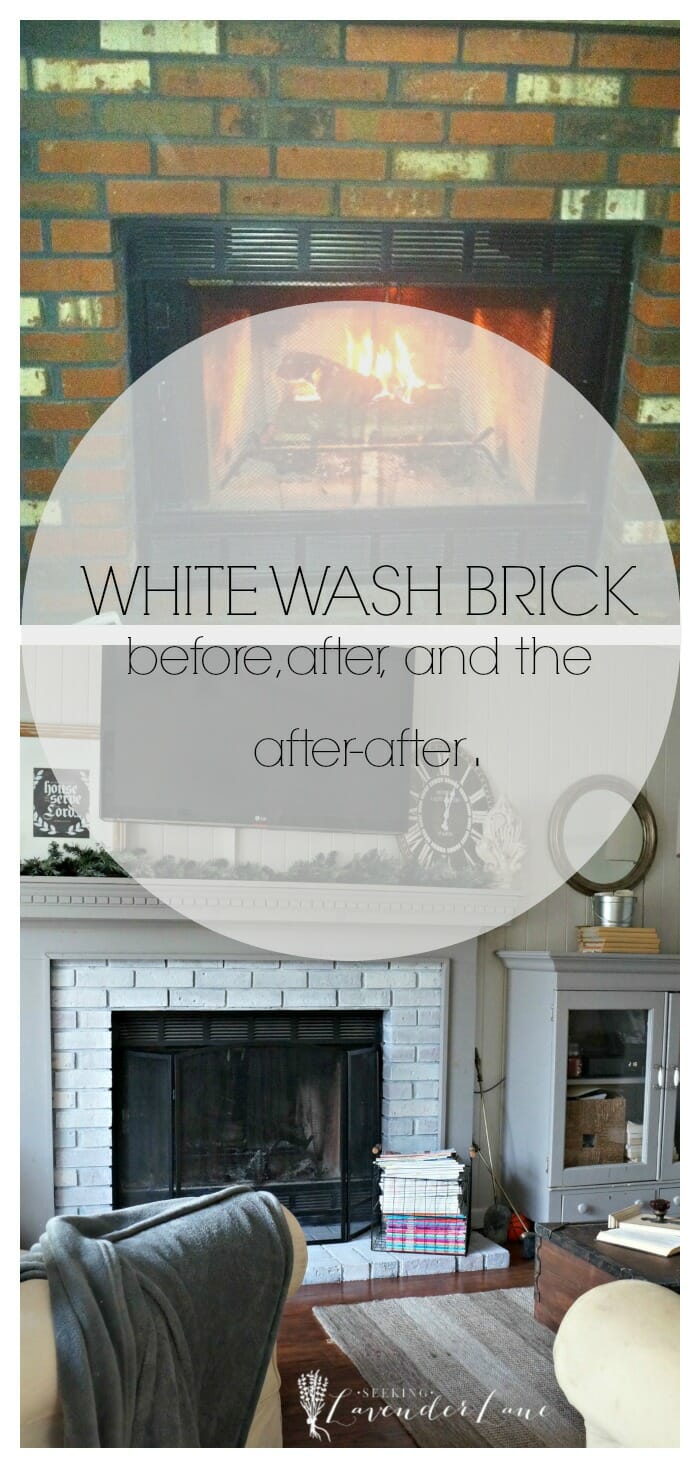
okay, enough with the chit chat lets see the before and after…
Here is the BEFORE photo pre-white wash and pre-mantel.
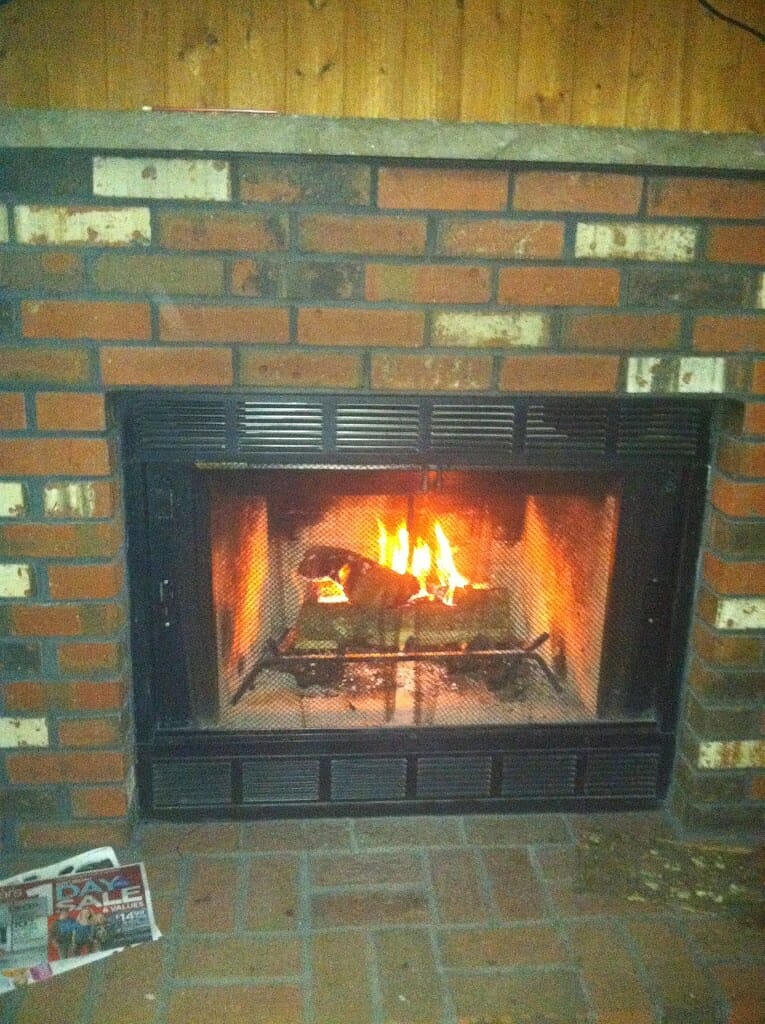
Ahhh look at that!
Here is the original white washing:
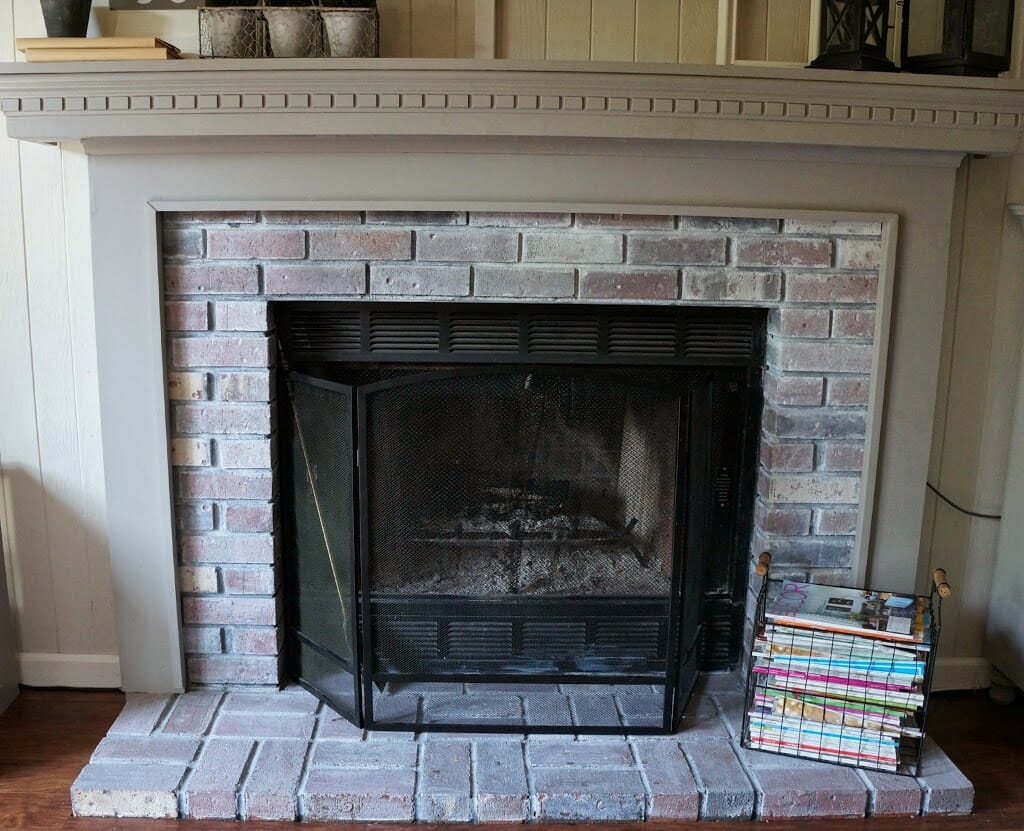
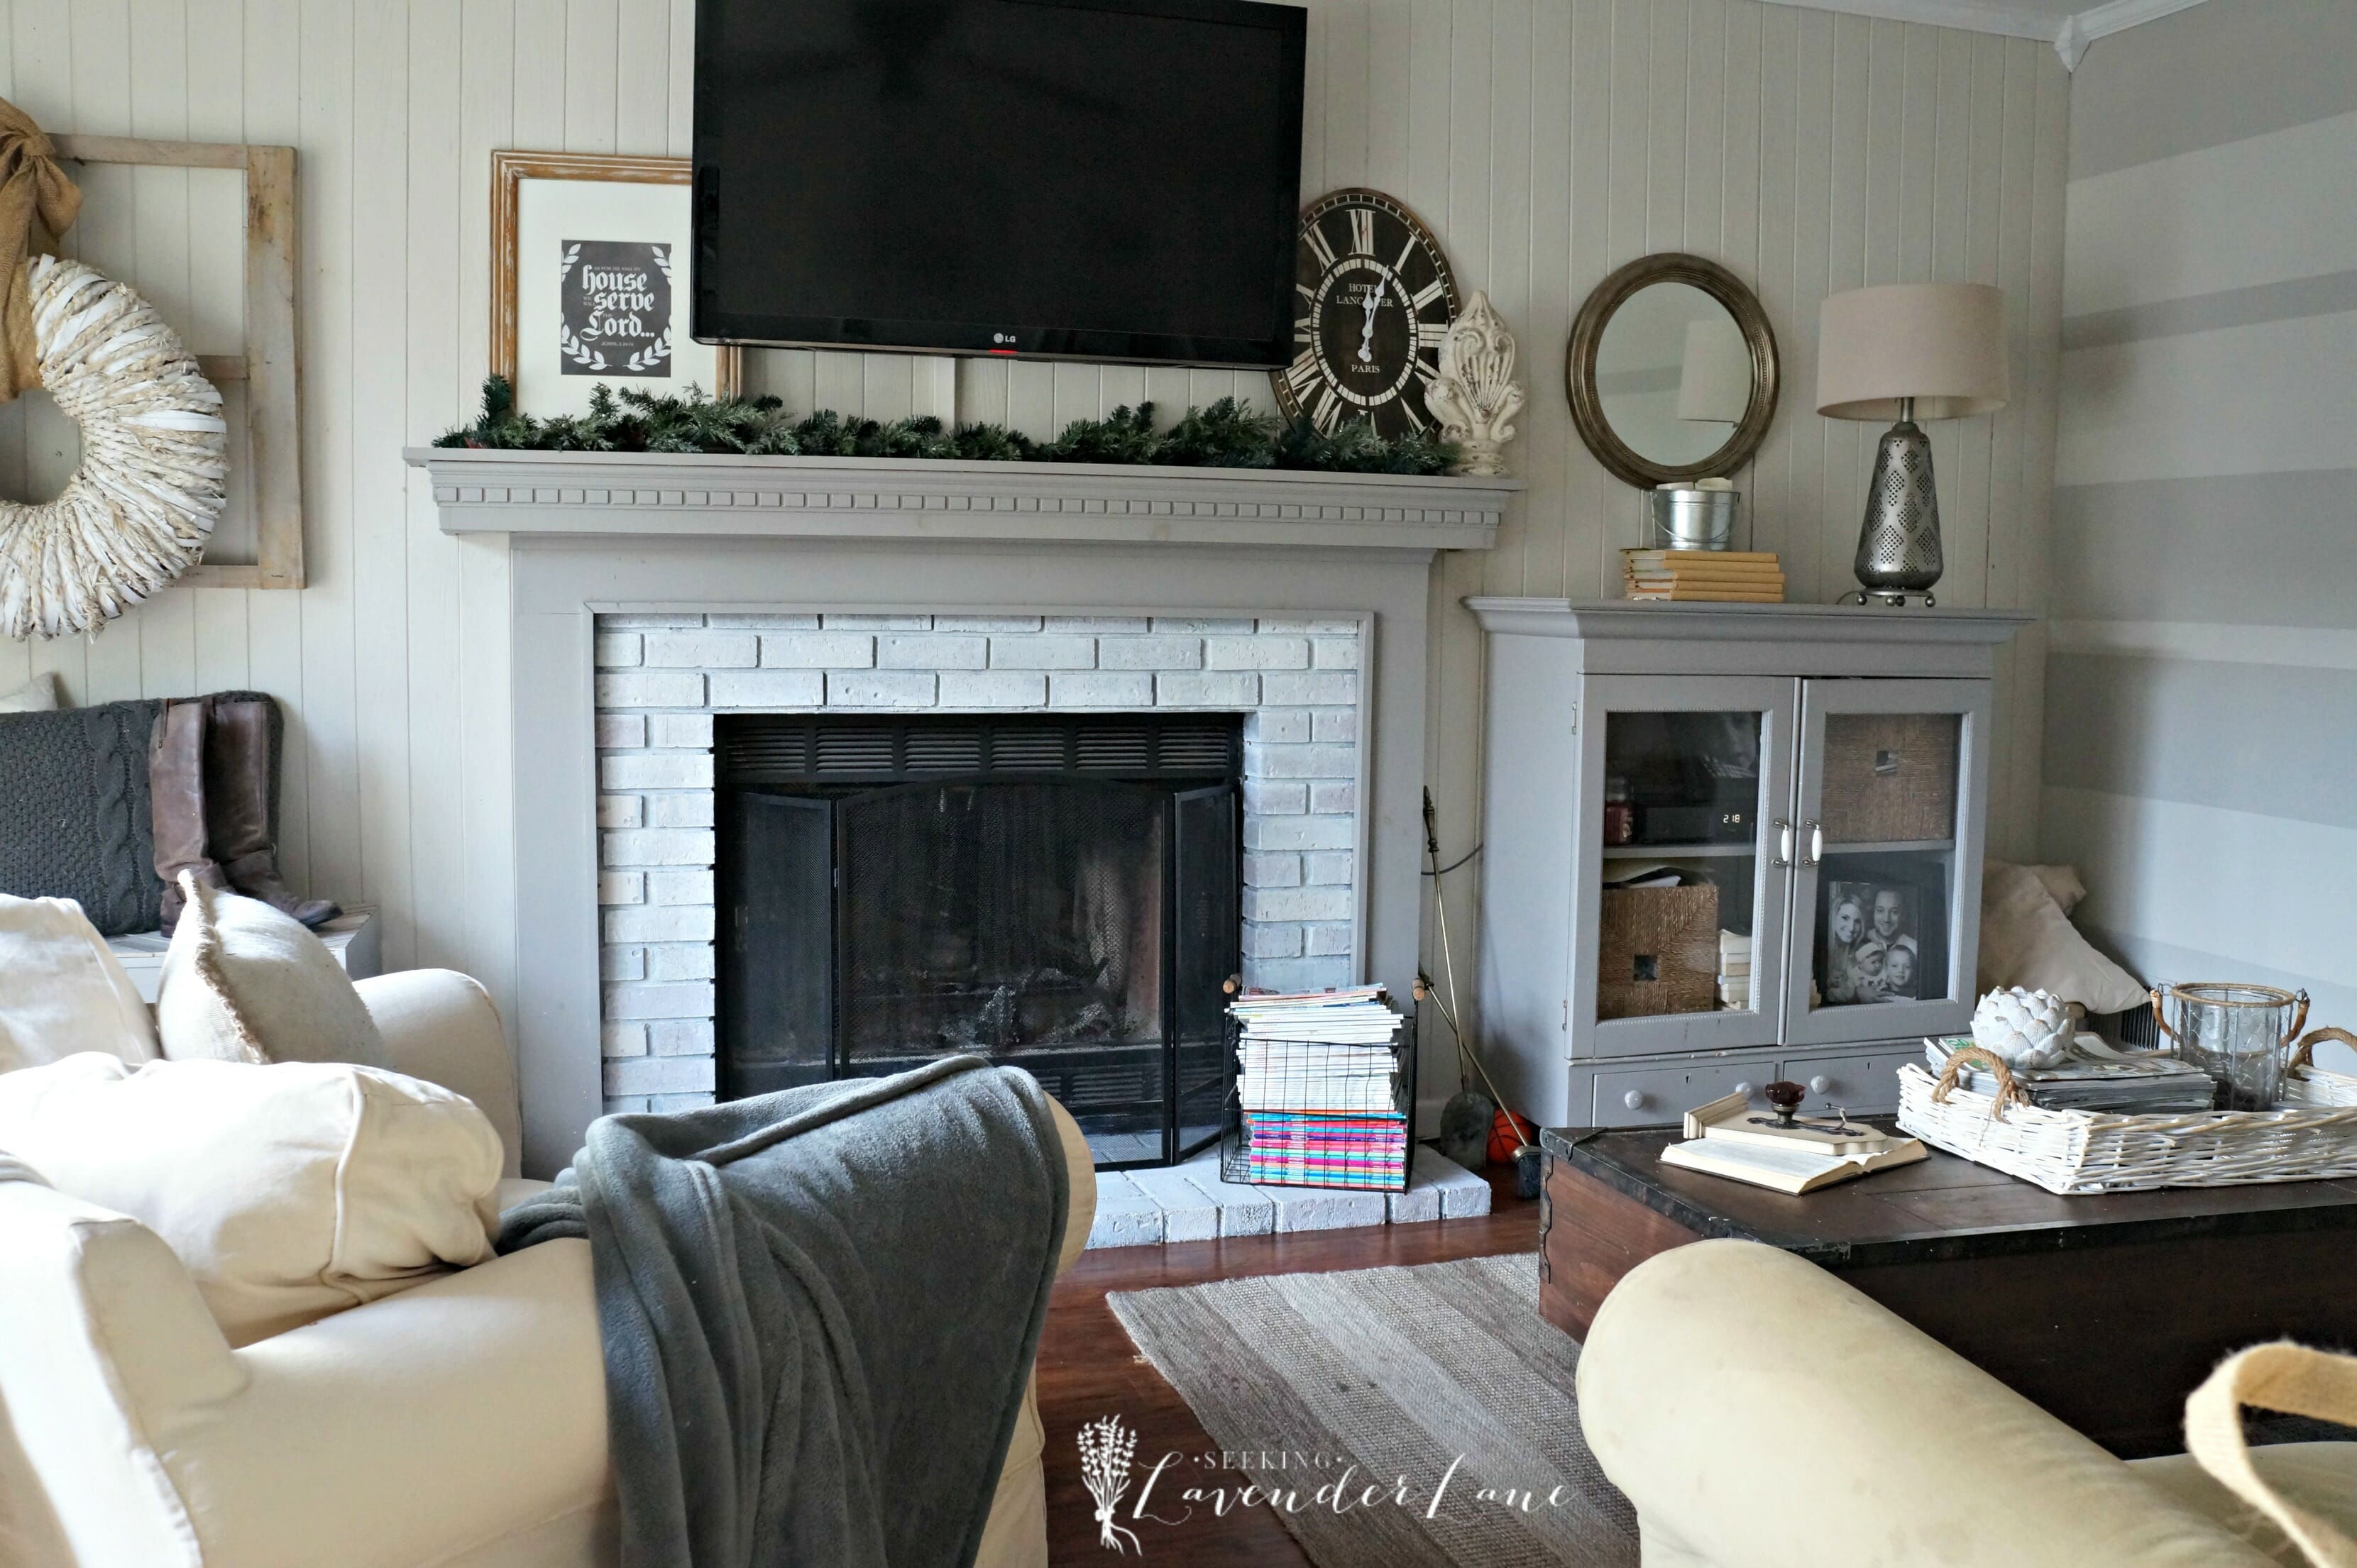
I still love the way I had it originally, and it may be preference if you like the original or after. In person I felt the color was competing with the rest of the room and as you can see it really did have more of a purple hue rather than a white. So drum roll please…
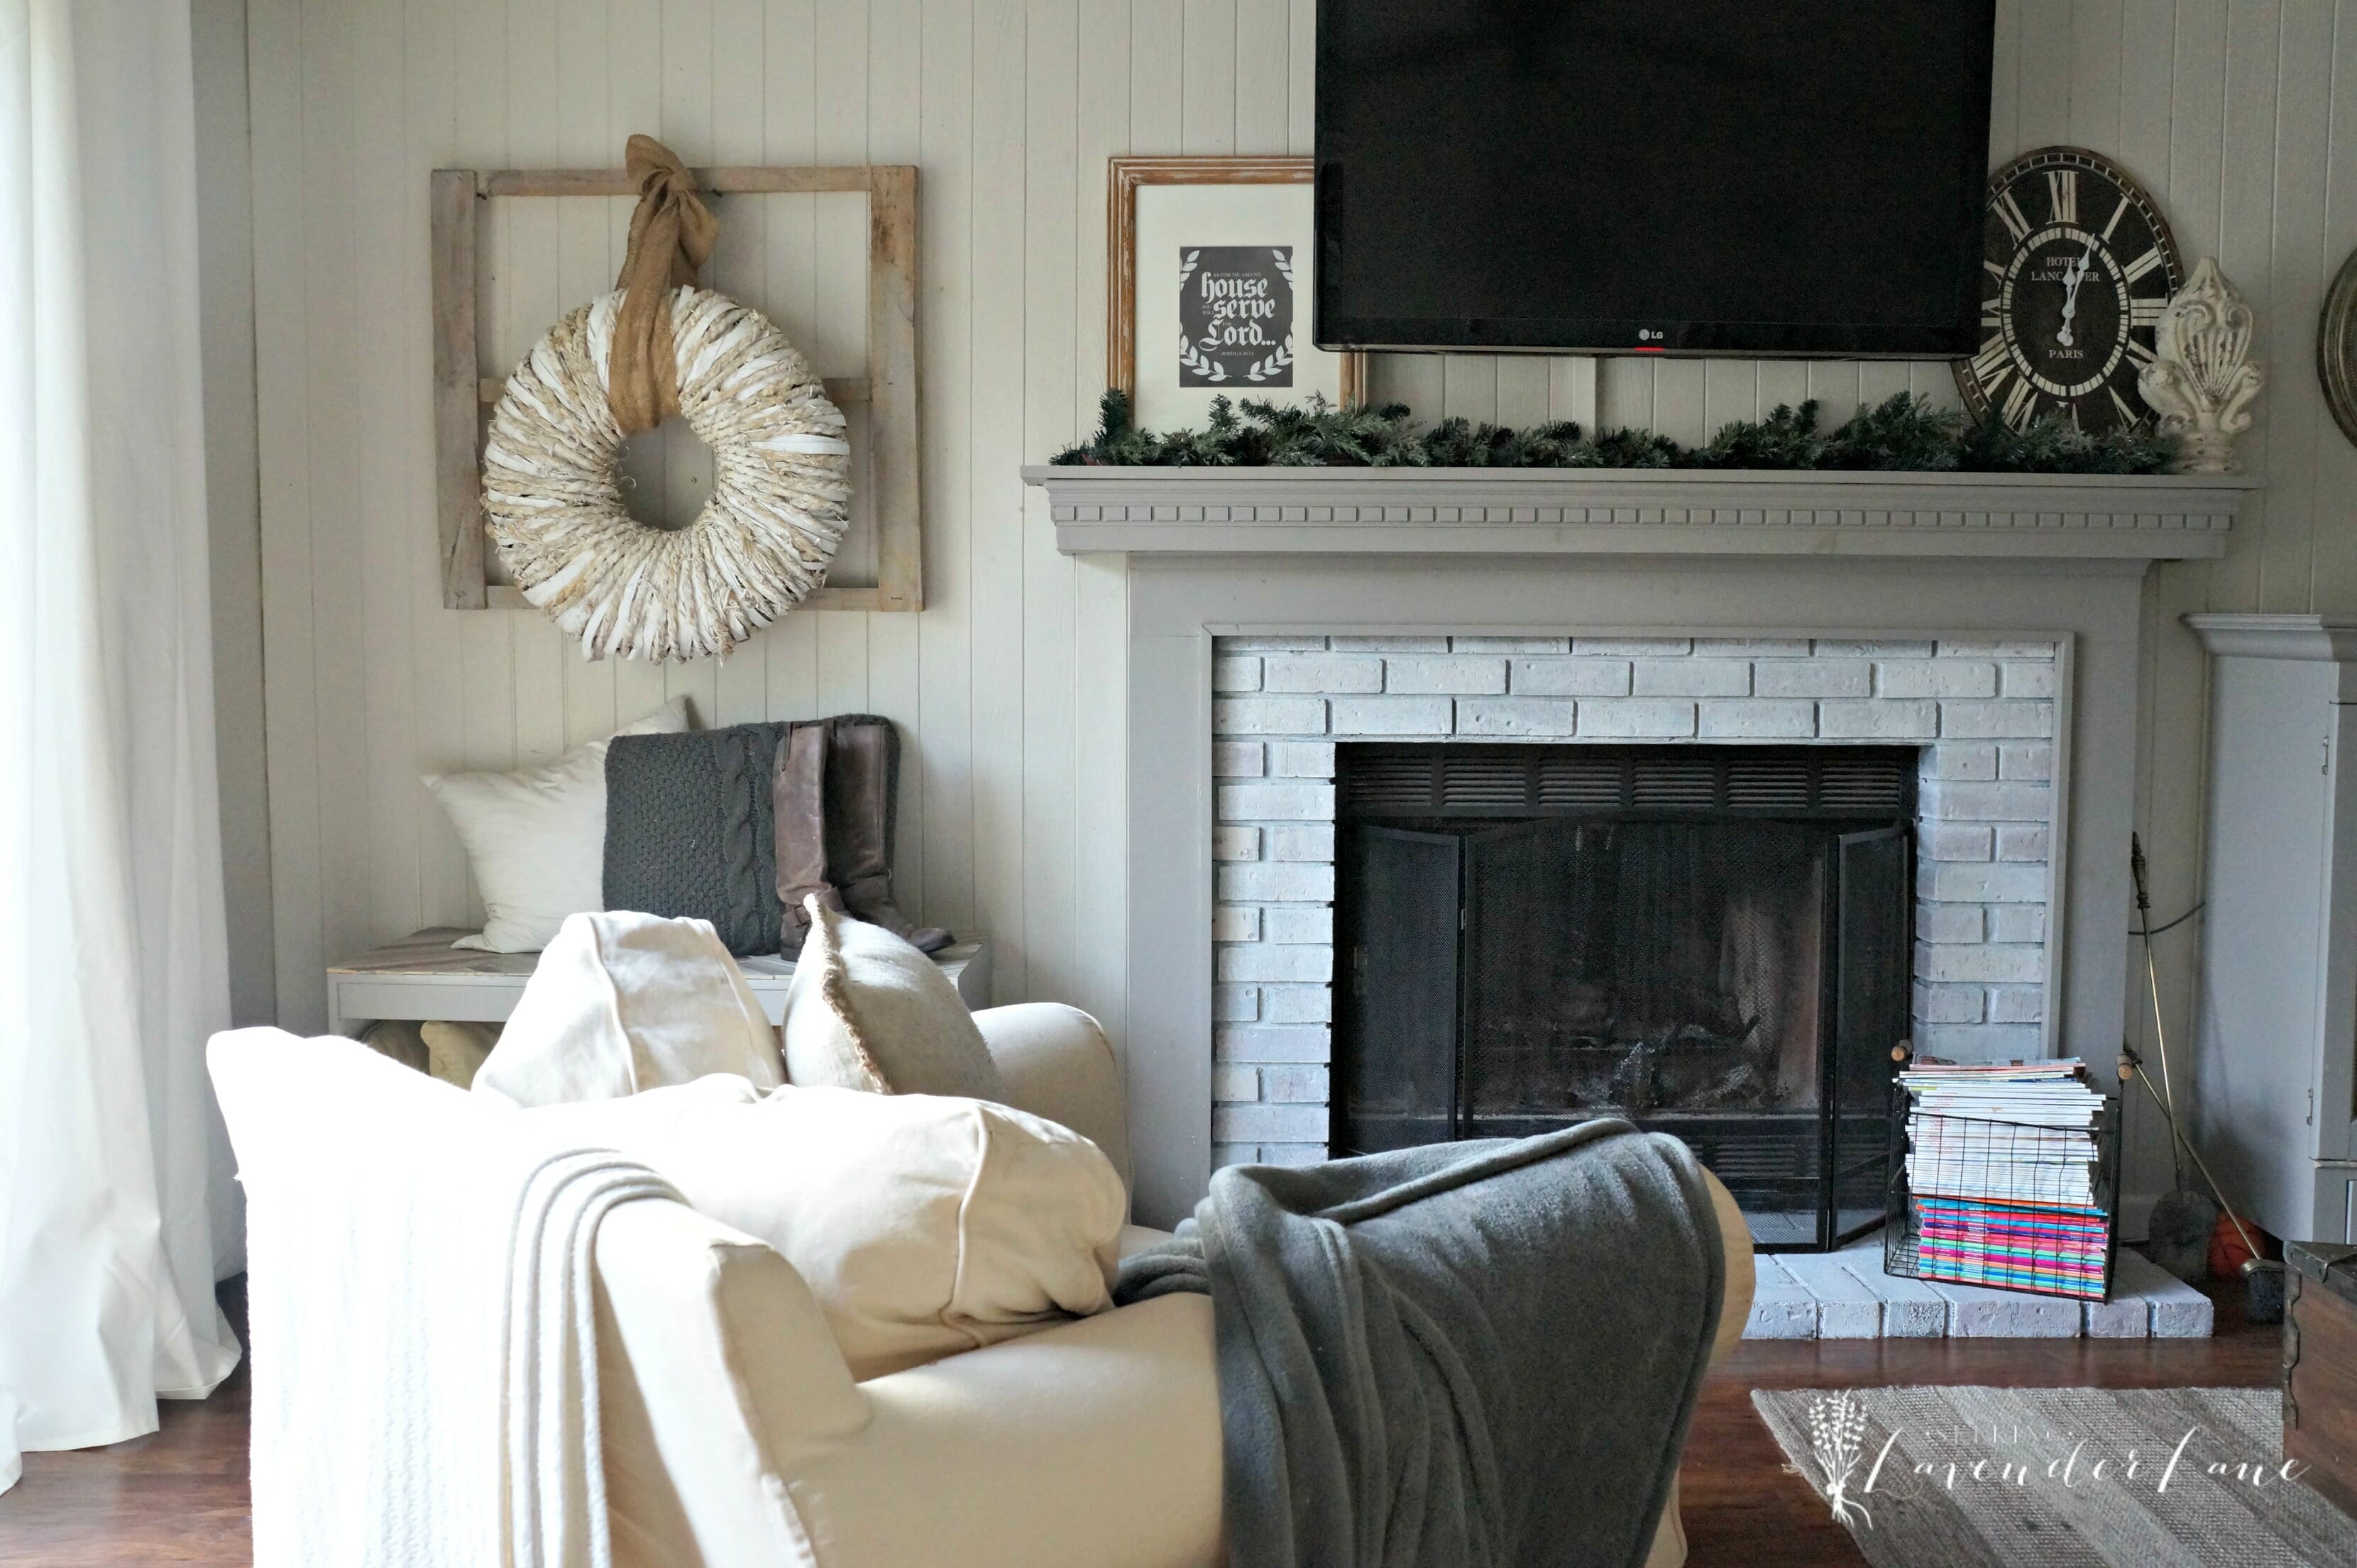
And this next photo is just a reminder of what the rest of the room looks like…a lot of changes going on in here since I’ve taken this photo and excited to share with you all next week!
Now head on over to all my friend’s New Year New Room Challenge and see what projects they have done for their rooms.


22 Responses
It looks great! Maybe this is the year I talk my husband into whitewashing our brick!
Yes, the hubby is always a hard one to convince to paint brick. Not quite sure what it is about guys and protecting their brick and wood. If it’s 1980’s or 70’s brick it’s meant to be painted. If it’s pre 70’s it may be gorgeous and left alone. That’s my opinion.
I would love to do this on my red brick fireplace surround but I’m in a rental. Hmm do you think they would notice…
Lol, I hear ya. Hey, you never know. If it adds value, doesn’t hurt to ask.
LOVE IT!! yes, the whiter brick is so gorgeous. Much brighter and really complements the rest of the accent pieces like that gorgeous peppercorn cabinet! Can’t wait to see the final room.
Stephanie @ Casa Watkins recently posted…The One Item That Can Instantly Make Your Room Look Brighter! New Year, New Room Refresh Challenge Week 2
Thanks Steph! Wait til you see what I did with the cabinet..it got quite the makeover.
Ooh, I love it! Can’t wait to see the rest of the space next week!!!
Iris Nacole recently posted…New Year, New Room! (Refresh Challenge) Week 2
Thanks Iris!
It looks SO GOOD. Definitely a good call deepening the white’s saturation.
Corinna – A Designer At Home recently posted…Creating An Atmosphere With Artwork In A Hallway
Thanks Corinna, yea I think so. it for sure matches better within the room.
Nothing like a fresh coat of (half water/half) paint! Looks great! Looking forward to seeing the rest of the reveal!
Thanks so much Brittany!
Ohhhhh love it! Brighter and more dramatic! Looking good girl!!!
Sara @ Shabby Grace Blog recently posted…New Year New Room [Play Room Makeover – Week 2]
Thanks miss Sara! : )
Wow! What a gorgeous turnout! It looks so fresh now! Great tips, too – will definitely come in handy if I ever need to spruce up some bricks someday. Can’t wait to see your reveal on the big day! xo – Rachael
Rachael @ This is our Bliss recently posted…New Year, New Room Refresh Challenge | Master Bedroom Week 2: Progress + Tips for pulling together a Gallery Wall
I really like the white wash affect and you are right the first white wash was competing with the grey in the room. good call Deb!
Jessica recently posted…Vintage Sewing Machine Table Turned Chic Vanity
I much prefer the new and lighter bricks, Deb! I’m looking forward to seeing your finished room next week–I’m sure it will be beautiful!
Sharon recently posted…Another Fun Trip to Savannah
Thanks so much Sharon!
I love the whiter brick! I painted our fireplace in VA and it just soaked up layers of paint even after I used Kilz primer but the outcome was so pretty. Can’t wait to see the other changes next week!
Kathy recently posted…The Creative Circle, No 49
Thanks so much Kathy
What is the gray used for the surround?
Hi Carla, the color is called Winters Gate by Benjamin Moore