Creating a 5 minute and $25 DIY mantel
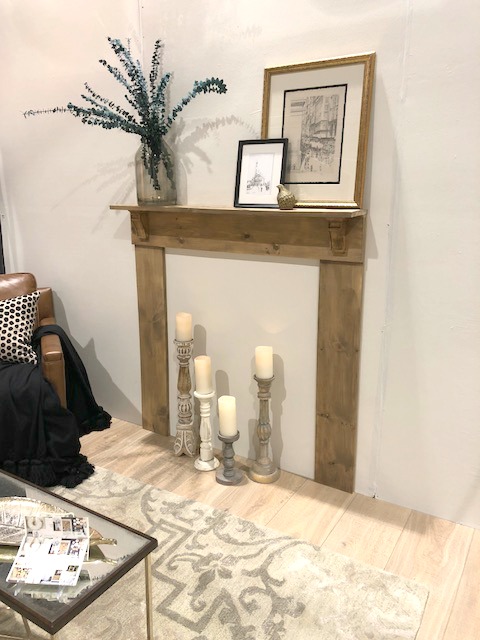
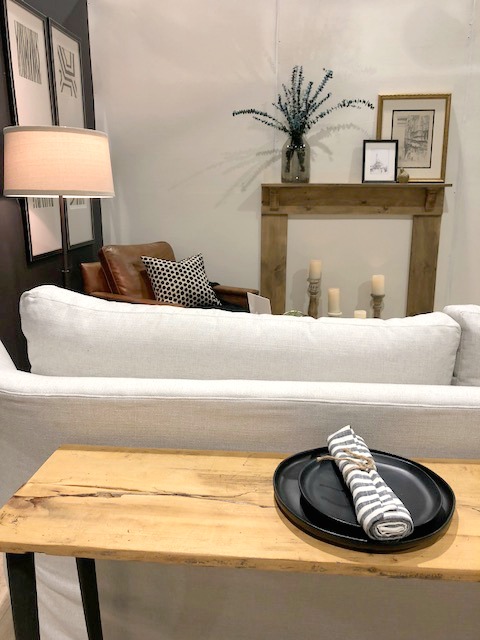
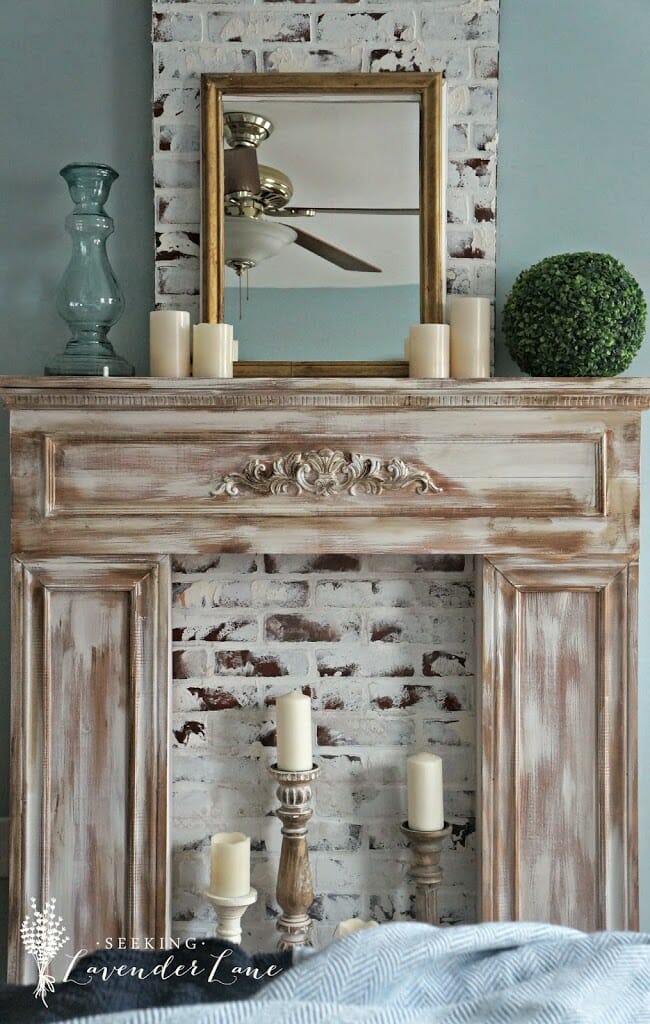
The other day I shared our floors and room in the Philly Home Show space. It was definitely a Farmhouse feel for a studio apartment and had gorgeous furnishings and a few DIY projects that we created. I think what really pulled together the living room space, was the DIY mantel that we made. It was probably the easiest project, and cost $25 to make! I had so many questions about it when I posted it on my IG stories…so I had to create a post sharing just how to make the mantel. Just think, you can have this in every room in your house. Your bedroom, dining room, living room, rental home, etc. It’s so affordable that if you get tired of the look it’s not a waste and you can always use the wood again for another future project.
this post contains affiliate links for your convenience.
Materials to make a DIY Mantel
(4) 1″x 7″ pine boards 4′ long
(The ones we found were already cut to the 4′ length)
Corbels
Nail Gun (this is the one we have)
Screws (for extra secured shelf)
Stain (here’s the one I used)
Assembly
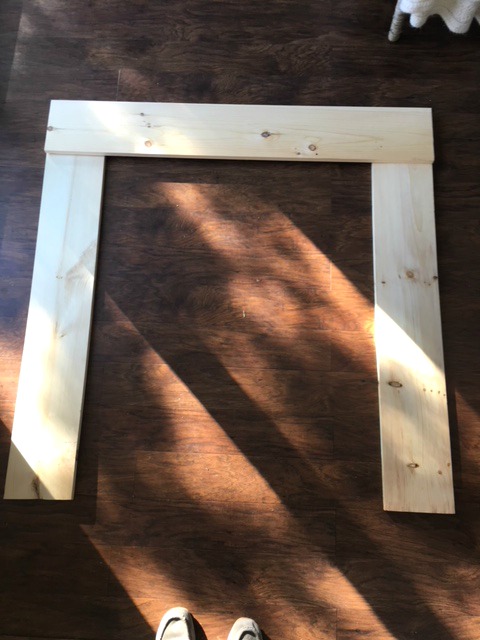
Lay each board on the floor and begin to secure the 3 boards together as pictured below…
(sorry for the cell phone photos)
Once secured, add Shelf to top and add corbels for support. Use Nail gun to assemble and secure with screws.
Stain, and then nail into place.
I thought about this later, but I think if I added that black paint inside the mantel it would really help to make it pop! Add some candles or logs, etc to inside.
Please Pin
More DIY Mantel’s
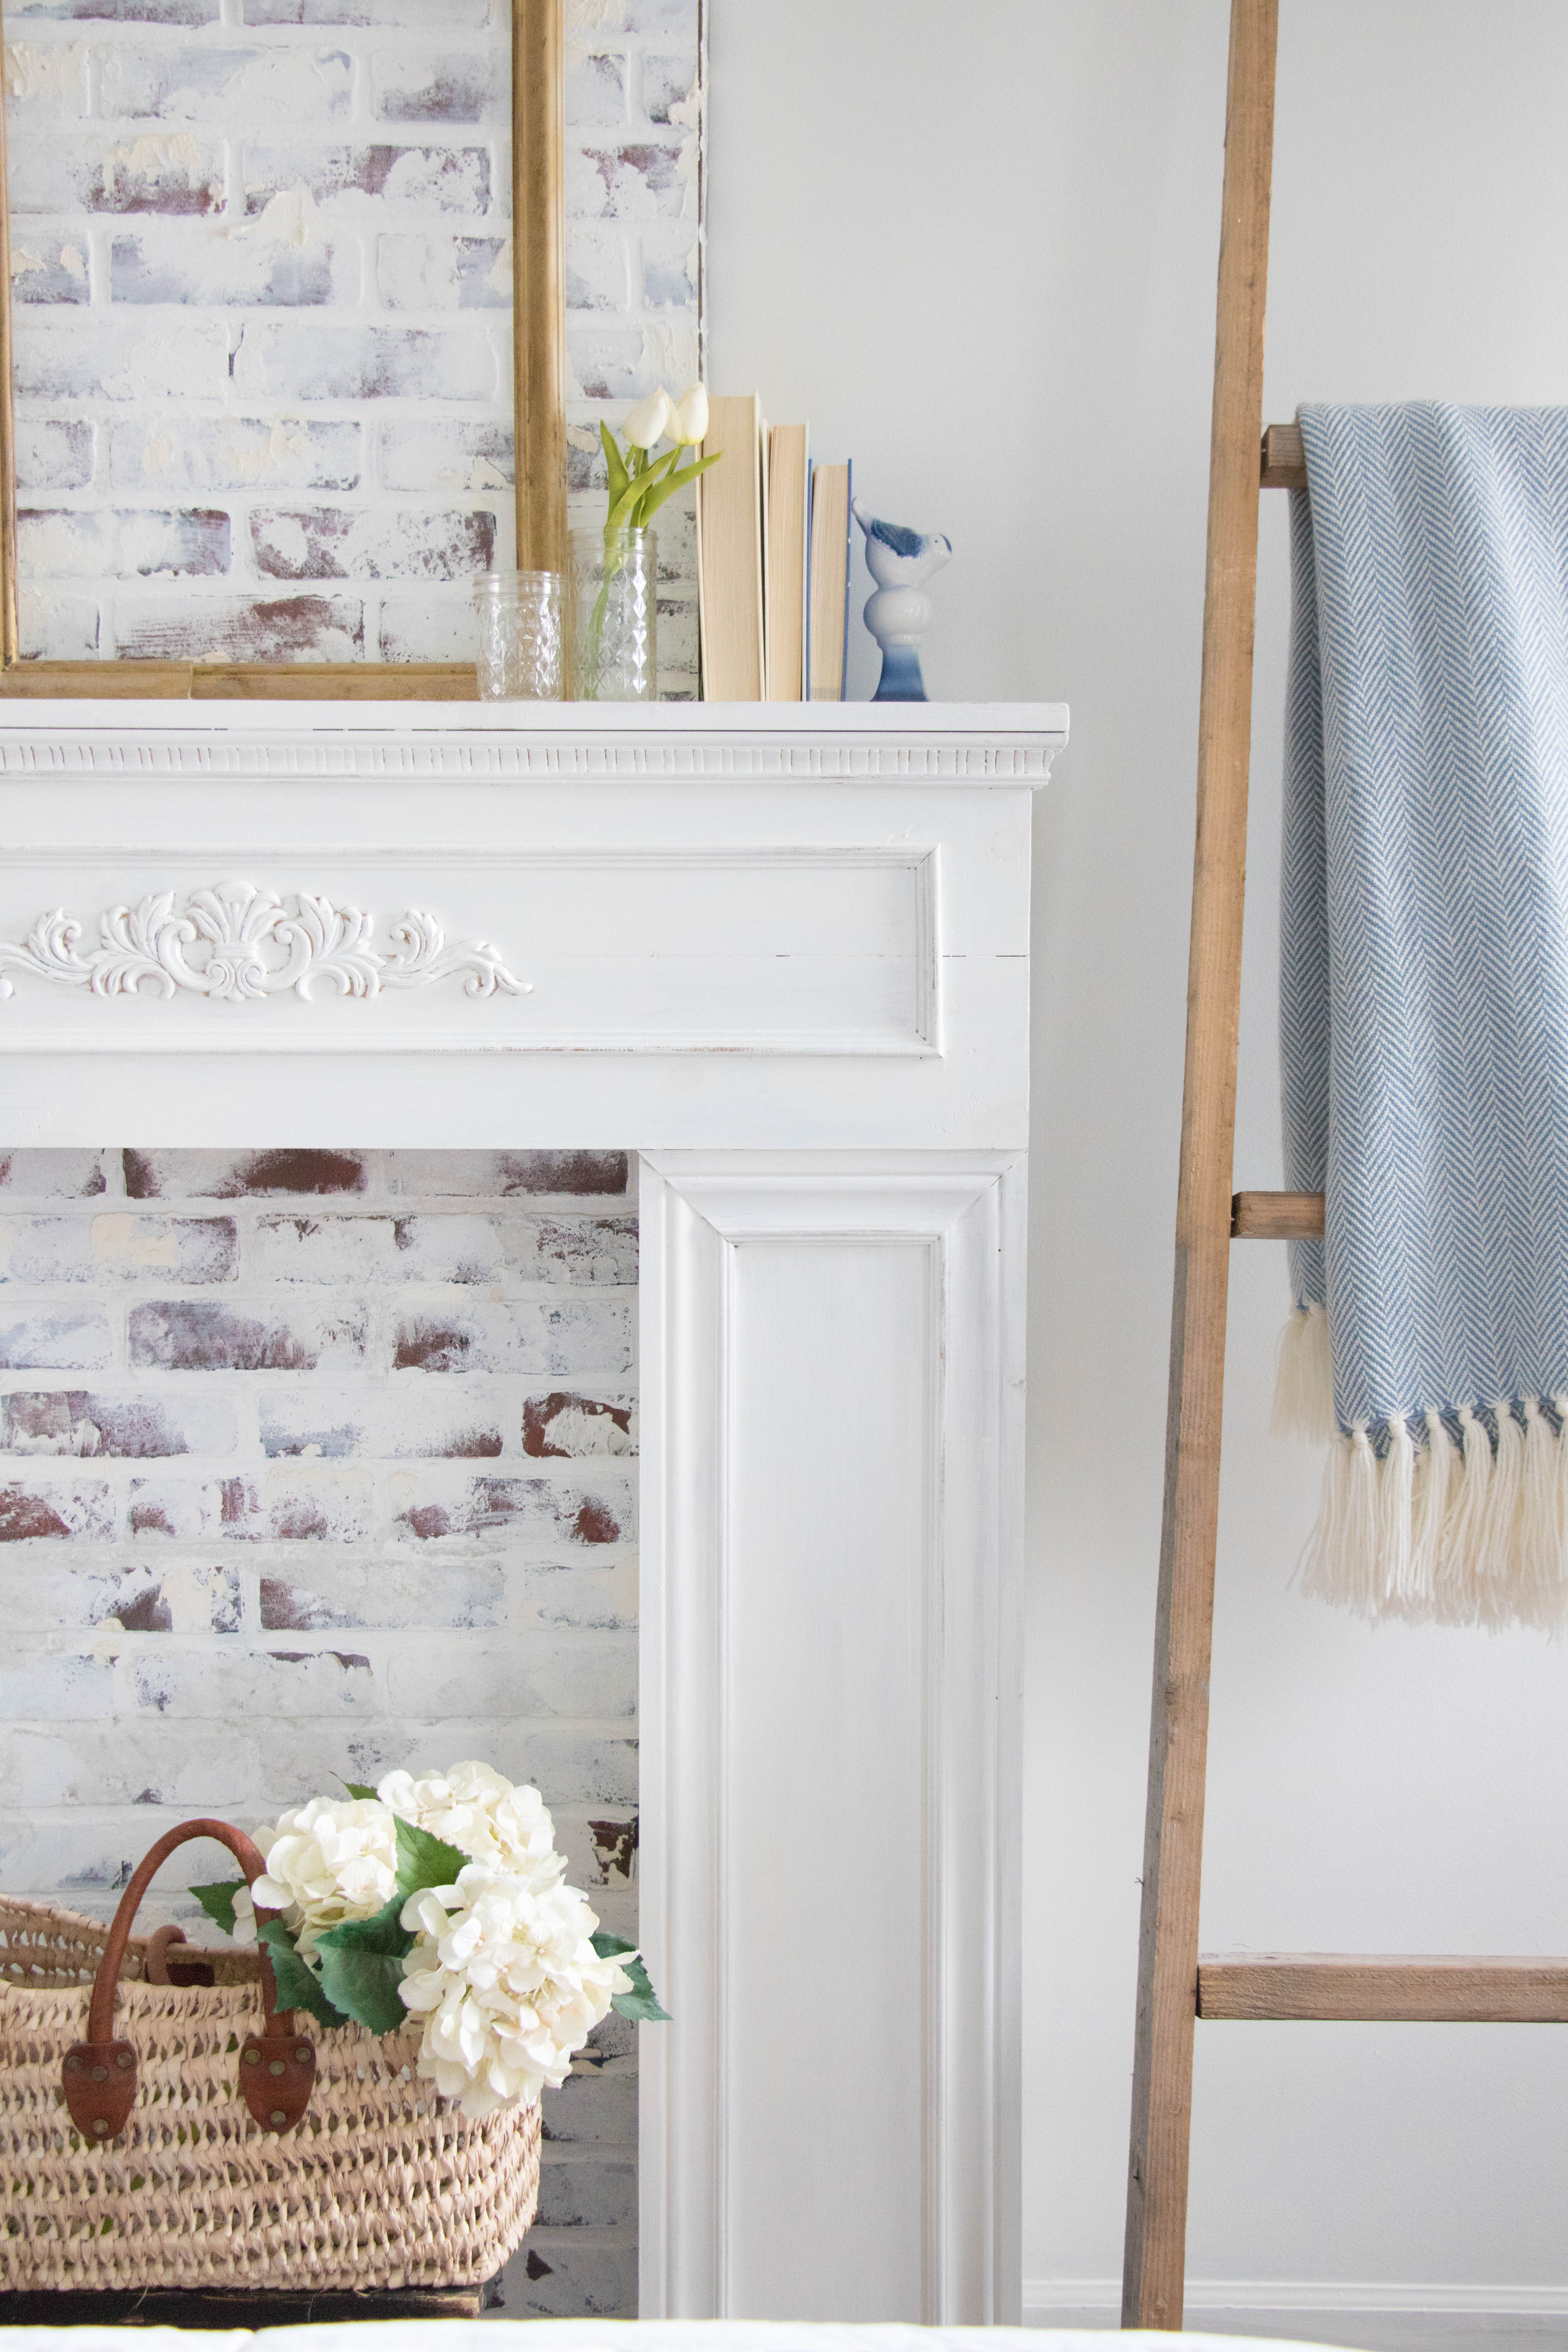
Painting the Faux Mantel white






10 Responses
OMG, what an amazing DIY, I love it. Adding the brick chimney, simple nailed it!
Ivory recently posted…The Easiest DIY Mantel
Thank you so much Ivory!
There was soooo many Bone Broth ads I couldn’t even enough the article! Really!,,
Hi Caren,
I am so sorry you were having this issue…unfortunately I can’t do much about the ad’s on my page. It’s my consistent paycheck here. It allows me to share free information to all my wonderful readers while I receive payment for having that marketing put on my page.
I meant to put enjoy not enough…
I love it too! It might just be the solution I ‘ve been looking for to get the mantle and “fireplace” I want in my living room. It’s the best think I’ve seen yet outside putting in a real fireplace.
A couple of questions: What are the finished dimensions of your fireplace? Mostly height and width. And did you do any sanding to the boards, especially the edges of the mantle?
Thanks so much for this marvelous DIY!
Hi Naomi! Yayyy!!! Okay so, dimensions are 4×4 each piece is pre-cut to 4 feet so it will be 4 feet high and 4 feet wide. I sanded the edges a bit…but of course you can sand them as much as you would like.
Hi, Deb. Good and simple project! I’d like to ask you about how much weight does the shelf actually resist?
Thank you!
Hi Nigel, thank you so much! I wouldn’t put too much on top of the mantel. I think as long as you have the pictures attached to the wall also for extra support you should be fine.
It’s a so easy mantel but creative DIY Mantel.