

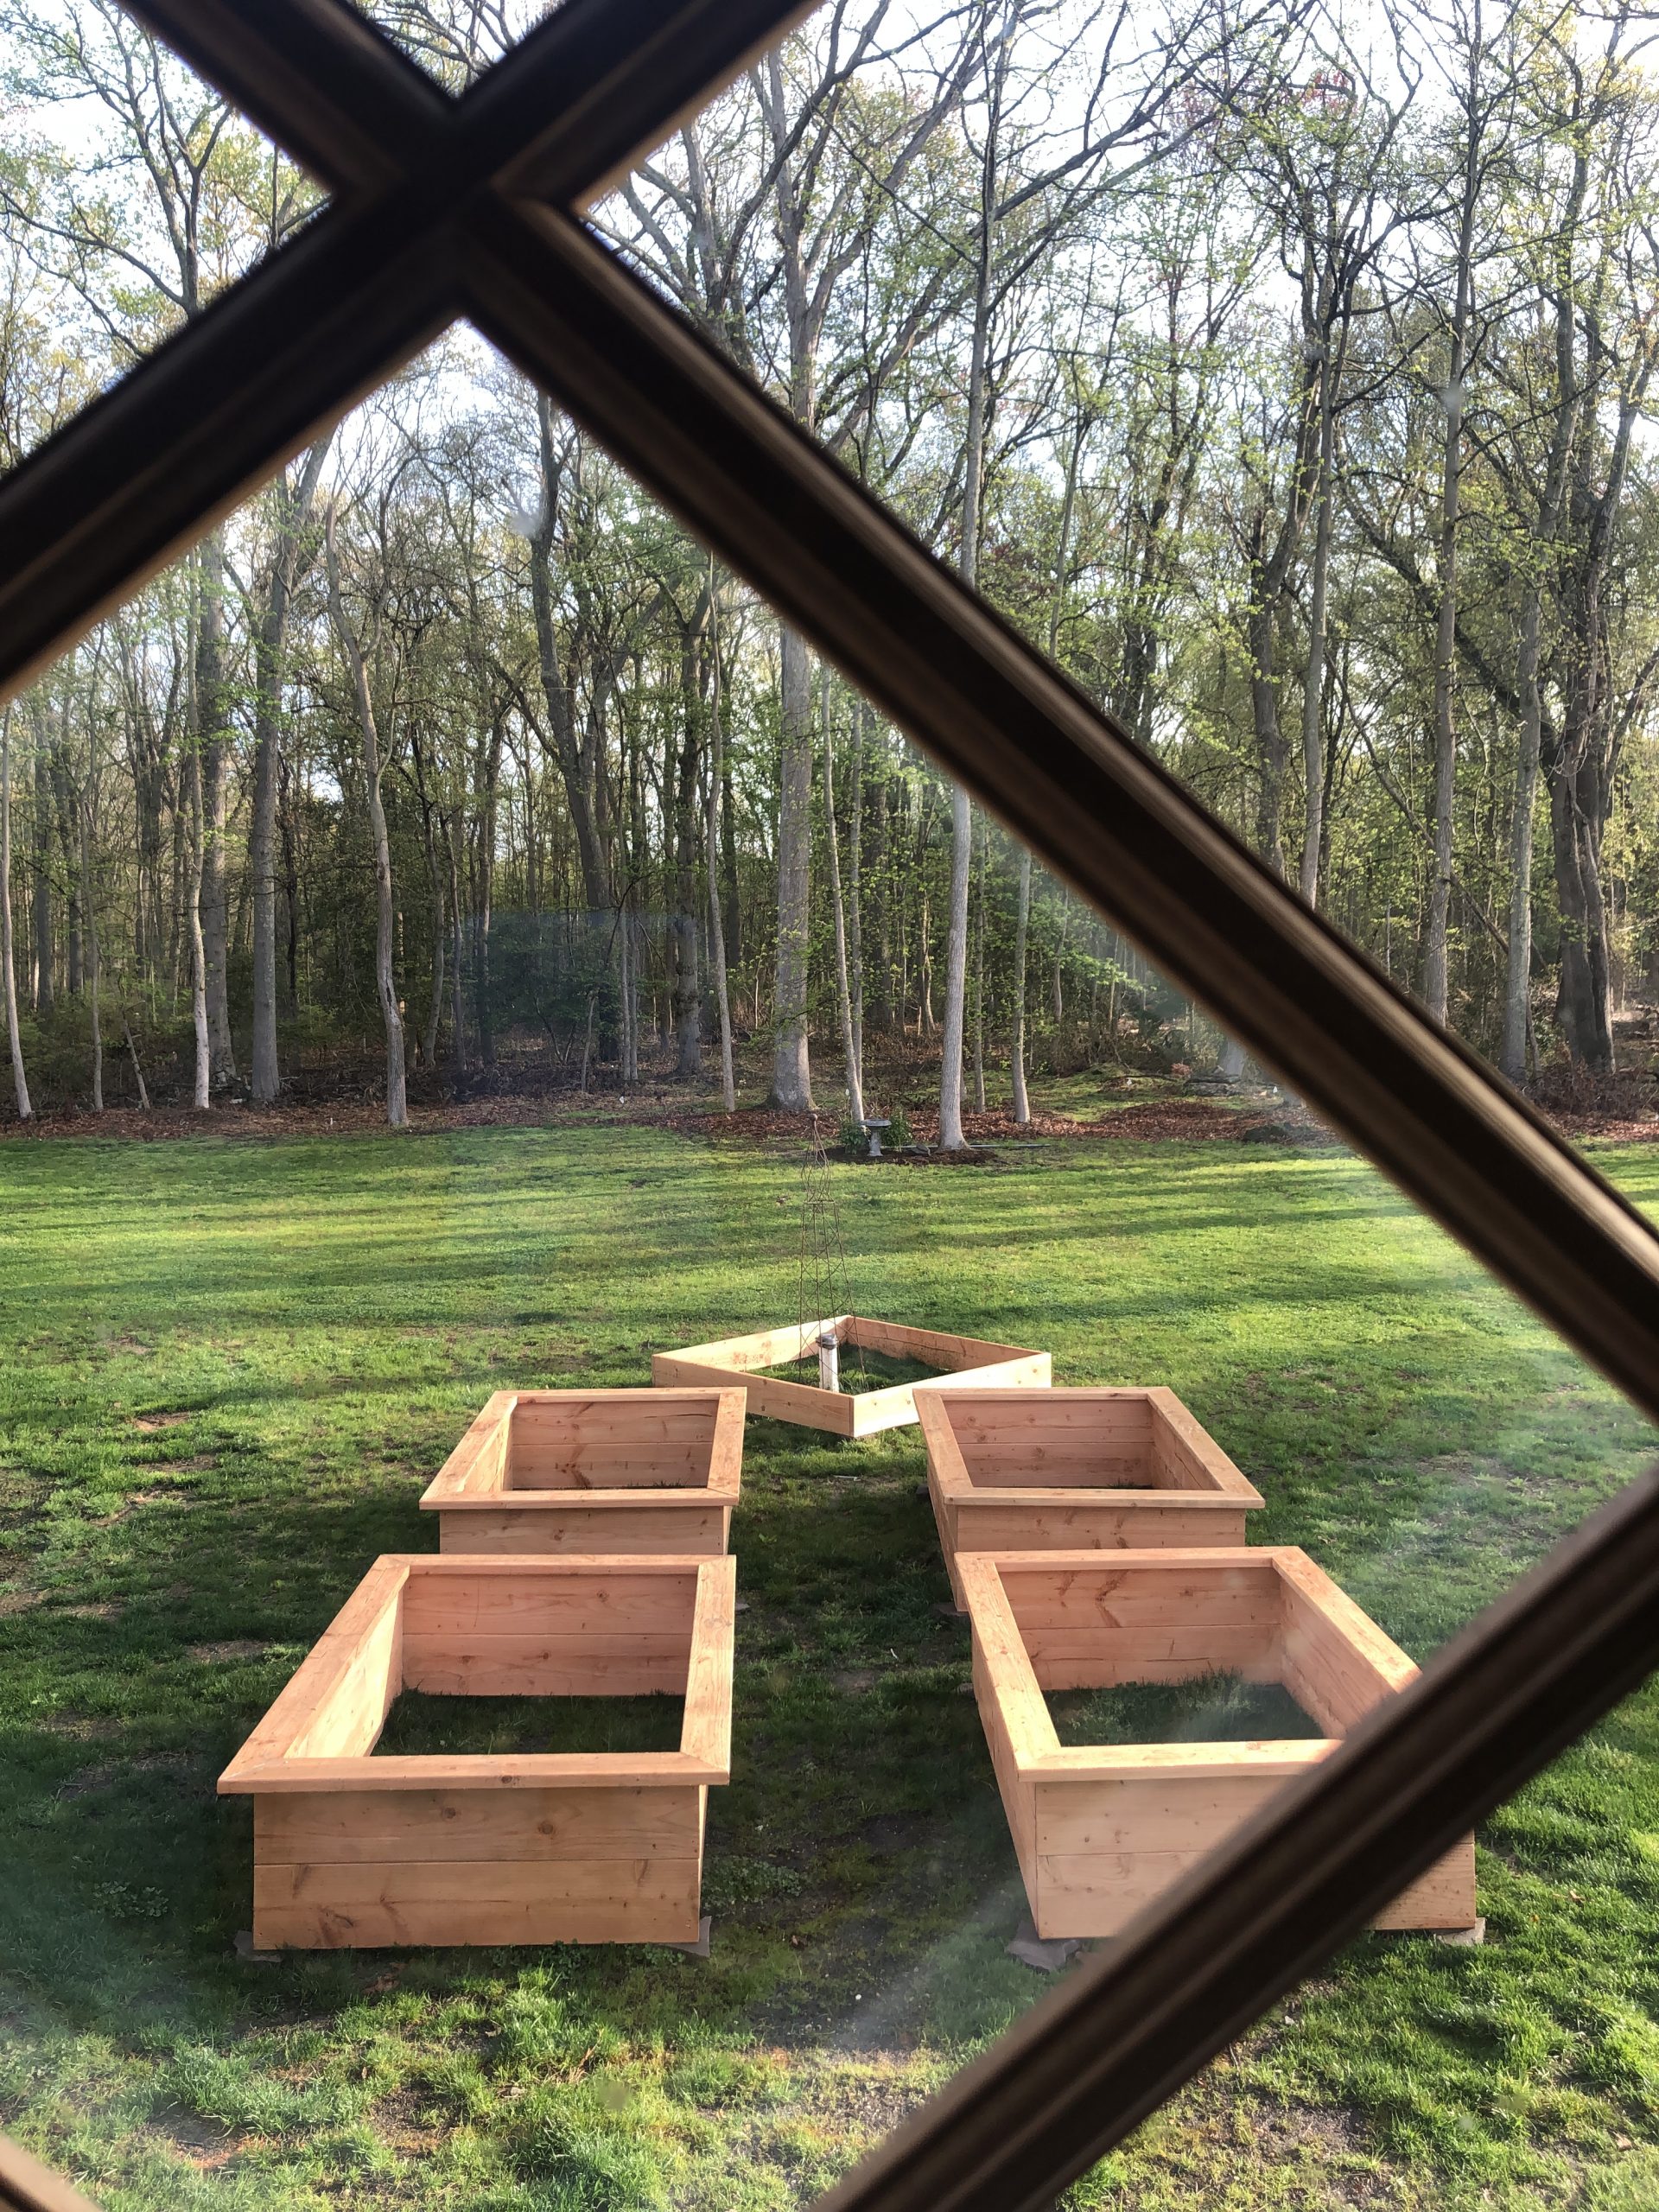

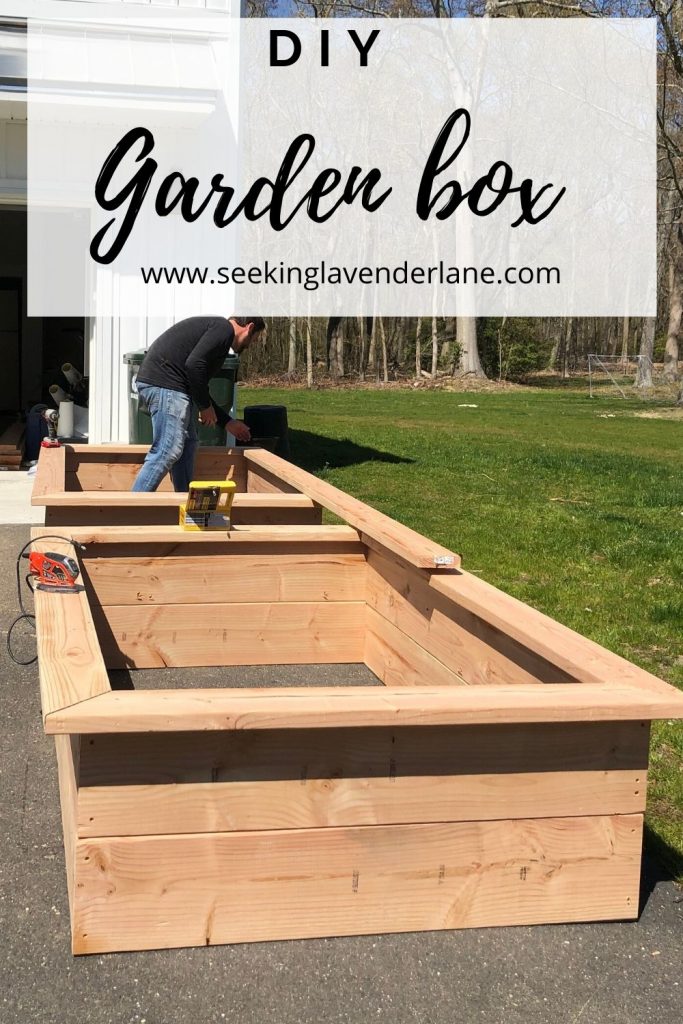
Well, we did it! We decided to go for a garden and not just any garden, but one that has to feel French, be a perfect view from our kitchen window, and have 4 planter boxes so I could have a variety of vegetables, flowers, and fruit. You know this brown thumb of mine…is going to try hard this summer and hope that I can have a half way decent garden. The garden is probably a few weeks from being done. We are still mapping it out and deciding how much we can have done professionally and how much we can do ourselves…but our planter boxes are done! So, I wanted to share how we built them today.
Materials for planter boxes:
- 2×10 lumber (we used Douglas fir but you can use wood of choice, I would recommend cedar but we couldn’t find any)
- 2x 6 lumber
- Coated Deck screws
- liquid nails (optional)
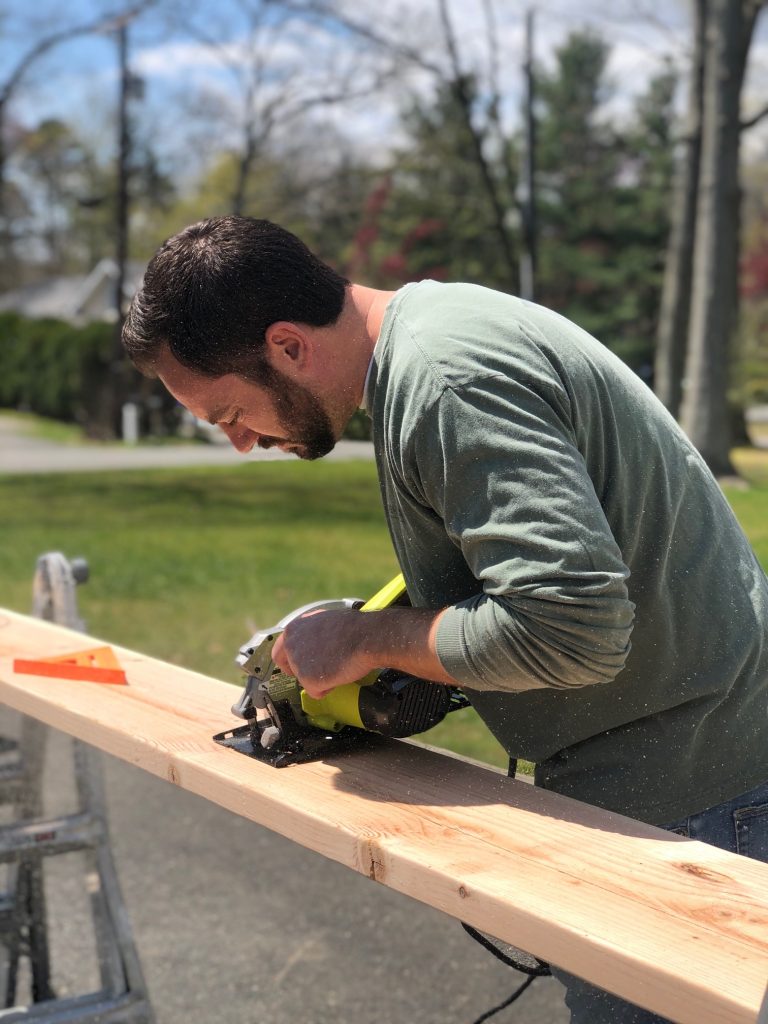
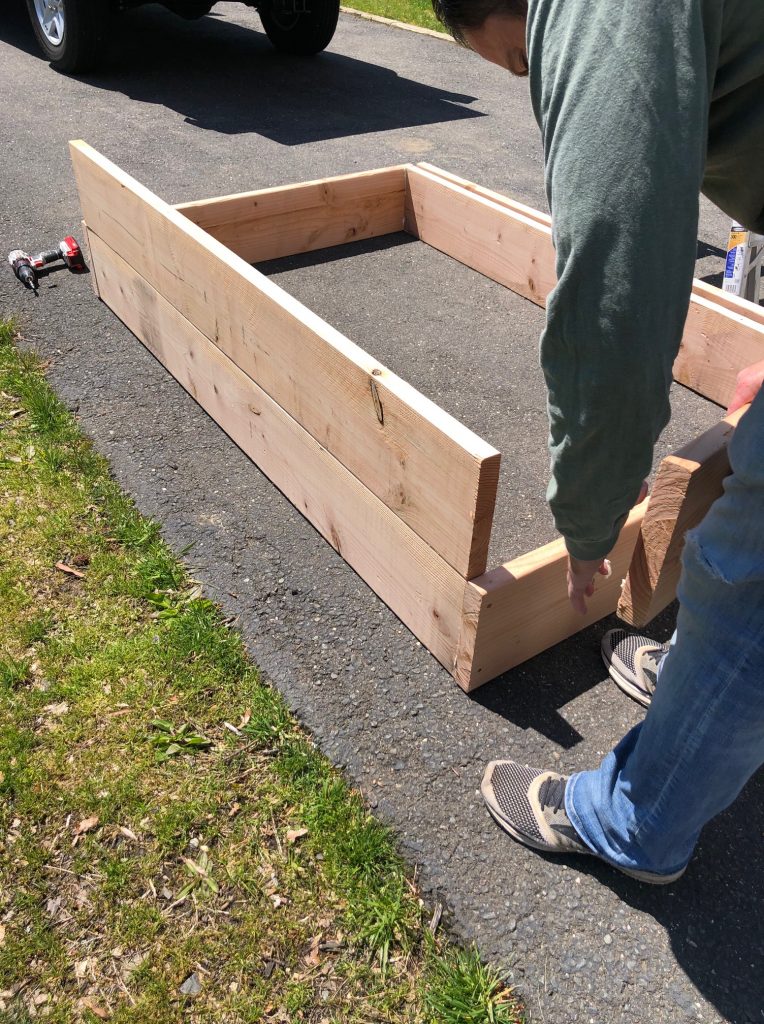
From here we cut our boards to create a 4×6 planter box. The height on the box once done is 20″ It’s perfect so you can sit on the edge of the planter box when planting or hanging out in your garden.
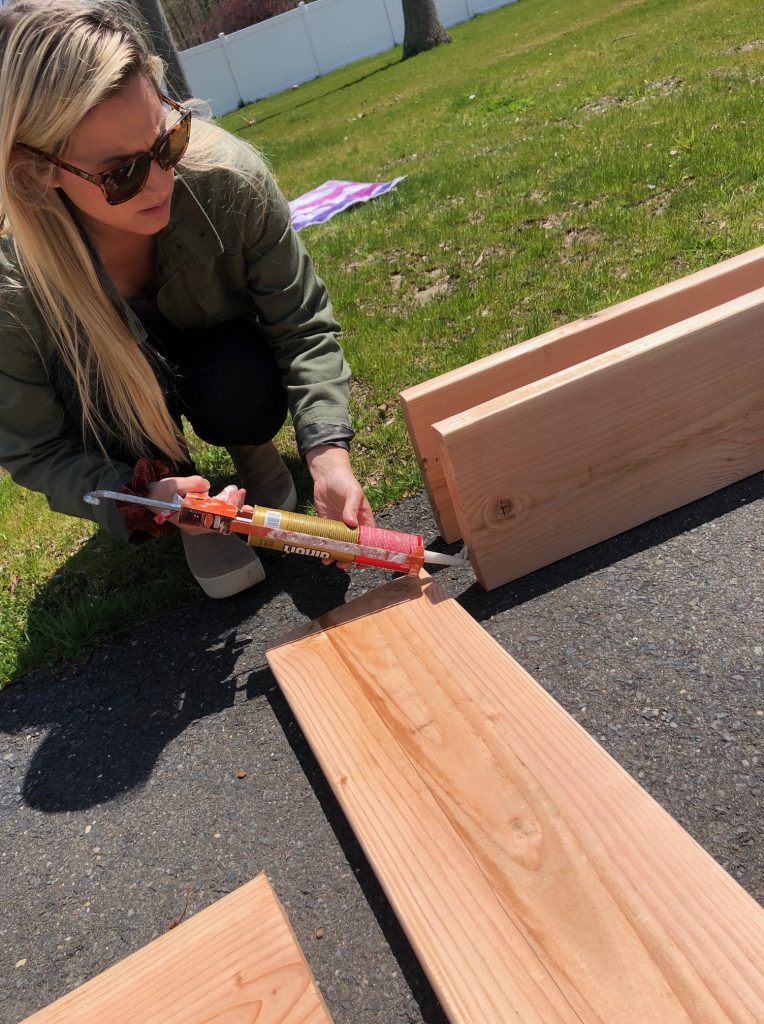
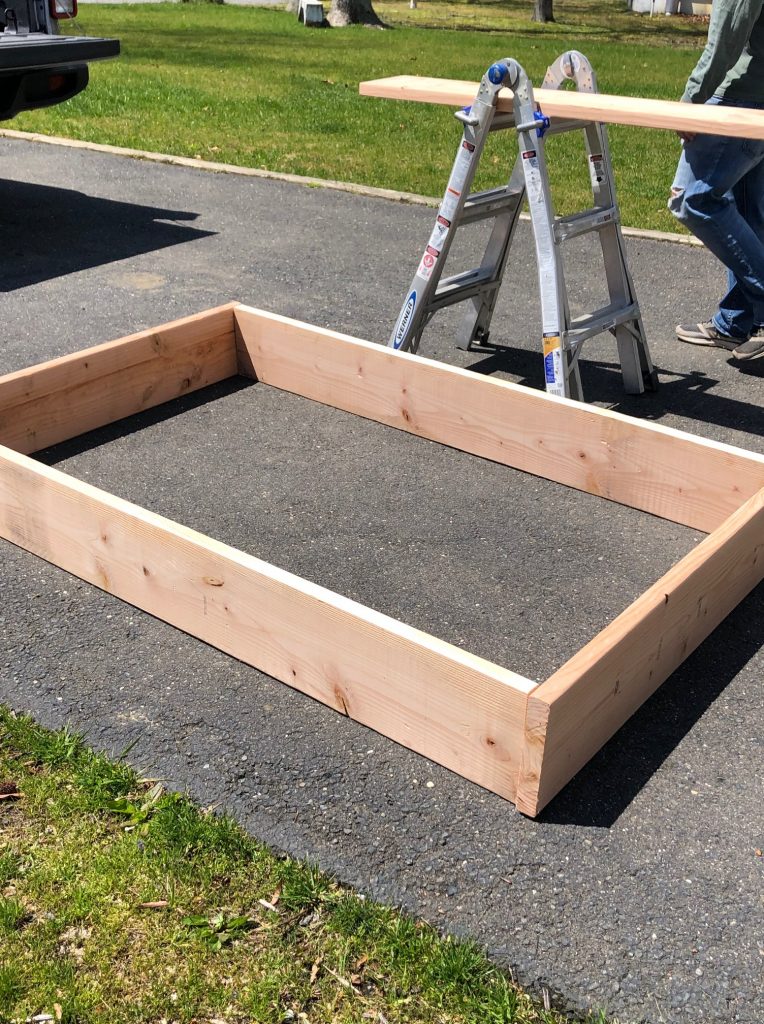
Cut 2×10 boards to 4 ft (2) and 6 ft(2) to create the frame of the box. When assembling start at one corner at a time and work your way around. We chose to keep the short edge with the edges out just because of the view from the house would be seamless, you can decide which edge works best for you. Once boards are glued and screwed together and creates a perfect box, add next layer to the top. Same thing working your way around the box one side at a time. We chose to make the box on top of the other box so it would align perfectly. From here attach the two boxes using pocket holes. We attempted the Kreg jig but felt it was easier to just make our own. Either way is fine.
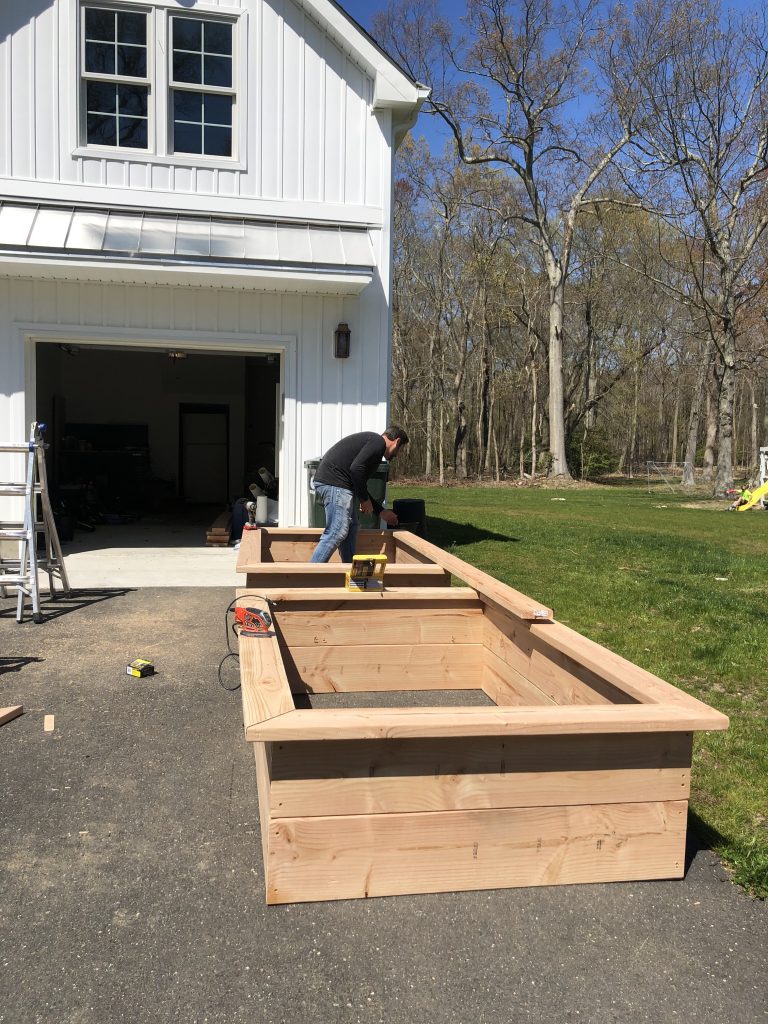
Once attached time to make your top to finish the piece off beautifully. It looks like a boring box so we really wanted to have that finishing touch. Cut your 2×6 lumber with 45 degree angles. I would recommend again working from one side of the box around to match the sides. Each box might be slightly off so this worked best for us. When making the angles we had the boards about an inch overhang in the inside, so keep that in mind when you are making your angles. We had to take an inch off of each side to allow this to work.
Attach the top with screws…then get ready to sand!
We sanded the entire piece, but if you prefer a rougher surface this could be fine. Since we used lumber we sealed it and you can use this product or any other Eco friendly sealer. Now I’ve had a few people asking what kind of wood we were using and ideally I believe cedar is best for outdoor projects, but because they were limited we had asked a landscaper if using any wood would be okay and he said as long as we have it lined it should be fine. So I chose to seal it and I am back and forth about possibly staining it, but I’ll let you know. We will add a liner to the inside of the box before we add our dirt and plants.

These were really easy and we were able to get all 4 boxes done in 2 days. I’ll be sharing more as the garden progresses but for now here are the steps to these pretty easy garden boxes. You could also do this with one layer if you prefer a lower garden box, that would be really pretty too.


8 Responses
My late hubby built ours,but we did not double up on bottom with chicken wire , moles/voles?? Ate roots of my veggies!pulled up potatoes,carotts, that were gnawed on! We also used layers of newspaper @ bottom! That was somewhat intact!…they beds you made, look fabulous!
Looking so good! I see radishes and lettuce in your future!
They look lovely. It is a joy to be able to sit and work at gardening. As someone who has had pea gravel between beds, I recommend that you use heavy plastic before you put the pea gravel in place and then use twice the amount of pea gravel as you think you need. Your top ledge will help keep dirt out of the gravel.
We put in new beds after a move last year and we are now mowing between them as the pea gravel was always needing to be weeded or needing a dose of round up.
Thank you so much Rebecca!
Awesome job!! Lots of possibilities!!
Can’t wait to see what you plant in them.
???????
This is going to be amazing!! It will be so beautiful from your kitchen!
It’s looking so cute!! But why you dont use weed barrier into plant box?
David Moore recently posted…Question #7
Hey David, I have part two on our plant box coming up you will see why soon