


Shed Makeover-Painting Vinyl Siding
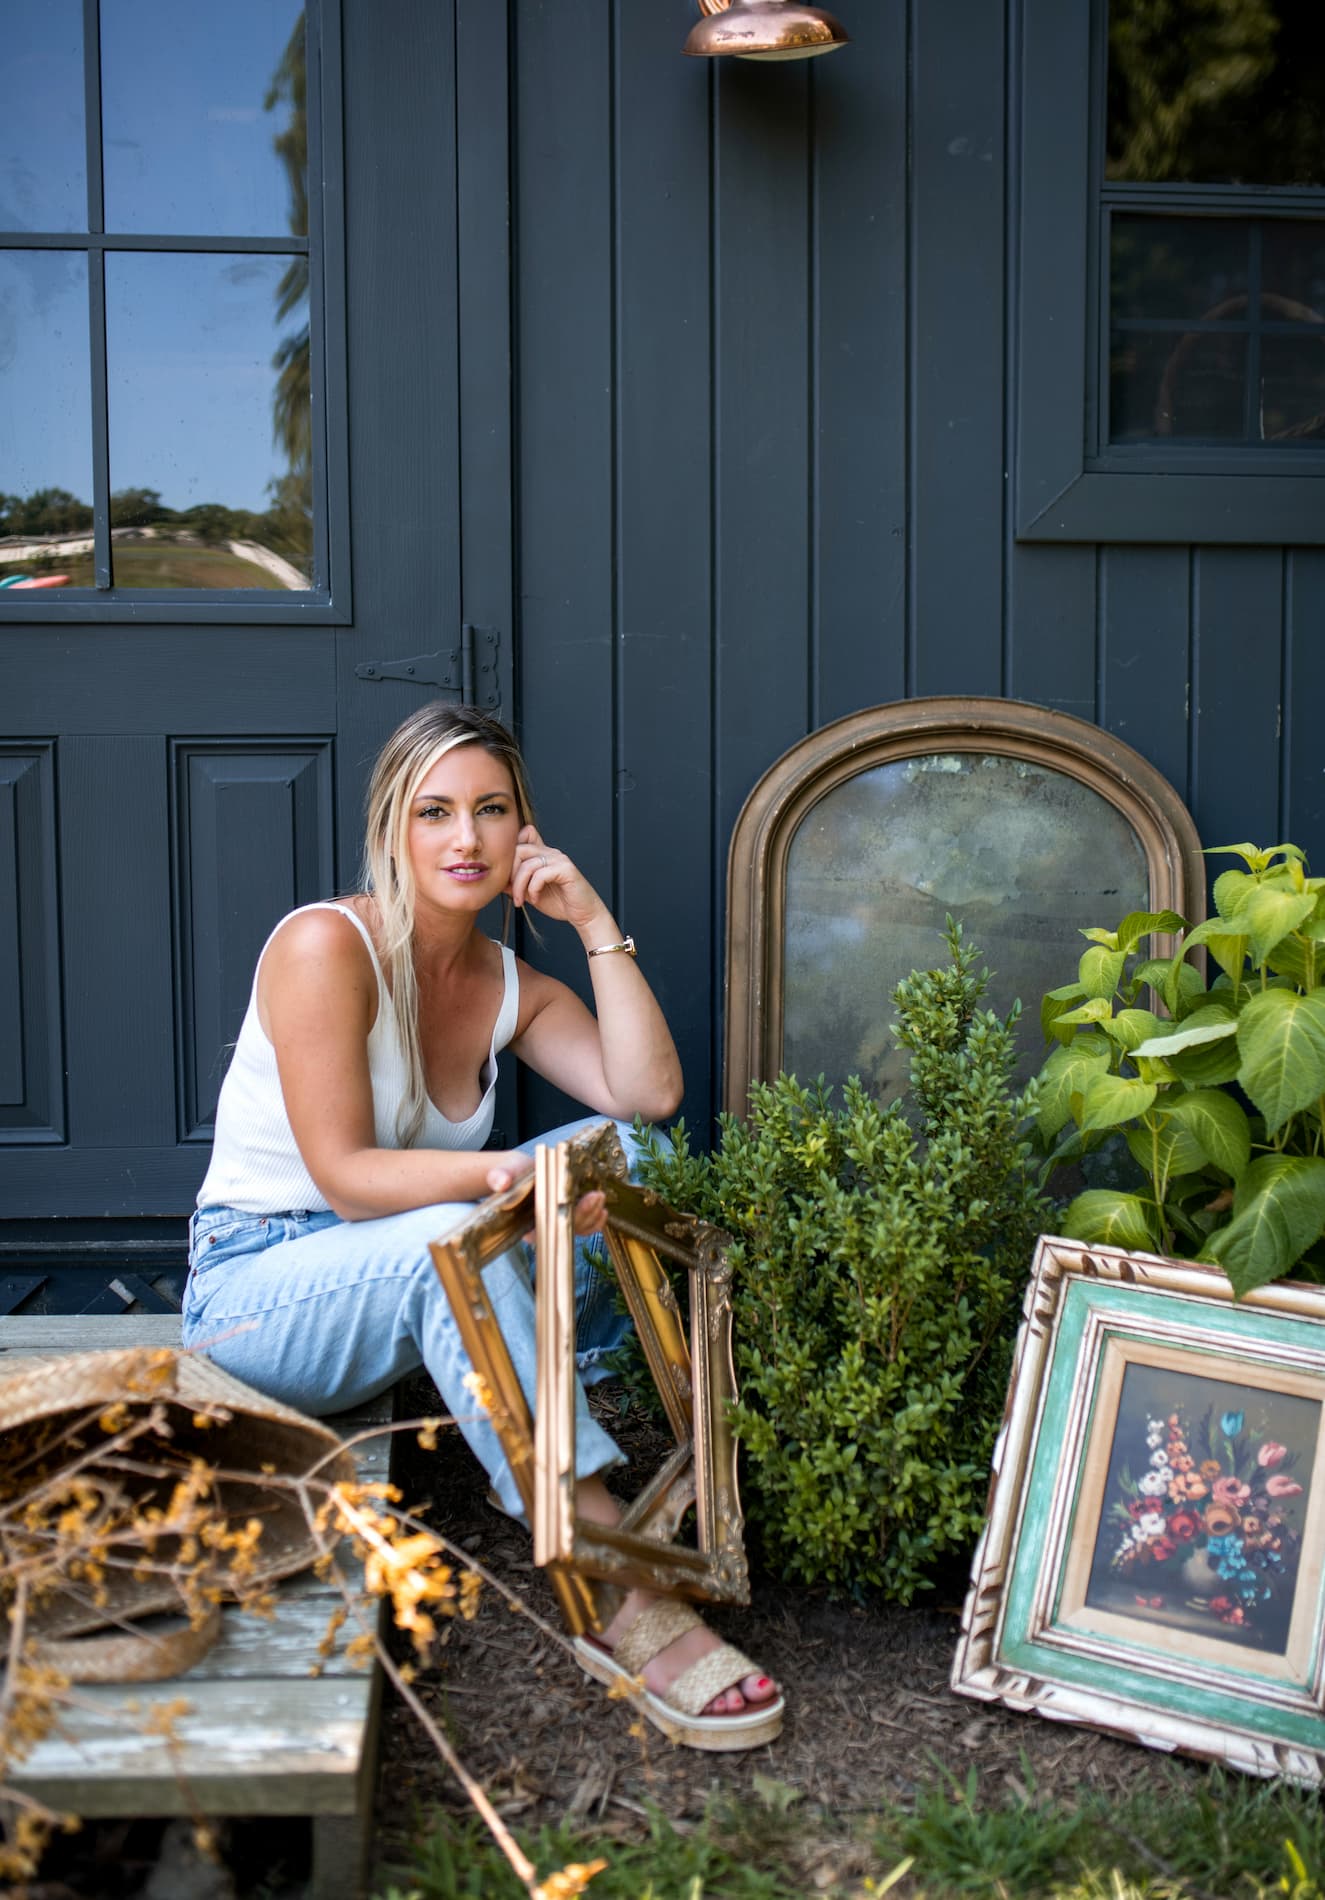
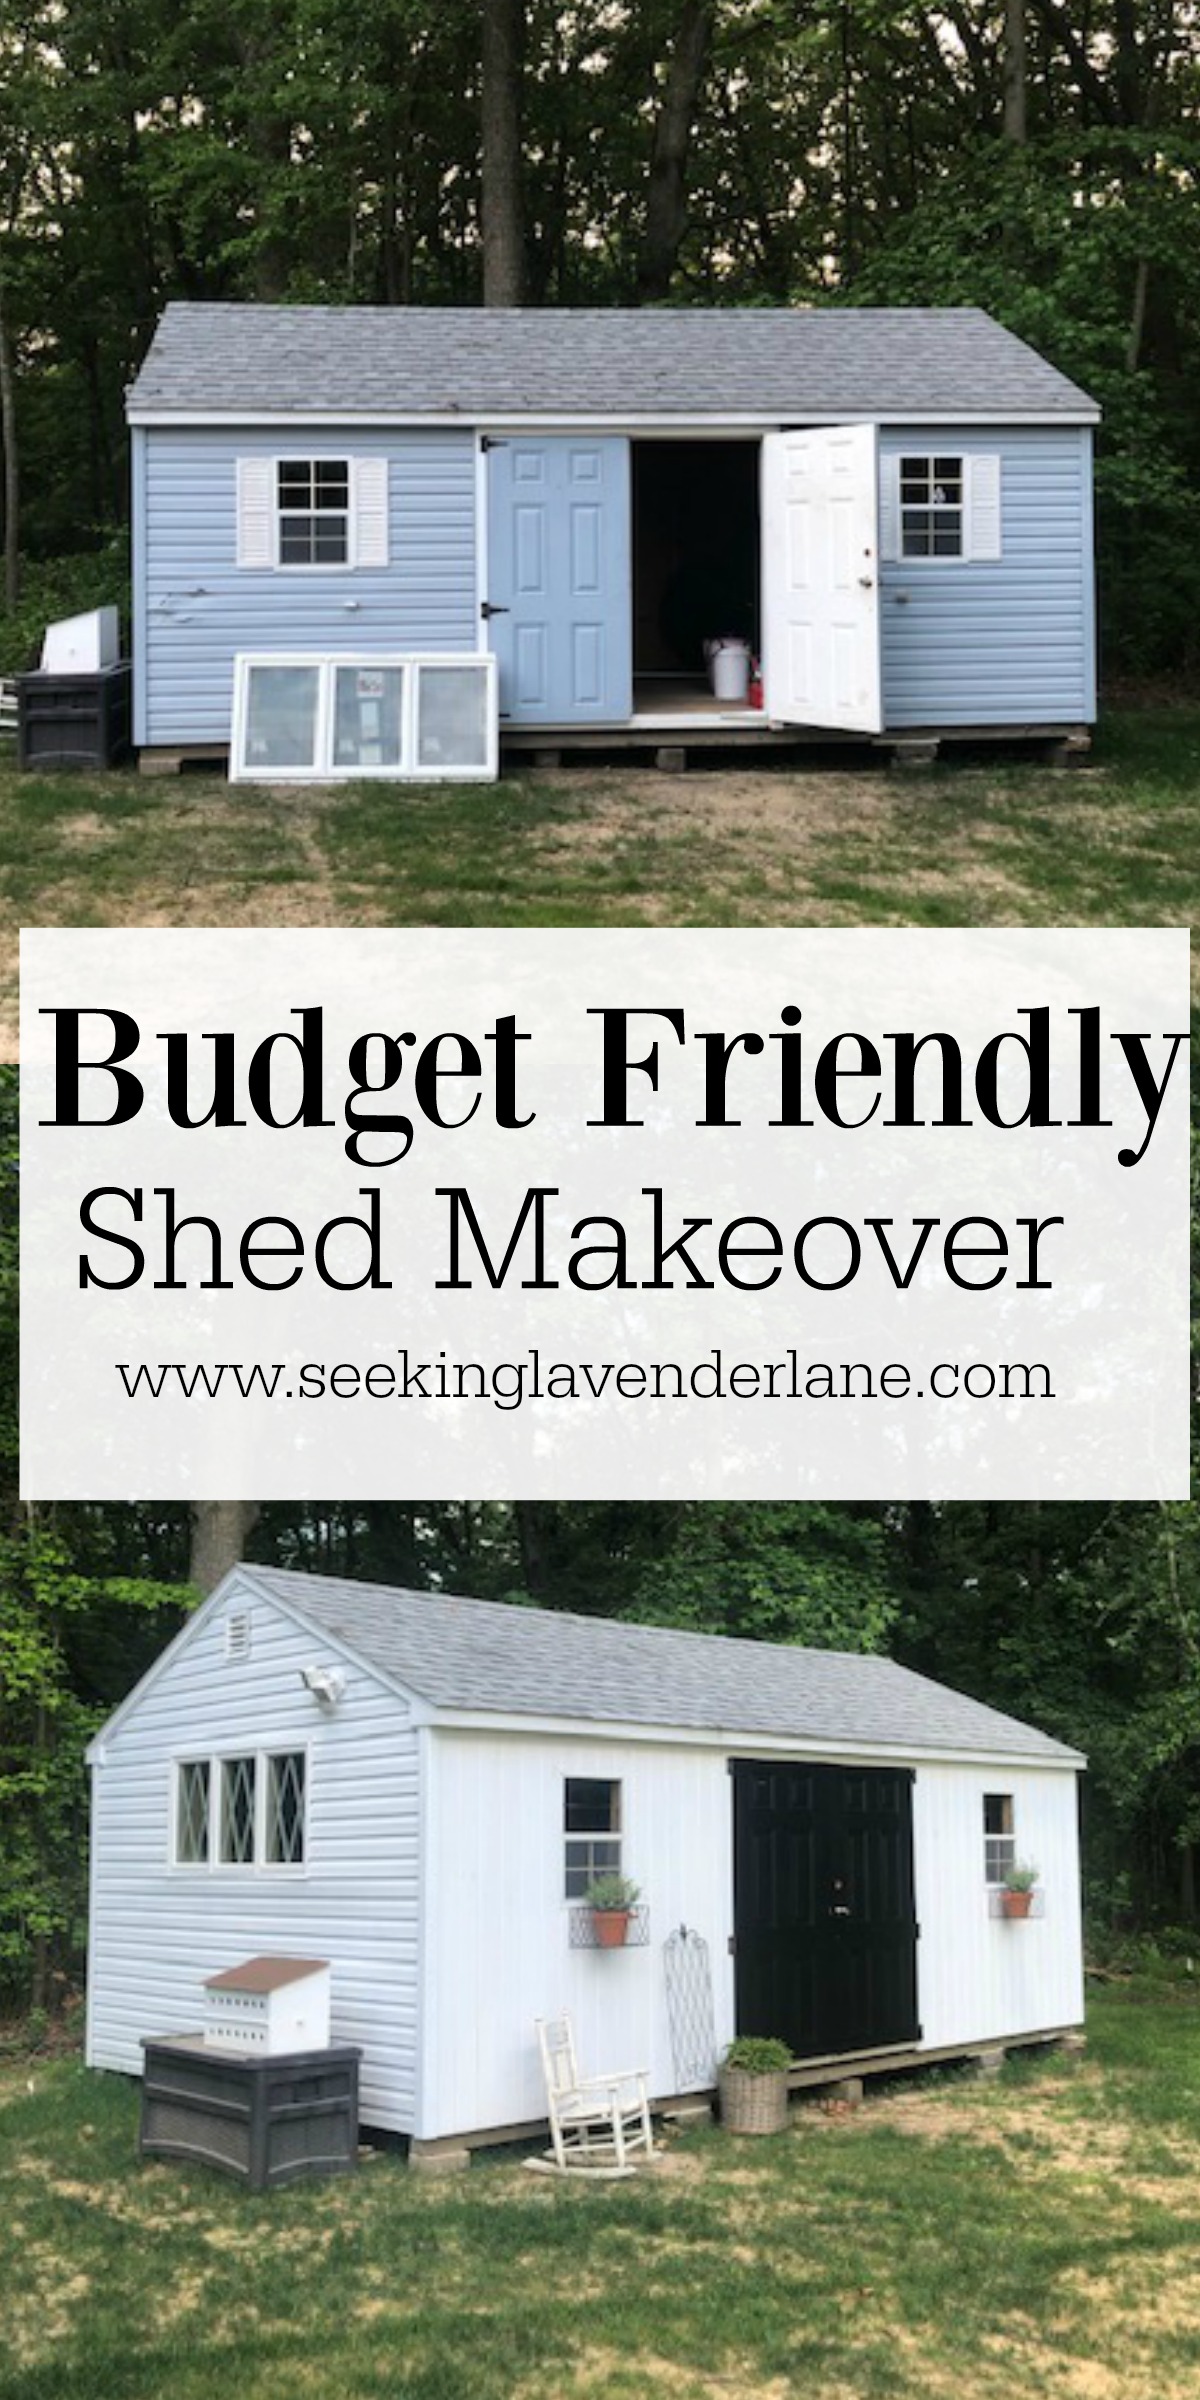
Summer time means Summer projects! We have a lot of projects for the outside as our property was pretty much a clean slate once our construction was done. I dream of beautiful hydrangea bushes and well developed landscaping, but unfortunately with a new home we are just not there yet. Not to mention the amount of money it costs to add landscaping, flowers, and bushes to a yard. We decided this year to tackle just a few things that were necessary. One, we made over the deck (which I shared here a few weeks ago) and next was a shed. We really needed one since we only have one car garage, but those too can be pricey. So, we decided to turn to Facebook Marketplace for a used one and hubby found the perfect one. A 12×20 shed in good condition just…uh…ugly! So, a little imagination and my go-to, paint, we knew this could be a great buy and solve our solution for a shed. Especially, painting the vinyl siding!
This post a collaborative post with Wagner, all opinions that are expressed are my own.
So, the one issue the shed had was that it was all vinyl siding. I wasn’t loving that because I love a true wooden shed, I just think it adds more character. The shed also had some damage to the siding in the front so we came up with a few ideas to convert it.
Before Shed
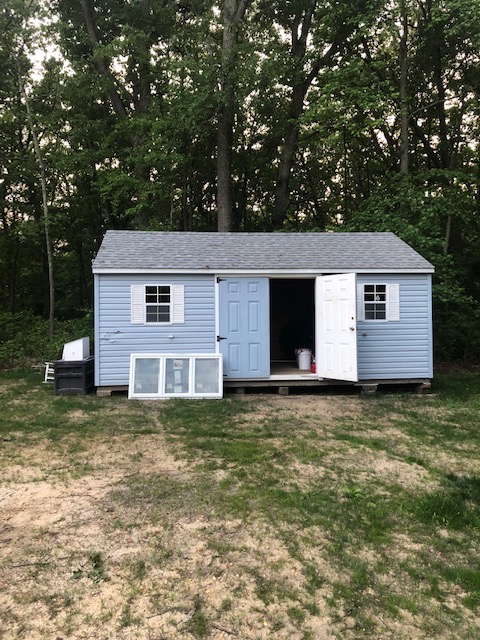
- Remove the siding from the front
- Add a window to the side
- Paint the vinyl siding
- Replace the front with wood planking
This was step 1 for the shed, I have plans to do a few more changes in the future but being on a budget we stuck to just the easy and affordable changes first.
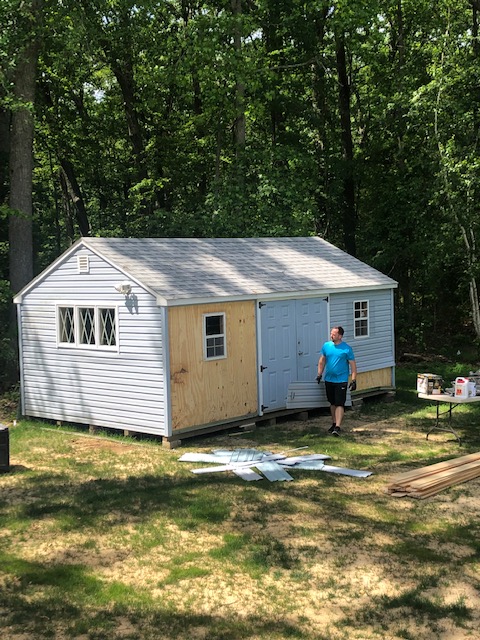
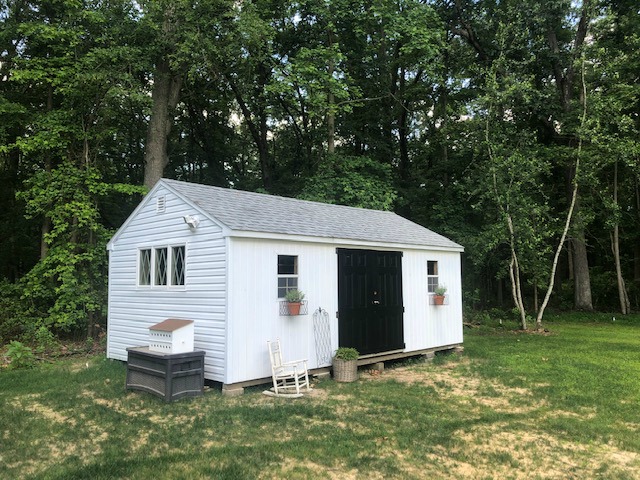
The first step was to add the window to the side of the shed. We wanted to add more light and character. We had a leftover diamond grid window that we never used from the house and we added that to the side. I have to admit that was hubby’s idea and I was so impressed. I love how the diamond ties back into the house and I envision adding a cute potting bench underneath eventually.
Next, we removed the siding from the front of the shed. The siding was damaged and I wanted to add a wooden exterior.
Then it was time to paint the vinyl siding that we were keeping. I knew with such a big surface area that using our Wagner Sprayer would be the way to go. It would cover more surface area faster and be much easier for a smoother finish on the vinyl. I chose Zinsser paint and primer for vinyl, wood, and aluminum surface. I chose the water base but I would recommend the oil base. I had a small issue once painting the wood planking because of the knots so I would suggest oil base. For vinyl siding only, you will be fine for water base.
j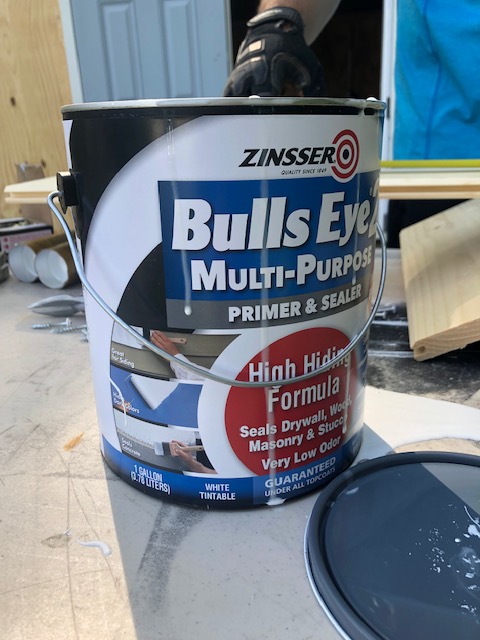
j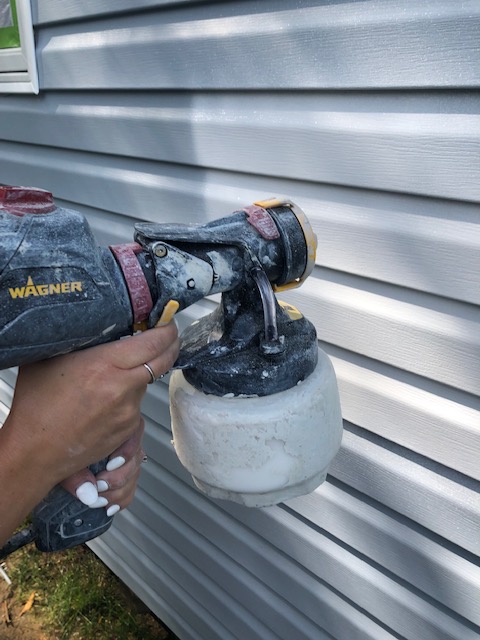

It took us probably two hours total to do the sides of the shed but that was with prepping the surface area and washing the siding also. It was amazing how much easier it was to use the sprayer and for any outdoor large surface area I totally recommend using the Flexio 2000 Wagner Sprayer.

The Flexio Sprayer has two speeds and is 8 times faster then with a brush. I love that you can use this both for indoors or outdoor projects, but for larger projects as this Shed it seriously is the best answer. We used this same sprayer last year on our playground and amazing how it updated it instantly.
*Tips, be sure to clean really well after use and use mineral spirits to soak or remove stain or paint. Read instructions on paint can on how much to dilute paint with water.
We finished the front of the shed and after a lot of back and forth about the finish we decided to paint it white. I still have to do a final coat on the the front to cover the knots for good, but over all the finish looks amazing.
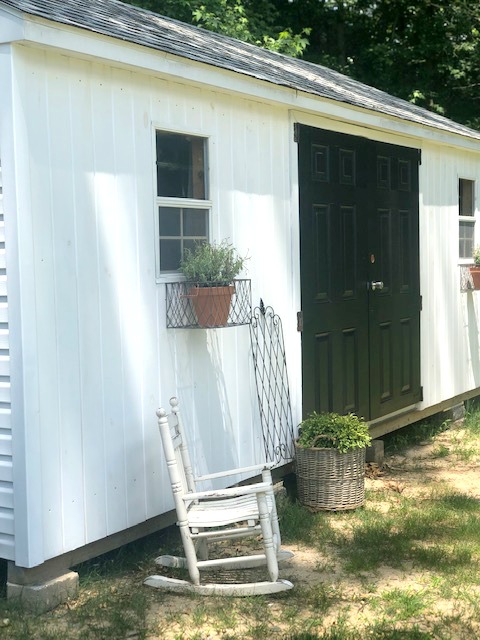
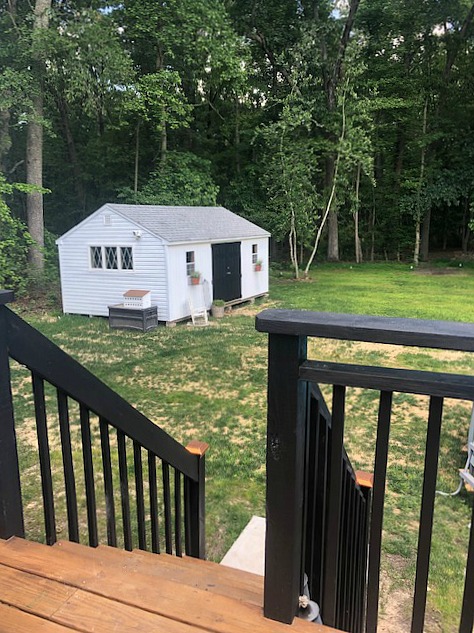
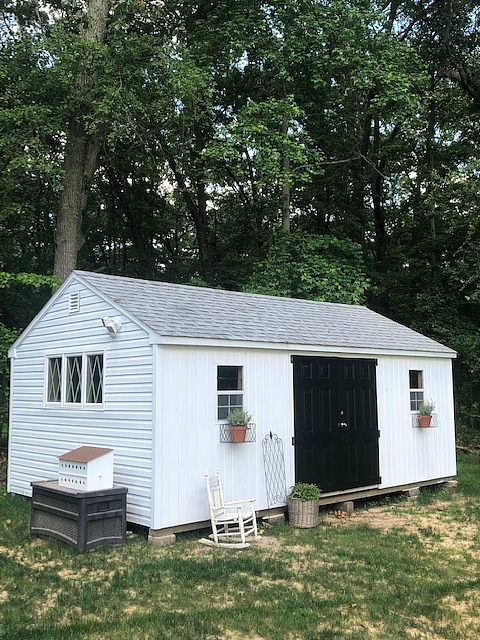
I know it’s hard to believe that this shed is the same one as that blue one at the top of this post. It’s come along way, but we have some more plans for it this year and years to come. I think we plan to make some shutters for the front two windows and add a potting bench under the diamond grid windows. Eventually I would love to change out the doors to something a little different and add a platform to the front of the shed where the gap is. I also envision pea gravel and beautiful plants but I know that may take years. Oh and some more grass will help too.
I hope this post inspires you to think outside the box. We saved a ton of money by doing it this way and you can even create a great makeover on your existing shed doing the same. I promise you, paint can go a long way. I did the same on our old shed from our previous home and just loved it as well.
Please Pin
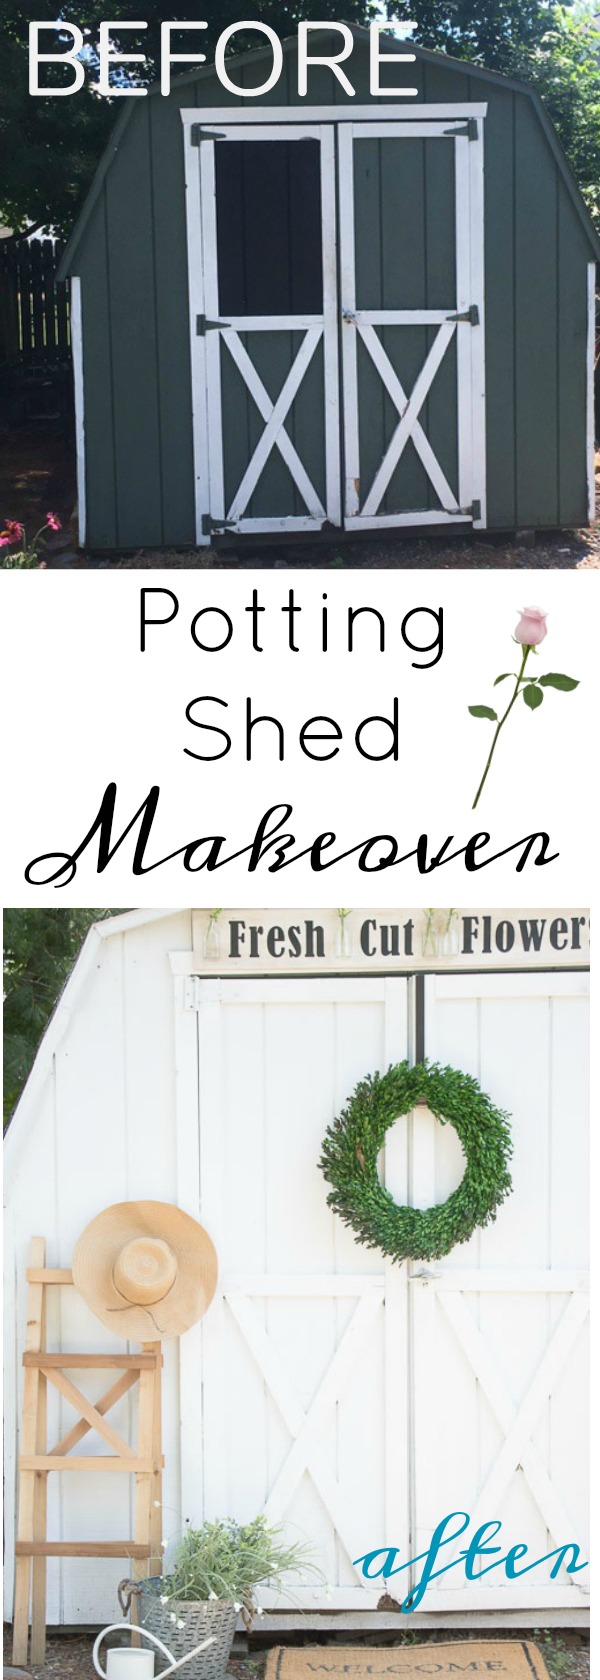
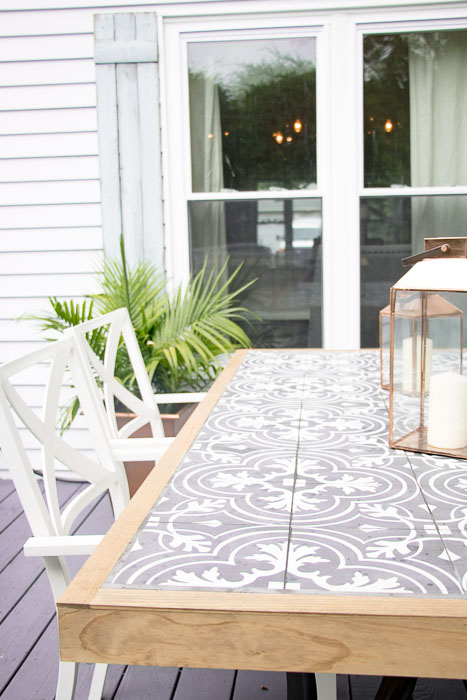
More Easy Outdoor Makeovers


10 Responses
I really want a she shed! What are you using this space for? Love this and sharing on the weekend edit. Newish follower, laura in Colorado!
Thank you so much Laura! We are just using it for storage for now, but it would be a great she shed eventually.
Deb it looks amazing! What a difference some paint, a new window and siding makes! I can see where your vision is going and I’m so excited for you!
Thanks so much kelly!
How did you move it? Both to your house and then on your property? Never thought to look for a used one but can’t afford a new one. Thanks.
Hi Carla, that’s a great question! We found a company on FB Marketplace that delivered sheds. We paid them to pick it up and deliver it.
You are very creative!! I also am a bargain hunter like you. I love all your posts. I especially love the ones where you have repurposed something. Looking forward to your next post.
Thank you so much Maureen, there is just something so fun about an upcycle.
Wow, it looks awesome!
Thank you so much Theresa!