Board and Batten Wall: Floor to Ceiling Board and Batten
Welcome Back for week 2 of the One Room Challenge. If you’re not familiar with the One Room Challenge, it is a 6 week post where bloggers share their progress on their room makeover. You can find the link ups more at Calling it Home. We had originally not planned to do our master bedroom as the one room challenge space. Once our other room we planned to make over fell through, we decided to just go all out in this room. Still keeping to a budget and creating a space with more vintage farmhouse touches. My original room already had touches that we loved, but the overall space felt like it was lacking a little something. So we had previously painted our entire room in Simply White by Benjamin Moore and created a board and batten wall interior paneling where our bed is. I felt the board and batten touched on both my love for French Farmhouse and Modern Farmhouse design.
If you missed it, see week one of the ORC
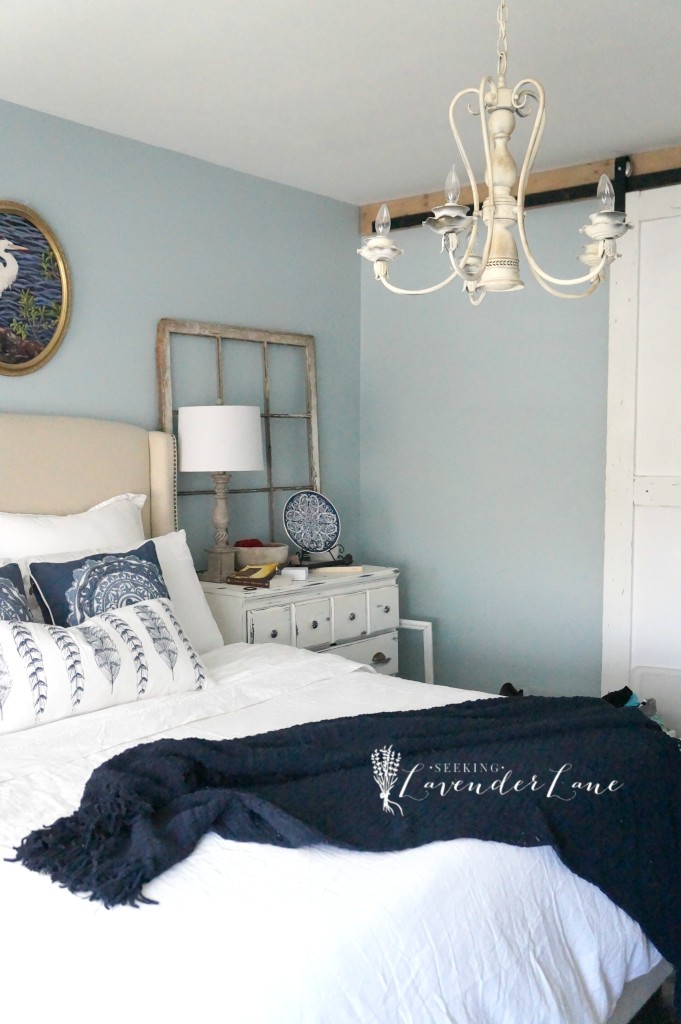
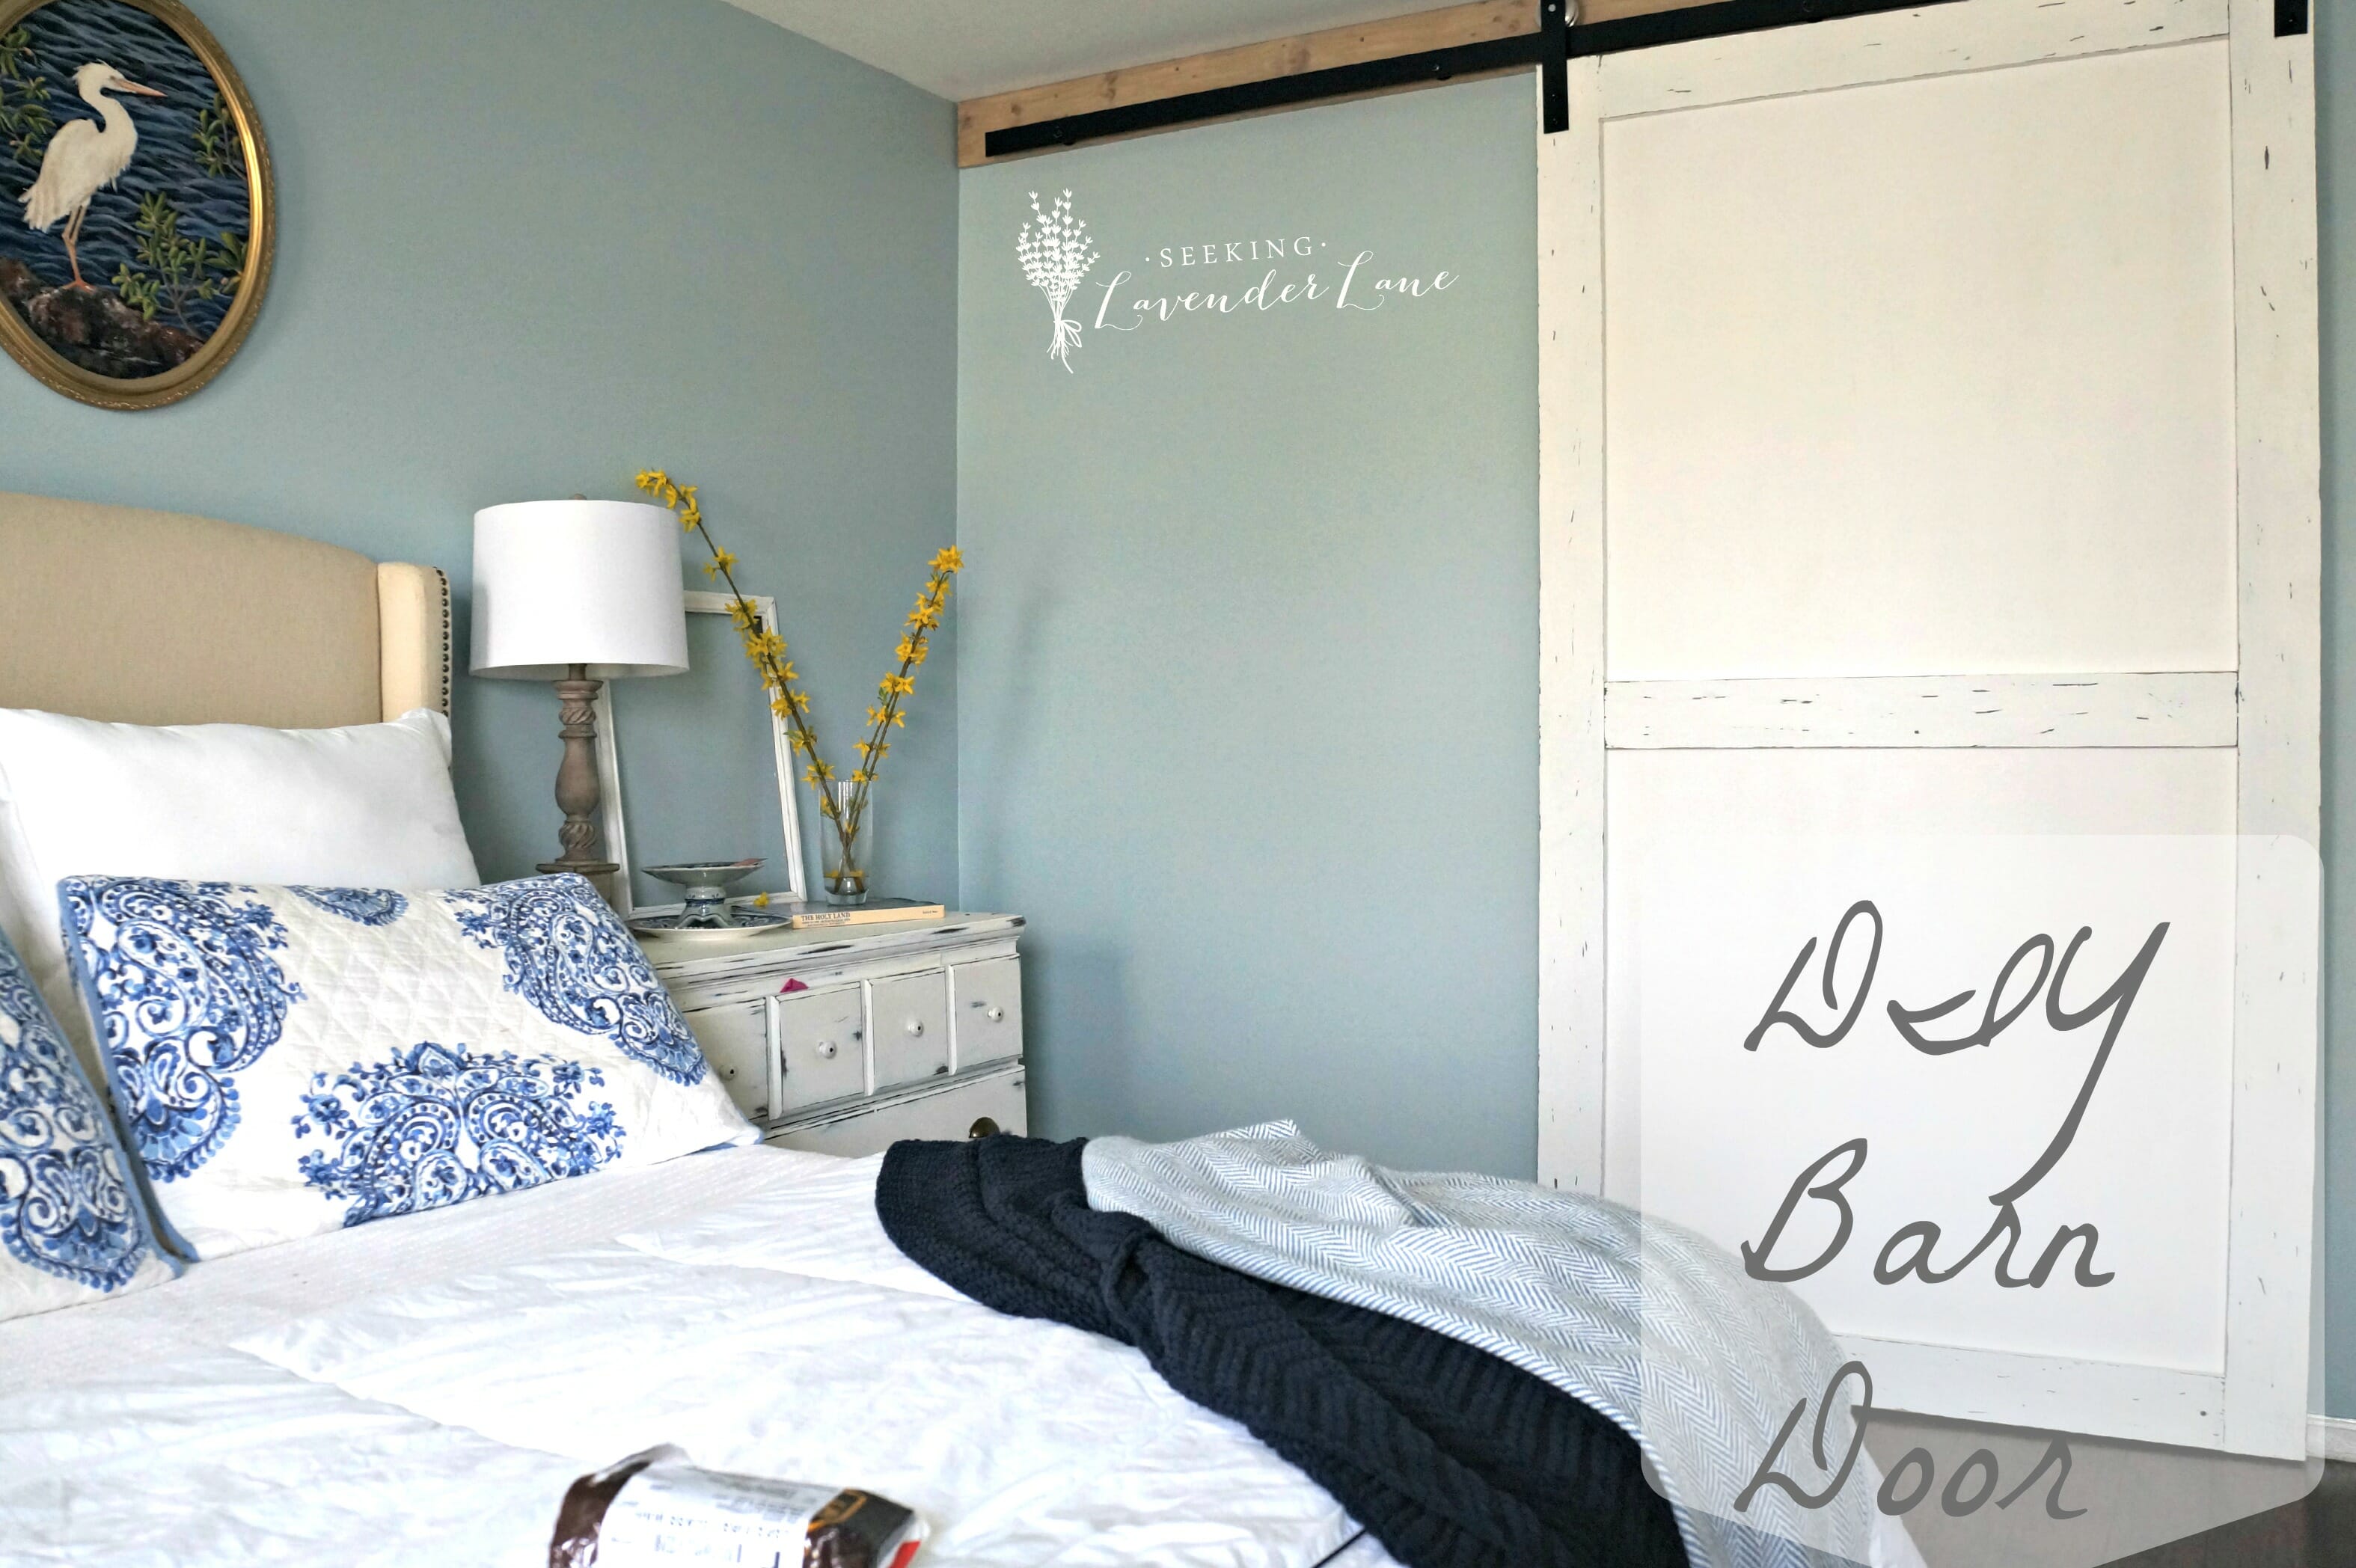
Let’s take a look back at what the space looked like before again…
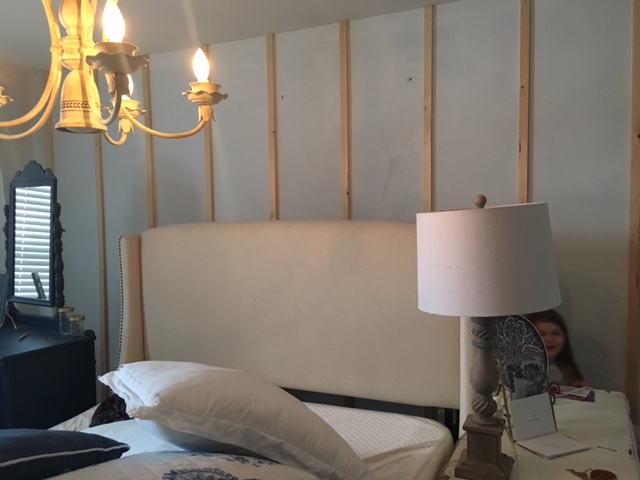
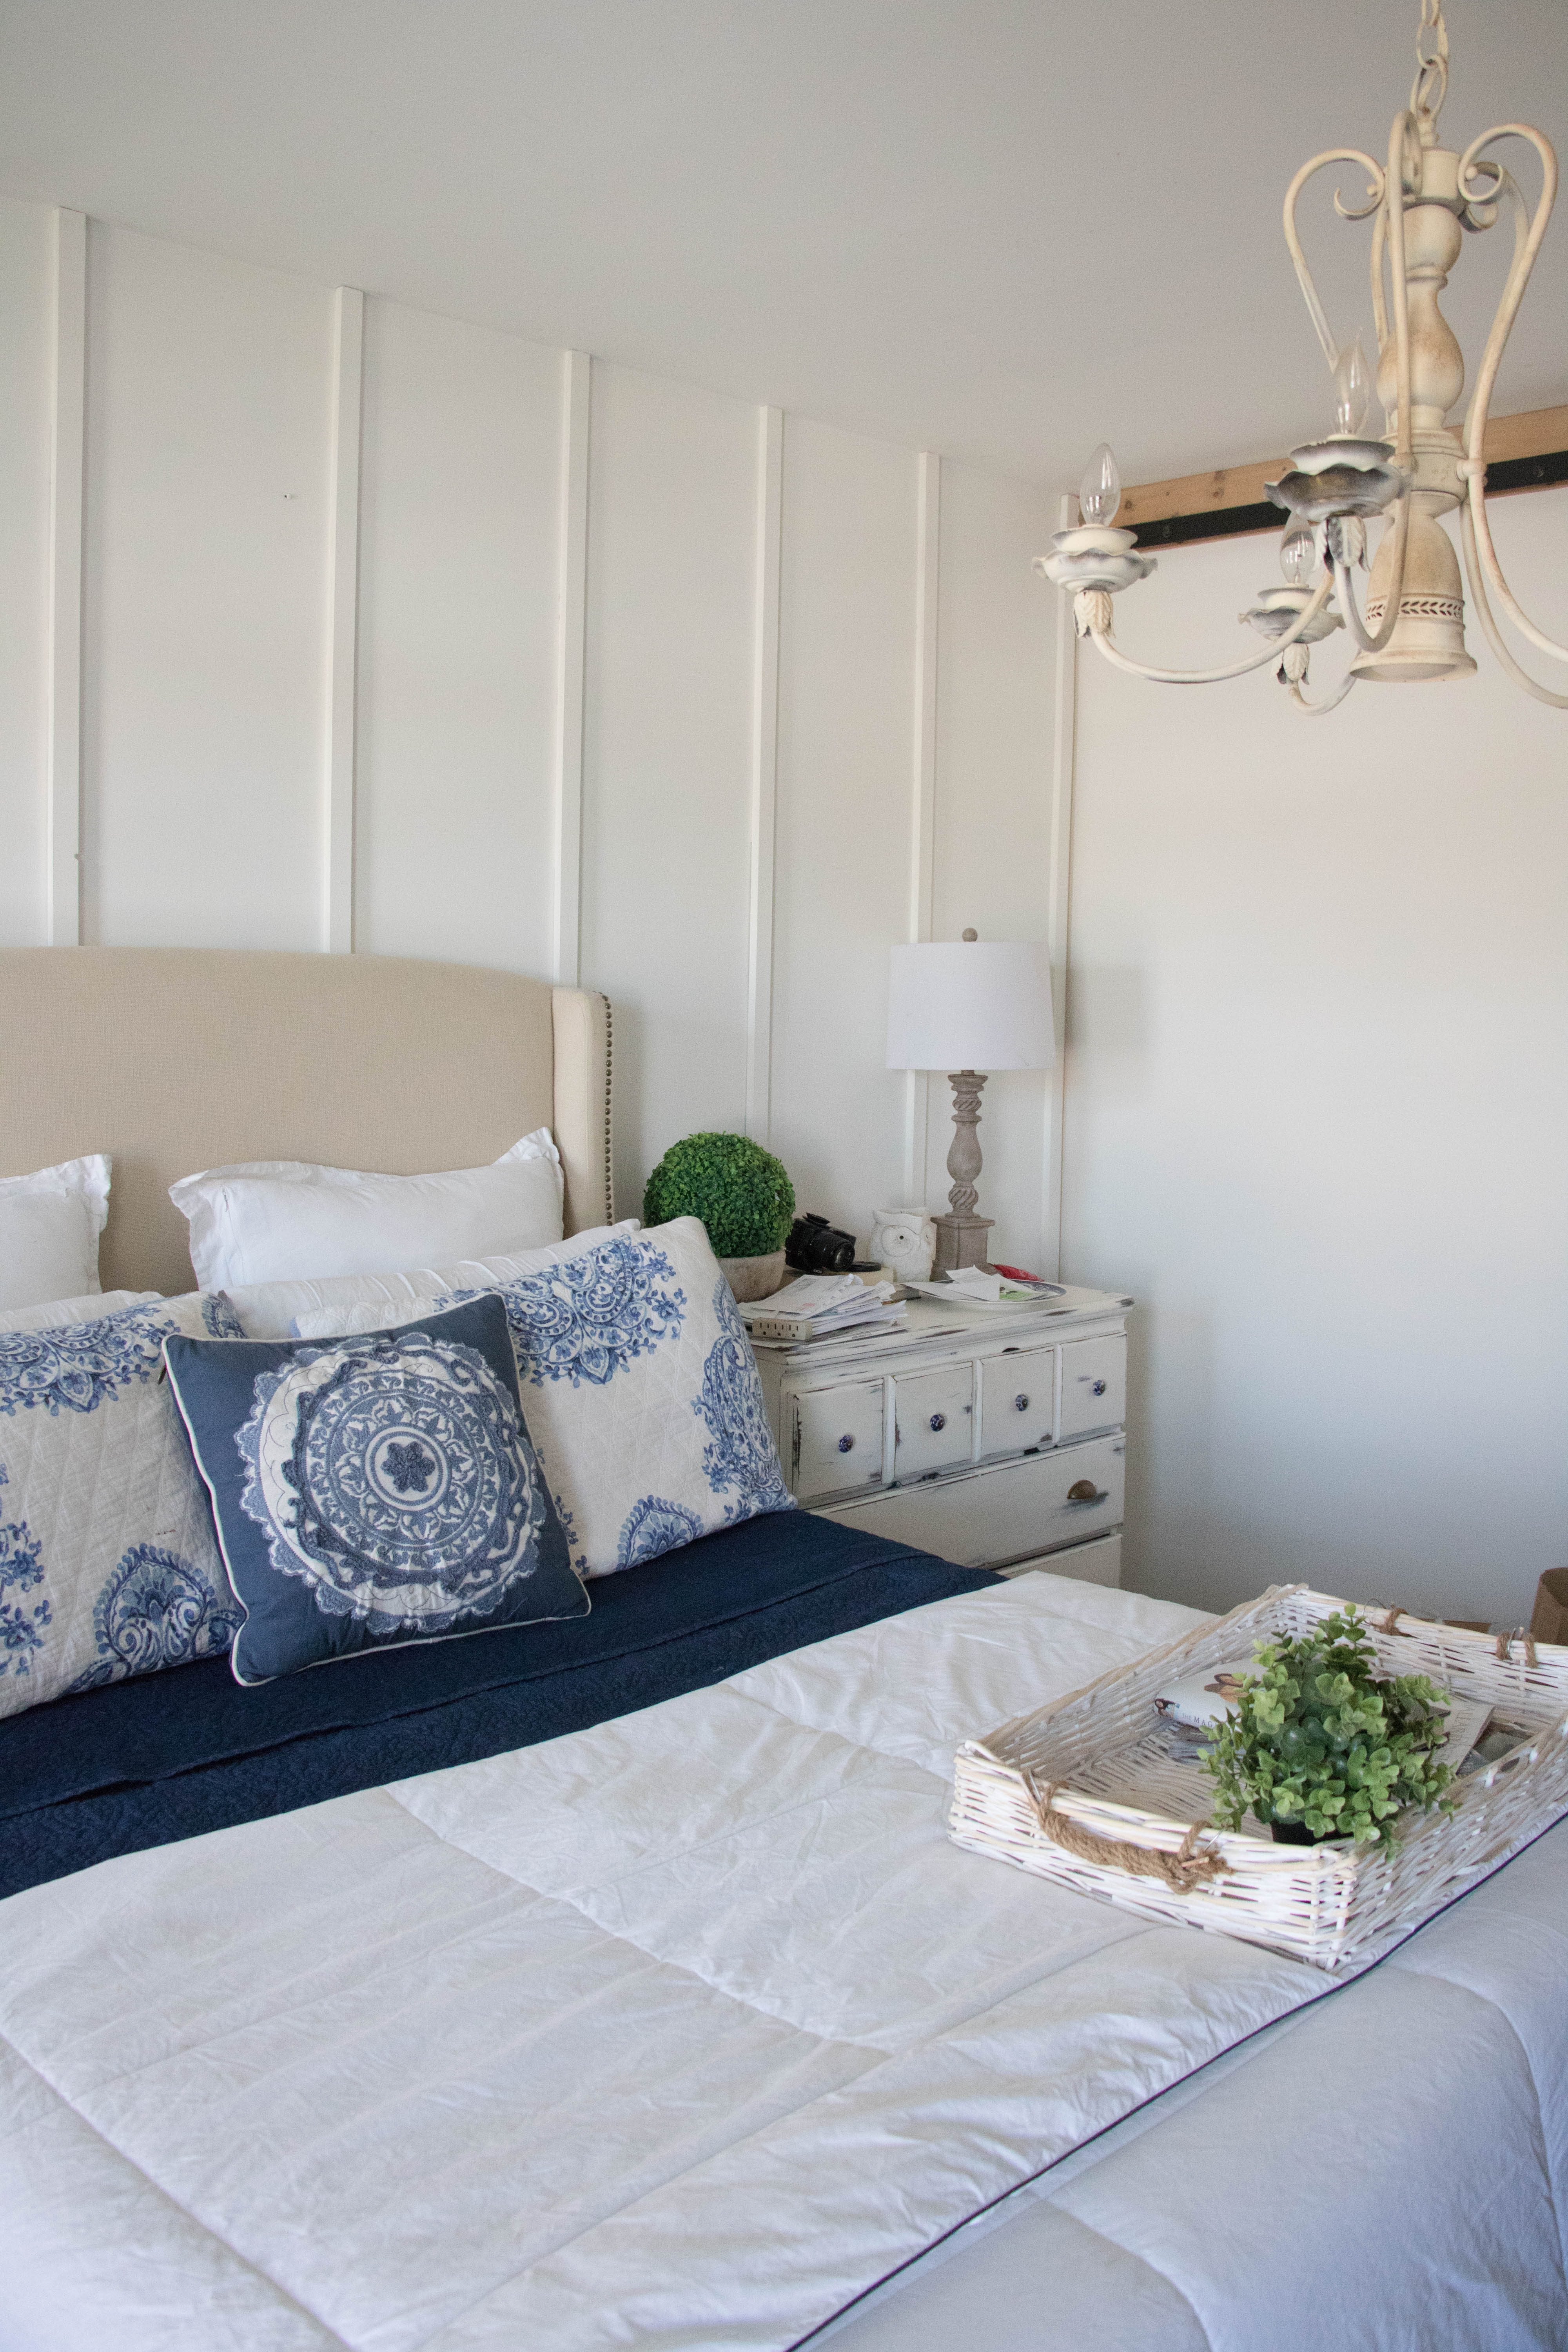
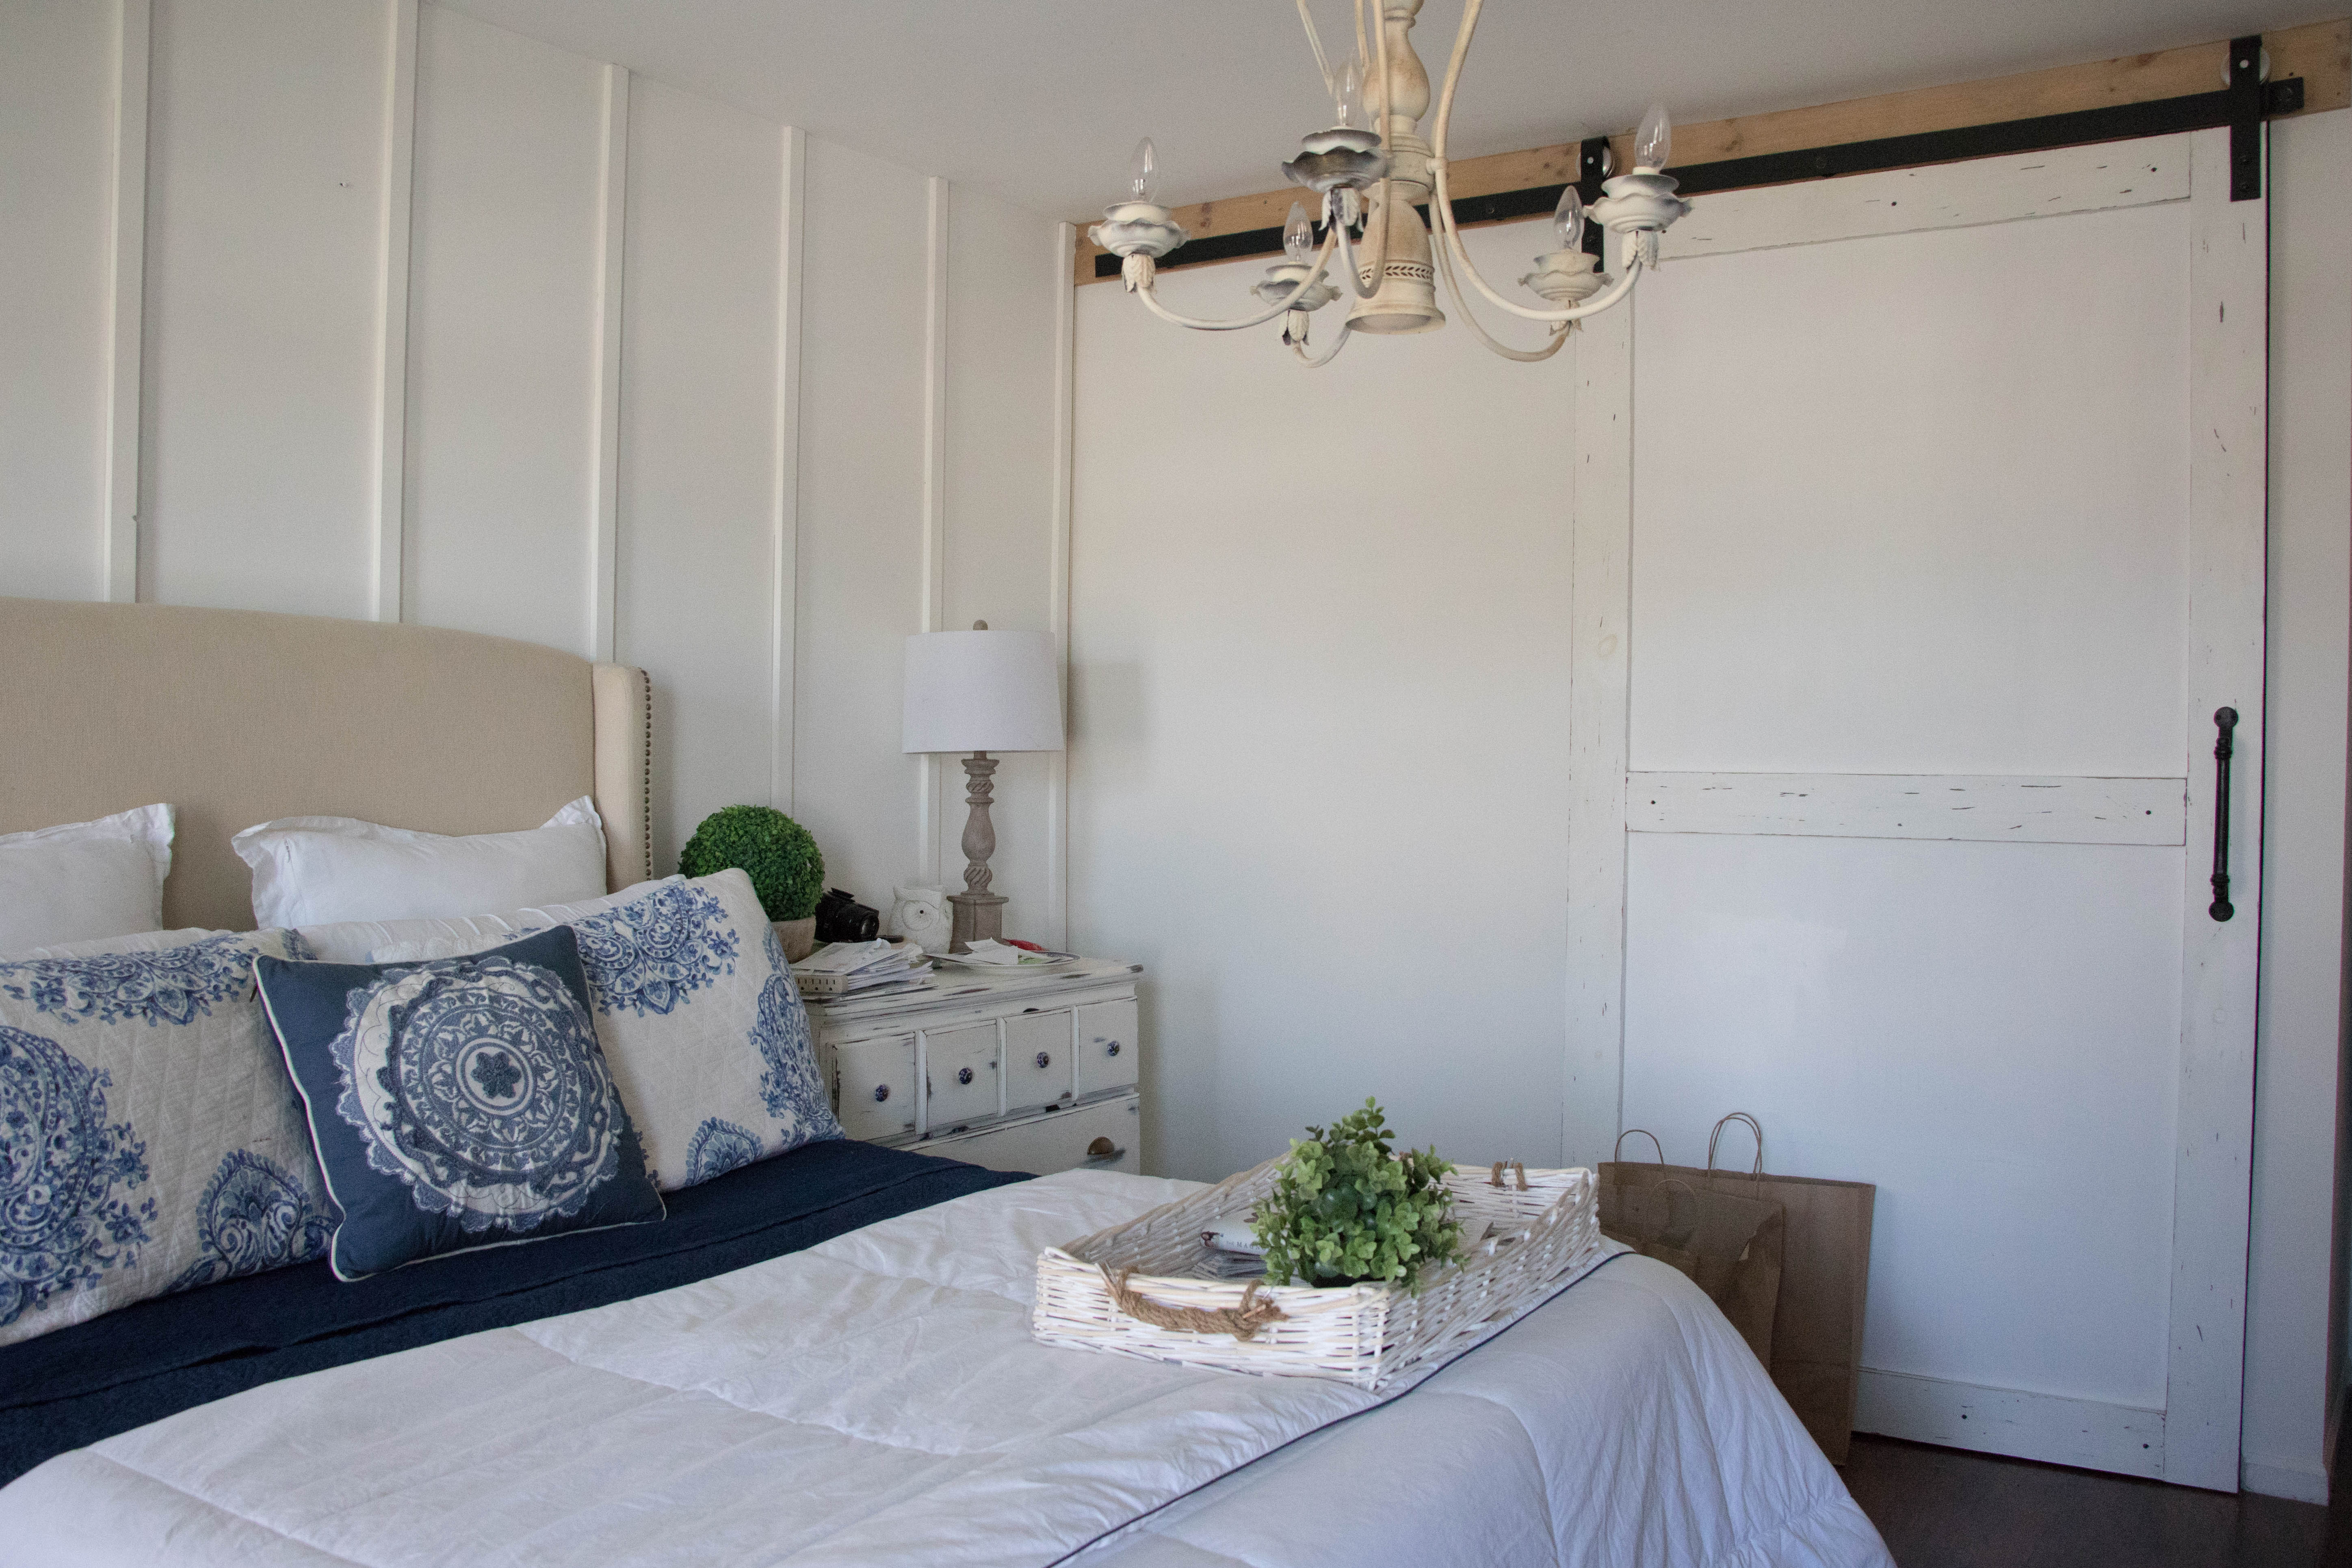
The color was Yarmouth Blue also by BM, but it felt too bright for the space. I wanted something that felt more soothing and that included doing more pops of blue in our bedroom with white walls. Of course white walls look the best with a little texture; such as shiplap, board and batten, or any kind of texture. So I immediately wanted to add some board and batten to add that texture and character. We chose just the one wall since it would not only be easier, but I did not want to close off the room too much either. Our room is a decent size, but we only have 8 ft ceilings and I was afraid to over crowd the space. The hubby was relieved that he was only going to have to install the one wall, since the original plan was to do the entire room. He surprised me on a weekend that I was working and I came home to the installed walls. Which were done with a floor to ceiling board and batten look.
Sorry bad cell phone picture… but I spy a cute little girl though!
To install:
1.5″ by 1″ plywood
Base: 3″ by 1″ plywood
Install, the base first, which will be your molding.
Then cut board and batten pieces to size
Mark out each placement of board and batten (we spaced ours by 16″ a part)
Pretty simple since it’s all straight cuts. This all together cost us around $45.
Once nailed into wall you can begin to caulk sides of batten and then paint once dry.
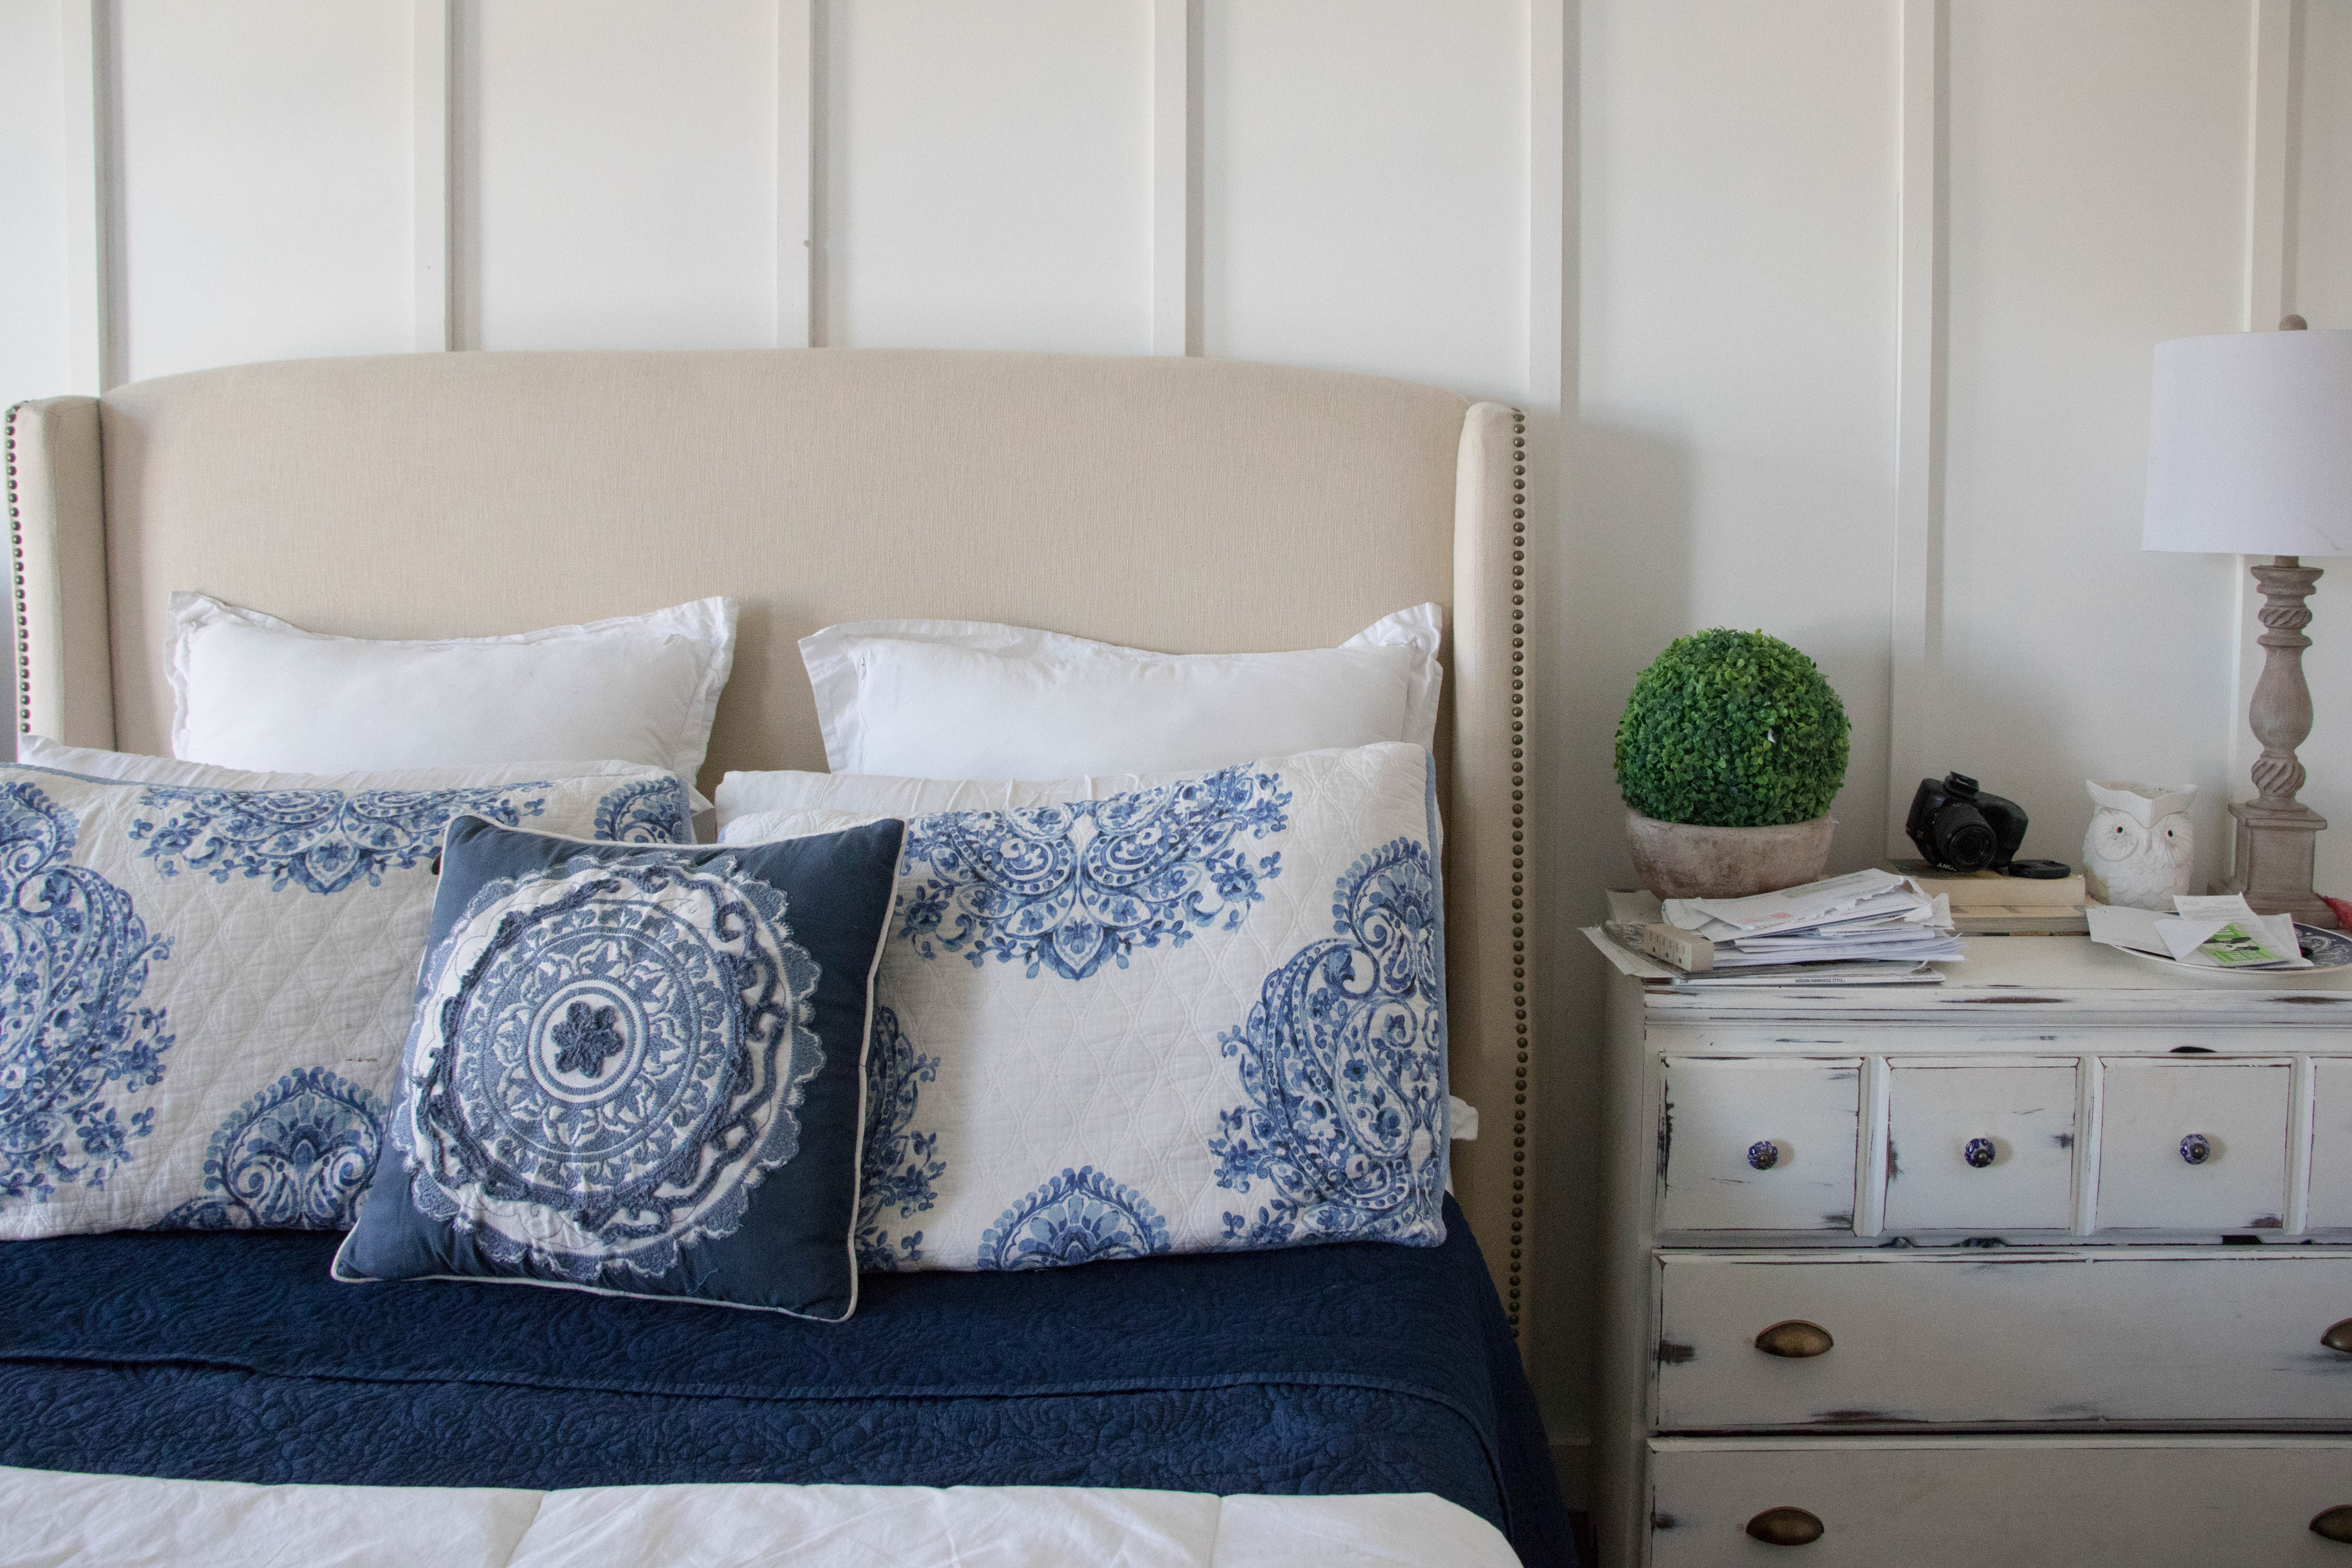
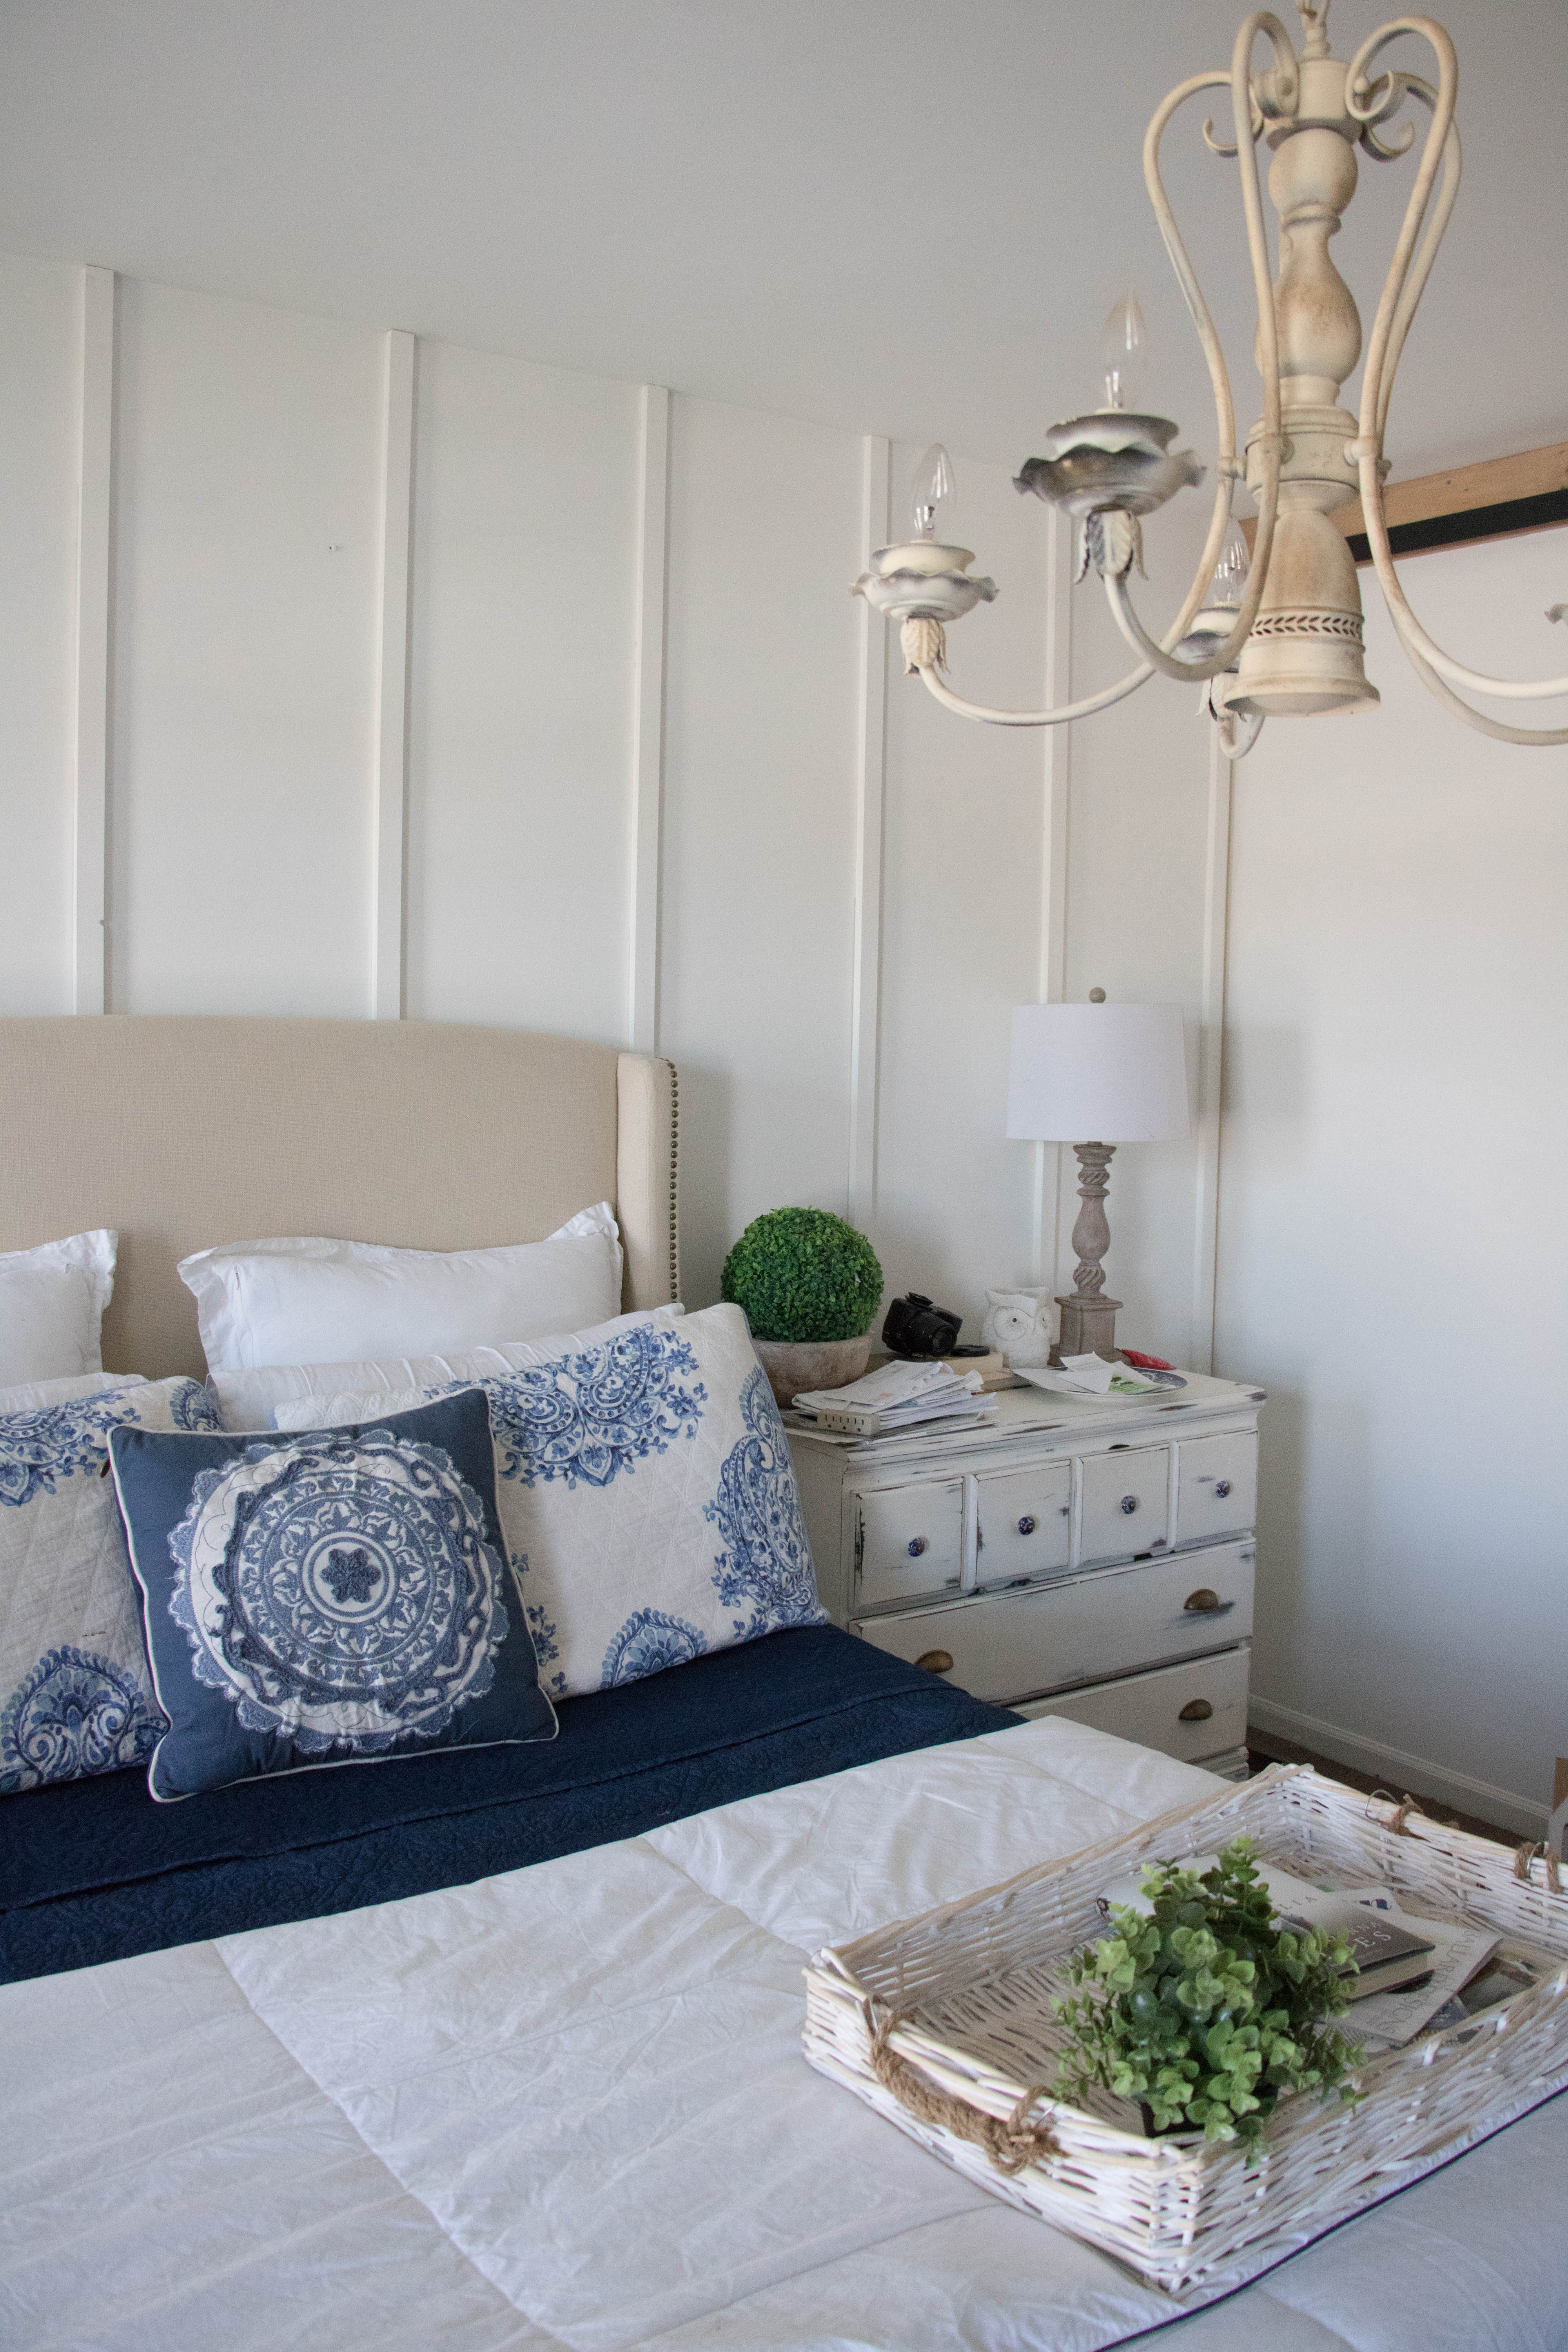
AFTER (don’t mind the mess)
Do you see how fresh it made the room already?
tip: we chose not to do a molding around the top of the wall, since our ceilings are only 8ft. We did not want to make the room appear shorter. If you choose to do the top molding then make sure to cut wood to fit between both bottom and top molding.
Can’t wait to share more next week…we are currently assembling our new light fixture right now : )
Thank you to the Brands that Help Make the ORC Possible
PLEASE STAY A WHILE





LOVE it!!!
Thanks so much Kristi!
This looks amazing. I love the headboard and that chandelier too!
Roxanne recently posted…Easter Cupcakes
Thanks so much Roxanne! I can’t wait til you see my new chandelier…we hung it last night and I’m so excited!
That looks so cool! It’s amazing how much it does to the room, too!
Thanks so much Andi, It really does change the look and feel of the room.
That looks so gorgeous, love it!
Thanks so much Debby!
It looks fantastic! So much brighter 🙂 I did board and batten in a grid pattern in our master and it’s one of my favorite things in the room!
Thanks Angela! Yes, it really becomes such a great focal piece and adds just the right amount of character.
Deb! I love that board and batten! And what a cutie your sweet girl is! So excited to be doing the ORC with you! Following along for sure!
oh yea lol my kids love watching us do projects haha. Thanks sweet friend!