

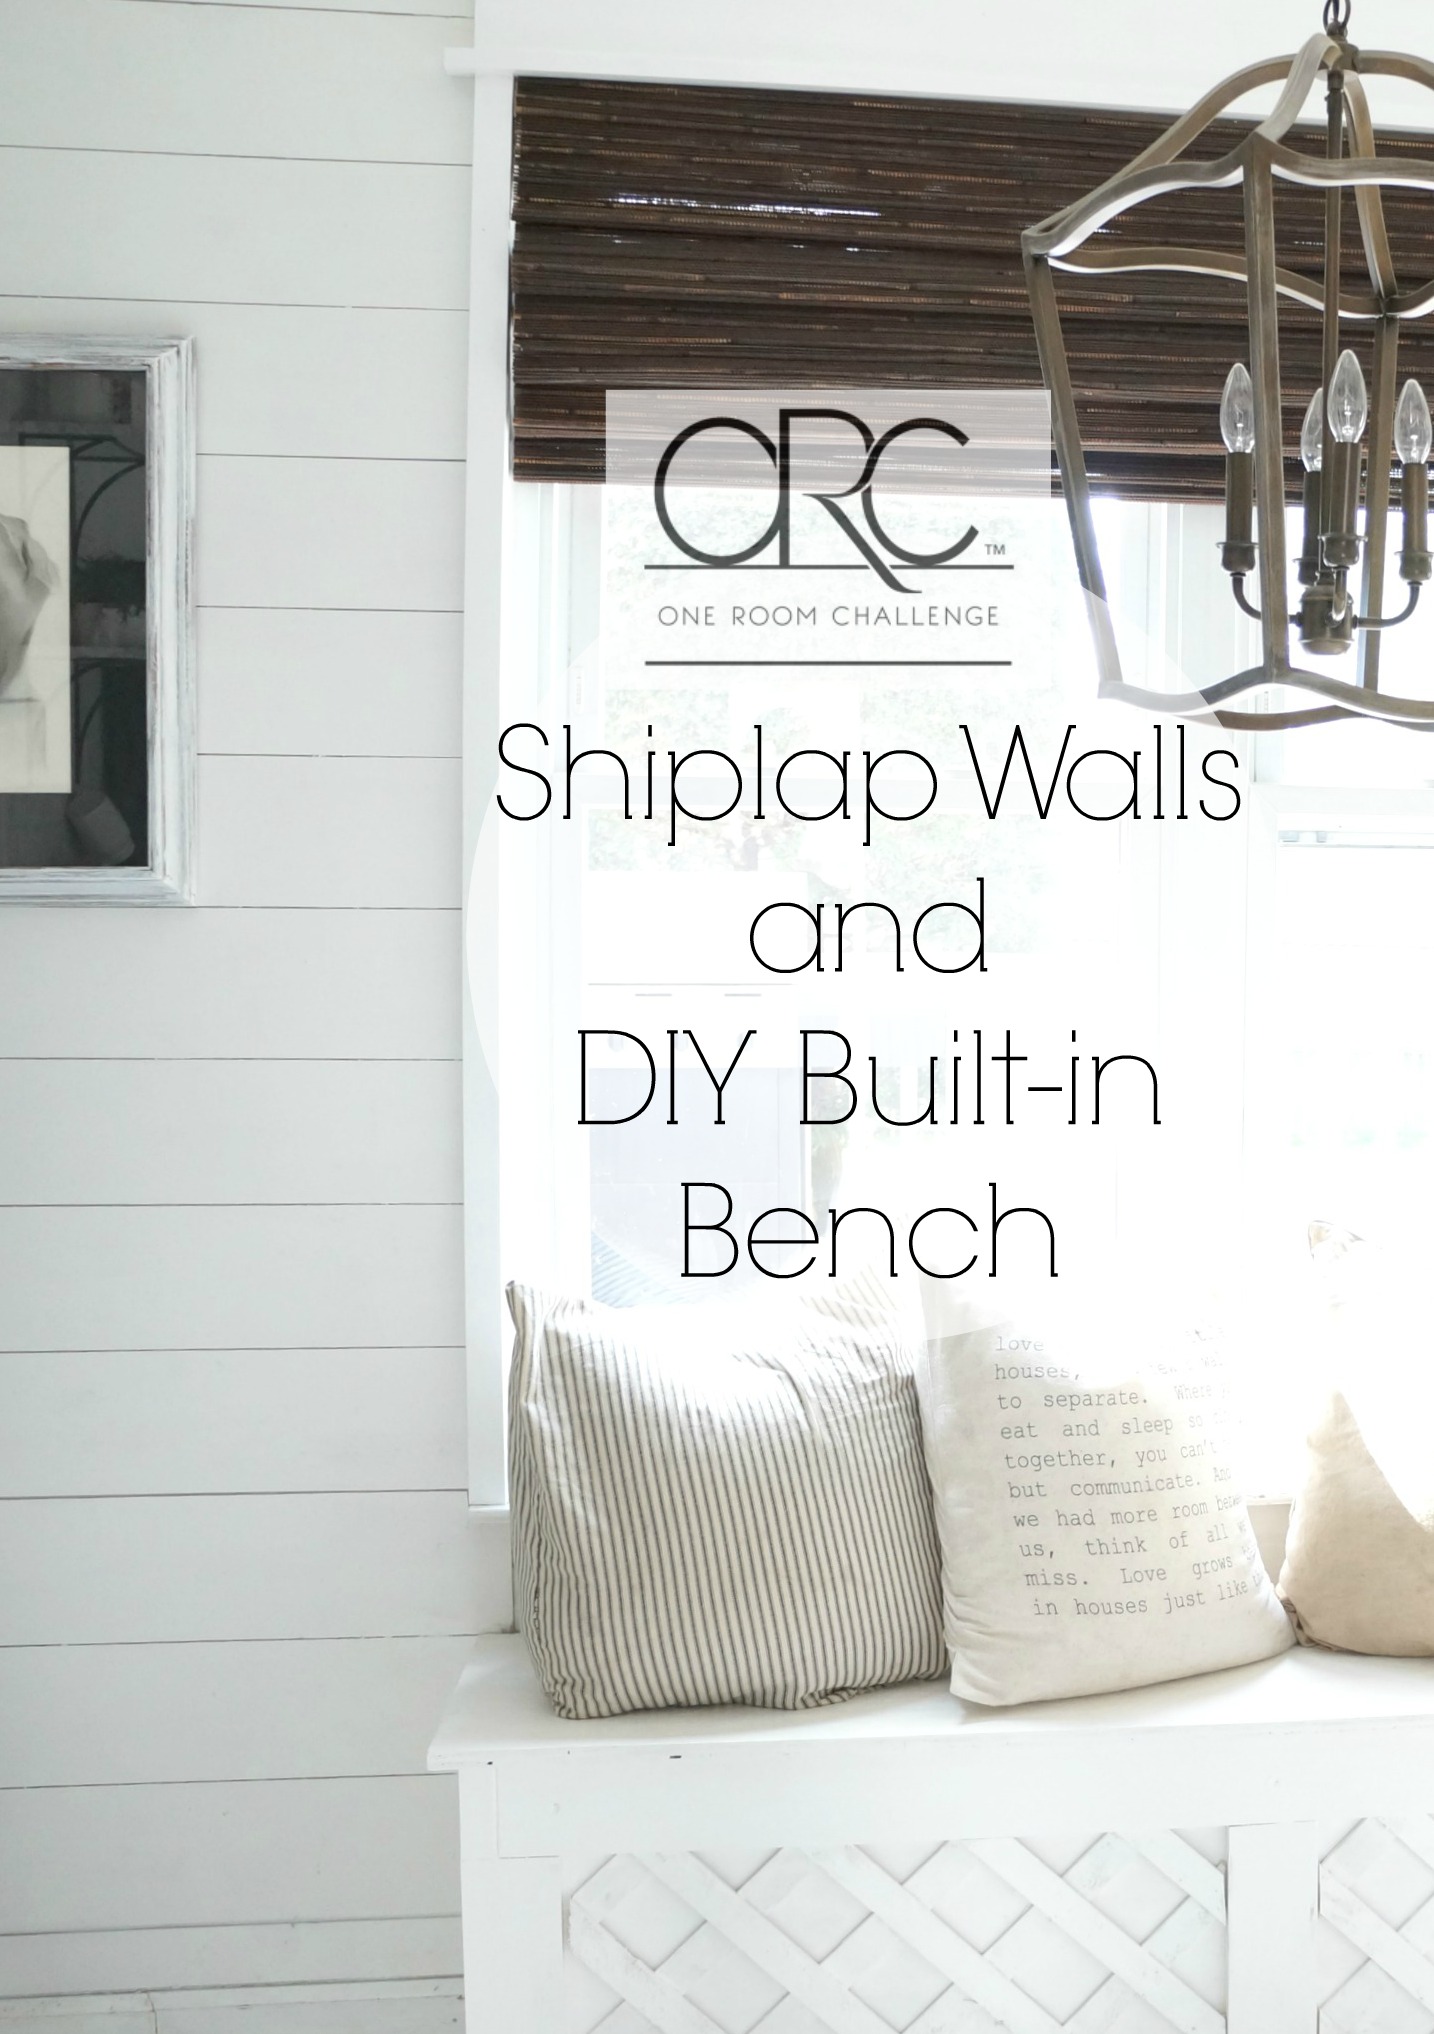

Charcter can be hard to find if you don’t buy an older home. Having an older home is not always practical for every family. It requires some more work then a newer home and may not always be in a desirable family neighborhood. My home has no character AT All! It’s a 1980’s home with as little charm as you can find. So adding charm has been a must for me…especially since I love older homes and farmhouse style. So we’ve been adding character to our kitchen and this week I’m sharing how to add shiplap and a DIY built in bench.
If you’ve been here a while you know that we have the “shiplap” or as I called it “plank-wall” in our front entrance. It’s honestly one of my favorite projects to date (I think I say that about everything), but it truly is. It made such an impact in our front entrance, and it has been so functional as well. So since then I’ve been craving more shiplap (since that’s what we call it now) and the Kitchen has been calling for some, for a very long time. It was just a matter of convincing the hubby to help me out and so when this room’s makeover was in the plans that shiplap wall was at the top of the list.
So, after reading through a few tutorials we kind of knew where we were going with this and for sure wanted to try a wider size for this wall. I didn’t want to go so narrow as I had with the other wall and using a 1/4″ thick plywood cut down to 6″ wide pieces seemed like the best solution.
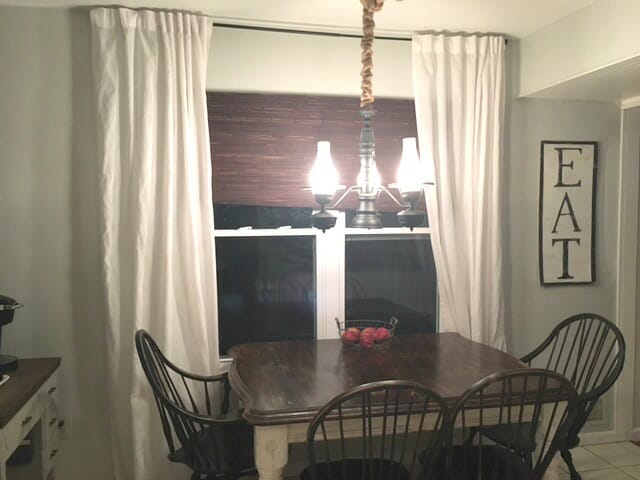
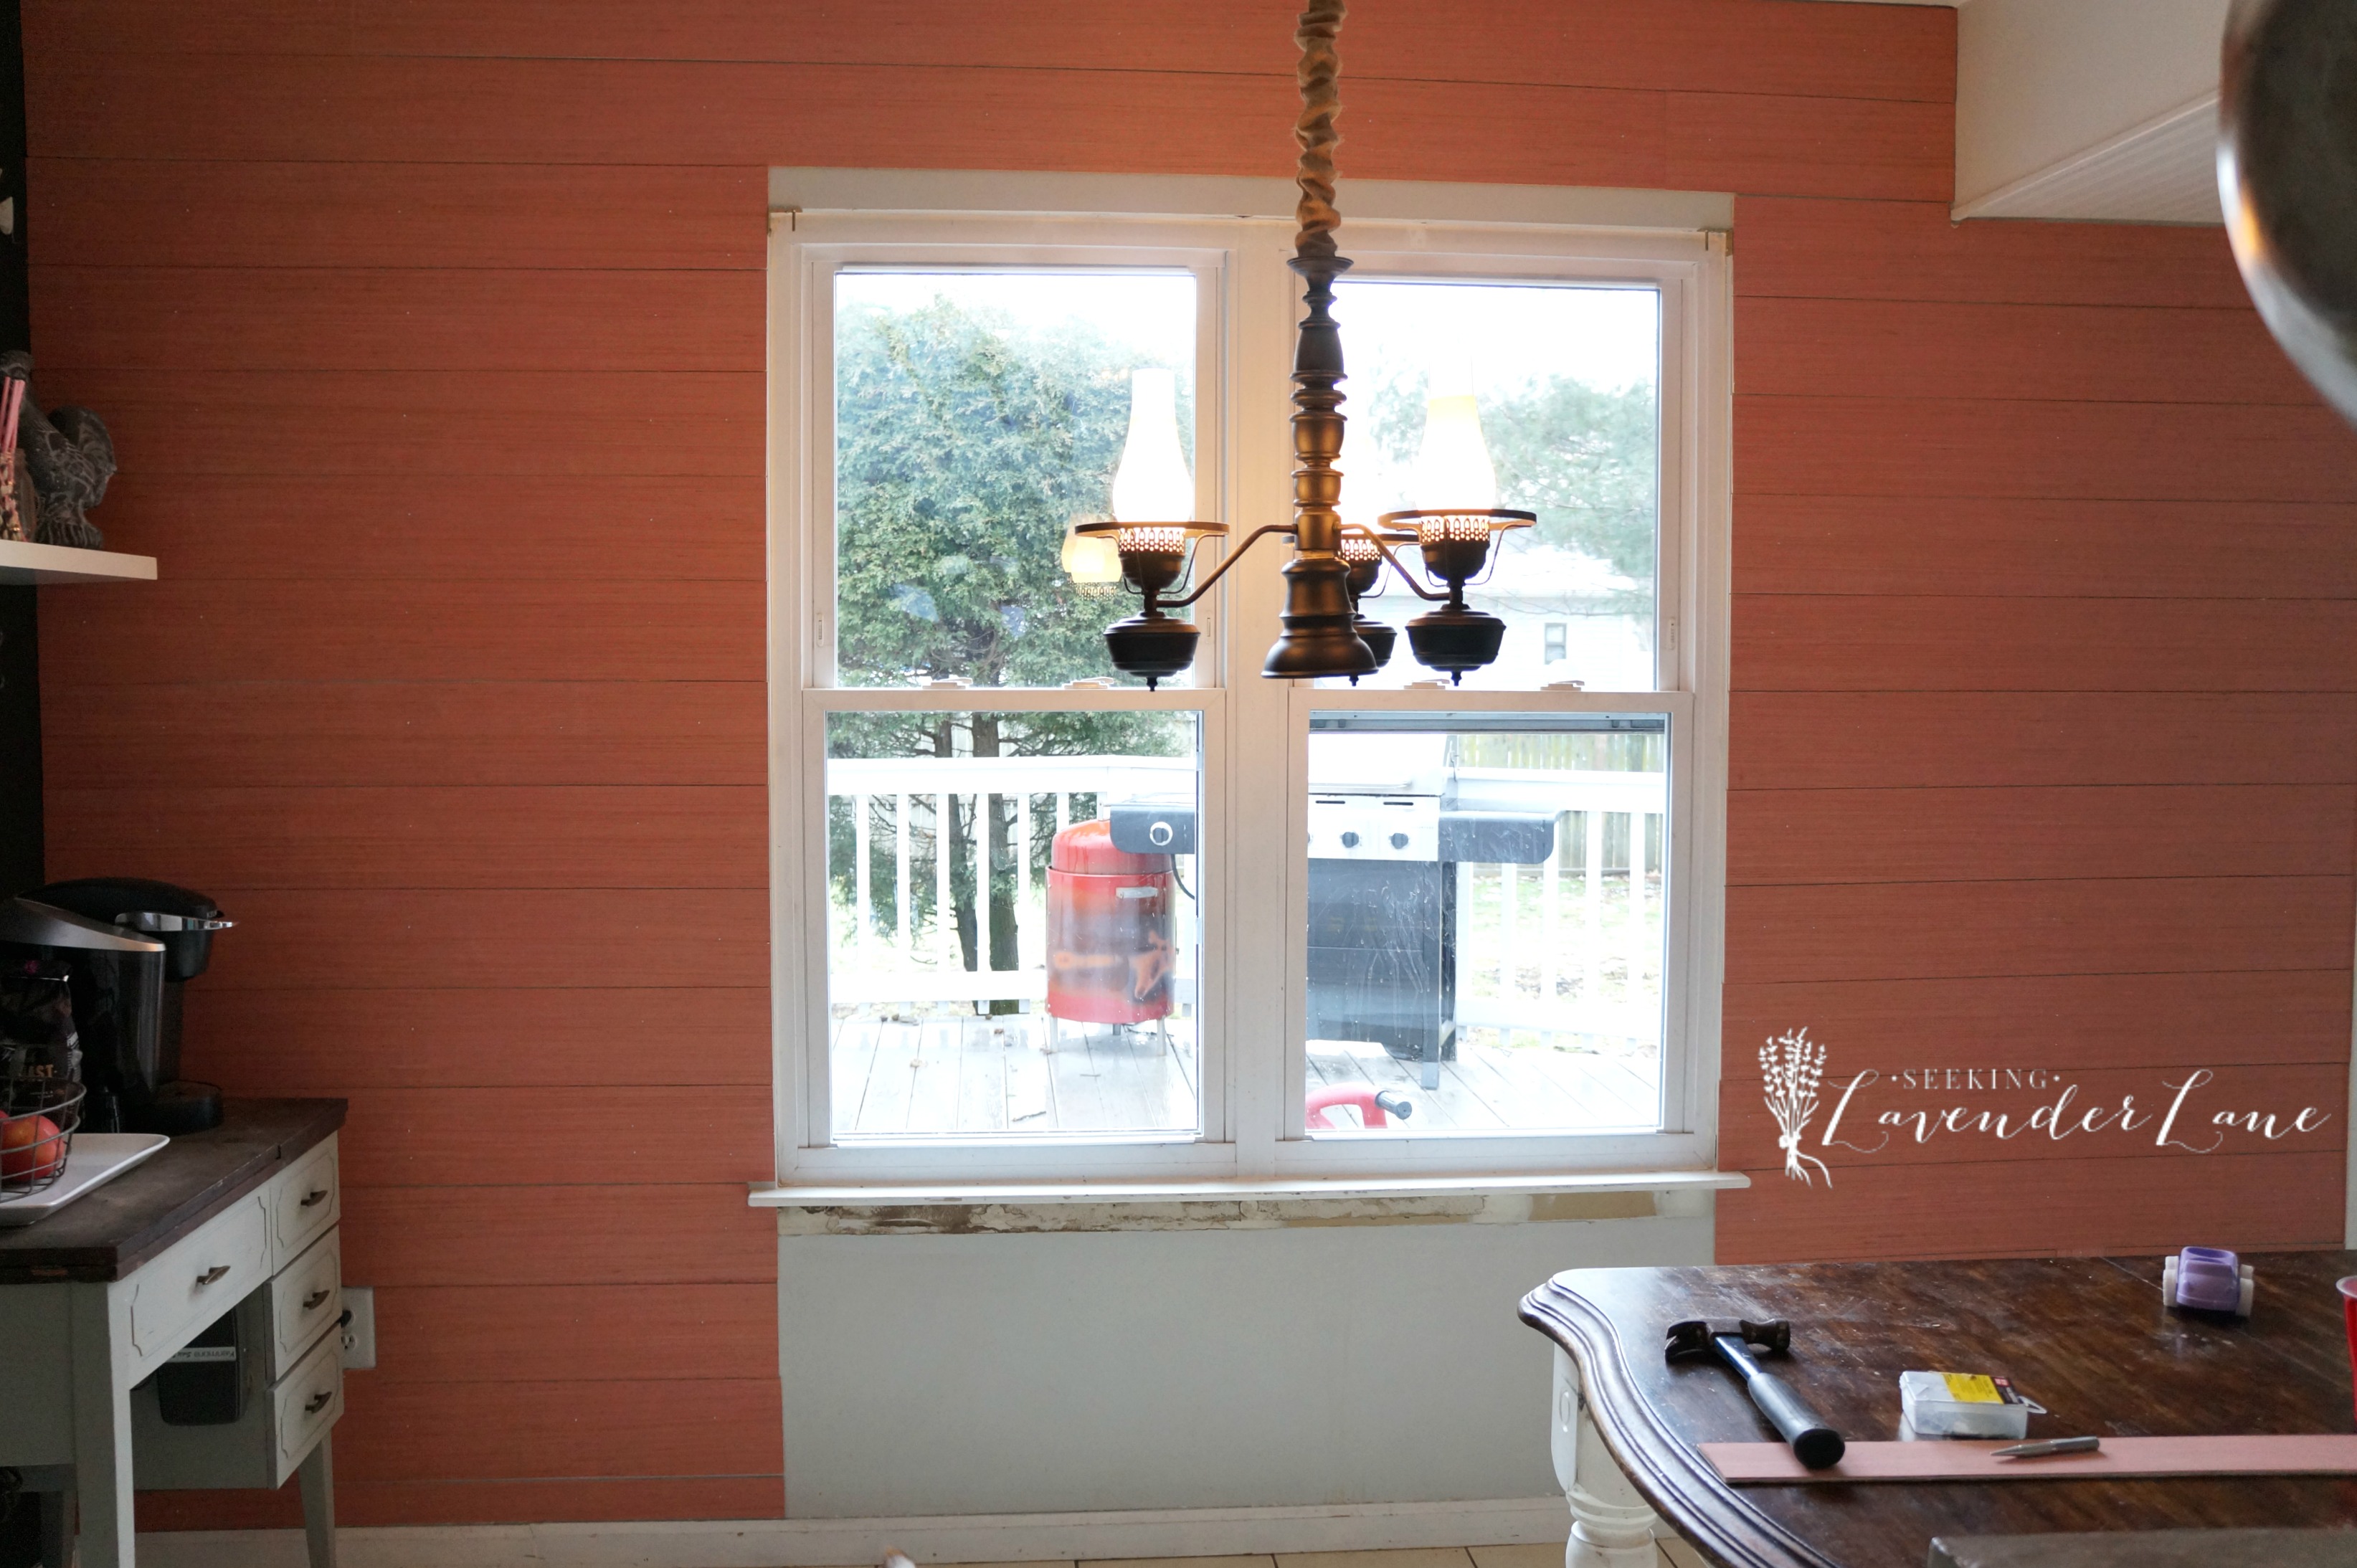
HERE IS THE BEFORE (okay I know it’s a lot worse because it’s a night shot)
STEP 1: Remove Curtains and window molding.
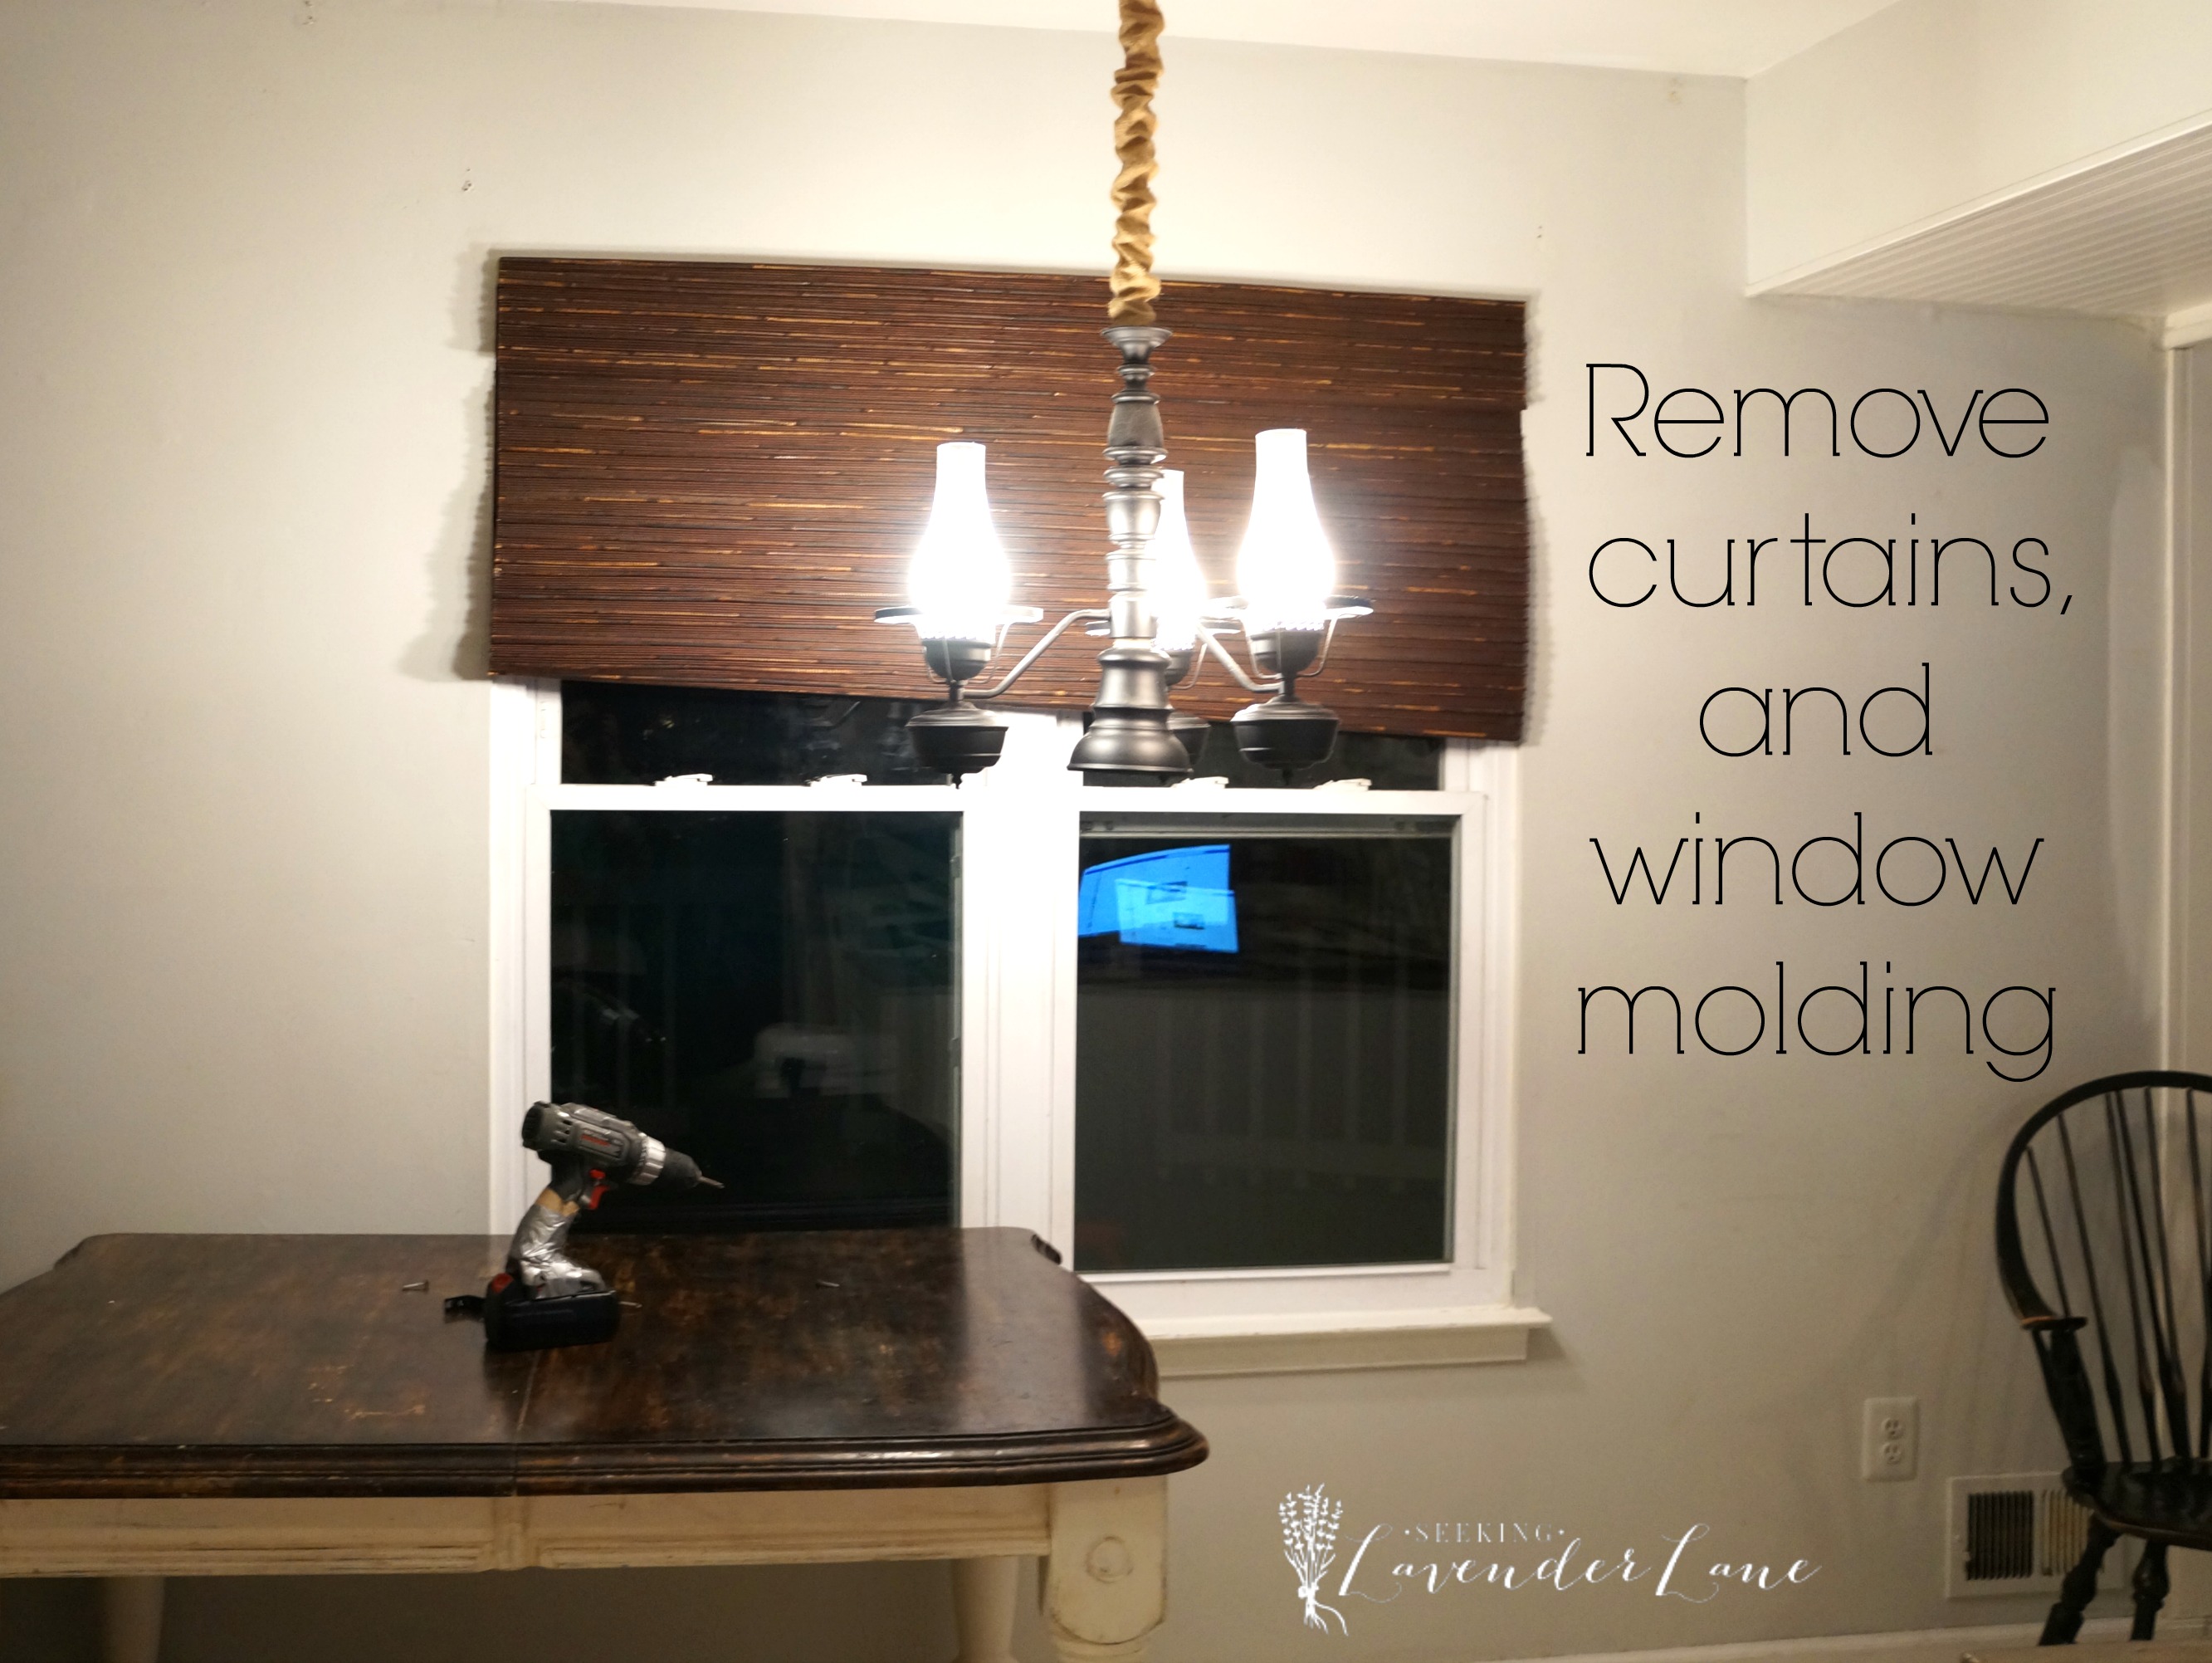
STEP 2: Cut 6″ Strips of 1/4″ plywood. We had Lowes cut some down for us, but be careful because they are not always so consistent with their cuts. We ended up cutting more at home.

STEP 3: We had it easy since both sides of the window were the same size. The hubby cut those to size, and I installed. This is when a nail gun would come in handy…but since we don’t have one I stuck with the old fashion hammer and nails.
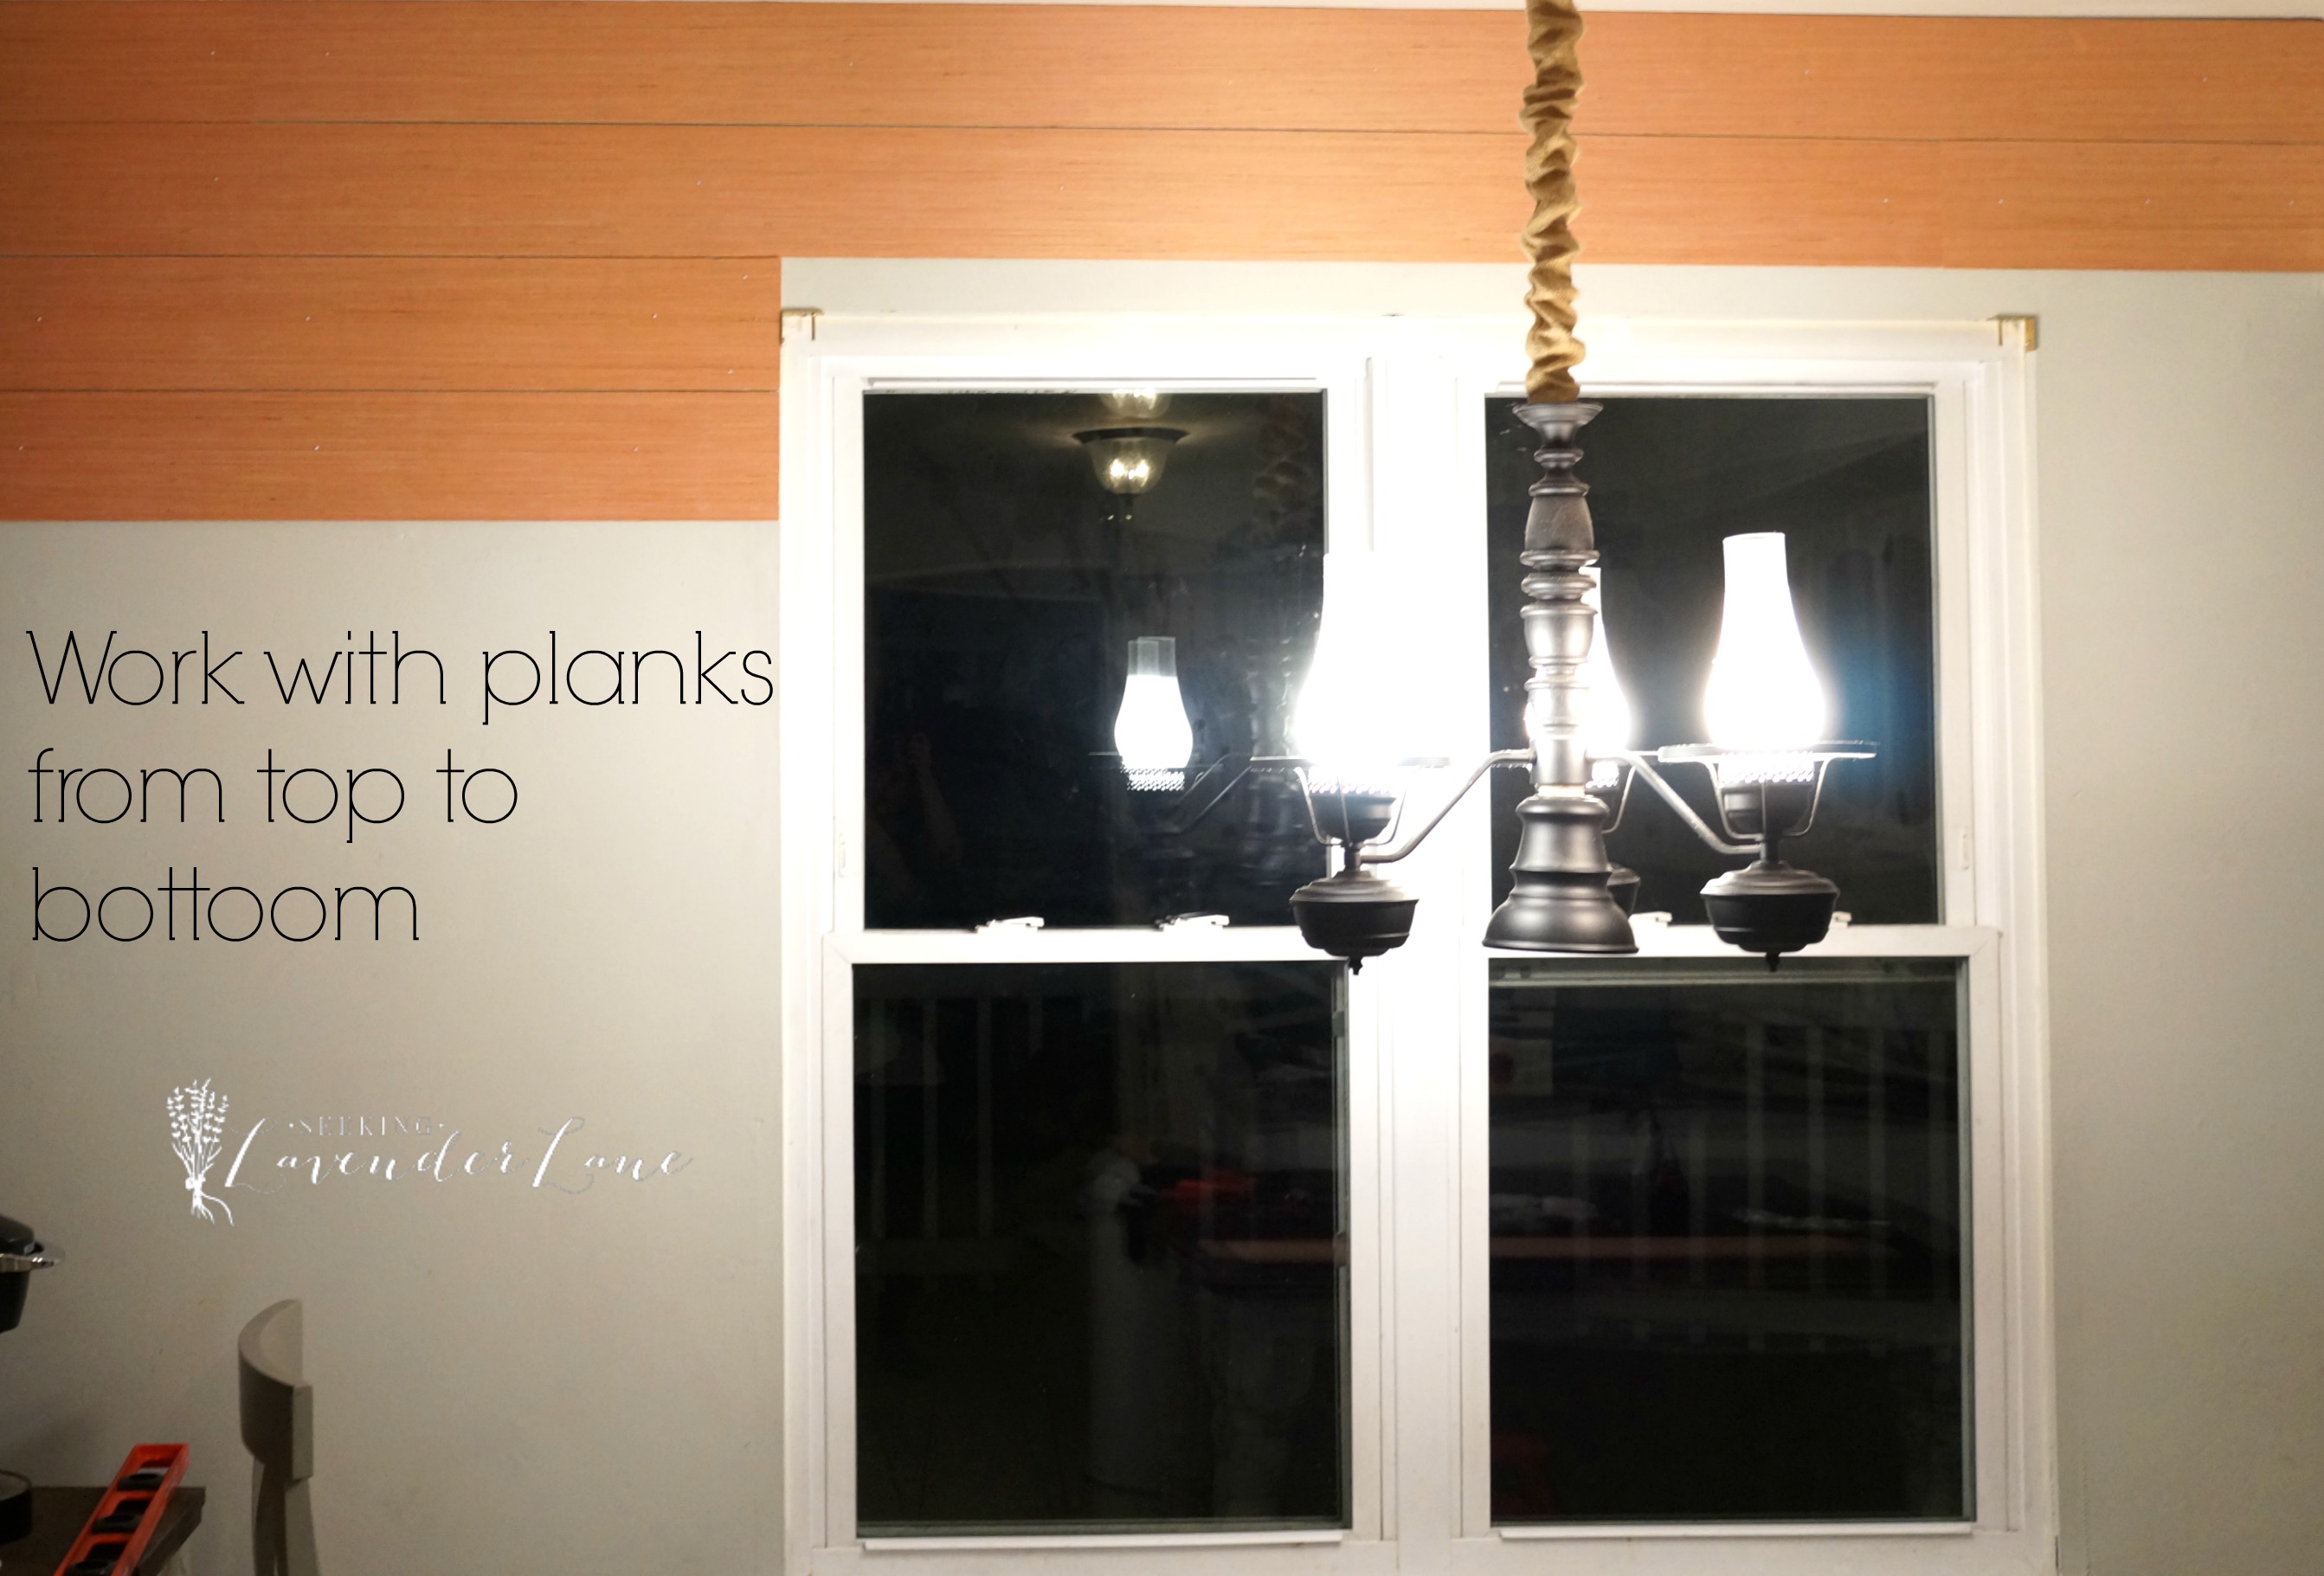
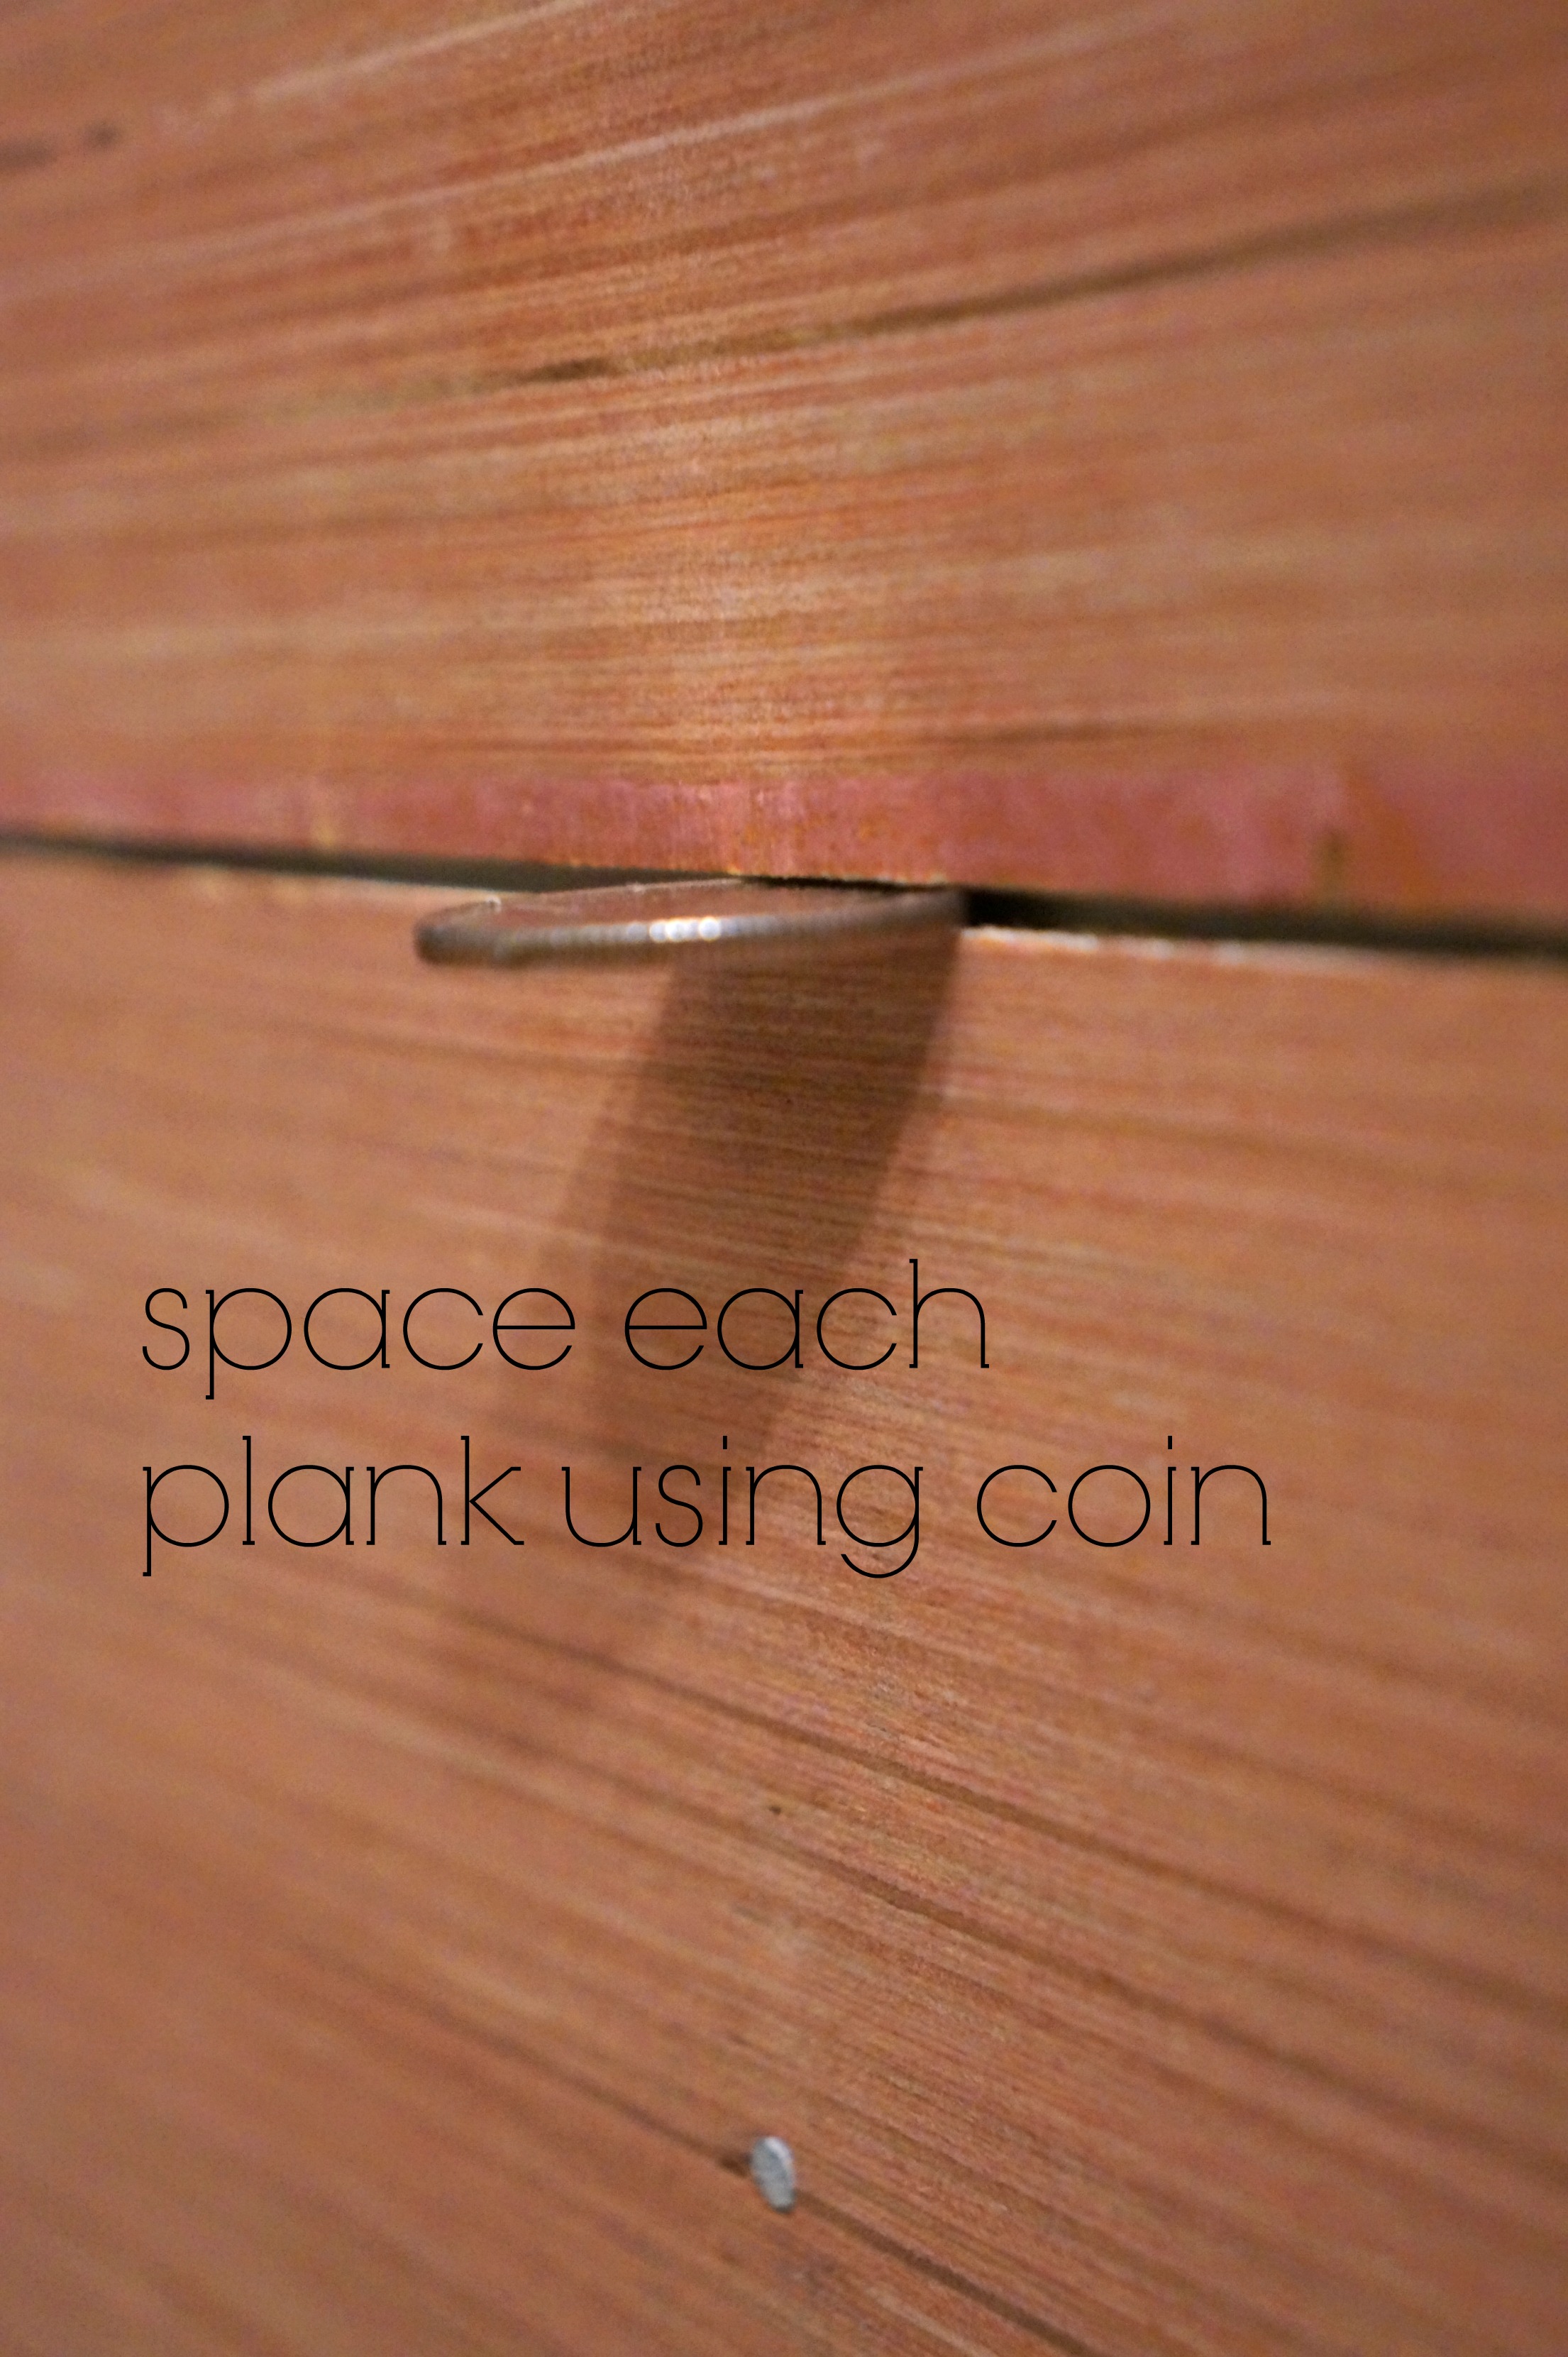
STEP 4: Be Sure to space each plank with a few coins in between. This helps to keep the gap the same all around.
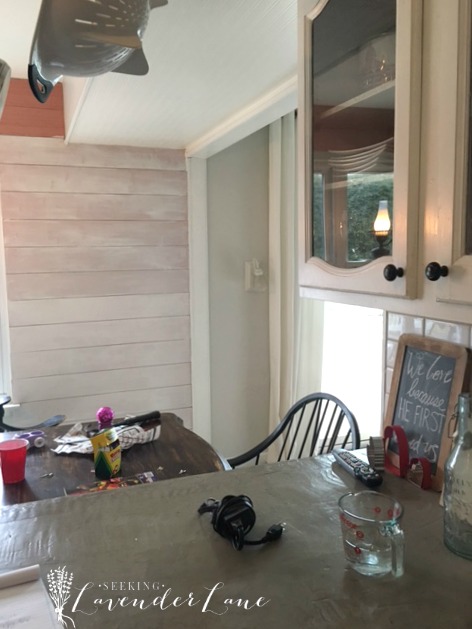
This is how the wall looked the next day. Now, we kept the bottom blank because part 2 of this post you will see that we actually added something here ; )
Time to paint! It took about two coats for the Sherwin Williams HGTV Pure White to cover the planks.
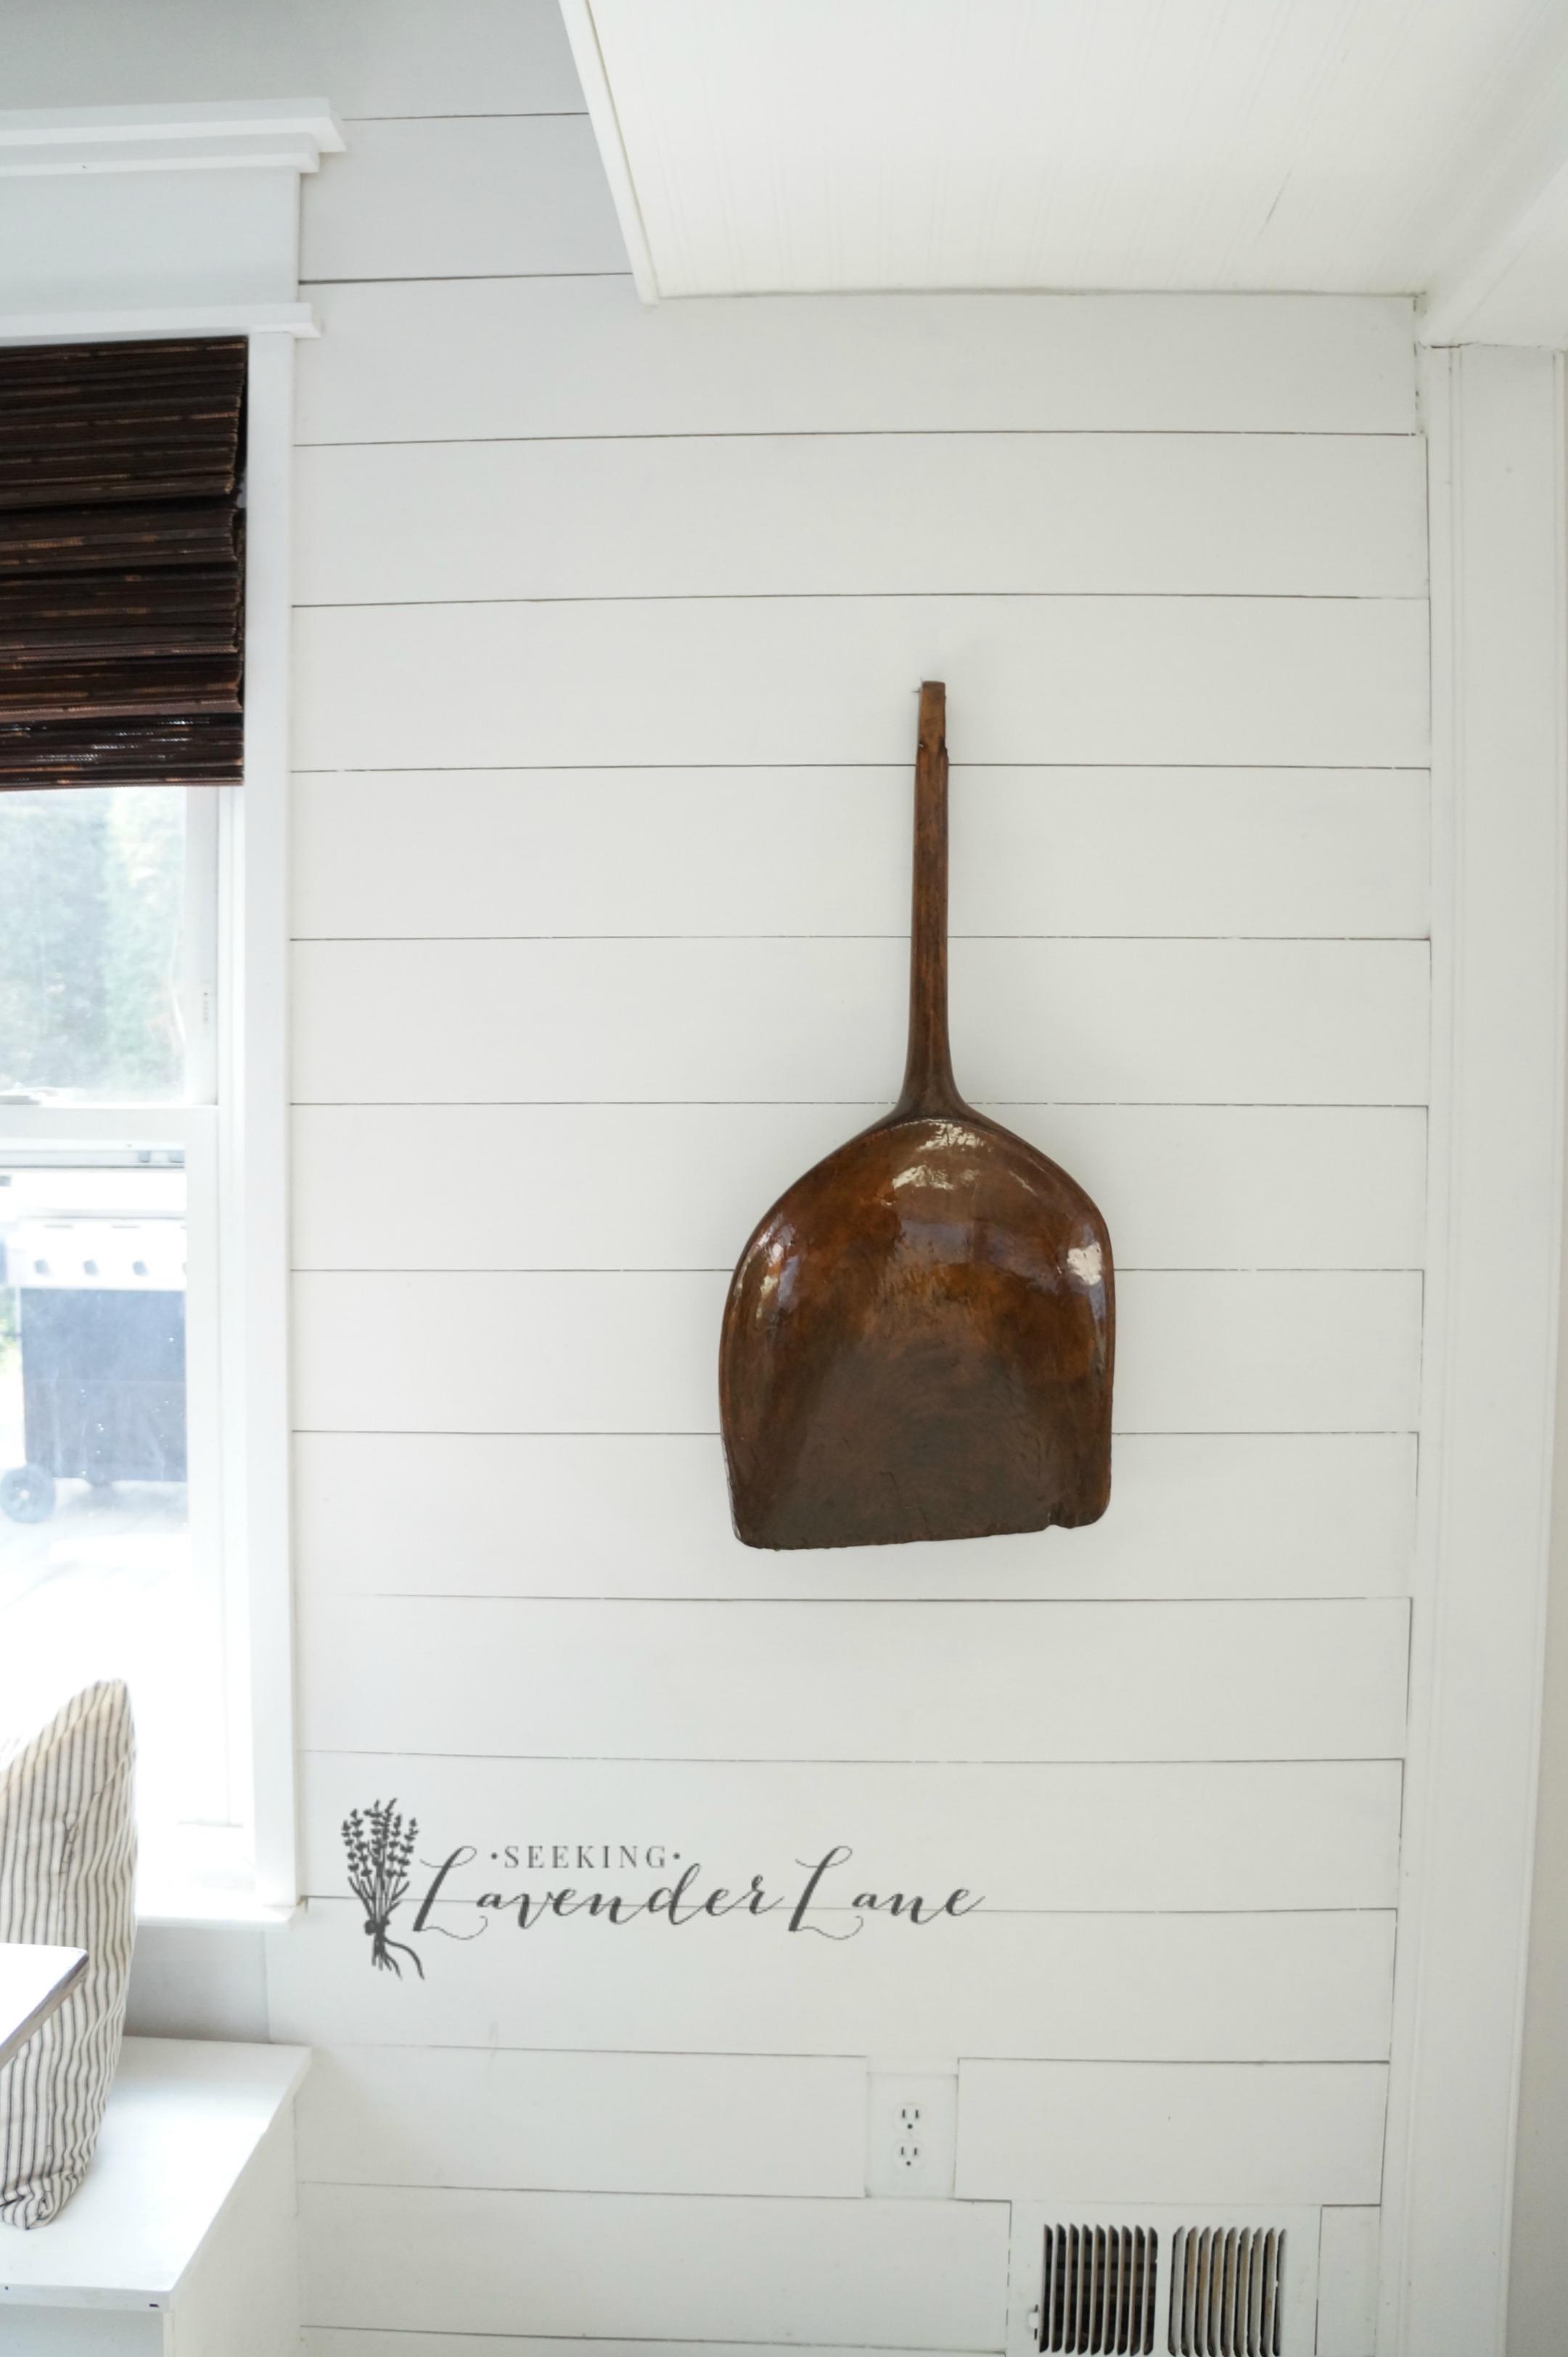
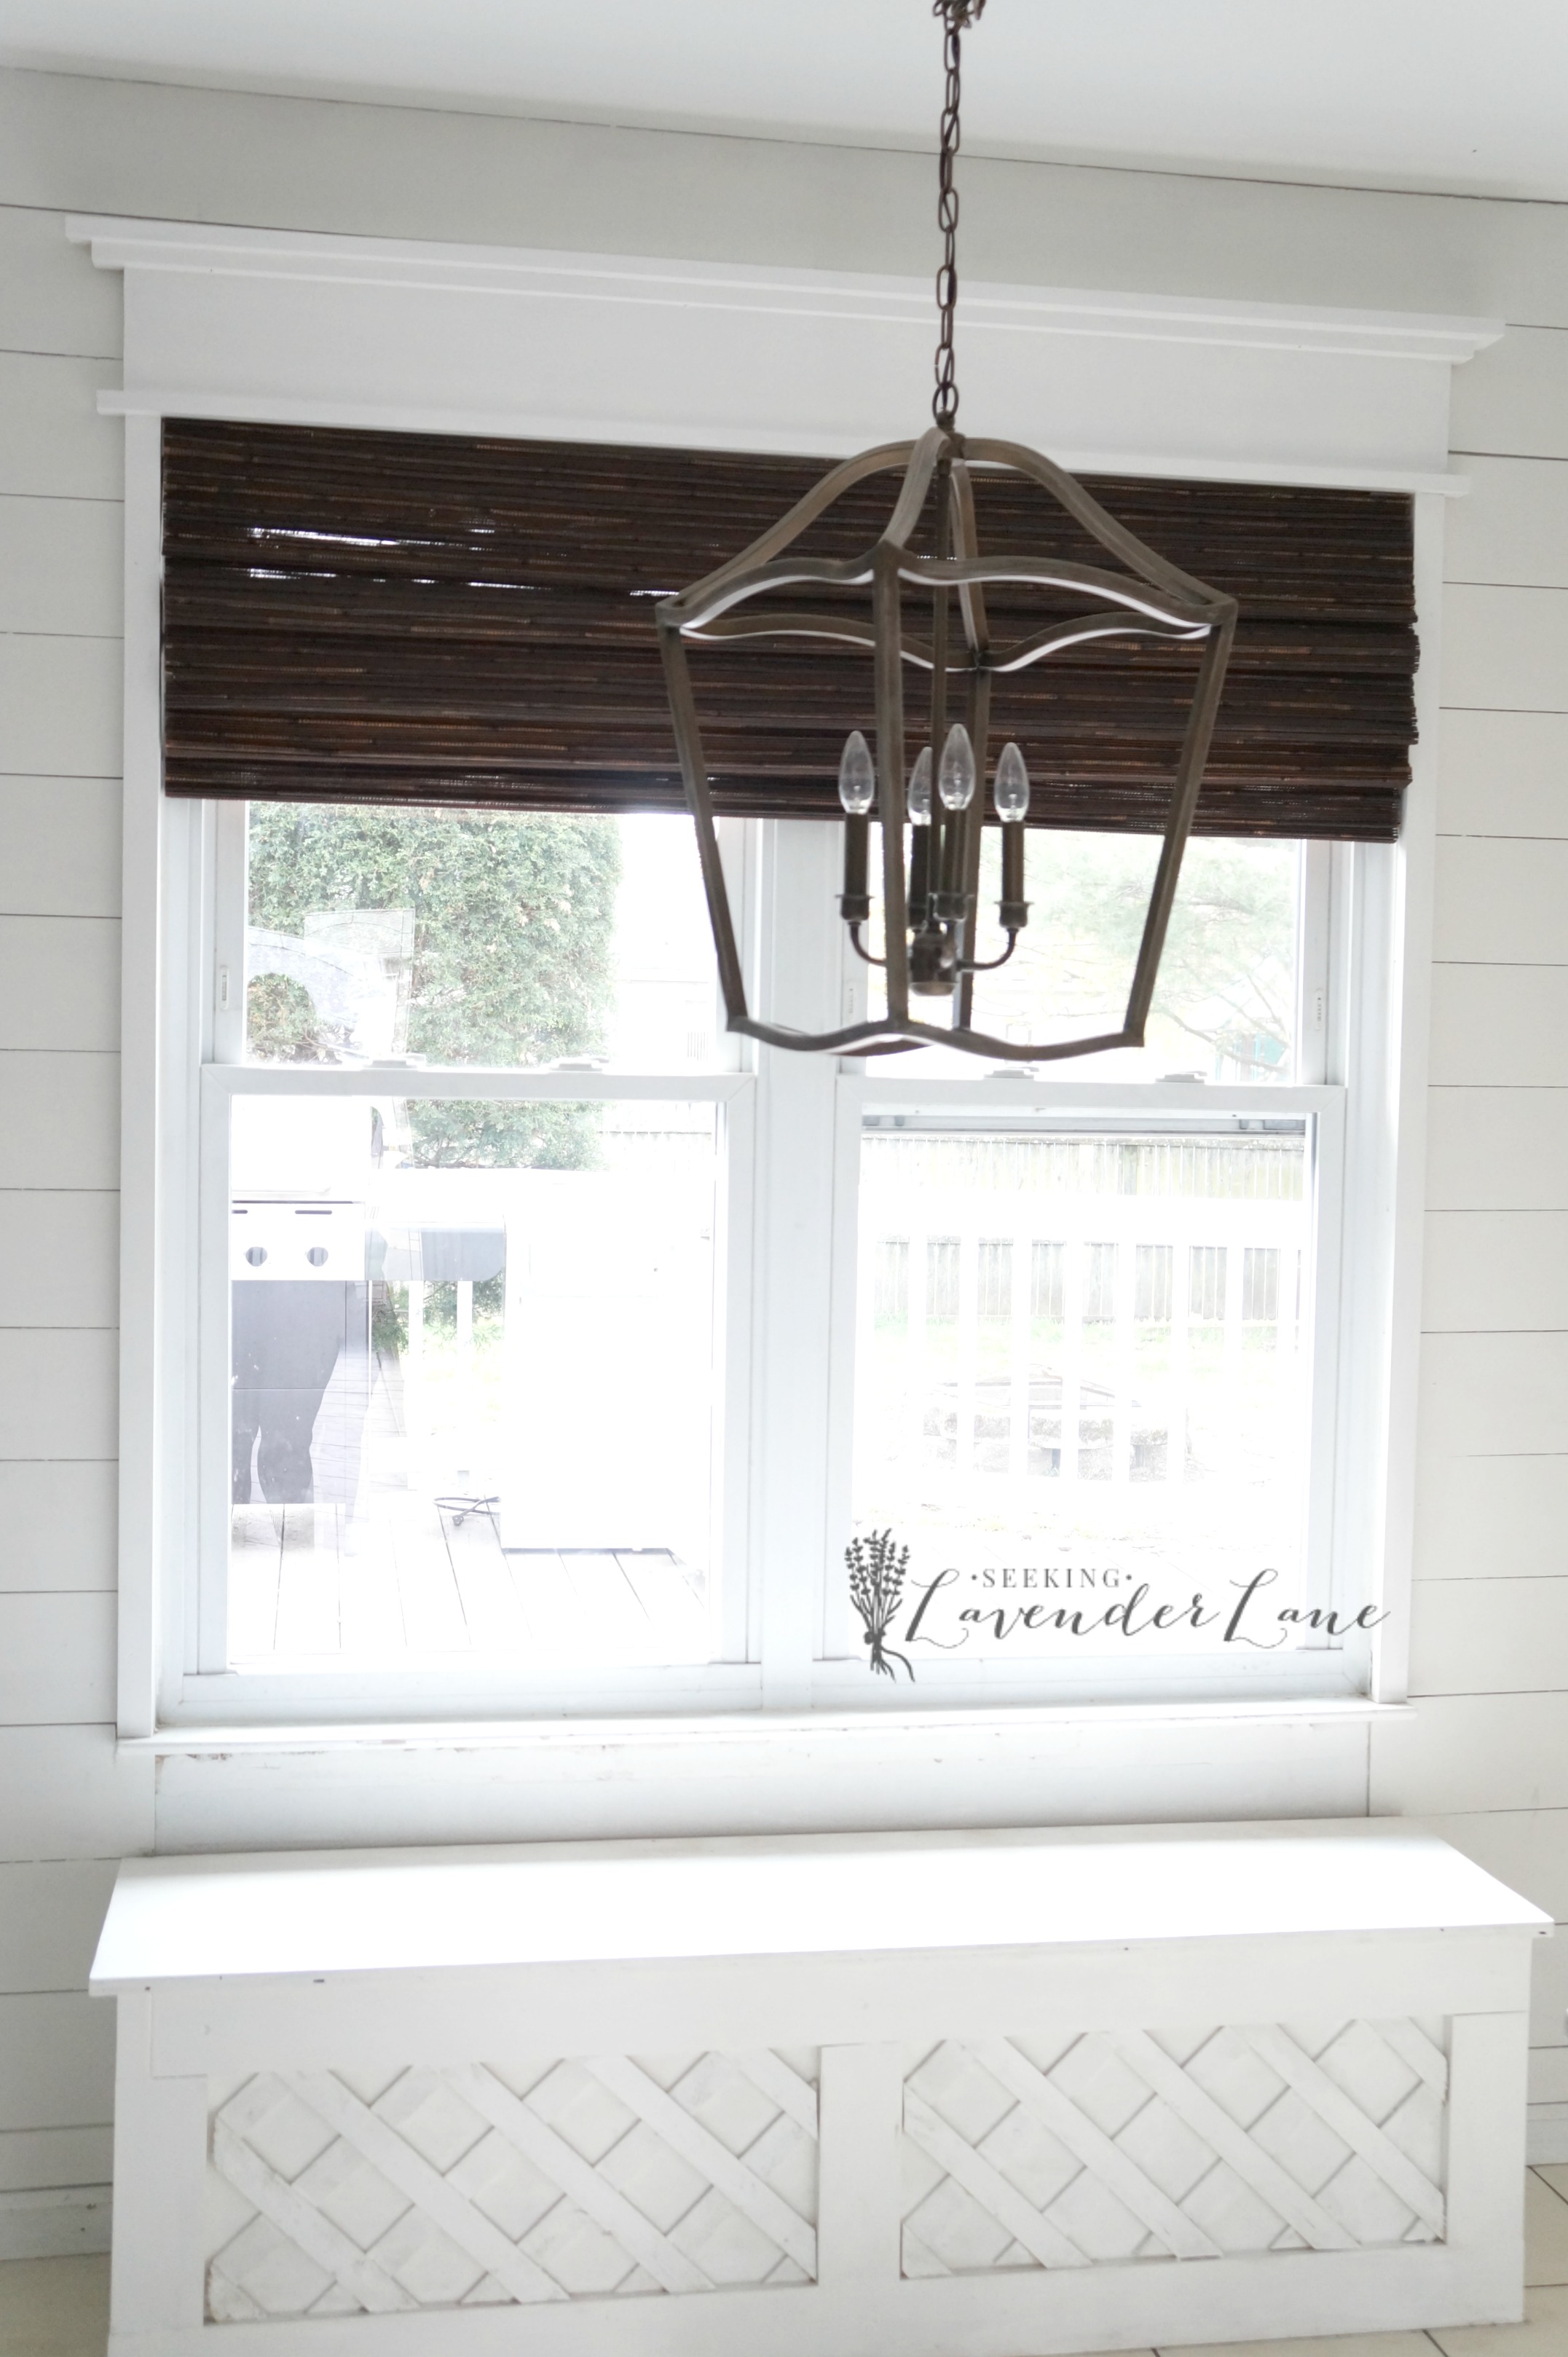
Here is the Finished planks, pre-window molding. We ended up doing a “farmhouse” window frame here, but I kind of skipped on snapping photos.

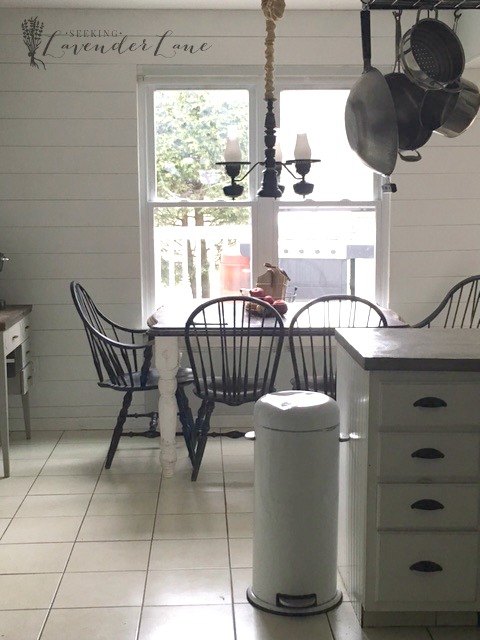
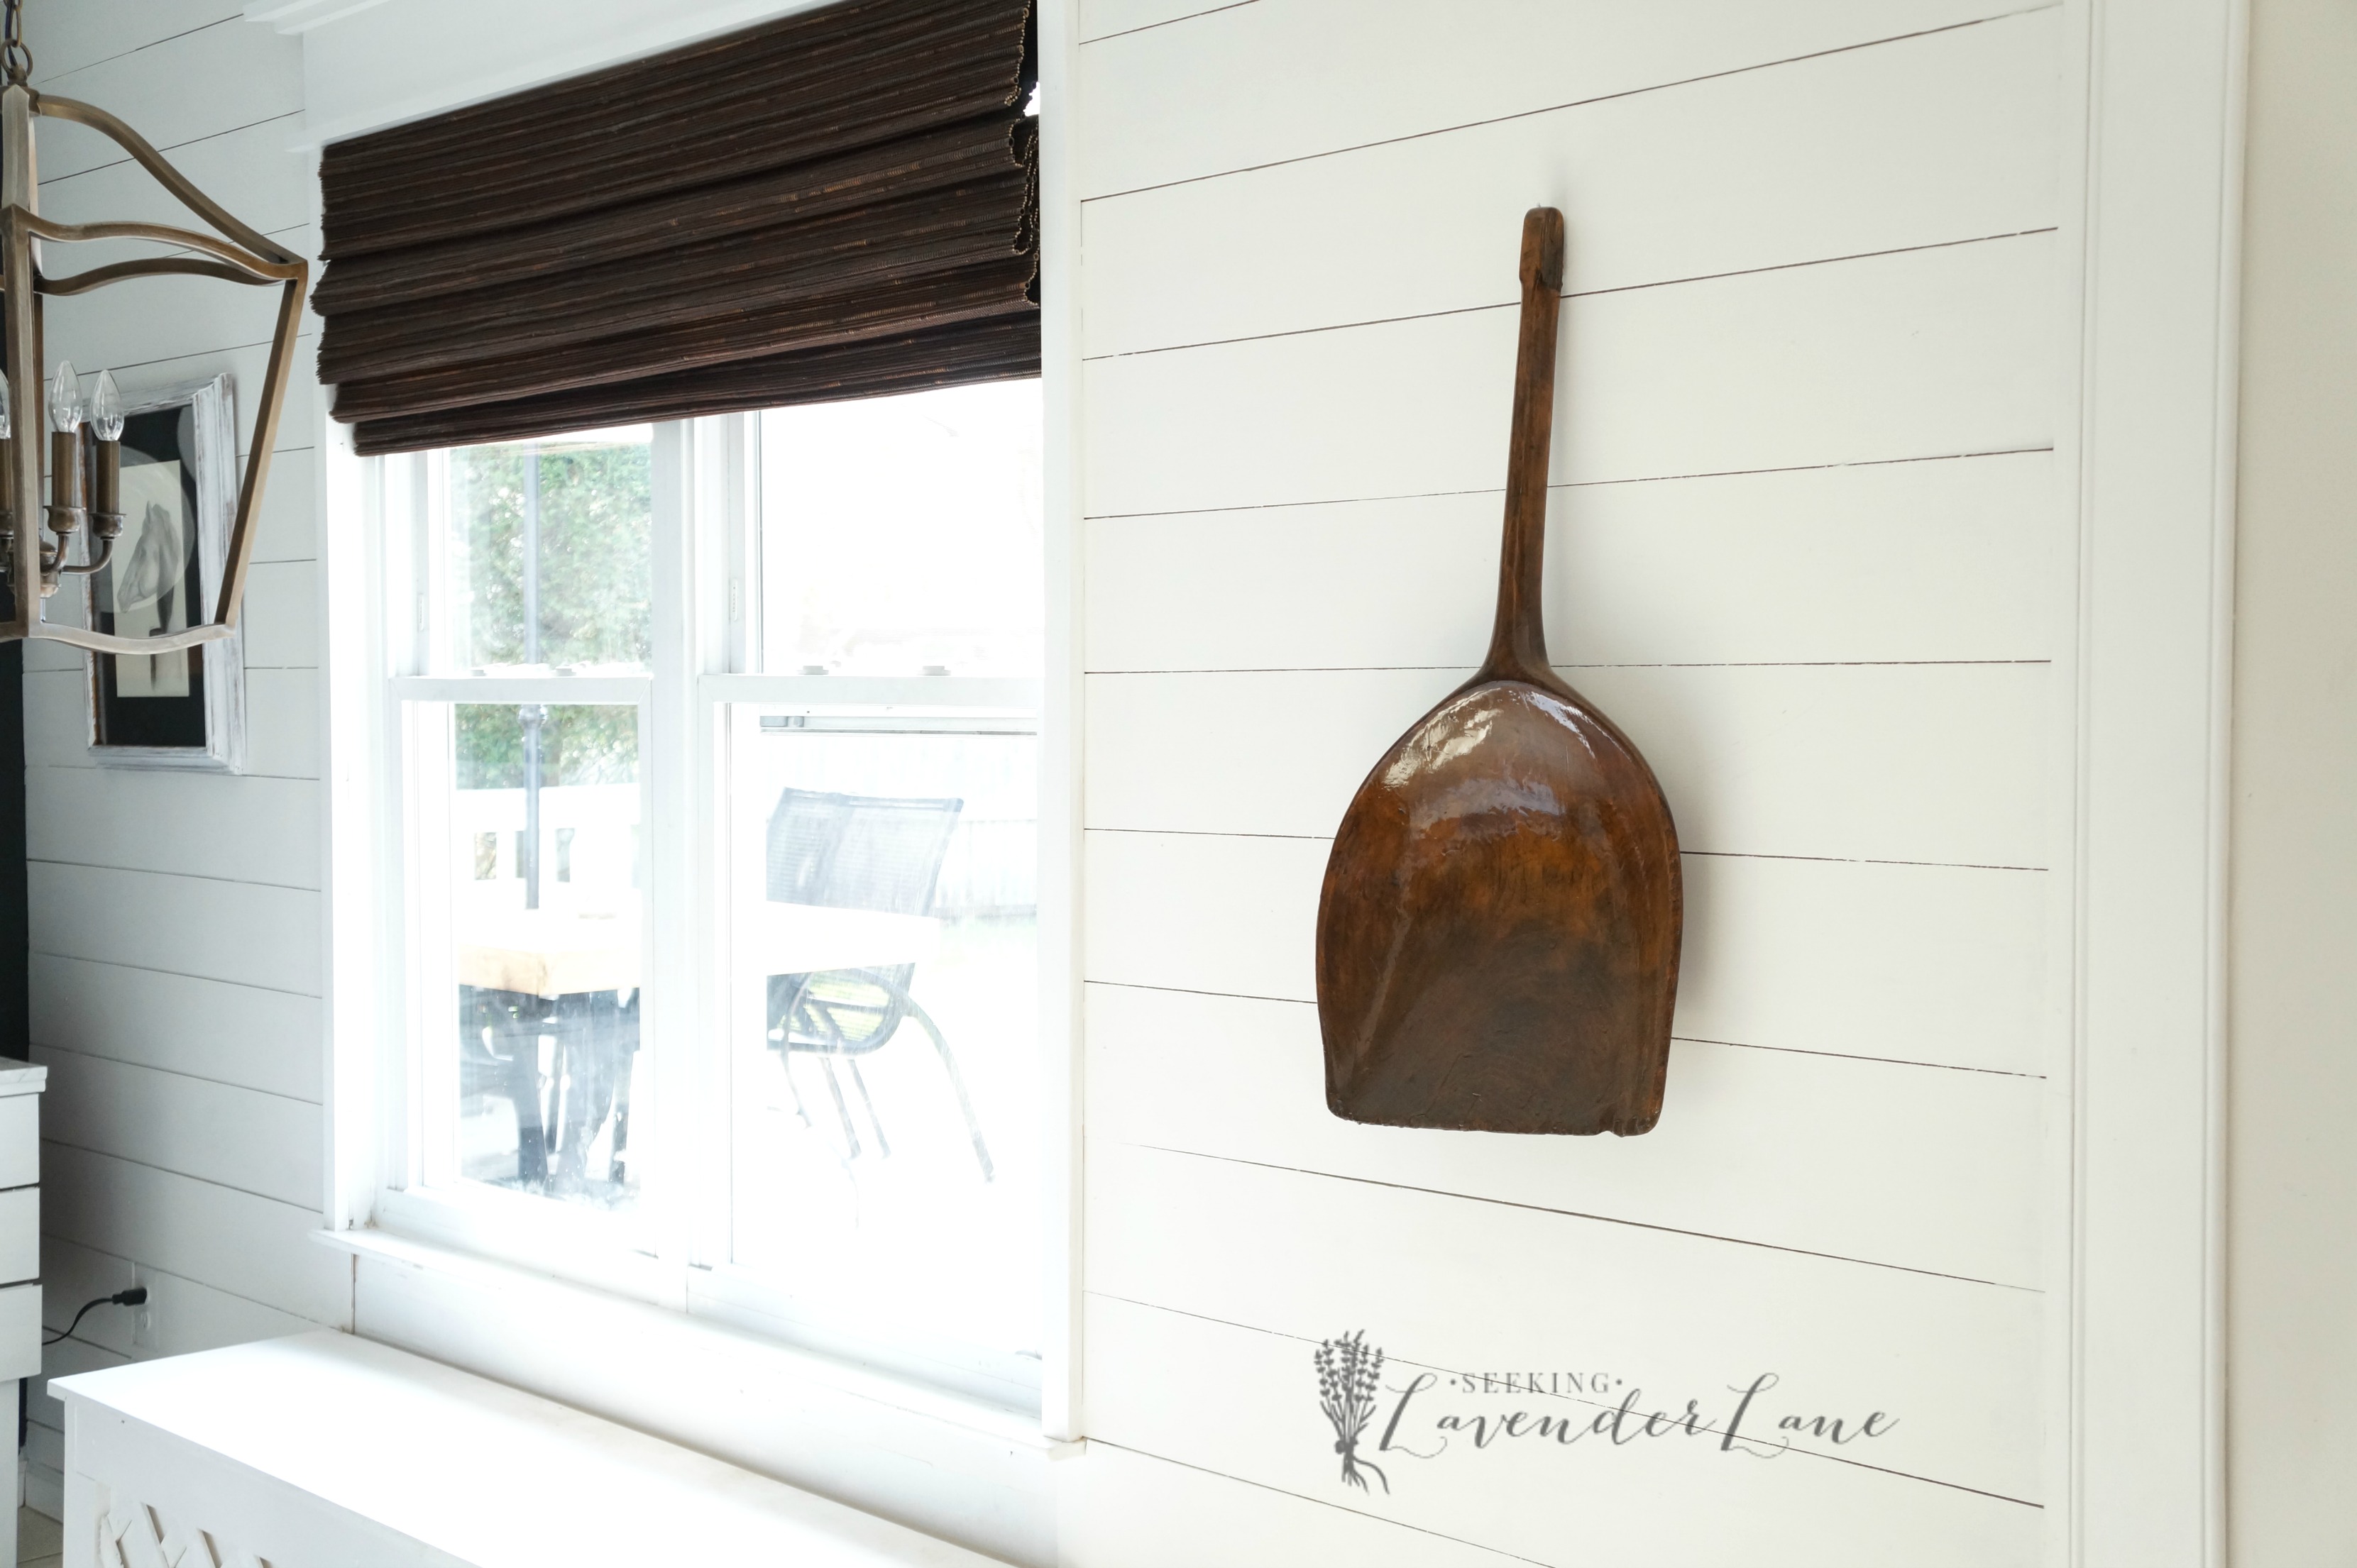
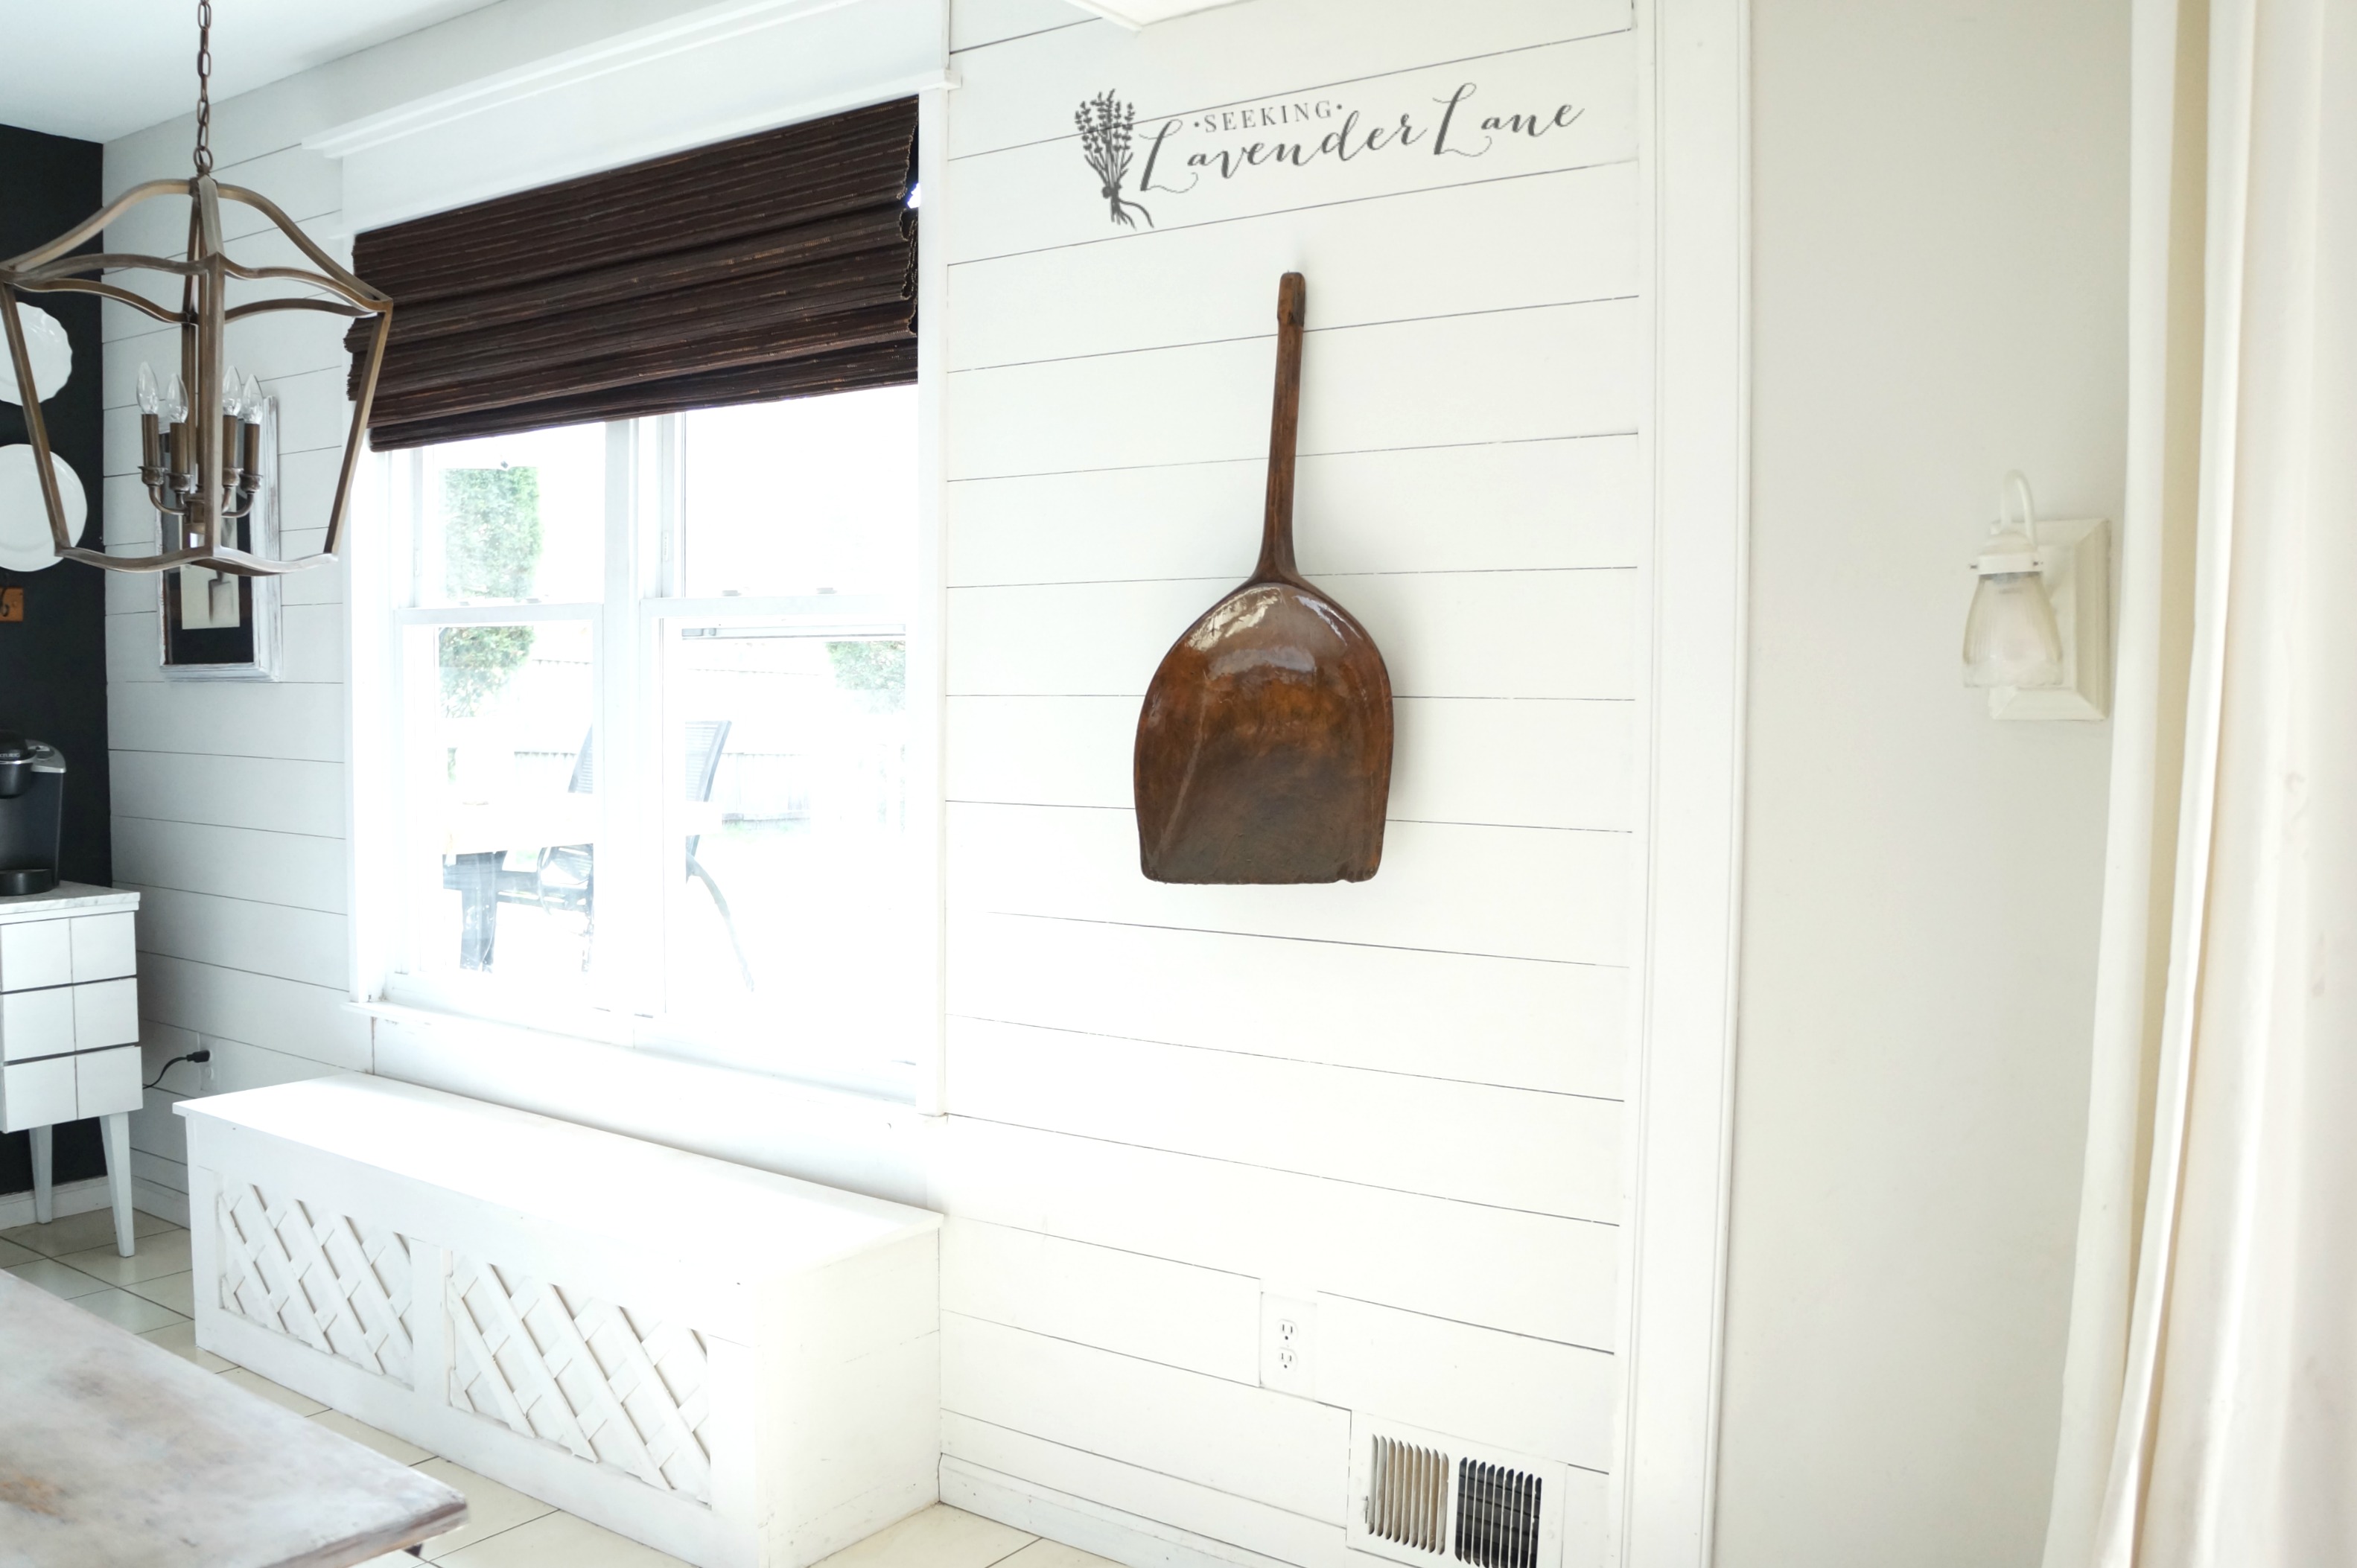
Here’s the after with the old light fixture.
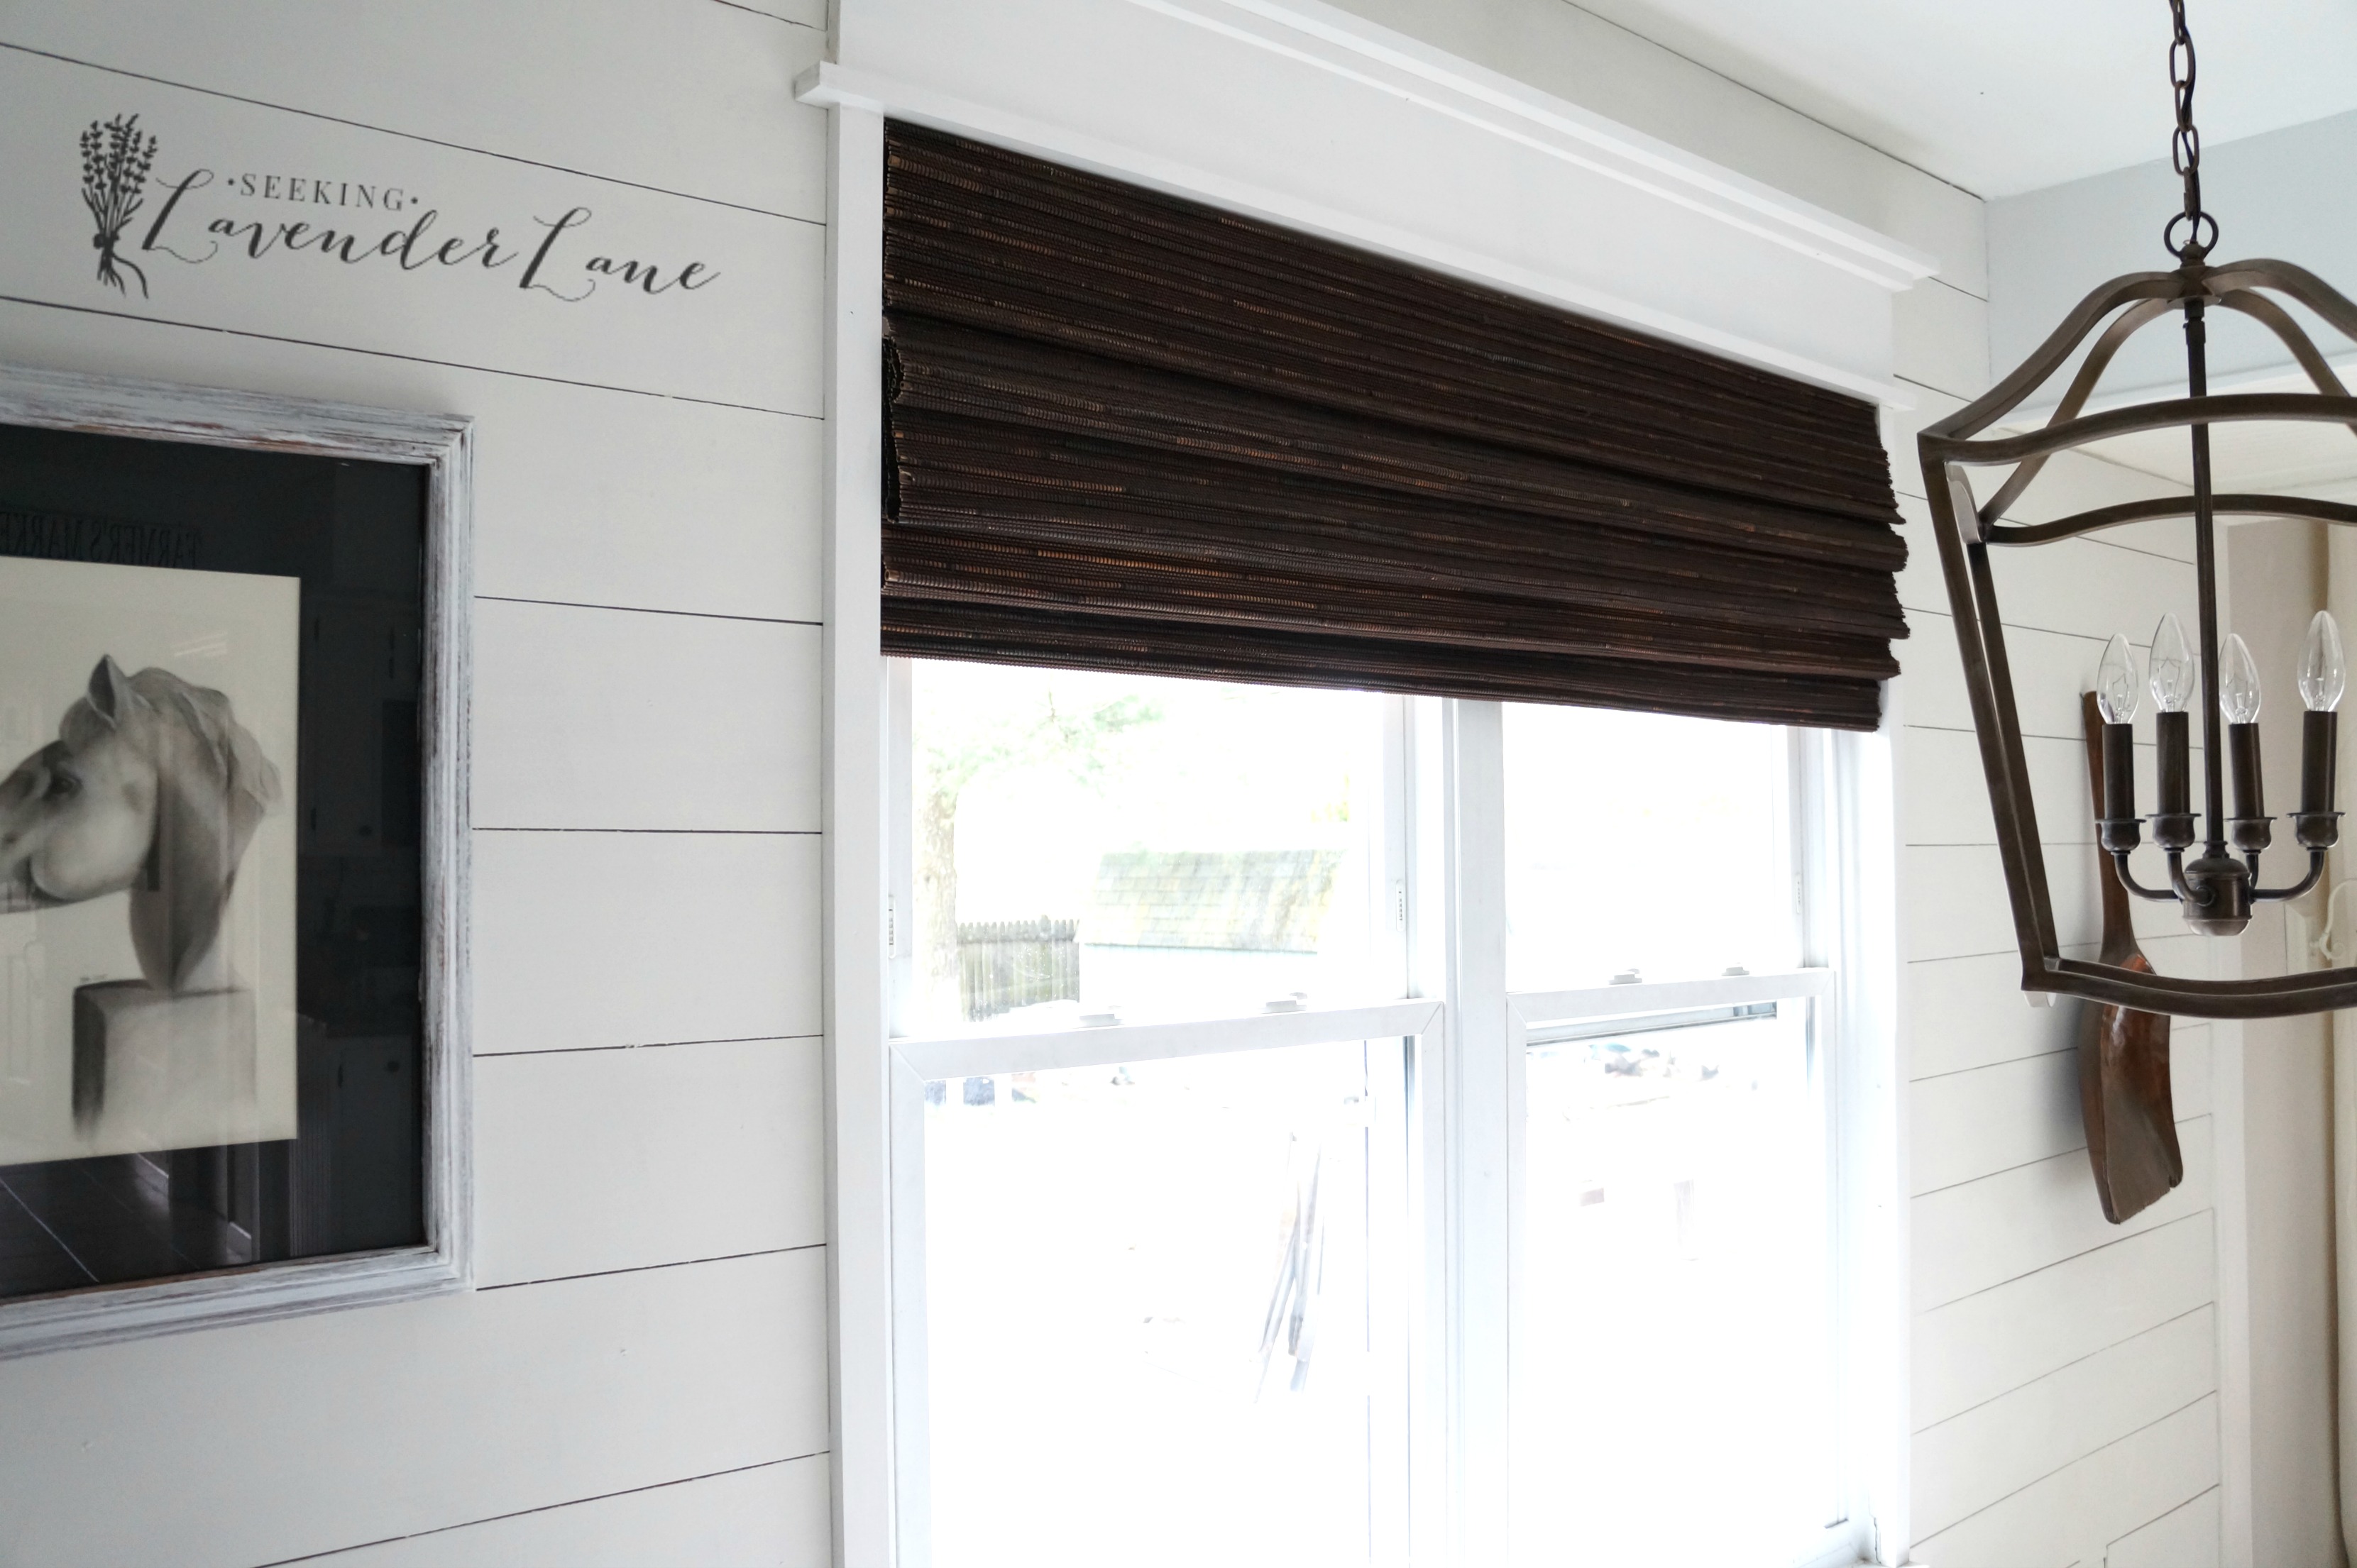
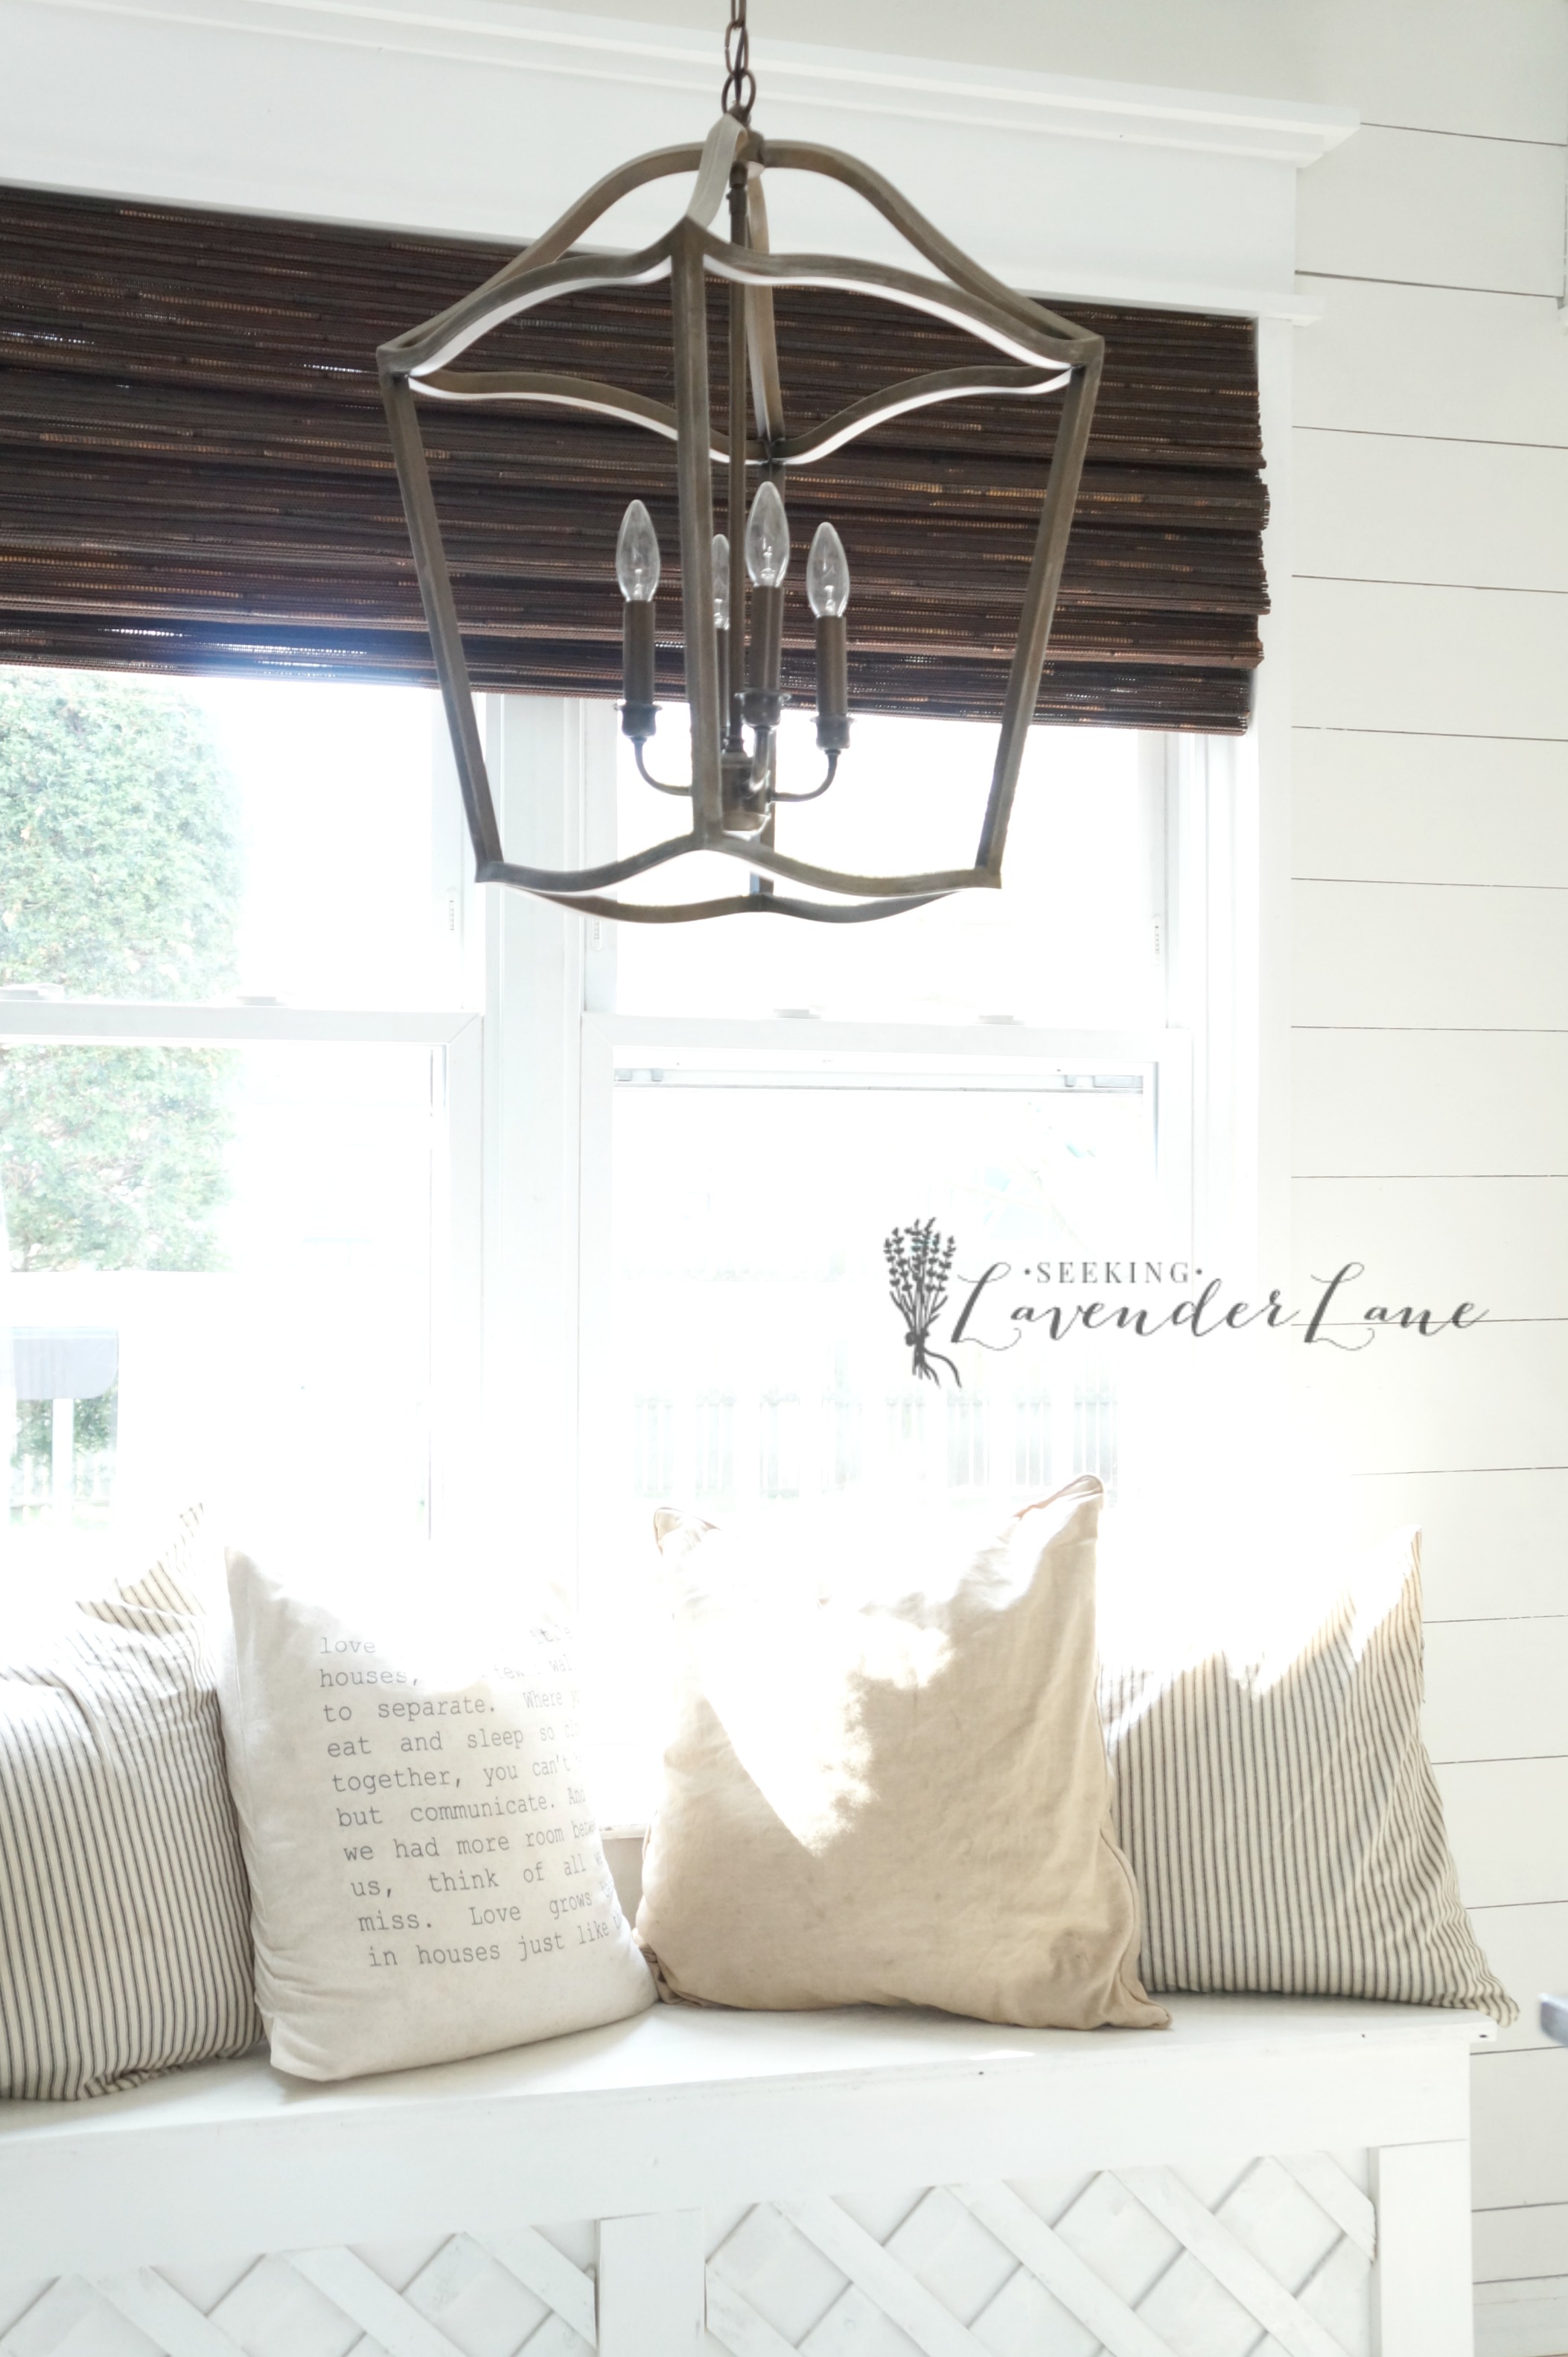
Oh hello, gorgeous lantern from lamps plus
Yes, you probably now know what part 2 is leading to…
Part 2 (week 4) ORC
Built in Bench
So, I have always, always wanted a built in bench in this space. I mean that was my initial plan before we even moved in, but then once we bought our table it just was too big. So my plan was to now update the table to something smaller where a bench would fit perfectly in the kitchen. and with storage!

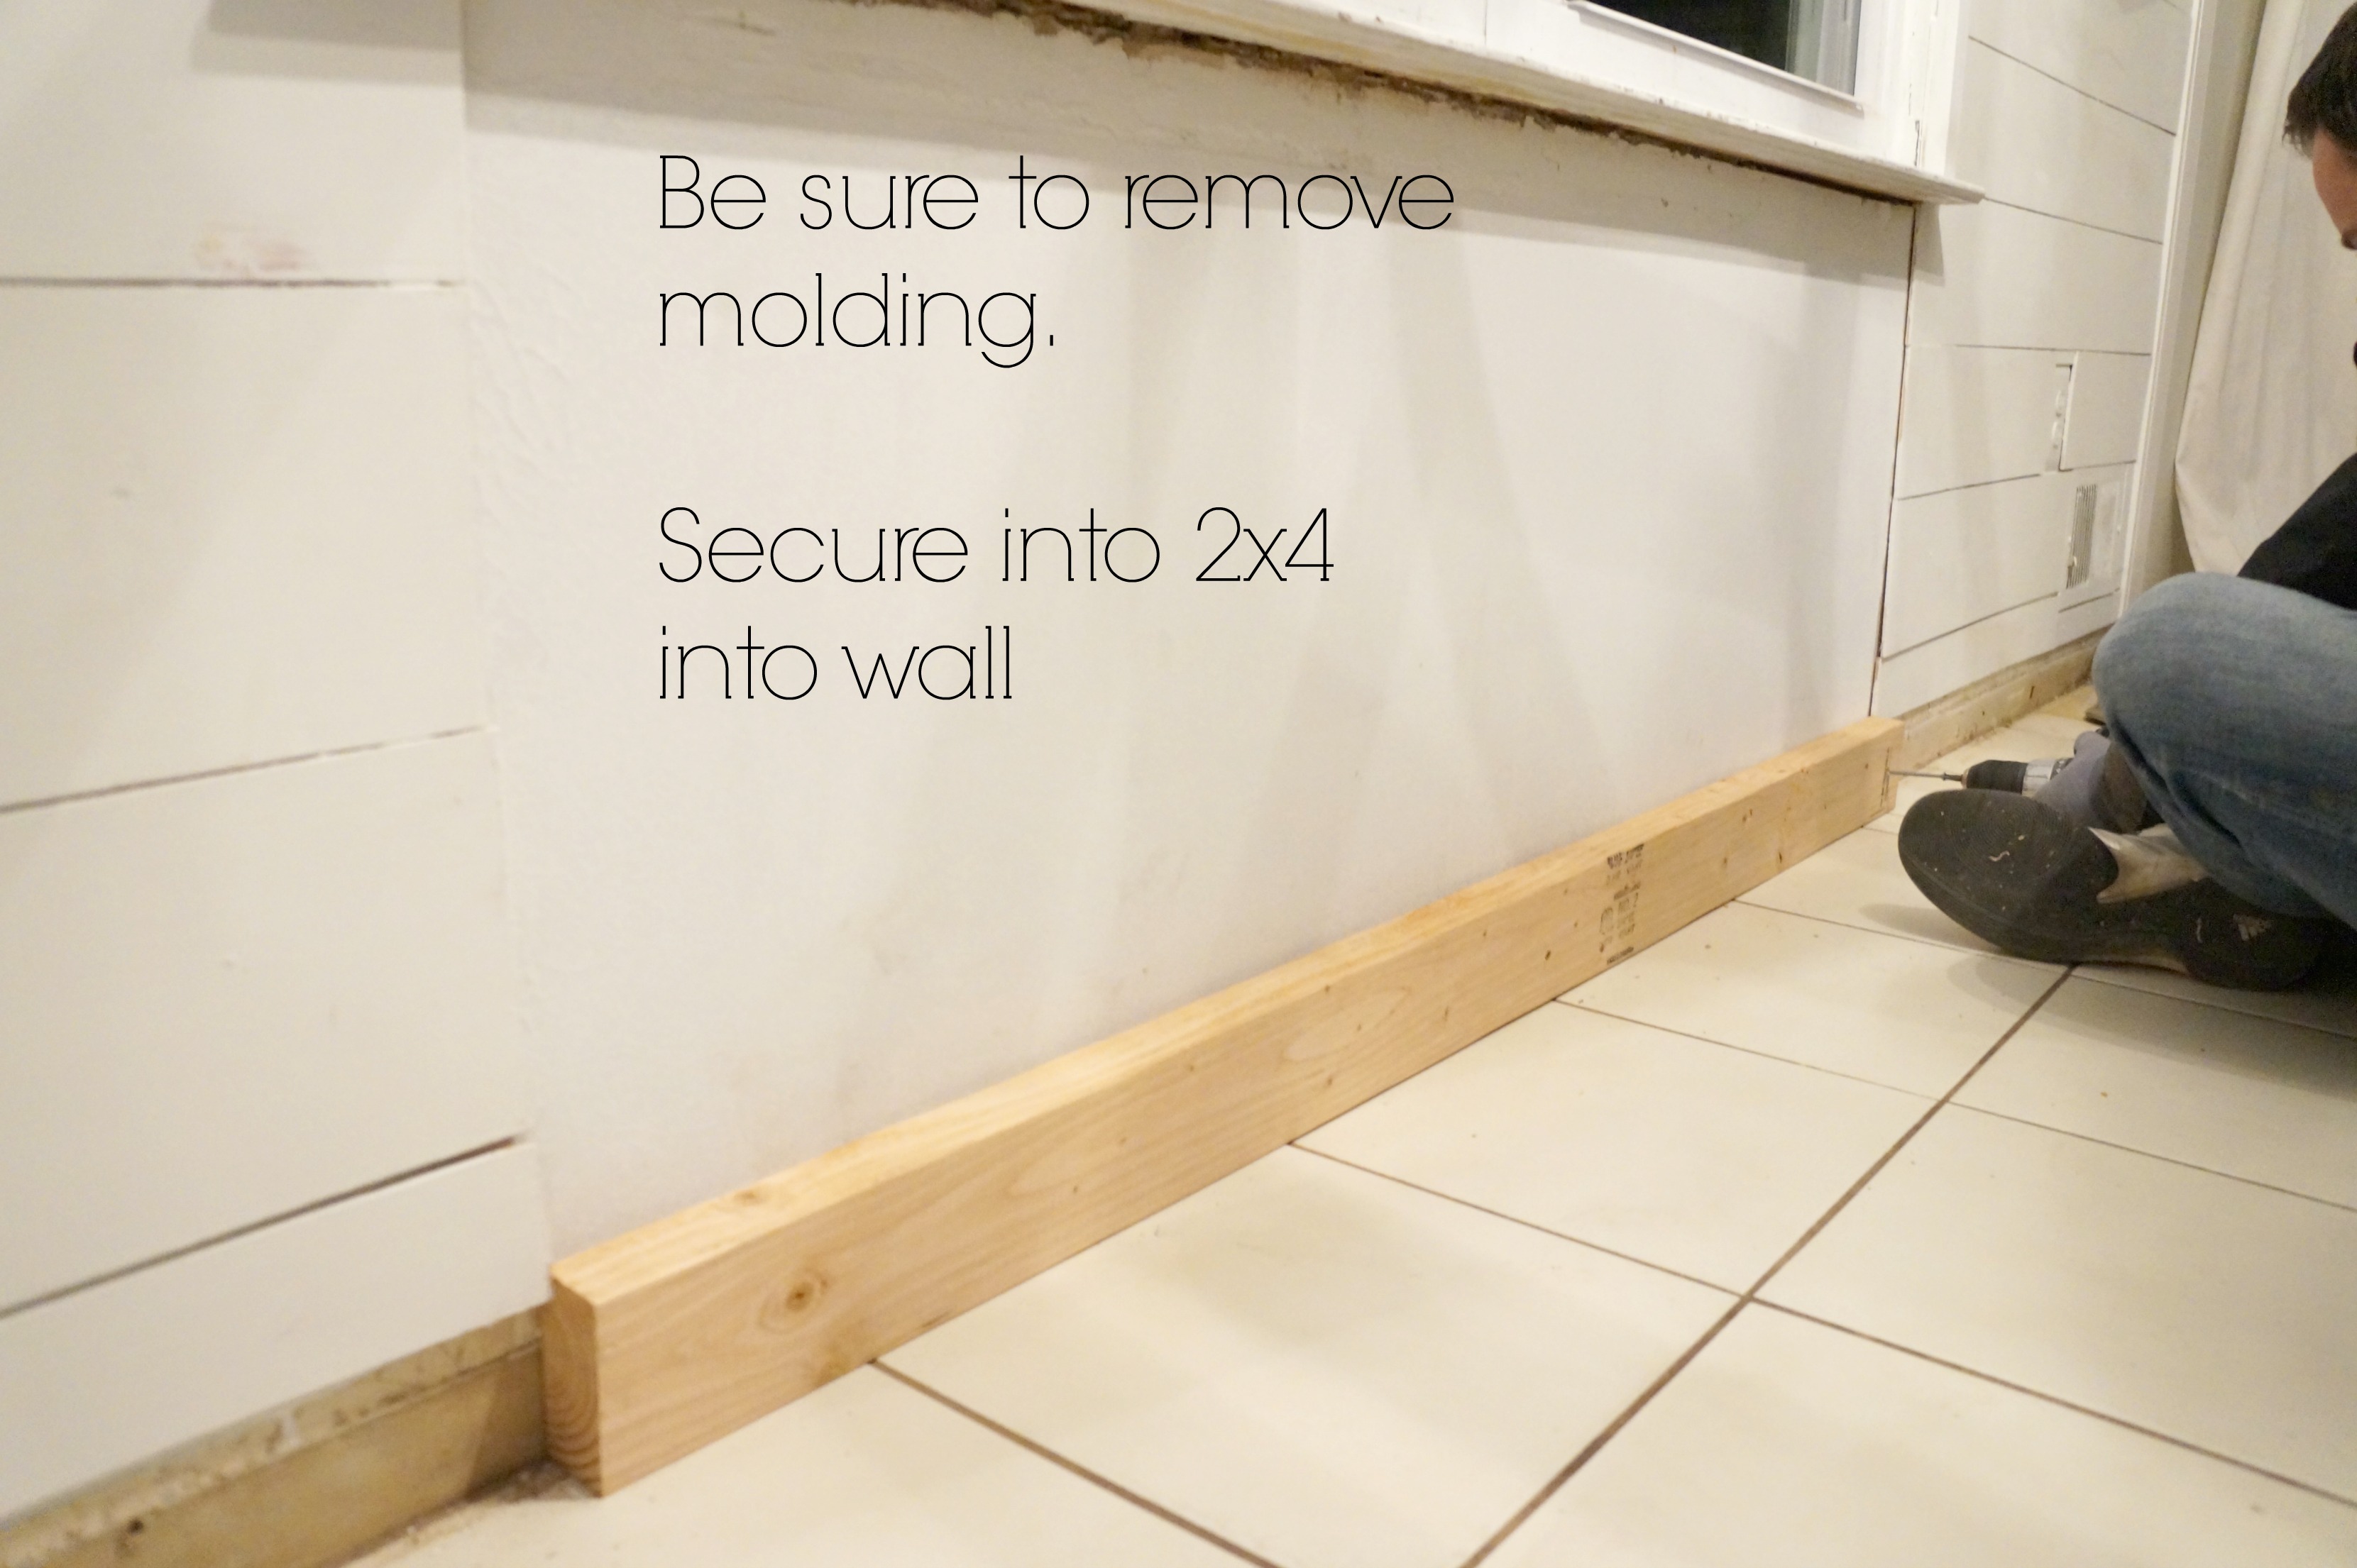

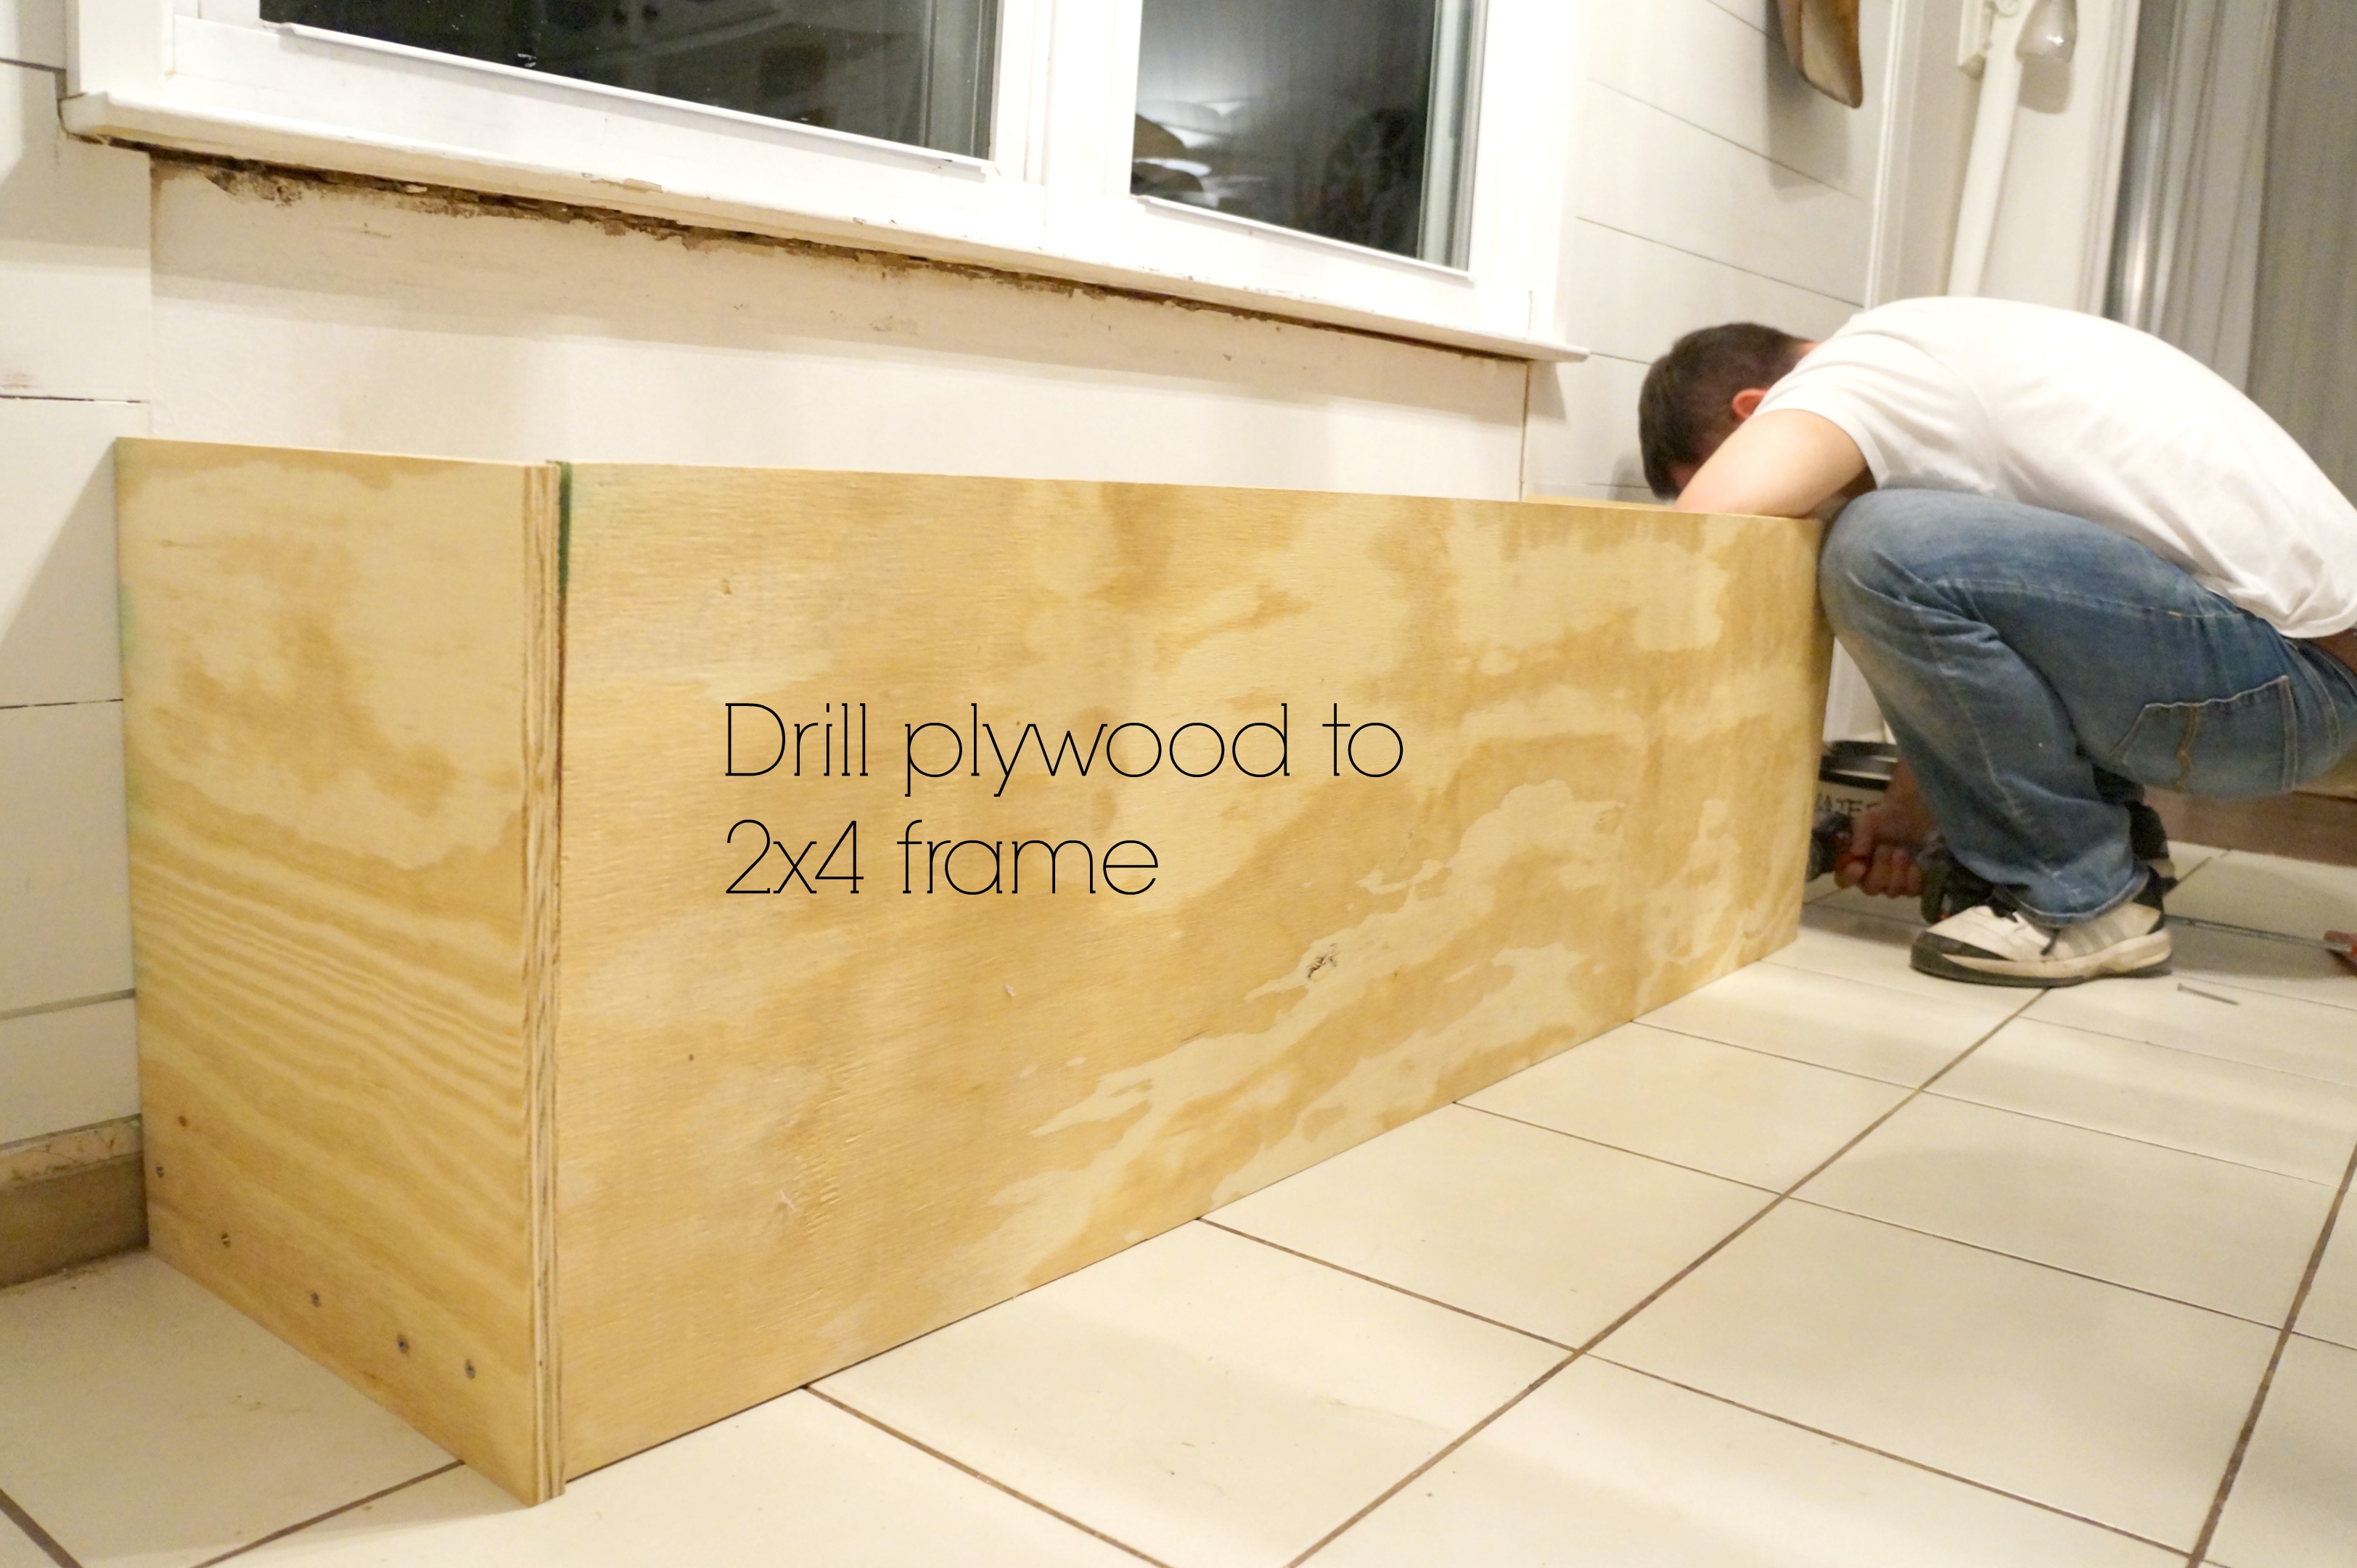
Once, the frame was up, we added the lid with hinges.
Then, applied a frame to the front, with some added trellis for decorative purpose. It was a lot easier then we had hoped it would be. Also, easy to remove if we ever change our minds or move.
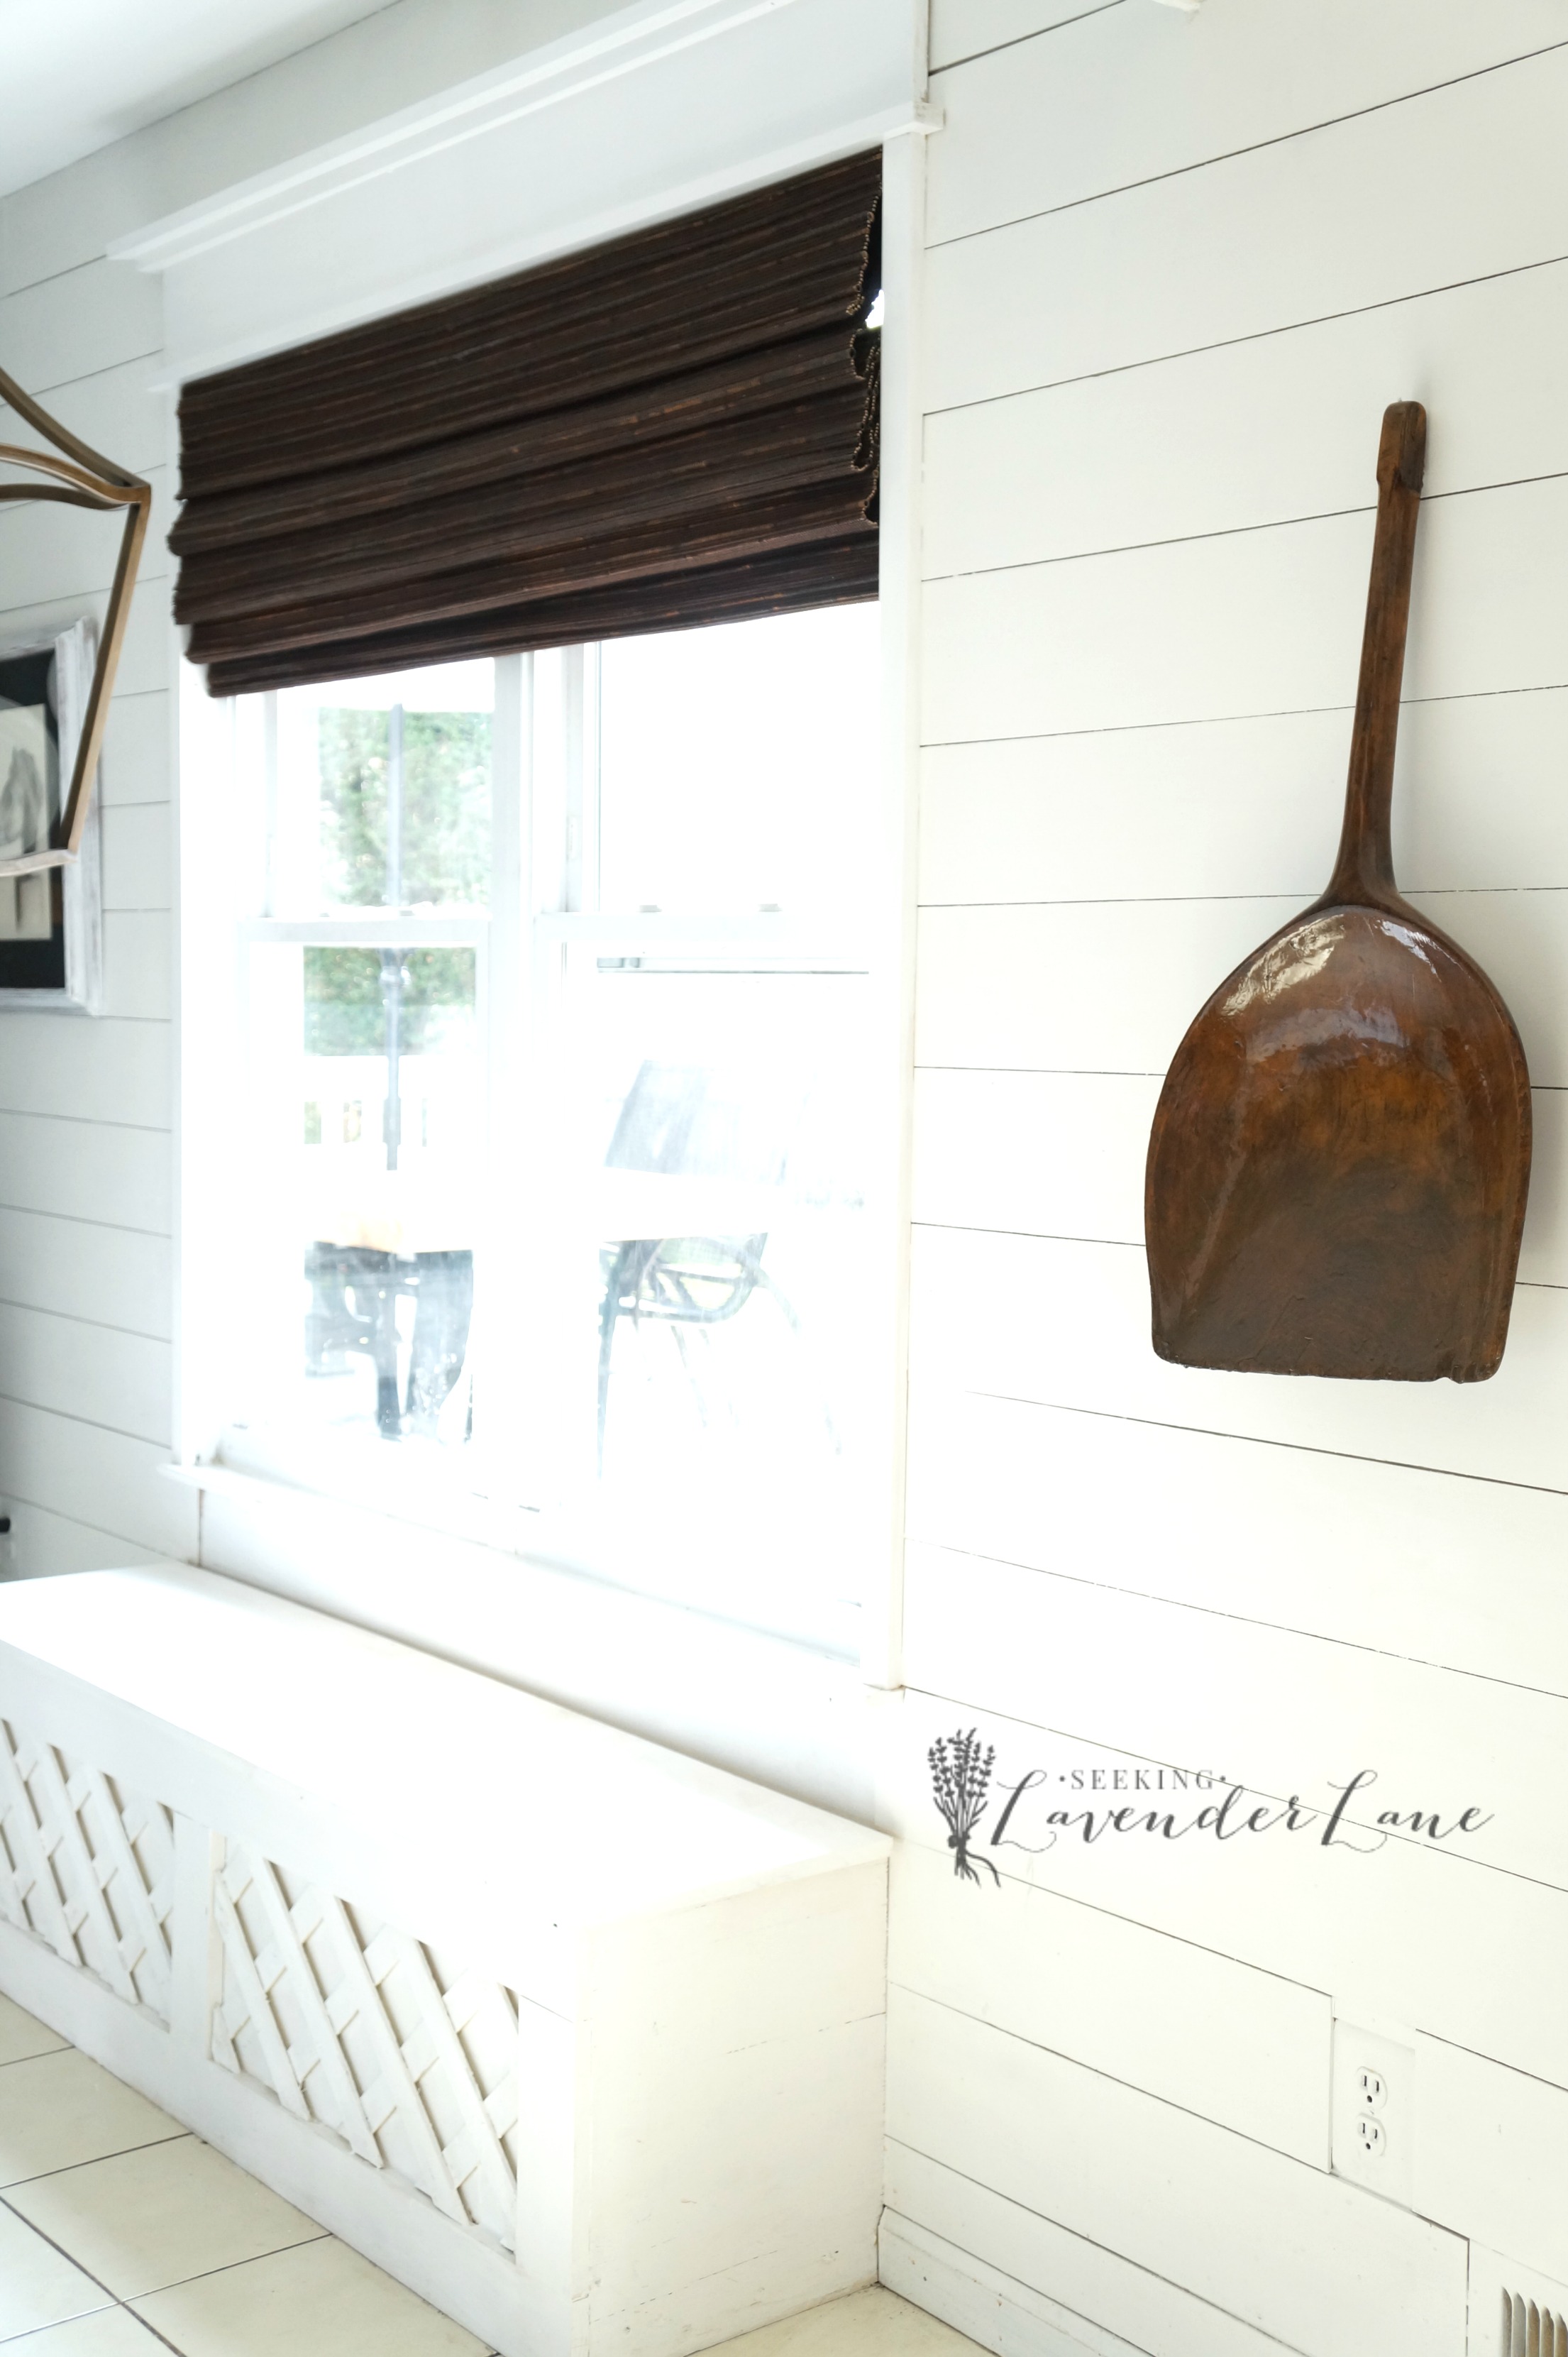
I originally, had planned to leave the trellis natural (wood), but I did not like it after a while and painted it all white. (now just to keep this clean)
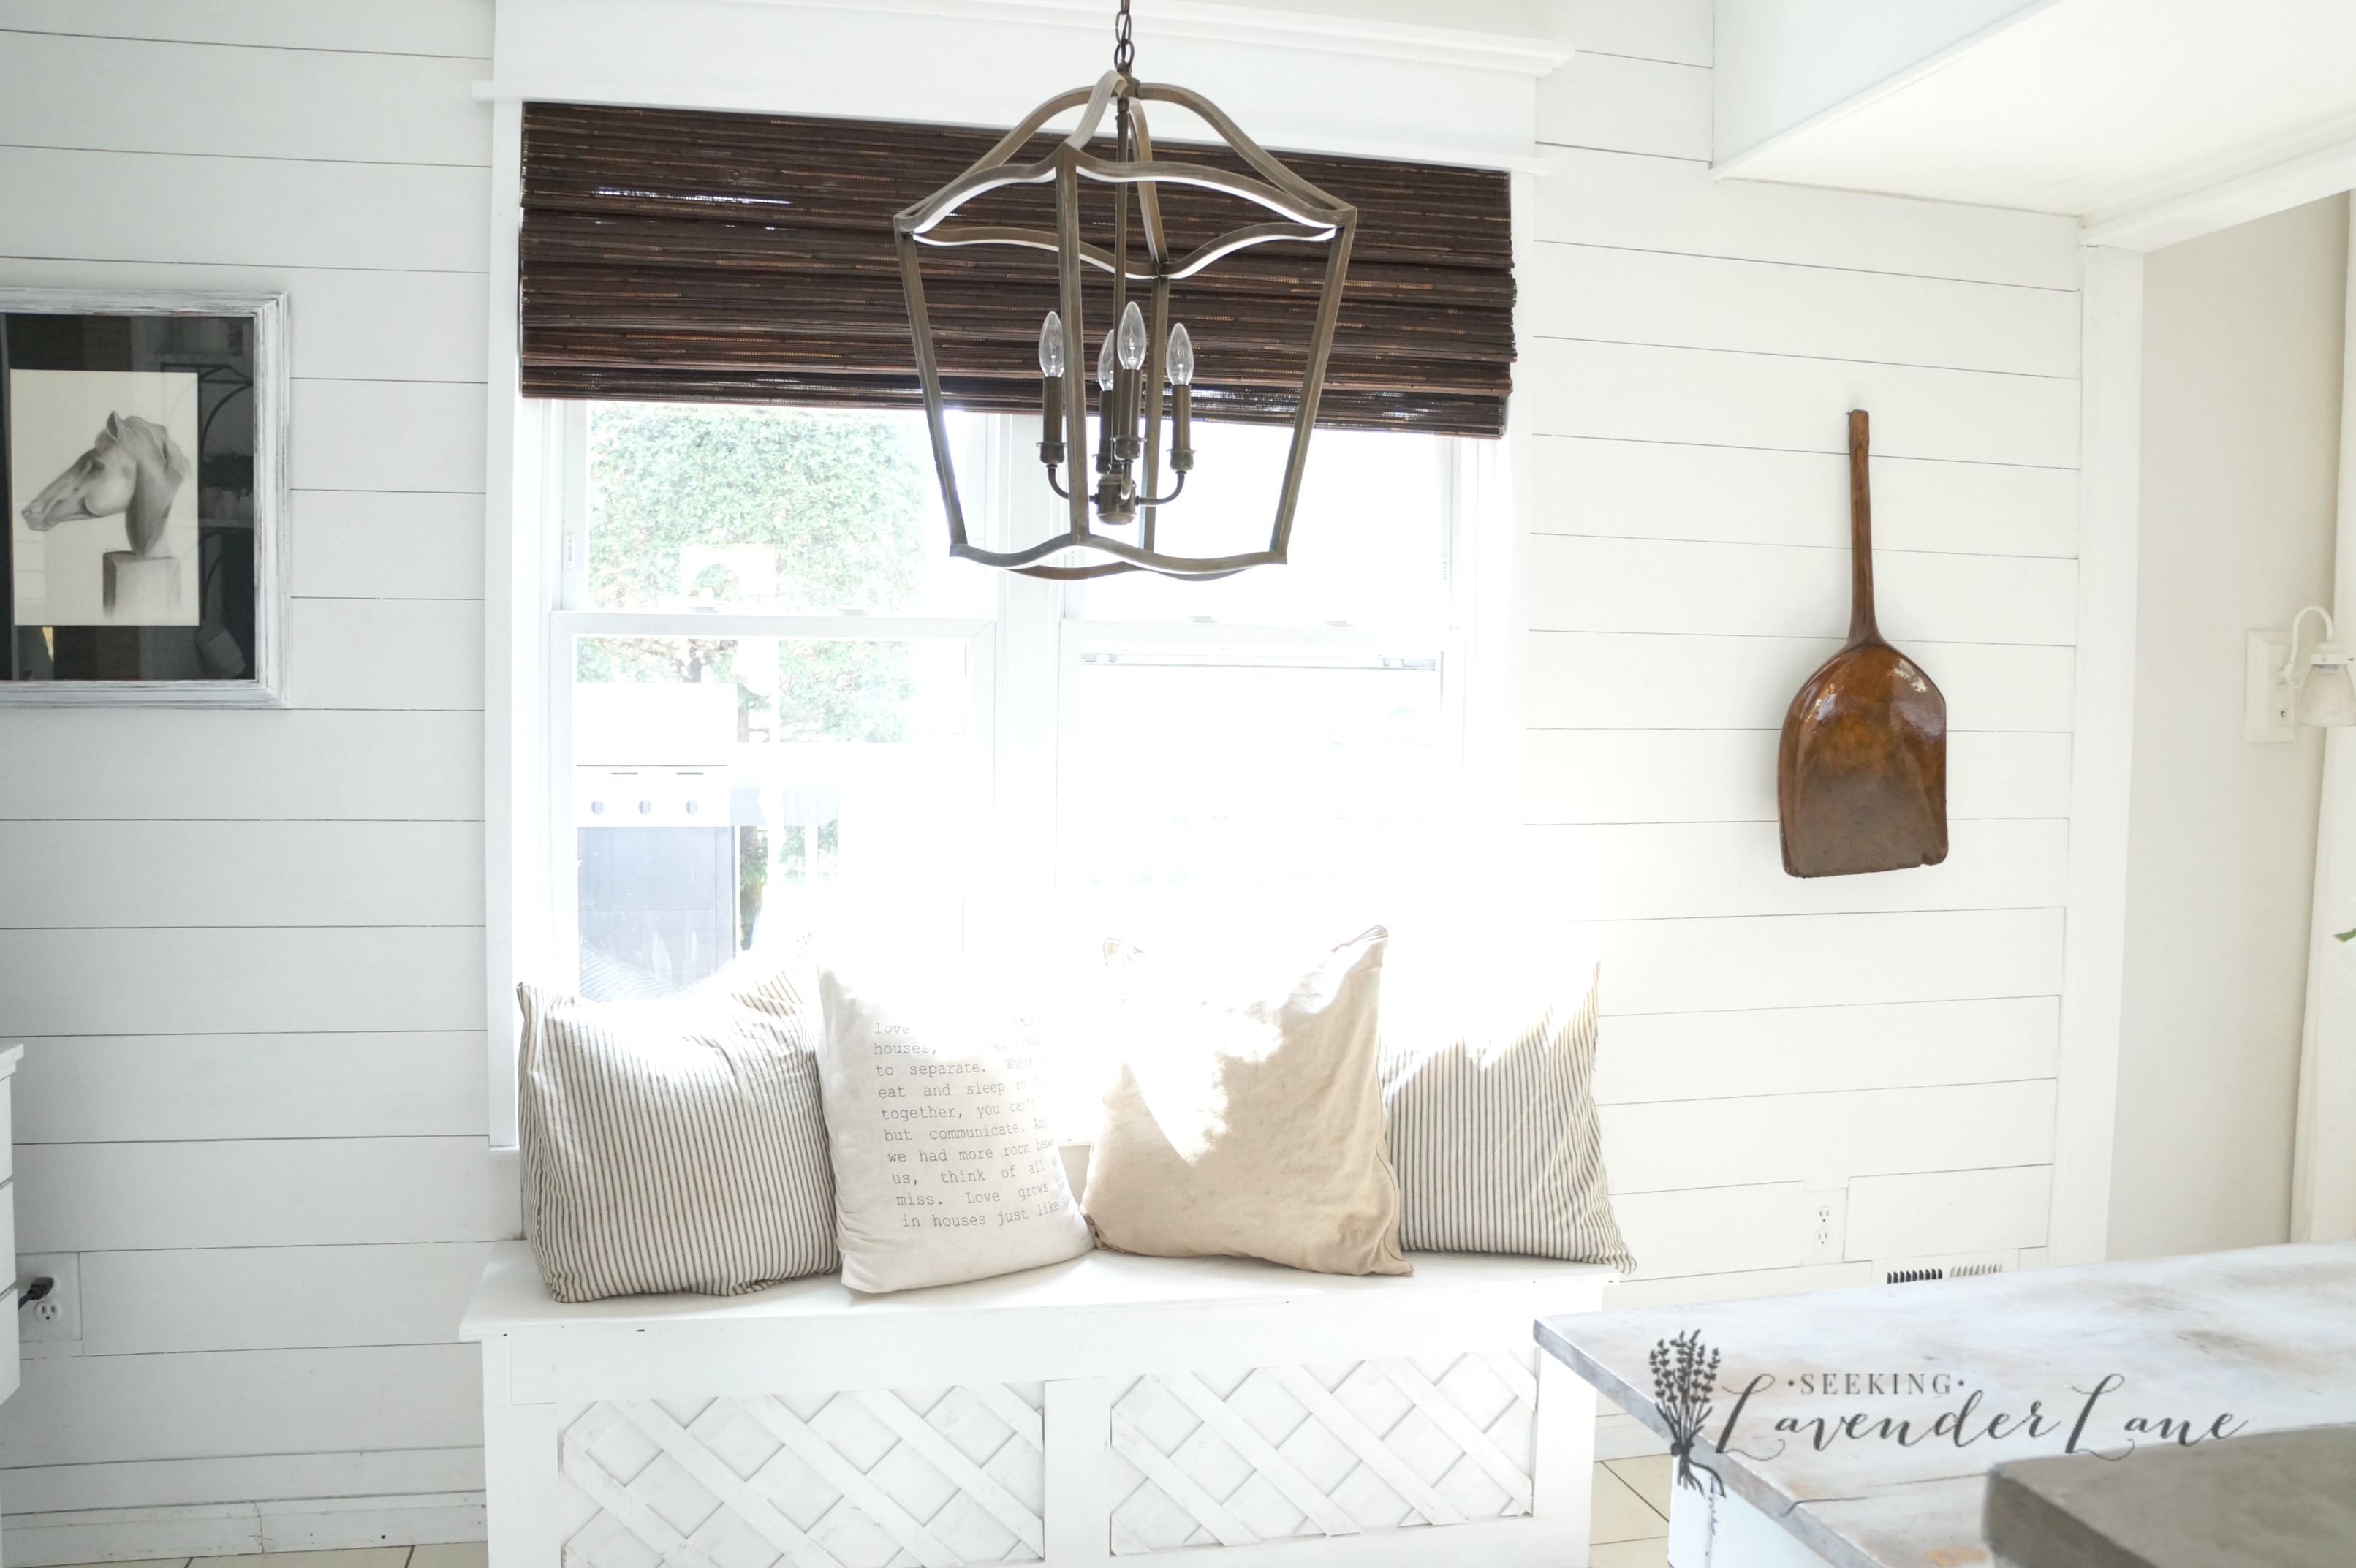
and some pillows of course! Love this one pillow from Burlap and Bows (etsy shop)
How about an all white wall? It’s everything I had hoped it would be. Can’t wait to share next week my table makeover for this little kitchen nook!
Source List:
Light Fixture: Lamps Plus
“Love Grows Best” Pillow: Burlap and Bows
Paint: Sherwin William HGTV Pure White
Thanks to those companies, who helped make this makeover possible!
Did you Miss the first few weeks of the One Room Challenge, see below links
ORC Week 1
ORC Week 2
ORC Week 3
Also, be sure to stop by all the other week 4 link up here


18 Responses
It looks great Deb! I love the ship lap and the new light fixture. Enjoy your new space 🙂
Amanda recently posted…How To Update Your Old Counter Tops For Under $100
Thanks Amanda, you’re so sweet!
Oh my goodness! It’s all looking incredible Deb! I’ve always wanted a sweet window seat like that, all filled up with lovely pillows … so pretty!
Kristi recently posted…Rustic DIY 3 Tier Tray
Thank you Kristi! : ) love having a window seat…not that the pillows always look that neat and pretty ; )
Absolutely perfect, just like everything else you touch! Love it all 🙂
You are so sweet Marci, thank you so much!
It looking AMAZING, Deb! Love love love the light fixture and shade contrasting with all of the white.
Thanks Lauren! It’s amazing what a little white and shiplap can do to a wall!
Deb, I LOVE, LOVE, LOVE that shiplap wall in your kitchen. You now have me looking around my house wondering where I could put an accent wall like that… The storage bench is perfect in that space too. Great job!
Carrie at Kenarry: Ideas for the Home recently posted…Outer Space Mural Tutorial for Boys Bedroom
thank you so much Carrie! You’re so sweet, so glad you stopped by!
Wow, what a difference the white shiplap made to this space – nice and bright and adds so much character. Adding a window seat is such a great idea and looks so good. I’m looking forward to the final reveal of your kitchen!
Marie, The Interior Frugalista recently posted…From Wooden Shutters To Rustic Coffee Mug Holder
Thanks Marie! We love the shiplap. I want more now ; ) haha
Wow, Deb this looks amazing! LOVE the shiplap & the bench is perfection also!
Roxanne recently posted…Five for Friday #36
Thanks so much Roxanne! You’ll have to come by and see it in person some time : )
Y’all have made such great progress! We love your shiplap walls and built-in bench!
Vicki and Jennifer Fenton 2 Bees in a Pod recently posted…Master Bedroom Closet – One Room Challenge (week 4)
Oh thank you so much Ladies! You both are too sweet!
I LOVE everything about your little nook!! Its so beautiful!!! Can’t beat white shiplap ever!!! Great work girl!!
Thanks Katelyn! Seriously, white shiplap makes everything better!