


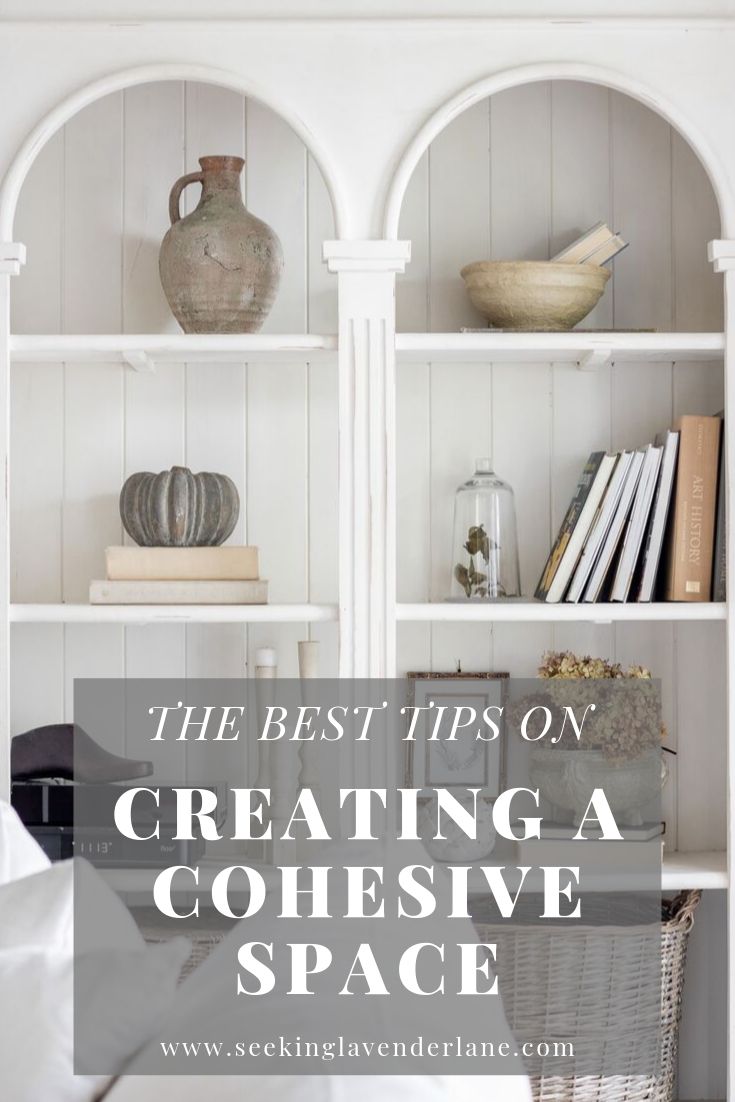
Creating a Cohesive Room
I’ve been reading through a lot of your survey questions since I posted that last month. It was really important for me to figure out exactly what your design or project problems are that you encounter. My job here as a blogger is to teach! I never truly consider myself a teacher, but I want to tap into that more so I’m doing more for your decorating needs. So, a HUGE question or problem many of you ran into was how to create a cohesive room. I’m going to share my best practice tips here for you all so that way you can follow and make it easier when designing your next room. I want you to learn how to create a space you love even if you don’t consider yourself a decorator.
Did I ever tell you all about the room I designed in high school that was in a shoe box? You thought the RV was small…well try to pull off a shoe box room -hah- Actually it was probably one of my favorite projects EVER! I remember it was 10th grade and lets say my interior design teacher did not really like myself or my group of friends very much. We were kind of rowdy and the class was pretty boring. It was like old fashion decorating and all I wanted to know was how to make a space look like it was on Trading Spaces. I had a lot of struggles in High School when I moved to my new school (you can read more here about how I dealt with bullying) but I was finding friends and fitting in finally. So, my rowdy-ness though seems like a trouble maker personality it was a blessing. It means I had friends to laugh with again. So, I don’t look back and get too mad at myself about it…and I really learned nothing in that class anyway, it was really uninspiring! Butttt… at the end of the semester we had this fun shoe box project where we had to design a room. I was really into the 1950’s era back then and was currently planning out my bedroom at home with Marilyn Monroe pictures and Audrey Hepburn (my mom always preferred the Audrey pics then the Marilyn ones). Well, it may have been the first time I truly taught myself how to pull together a cohesive look. I chose a color pallet Turquoise, black, white. I even included checkered pattern flooring! So, I guess you can say I’ve certainly matured in taste but that was the first time I saw my teacher smile at me that entire semester. She was impressed and if I remember right my shoe box room was chosen as one of the featured designs. The passion has always been there from Marilyn Monroe bedrooms to French European Kitchen designs….its been my heart to create a space. Something about seeing it all come together. So, now let me teach you some tips to get that same cohesive look for your real life room.
Tips for Creating a Cohesive Room
- A color pallet (3 colors or less-sometimes this rule can break)
- Add in texture (ex. wood, throw pillows that have different fabrics, metal)
- Keep design style similar but one unexpected piece is allowed. (This rule can be broken too but lets stick to basics)
- Wall art should match (ex. all black and white photos, or similar colors and frames)
- Furniture should not be matchy-matchy (more on this below)
- Similar undertones
- Use paint colors that transition from one space to the next if you want to be bold pick a separate room that does not connect to the other rooms to switch up tone or color. (ex. a bedroom, bathroom, office space).
- Be sure to connect accessories and details back to your main color pallet.
A Color Pallet– Your color pallet should consist of 3 colors or less. For example if we are talking about my shoe box design above I chose Turquoise, black, and white as my colors. I rotated these colors around the room. Turquoise Walls, Black and White Bedding, Black and White floors, Black and White accessories. Turquoise being the main color was able to stand on it’s own but choosing 3 places in the room for a color is a good rule of thumb. If you are choosing colors for your room limit to 3 if you want to add more to the space then choose texture as your next element.

Add in Texture- Once you have your colors selected try to add in 3 textures that coordinate. Some good textures are wood, metal, fabric, and even plants. Your textures don’t have to match you can do a linen throw pillow mixed with a velvet one. I would say this is better then having the same matching throw pillows because it gives a space dimension. Also for metal no more then 3 metals per room but be sure that you have at least 2 of the same metal in one room.

Keep Your Items with Similar Style- One of the other questions I got a lot from the survey is how to bring multiple styles together. You can definitely do this butttt I would suggest sticking with the same style in most of the space. If you love a Farmhouse look to your room then stick with Farmhouse just about everything. For example: A white slip-covered sofa, Shiplap Walls, A jute rug, A chippy coffee table, and a rustic style light fixture. Now…you want to add in one maybe two elements of unexpected style. I would suggest doing so in an element that either makes a statement or in an accessory. Maybe add leopard pillows for unexpected flair or a bold print to the walls. Another example would be if you prefer a traditional style but want to add in maybe a little modern touch. Do a room in traditional wainscoting, traditional paint, traditional furniture. Now add in a modern area rug or mid-century light fixture This will be great to give it some personality.

Keep Wall Art Cohesive- When adding wall art to room think about similar colors, similar photography (ex black and white, vintage, family), similar frame finish or style. This is easy if you want to add in items like photography and maybe a wall clock just keep style similar. So if you have a room that is all black and white add a black clock and maybe add one of your textured elements to your frames ex. wood or brass.

Furniture Should NOT be Matchy-matchy- When you walk into a showroom your furniture dealer is going to want to sell you the matching couch, love seat, and maybe a recliner that is a different fabric. A bedroom space would have the matching bed, night stands, and dresser. Well, this is a big design NO-NO! If you feel comfortable doing this and happy with your space you may definitely buy an entire set, but if you want a space that feel well dressed and collected then I would suggest not to. Use the rules above to pull this off. If you plan to do a Navy and white bedroom then Buy a white bed, navy bedding, white walls, white dresser and then add your element of texture to your night stand with warm wood to contrast with the navy and white.
If painting furniture choose two pieces to coordinate but then add the rest of your furniture with your texture element. You can also do two pieces painted in a different color but be sure that coordinates back to something else in your room. For ex. if you chose to do a black painted chest, white dresser…make sure your light fixture is a black metal to coordinate to your black painted chest.

Similar Undertones– Ahh this is a tough one! I get confused on this sometimes too but I do love color! So, when doing a room design whatever the colors in your room including furniture and paint be sure they have similar undertones. Best practice is to take a pure white sheet of paper and lay out your colors. This will help you to see the greens, red, blues, etc in your paint swatches.
Paint Colors that transition from one room to the next- Of course every house and home is different. Some are more open concept and others are more boxy. Either way try to transition your main living spaces with similar color or tones. If you plan to be bold maybe select a board and batten to do a dark shade that pairs well with the white walls in the rest of the home or choose a room that is completely separate from the main living area ex. an office, bedroom to do something different.
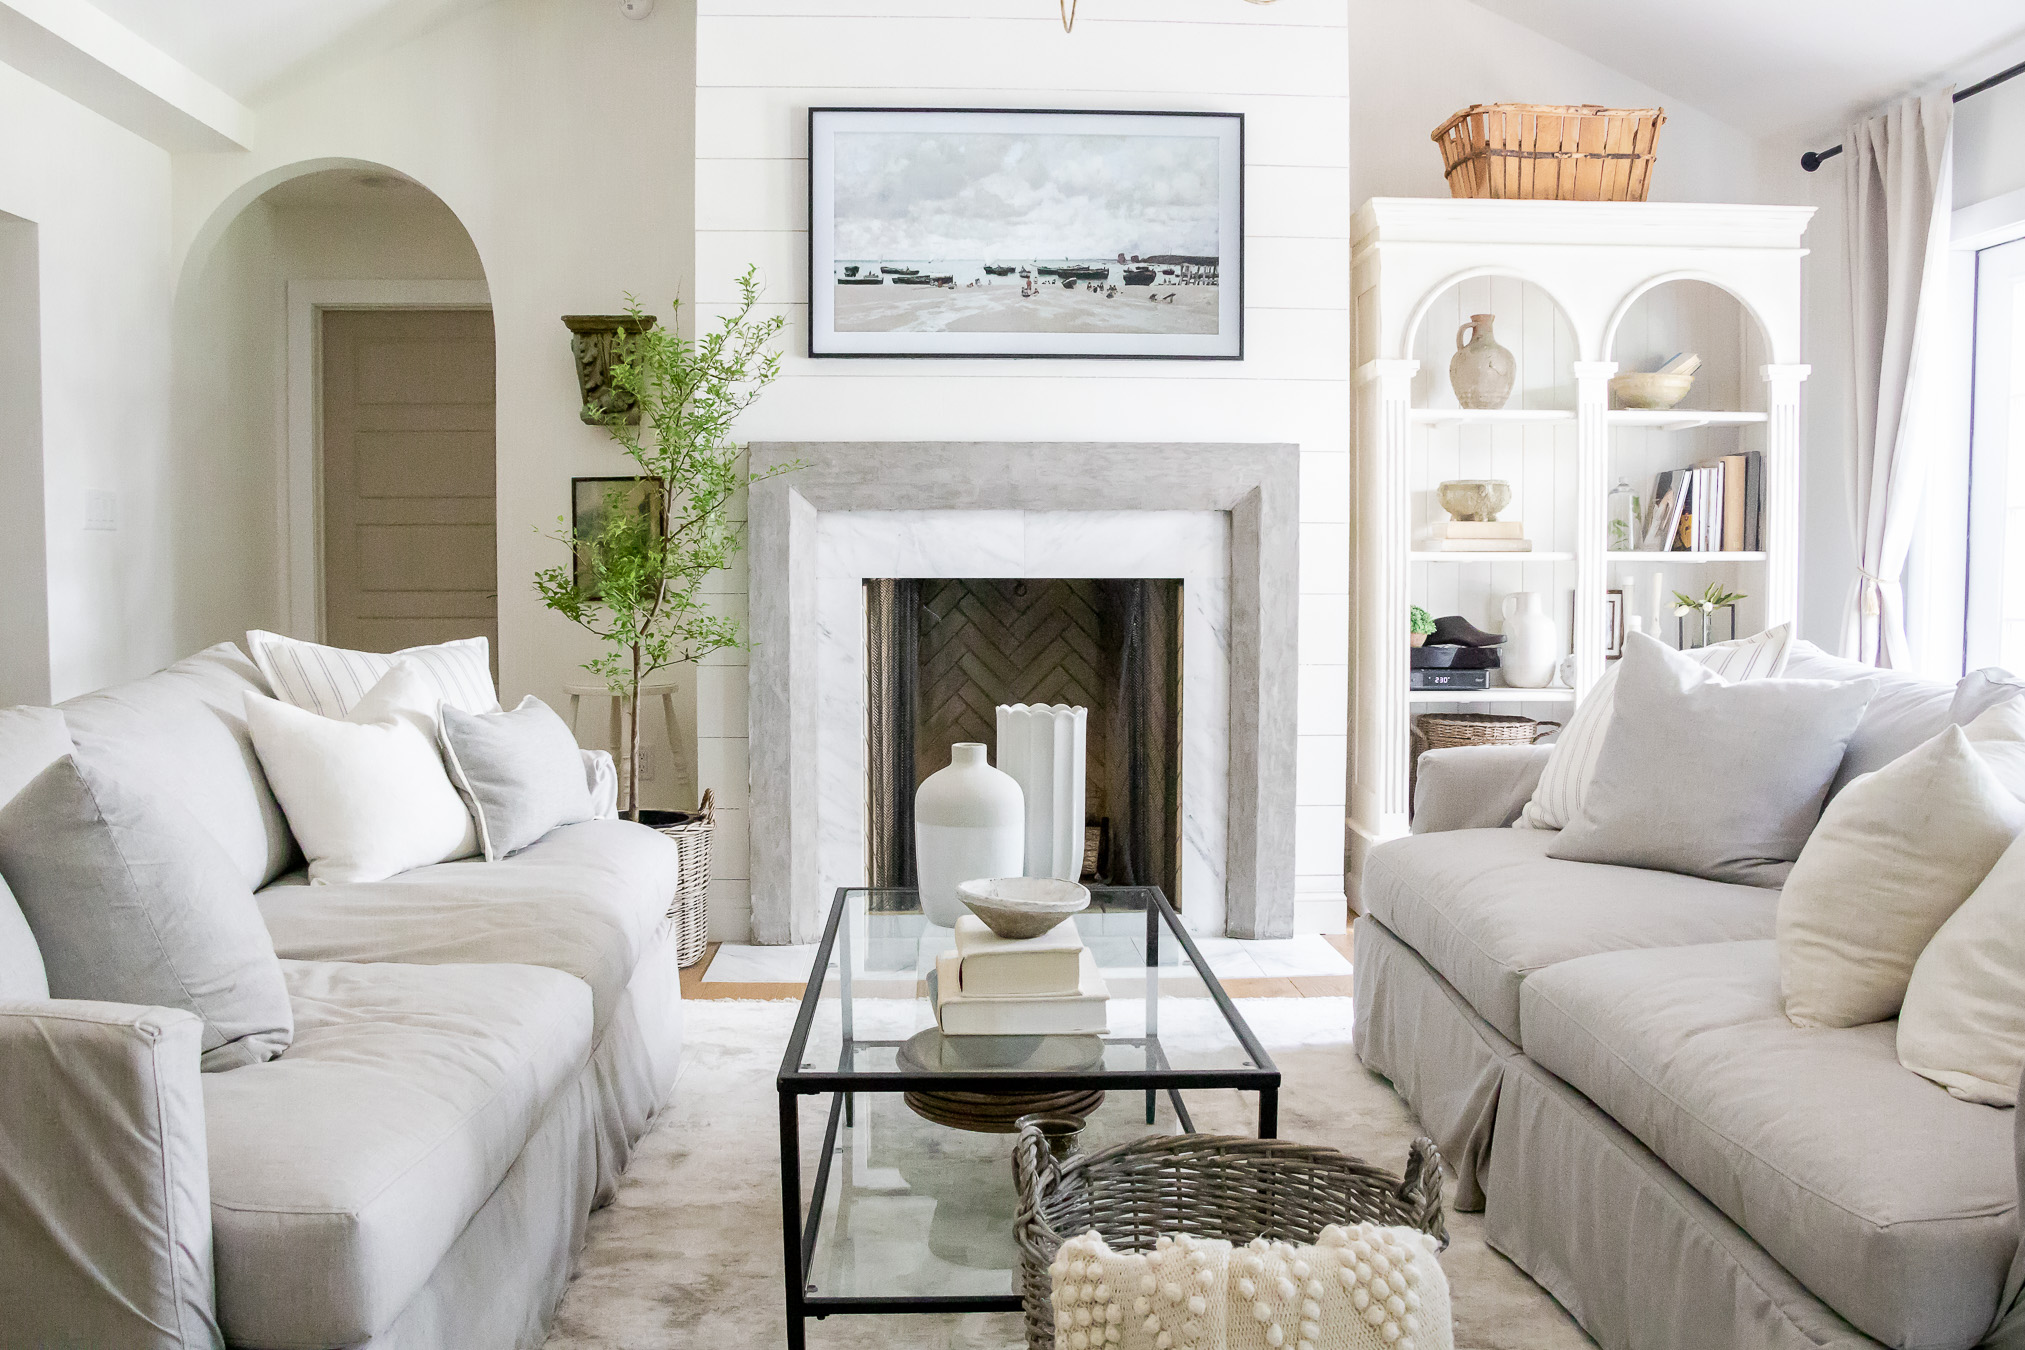
Connecting your colors with your accessories– As I spoke on before about your colors be sure to bounce similar colors around or textures around in your accessories. If you have marble fireplace add another white or marble bowl to the coffee table. Blue walls? add a picture that has a touch of blue.
I hope you find the above helpful! If there is something I missed just let me know and I will elaborate more on it. I think if you follow many of the rules above you will feel like your next room design will pull together more cohesive. Also, creating a quick design board with Canva.com will help you to see it all laid out.
PLEASE PIN


8 Responses
Loved your house and all that is in it.
Omg Deb! That was the only fun part of that whole pointless class!! It was sooooooo boring! You did design my shoe box for me too, and it was amazing! You’ve always been so talented! Love the tips, you’re still helping me (now with my house) and you don’t even know it 🙂
Ahh Marissa! I had no idea you followed me here! LOL that class was so funny and I forgot about it too and until I started writing this post and it all came back to me.
I got rid of social media a while ago but Gina told me you had a blog and I’ve been reading ever since. I’m so happy you’re doing so well! Your house is beautiful!!! We’re hoping to build in the next few years and I’ve learned a lot from what you’ve posted.
WoW !! Deb… tHaNk. YoU. so much !!
I could not read your info fast enough… so excited to put it all together for our home.
NOW I am going back and slowly re-read AND study AND make my notes !!
You have made it so easy to actually get THE COHESIVE look. Now I understand WHY
some rooms I see look nice and others have the WoW(!) factor.
AGAIN… thank you for sharing !! ?linda of no.cal. le.gans / Instagram
Linda this makes me so happy! This is why I wrote this post, I really wanted it to be helpful and hopefully break it down in the right way.
Great tips and beautiful examples!
Thank you Kristin!