Painting Kitchen Cabinets the Easy Way
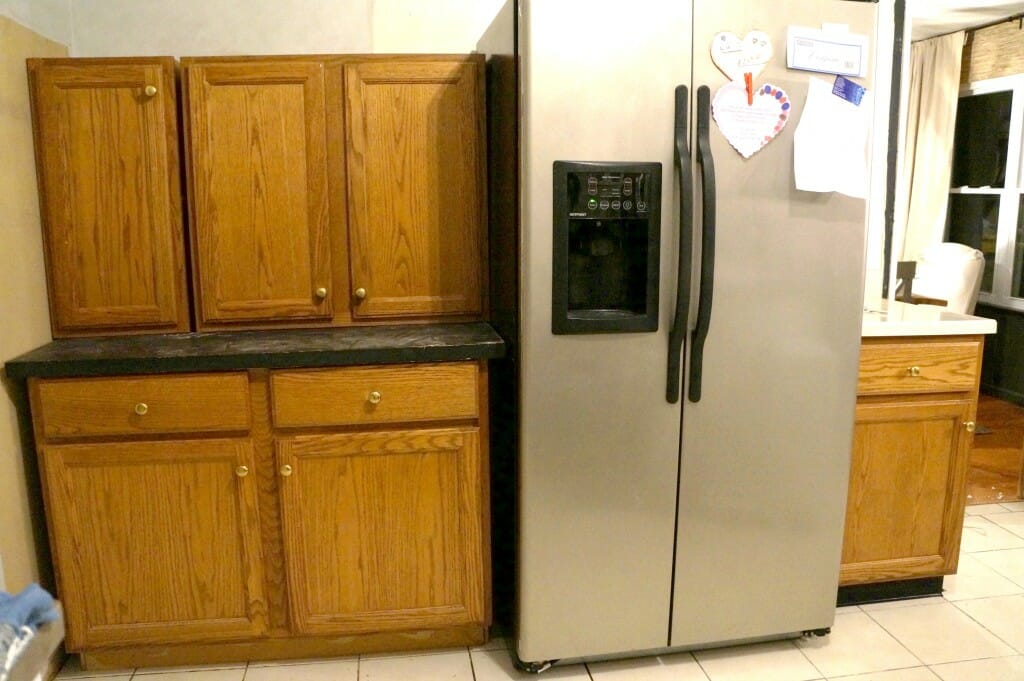
So did you all understand my pain last week? The kitchen was a mess, right? I mean thanks to painting the cabinets 3 years ago, it helped…but the organization and that pointless desk for sure had this design perfectionist goin’ nut-so!So, as I had mentioned last week, we were very fortunate to be able to receive some hand-my-down cabinets. My parents had updated their new home’s kitchen and we got the 1990’s old cabinets. The color was the same as our original cabinets (that yellow-y oak) and the size would work out perfectly. The hubby and my dad brought them over to our place and, you know like two days later I was ready to tackle this big project. Since I had already painted kitchen cabinets before, I knew I wanted to take this on as easy as possible. The process can be quite stressful especially with priming, sanding, painting, and painting, and painting. So I cut some of those details out and here’s how I made Painting Kitchen Cabinets the Easy Way.
This post contains affiliate links, that I make a small commission from with no added cost to your purchase. Thanks for your support!
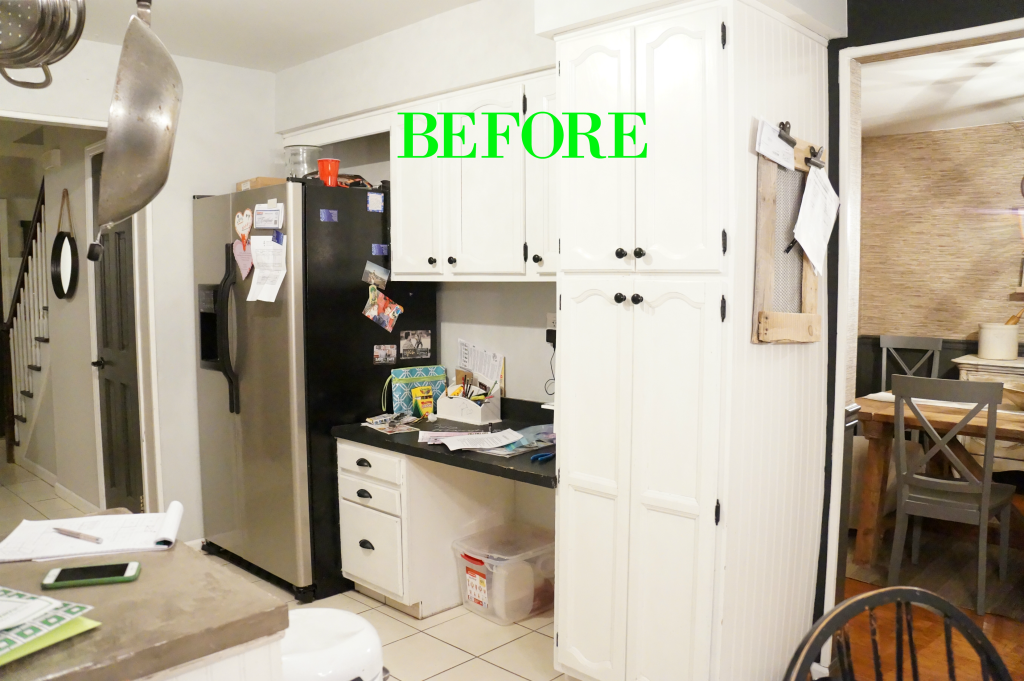
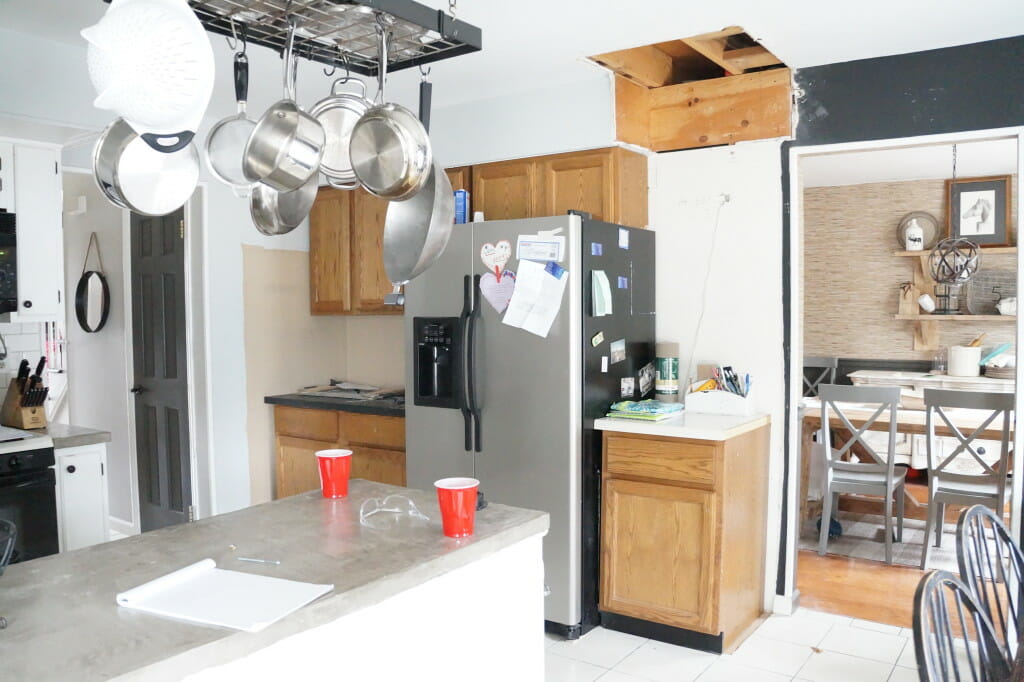
One more time, the before pic of the old cabinets
FIRST: We decided how we were going to set the cabinets up. Taking measurements of the cabinets and the space that we had. We knew we were going to work the refrigerator into the center (make it easier to once again open our refrigerator), and then we would just need to decide how much space on each side of the refrigerator we needed to work with. Okay, so I won’t bore you with measurements, because that’s just pointless…but we were pretty darn close with what we had on hand and we were for sure going to make this work.
SECOND: Did I mention that I didn’t waste no time…the night I said lets tackle this, my hubby looked at me like…”now?” you mean those cabinets are not going to sit in our garage for a few months until we decide when to finally approach this demo and design job? Yep, that’s how I work! I don’t waste no time…as soon as the thought comes to my head I want to get the project done like in ten minutes lol.
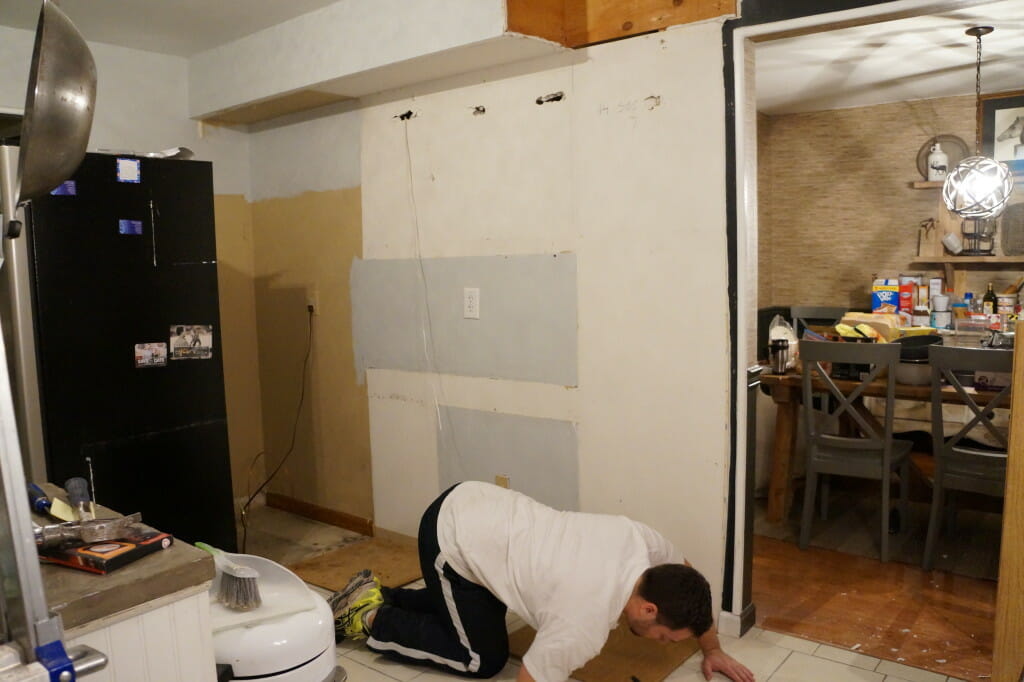
So we demo’ed out our existing cabinets, taking out all the food and items out of the cabinets, and then we went for it!
Okay, should I have prepared you, for a not-so-pretty post? So yea, see the multiple wall colors going on behind all this? How about that nasty beige-y color that when we moved in was on the wall. We left that part since it was behind the refrigerator (I know who paints around a fridge?)
Can you see the chaos in the background? WAR ZONE!!!
The hubs had to add the shelves from our old cabinets to the floor, to fill in the parts where the cabinets lay. The original owners must have tiled around them so we had to be sure to level that all out. Also, the soffit that bulged out with the pantry had to be removed HALLELUJAH!!!
Another bad pic, but this is what the cabinets looked like when we put them in, before we installed the uppers.
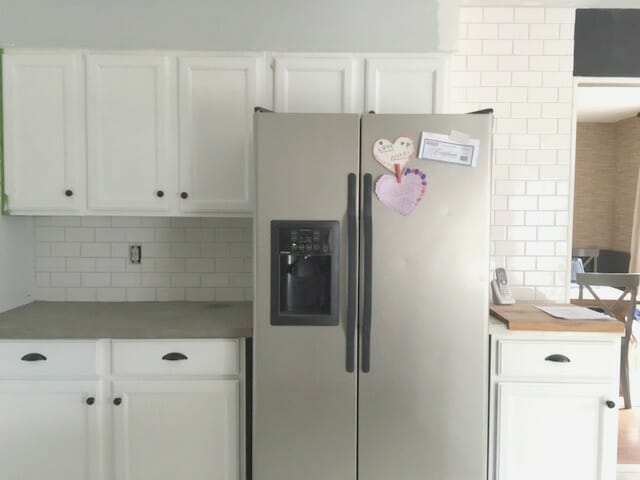
And then the after of the cabinets all put into place
Wow a world of a difference, already right? I mean the daytime photo helps too! and the cleaned up dining room makes it better!
So then came the painting
Painting Kitchen Cabinets the Easy Way
SUPPLIES:
Advance Paint (Benjamin Moore): Simply White-satin finish
Proform Technologies Paint Brush
So now why do I say the easy way? simple, because there is no sanding, no priming, and no fancy equipment when I paint my cabinets. I’ve had a little experience now with painting furniture and cabinets and after some practice I knew exactly how I wanted to take this one on.
first: I did not want any priming or sanding or removing cabinets
second: I wanted a great paint brush to make this easy (no brush strokes)
third: limit my amount of coats and time spent on this.
So since I knew what I wanted, I had to really make sure I was going to do it the right way. I went with the same paint that I had gone with when I painted the original cabinets. Of course I wanted the same color and I wanted the same paint. So I chose my very dependable best paint for Kitchen Cabinets, Benjamin Moore (simply white, satin finish) and in the Advance paint. This is the paint that they recommend for kitchen cabinets. I chose the satin finish this time around instead of the semi-gloss. I originally did NOT want semi-gloss on my cabinets, but my husband and the guy at the Benjamin Moore store convinced me it was the best to clean up. Which they are right, but it’s too glossy for my taste…I mean you’re talking to a girl who would love everything in a flat finish. So I asked the man at the counter if the satin would still be easy to clean (with a little less sheen) and he said absolutely! So I was thrilled. I have to admit it’s wayyy better then the semi-gloss.
So of course the paint was right, now for that paint brush. I usually buy cheap paint brushes because I hate thinking of spending so much money on a silly paint brush. Not to mention that most of my paint brushes end up getting ruined if I don’t clean them right or they end up sitting on top of the paint can too long while I am running around in the midst of a project. So this time around I knew how important it would be to invest a little more in a paint brush to make this a flawless project.
Proform technologies : is the way to go!
This brush changed my life when painting. I will be forever sad the day that I ruin this brush, because it not only made my life easy when painting these cabinets, but it has made every project thus far since painting the cabinets easy. Now, it is for sure a little pricier then most of the paint brushes I use ($2 paint brushes lol), but when I talked with the guy at the store I asked for something in the middle with price pt, but still extremely effective, and that is 100% what this is!
STEP 1: So, be sure to clean your cabinets real well. I chose just some acetone to wipe down the cabinets with, but then immediately went to painting. Don’t be shy with this go for it!
No, sand, no prime, just great paint that you can count on. I chose to do this since the cabinets I sanded and primed last time still needed 3 coats of paint which felt ridiculous if you counted the time I spent sanding and another coat of primer. Why waste more money on a primer when this paint sticks well and you know you have to do a few coats at least. I feel if the sanding and the primer allowed for one coat of paint then it would have been worth it, but I knew that would not be the case after already having practice on the previous cabinets.
STEP 2: Paint each cabinet starting with drawers keeping them open and then work around the frame. Move to opened cabinets and Repeat and return to dry cabinets for remaining coats. As long as you stay neat, tape where you need to tape, and take the time to let each coat dry, this is a SIMPLE process.
DON’t Complicate it!
Now, it took about 3 coats of paint and in some larger sections (like side of cabinets and some doors) it took about 4 coats. Though that seems like a lot, it really is not when you think about all the work you would have done if you removed the cabinets and had to sand, and then prime, and then paint. This simplifies this process! Remember you’re painting cabinets, it’s time consuming, just keep it simple that’s all.
And that’s it! add your hardware and you’re good.
I am so thankful mostly to having great paint and a great paint brush to rely on. I dealt with less drips this time around and a much smoother surface then I had when I originally painted the cabinets. This will most likely take you about two days to paint completely, but you could for sure get this done in a day.
More Kitchen Updates
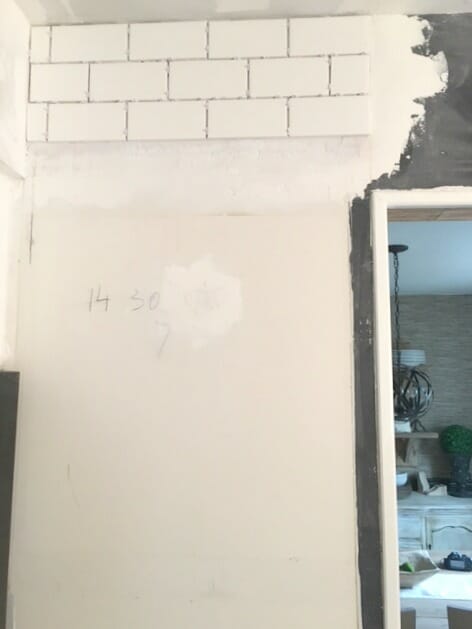
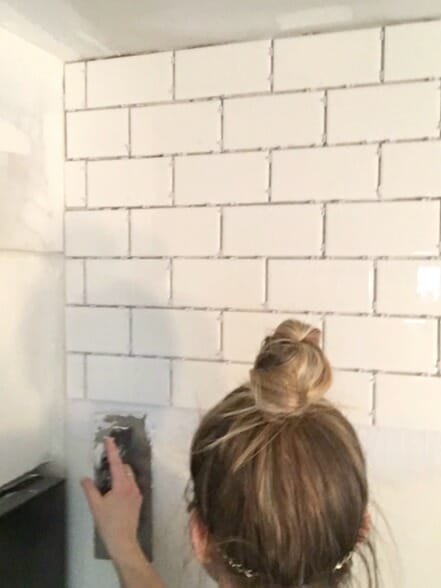
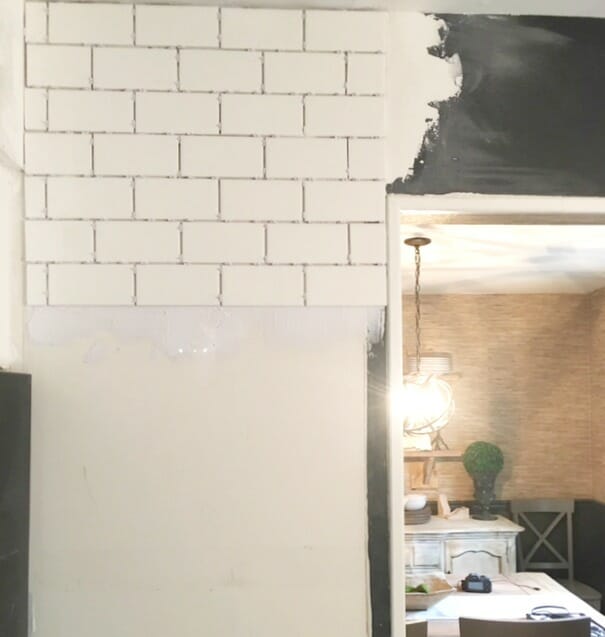
Next, the added subway tile as our backsplash to tie in to the other side of the kitchen.
follow along with some of the reno photos on Instagram: #SLLKichenReno
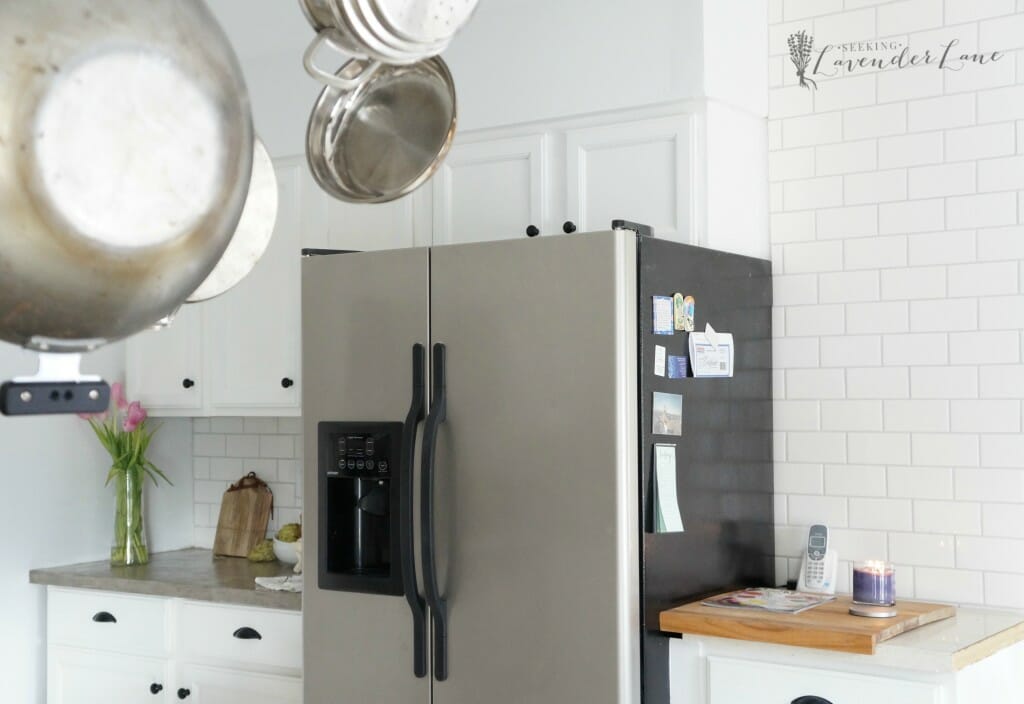
Once, the subway tiles were complete!
and we painted the walls as well with Sherwin Williams HGTV Home: Pure White.
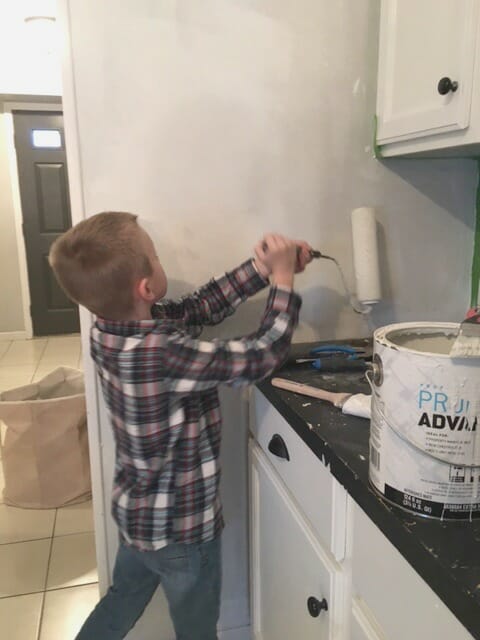
little helpers!
We tied in this side of the kitchen to the other side with the Ardex Feather Finish Counters. See here for pictures of the other side of the kitchen.
More to come with changes, I can’t give it all away, quite yet! But gosh this side of the kitchen is coming along so, so nicely! I love the subway all the way up the wall, don’t you? I have plans to add some beautiful marble shelves here and below a touch of warmth with a butcher block counter.
Please Share! To see my post and others at the ORC link up, click here!
sharing with: remodelaholic.com
PLEASE STAY A WHILE
Concrete Countertops: All you Need to Know About Ardex Feather Finish Countertops

![DSC07727[1]](https://seekinglavenderlane.com/wp-content/uploads/2016/04/DSC077271-1024x682.jpg)

It looks great! I love that you took the subway tile to the ceiling on the end. I’m really excited to see it all complete 🙂
Amanda recently posted…Week One ORC – Master Bedroom Makeover
Thank you Amanda! Yes, I think the subway tile is my favorite part. I wish I could have more of it to the ceiling.
Looks fantastic. I agree, BM Advance is great paint. I didn’t use that in my kitchen because the recomendation was Ace cabinet and trim alkyd paint. I worked ok,but the dry time was forever !!!!! I used the BM Advance in my second story on trim and vanities and it was wonderful to work with. I’m going to try one of those brushes. I now use Wooster and Purdy, but I’m always up for a new brush !
Yea, for sure I think once you find a great brush you like it changes your creative life lol
Oh wow, what an amazing difference. It looks fabulous. Can’t wait to see more.
Marty Oravetz recently posted…Thrift Store Room Makeover # 3 – Small Living Room
Thank you so much Marty!
Looks much lighter and brighter in your kitchen. I made the mistake of painting our cabinets semi-gloss and I hate them. I’ve been thinking about repainting them but the thought of priming ,etc. makes me want to vomit. I must look into this BM paint and that brush. Looking forward to seeing the rest of the kitchen as it progresses, Deb.
Marie, The Interior Frugalista recently posted…A Dated Jewelry Box Now Pretty In Mint
Thanks Marie! yes, Semi-gloss is not-so-great. I bet you could paint right over (at least that’s what I would do lol) It’s just a process to do it all over again unless it’s in desperate need of it.
Looks great! I absolutely love the counter tops, too.
Thanks Brittany!
Deb – wow! You have accomplished so much! Your kitchen is looking fabulous! We hope our ORC project progresses well too. Cheers to a great week!
Thanks ladies! I have to stop on by your page and see what you’re sharing for ORC. Can’t wait to see!
Your cabinets look gorgeous! I’ve been wanting to paint our cabinets for years, but so many people keep trying to convince me otherwise. Definitely pinning this for later!
Leslie recently posted…Potted Plant Benches & Privacy Screen: You Decide!
Hi Leslie,
I say go for it! It makes the kitchen so refreshed and new. I bet you will love the way it turns out!
I really want to paint my kitchen cabinets this summer. Now with your encouragement, maybe I will actually get it done! This sounds doable! Thanks for the tips!
Hi Pamela! Oh I am so glad this was helpful. Let me tell ya, it’s a process and you definitely need to have patience, but keep it simple and you will get it done before you know it!
Ha, it is amazing how your dinning room looks so well put together when you show it on the blog. And then there is the kitchen..LOL! Well, we all have those “not so pretty” spaces among the prettier ones, don’t we. I am with you..redoing an ugly bathroom for the ORC that I have never showed on the blog. Hope your new paint and everything works out well. It loos good already. I need a paint brush like this one. Thanks for sharing!
Thanks Zan! Oh yea, every room need a little work. This one took two makeovers to get it to where I want.
I love what you did here! I’m so copying it! Did you just paint over the hinges for the cabinet doors?
Actually, these cabinets had hinges in the inside. My original doors had the hinges on the outside and we spray painted them black.
I’m surprised you find you need no sanding with BM advance. I’m on about 200′ of trim so far this past week, and I’ve been hand painting it all with advance. I can get my first coat to go on ok. But, with some sanding in between (abranet is amazing), the wet paint (Satin gloss) could be used a mirror by the 2nd or 3rd coat. I get a few odd ball and small brush strokes, that no one will ever notice, but it is almost like porcelain. Is that what you were able to achieve on vertical surfaces with no sanding?
Hi Conor, Yep! loved using it…super silky smooth and a bit of sanding on those drips in between is probably all the sanding you need in this project. Ugh…trim is no fun…wish you the best with your project.
Wow, you made so much progress. Your kitchen already looks so much better.
Thanks you!
Wow – this was really inspiring, and I loved the detailed instructions. Just to make sure I understood — did you paint the cabinets while the drawers and doors were still on them? Or did you remove them and lay them flat somewhere else to paint them?
Thanks.
Thank you so much! I’m glad this is helpful! We painted the cabinets with the drawers and cabinets still on. I wanted to simplify this process as much as I could, and keeping everything on made it 10x’s easier. you just have to be sure to open drawers and cabinets when painting and let things take their time to dry between coats. Other then that this process is time consuming but simple!
Your makeover looks fabulous! Our cabinets are the same as yours were that horrible yellow oak color. I’m just curious how your paint has held up since some time has passed?
Hi Penny, thank you so much! The cabinets look great and have held up so well. My original cabinets which I painted almost 4 years ago have chipped on the corner over time…so I keep paint on hand to patch that…but the ones I did last year have yet to chip. I definitely say stick with the satin finish it works better. The first set I did was with the high gloss and I think that may be why they chipped a bit. Hope this helps!