


Remember that series of posts I mentioned..oh I don’t know maybe about a month ago…well welcome back to it! I know you probably all thought I was going to share each step once a week a of the bathroom makeover and then I kind of just stopped talking about it. Well it all started with the Stamp Wallpaper tutorial I showed you. I just love how easy and dramatic that simple stamp made my walls. Well since I had a few collaborations with other bloggers I kind of got all tangled in and decided to let you all sweat this one out. Hahah not really I’m just super unorganized and probably should have waited to share the stamp tutorial now. Oh-well here we go
PART 2 OF THE POWDER ROOM MAKEOVER, begins NOW!
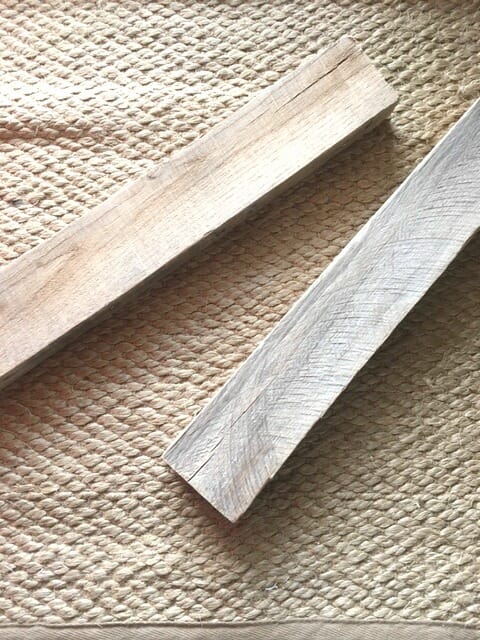
So this probably was one of the cheapest DIY’s to date, maybe besides the $0 Rustic shutters I did, This one is second in line. So, we had come across (back last spring) a pile of FREE pallets. We were the only crazy people jumping out of our car snagging some as if we just saw gold! Have I mentioned before that I get super embaressed picking up stuff from the side of the road and I make the poor Mr. do it for me since he doesn’t get nearly as embaressed as I do. So here the pallets kind of hung out in our garage until the time was right to make some pallet wood DIY’s. We did use one of the pallets when we added some rustic decor to our Family Room last year. Other then that the rest of the piles of pallets just kind of hung out. So I knew when we were doing this project that I had two really nice chunky-rustic pieces that would be perfect for some shelving.
Here’s the thing…the pallet wood is pretty narrow, but I thought that was perfect since I really did not want a large shelf that someone could stand up from the toilet at bunk their head on. So just adding these shallow shelves would be perfect for adding just a few decorative accessories to.
So here’s how it went down.
SUPPLIES

Pallet Wood

at that’s all
no really that’s all
Sand down the pallet wood first to get a nice smooth surface. Though you want your wood to be rustic and rugged looking you don’t want to get splinters if you touch it.
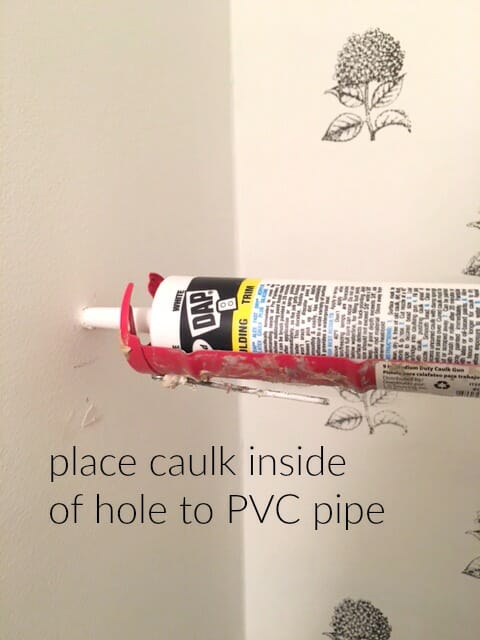
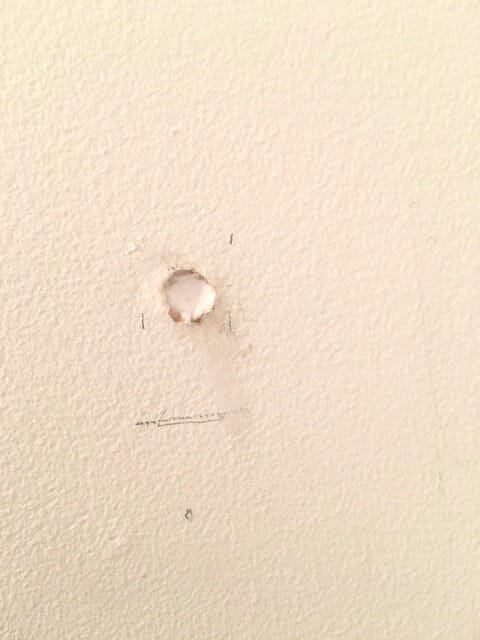
Next, screw those L brackets into the wall! (can’t be that simple) It wasn’t. We totally goofed up on this one and forgot that we were dealing with a bathroom here. We screwed right into a PVC pipe ahhhh! Yes, they exist and if the drill goes in with a hesitation you probably just did the same thing. It came up as a stud on the stud finder but what do those things really know? It was not quite a stud but a very important PVC pipe that could totally cause major damage just for our dumb decorative $5 project.
So here we began the frantic search on google, how to avoid a major issue and what to do. Well good new…other people have done this same thing before. So we got some good tips on just caulking the hole up and then we would be in good shape. And we were, it was fixed and now we know better…bathrooms are tricky you got more then just studs behind the walls.
Now that it was fixed we were back at finding the real studs and then drilling the brackets in. I decided that putting them on the bottom would look less noticeable. The L brackets are not super pretty, but since we had shallow shelves and I knew I would be adding cute accessories to the top we did not have to invest in anything too expensive here.
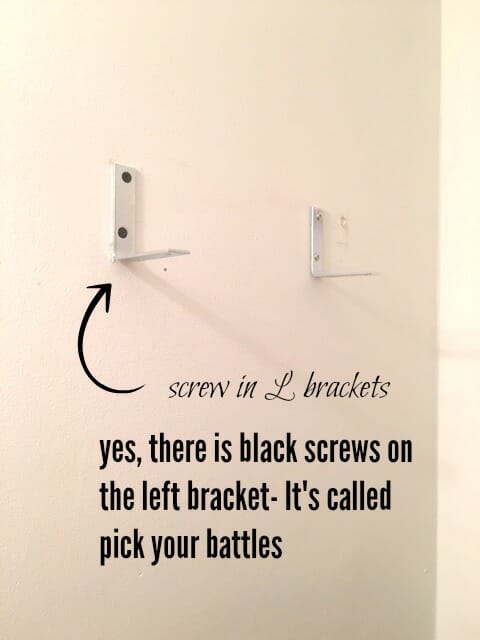
Space shelves 8.5″ apart.
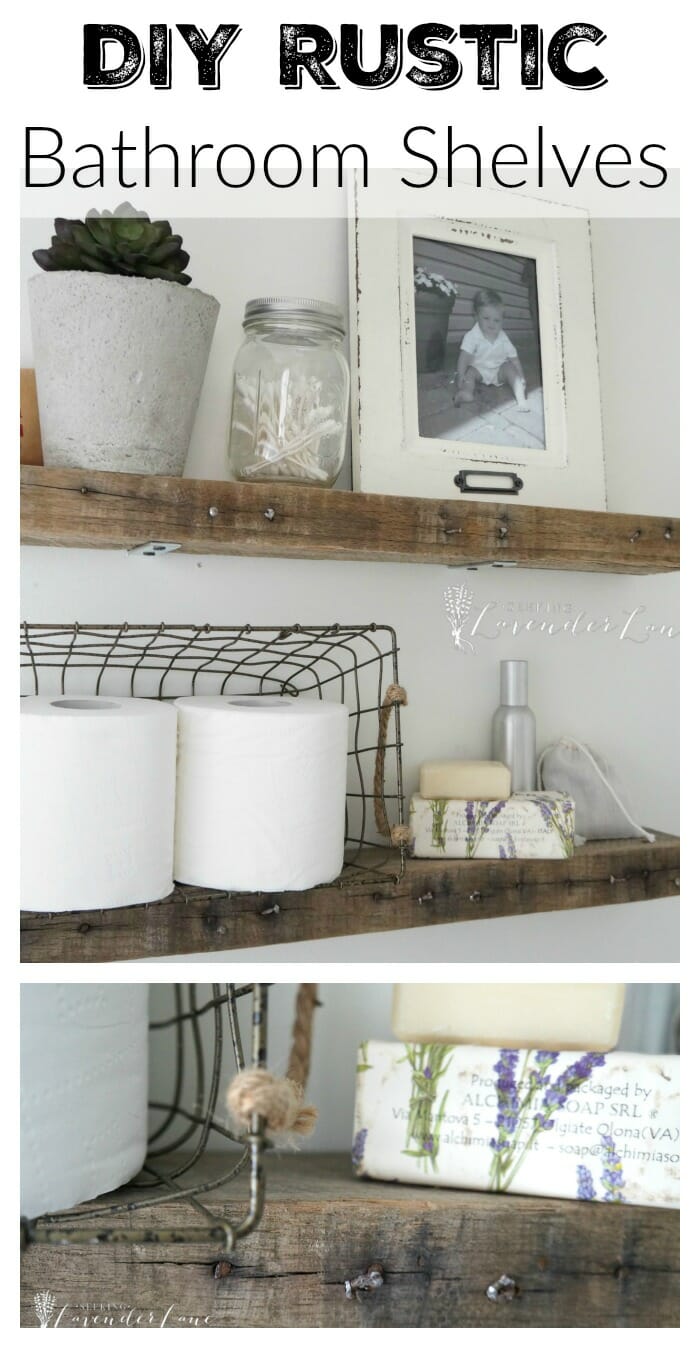
Then for my favorite part, the styling of the shelves. I went to Homegoods picked up some cute frames and then happened to have this wired basket from Target’s $1 section and put it all together. My favorite were the lavender soaps that just made the entire bathroom really smell like a french cottage (kind of what I was going for).
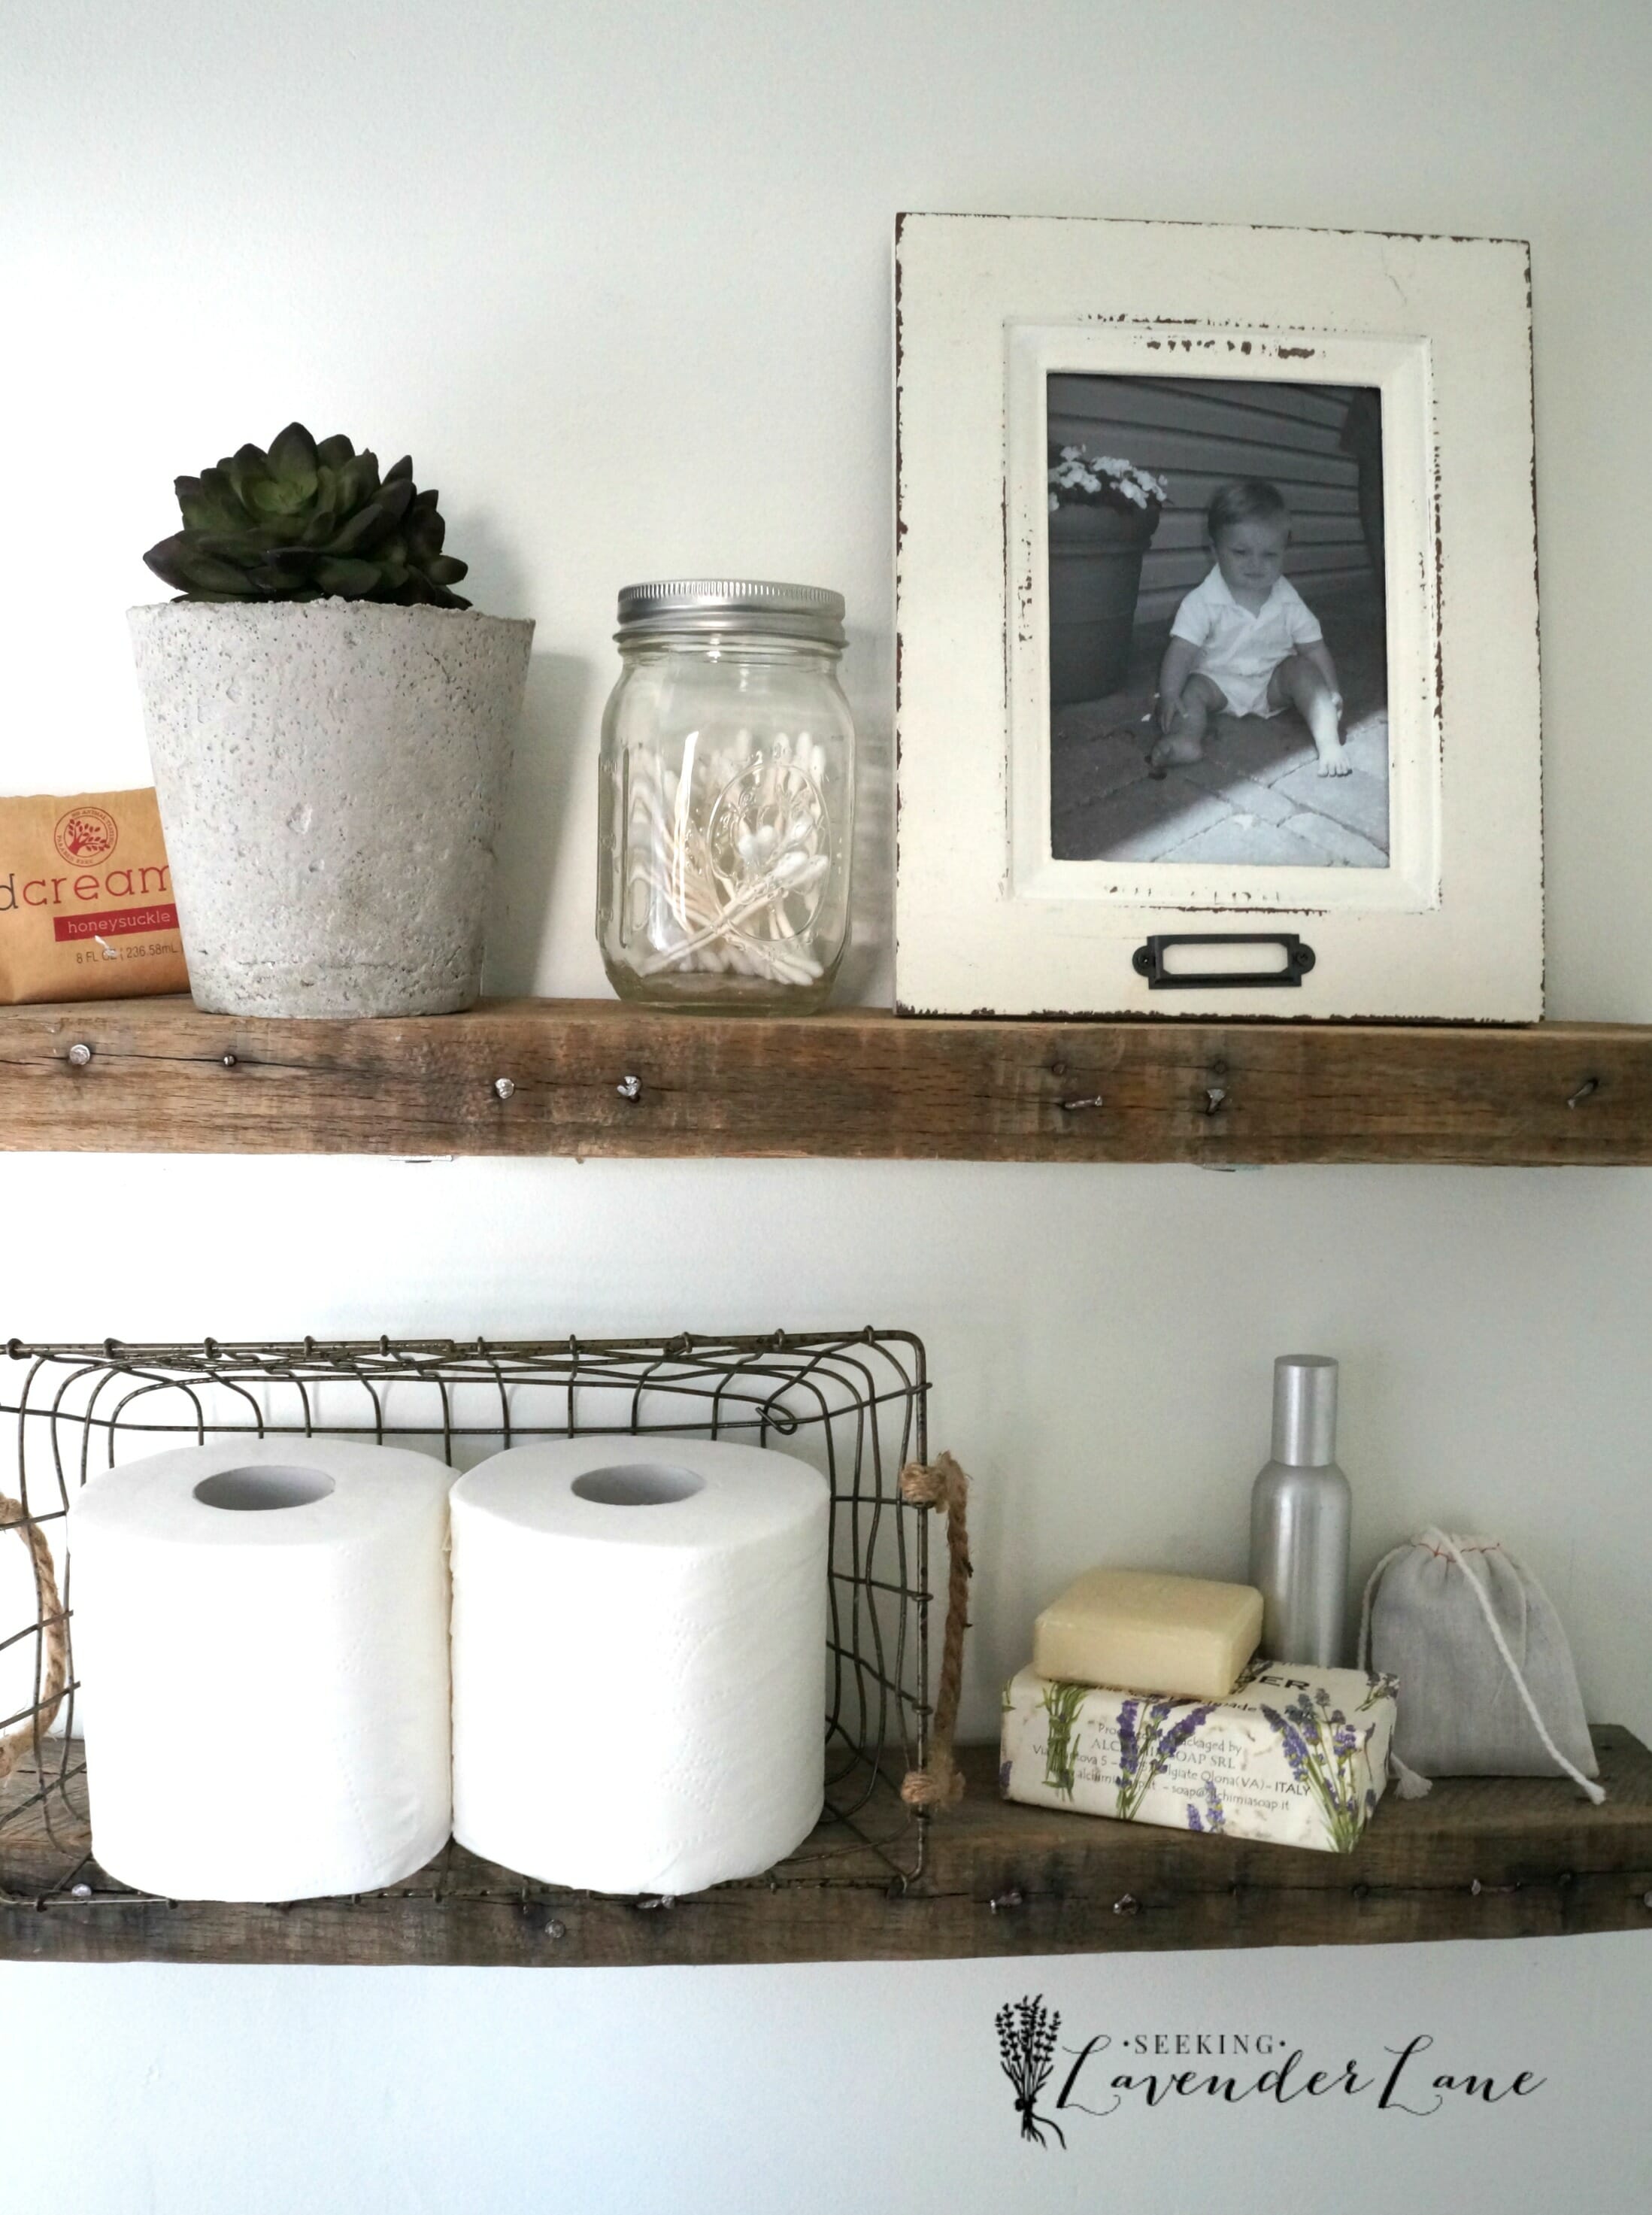

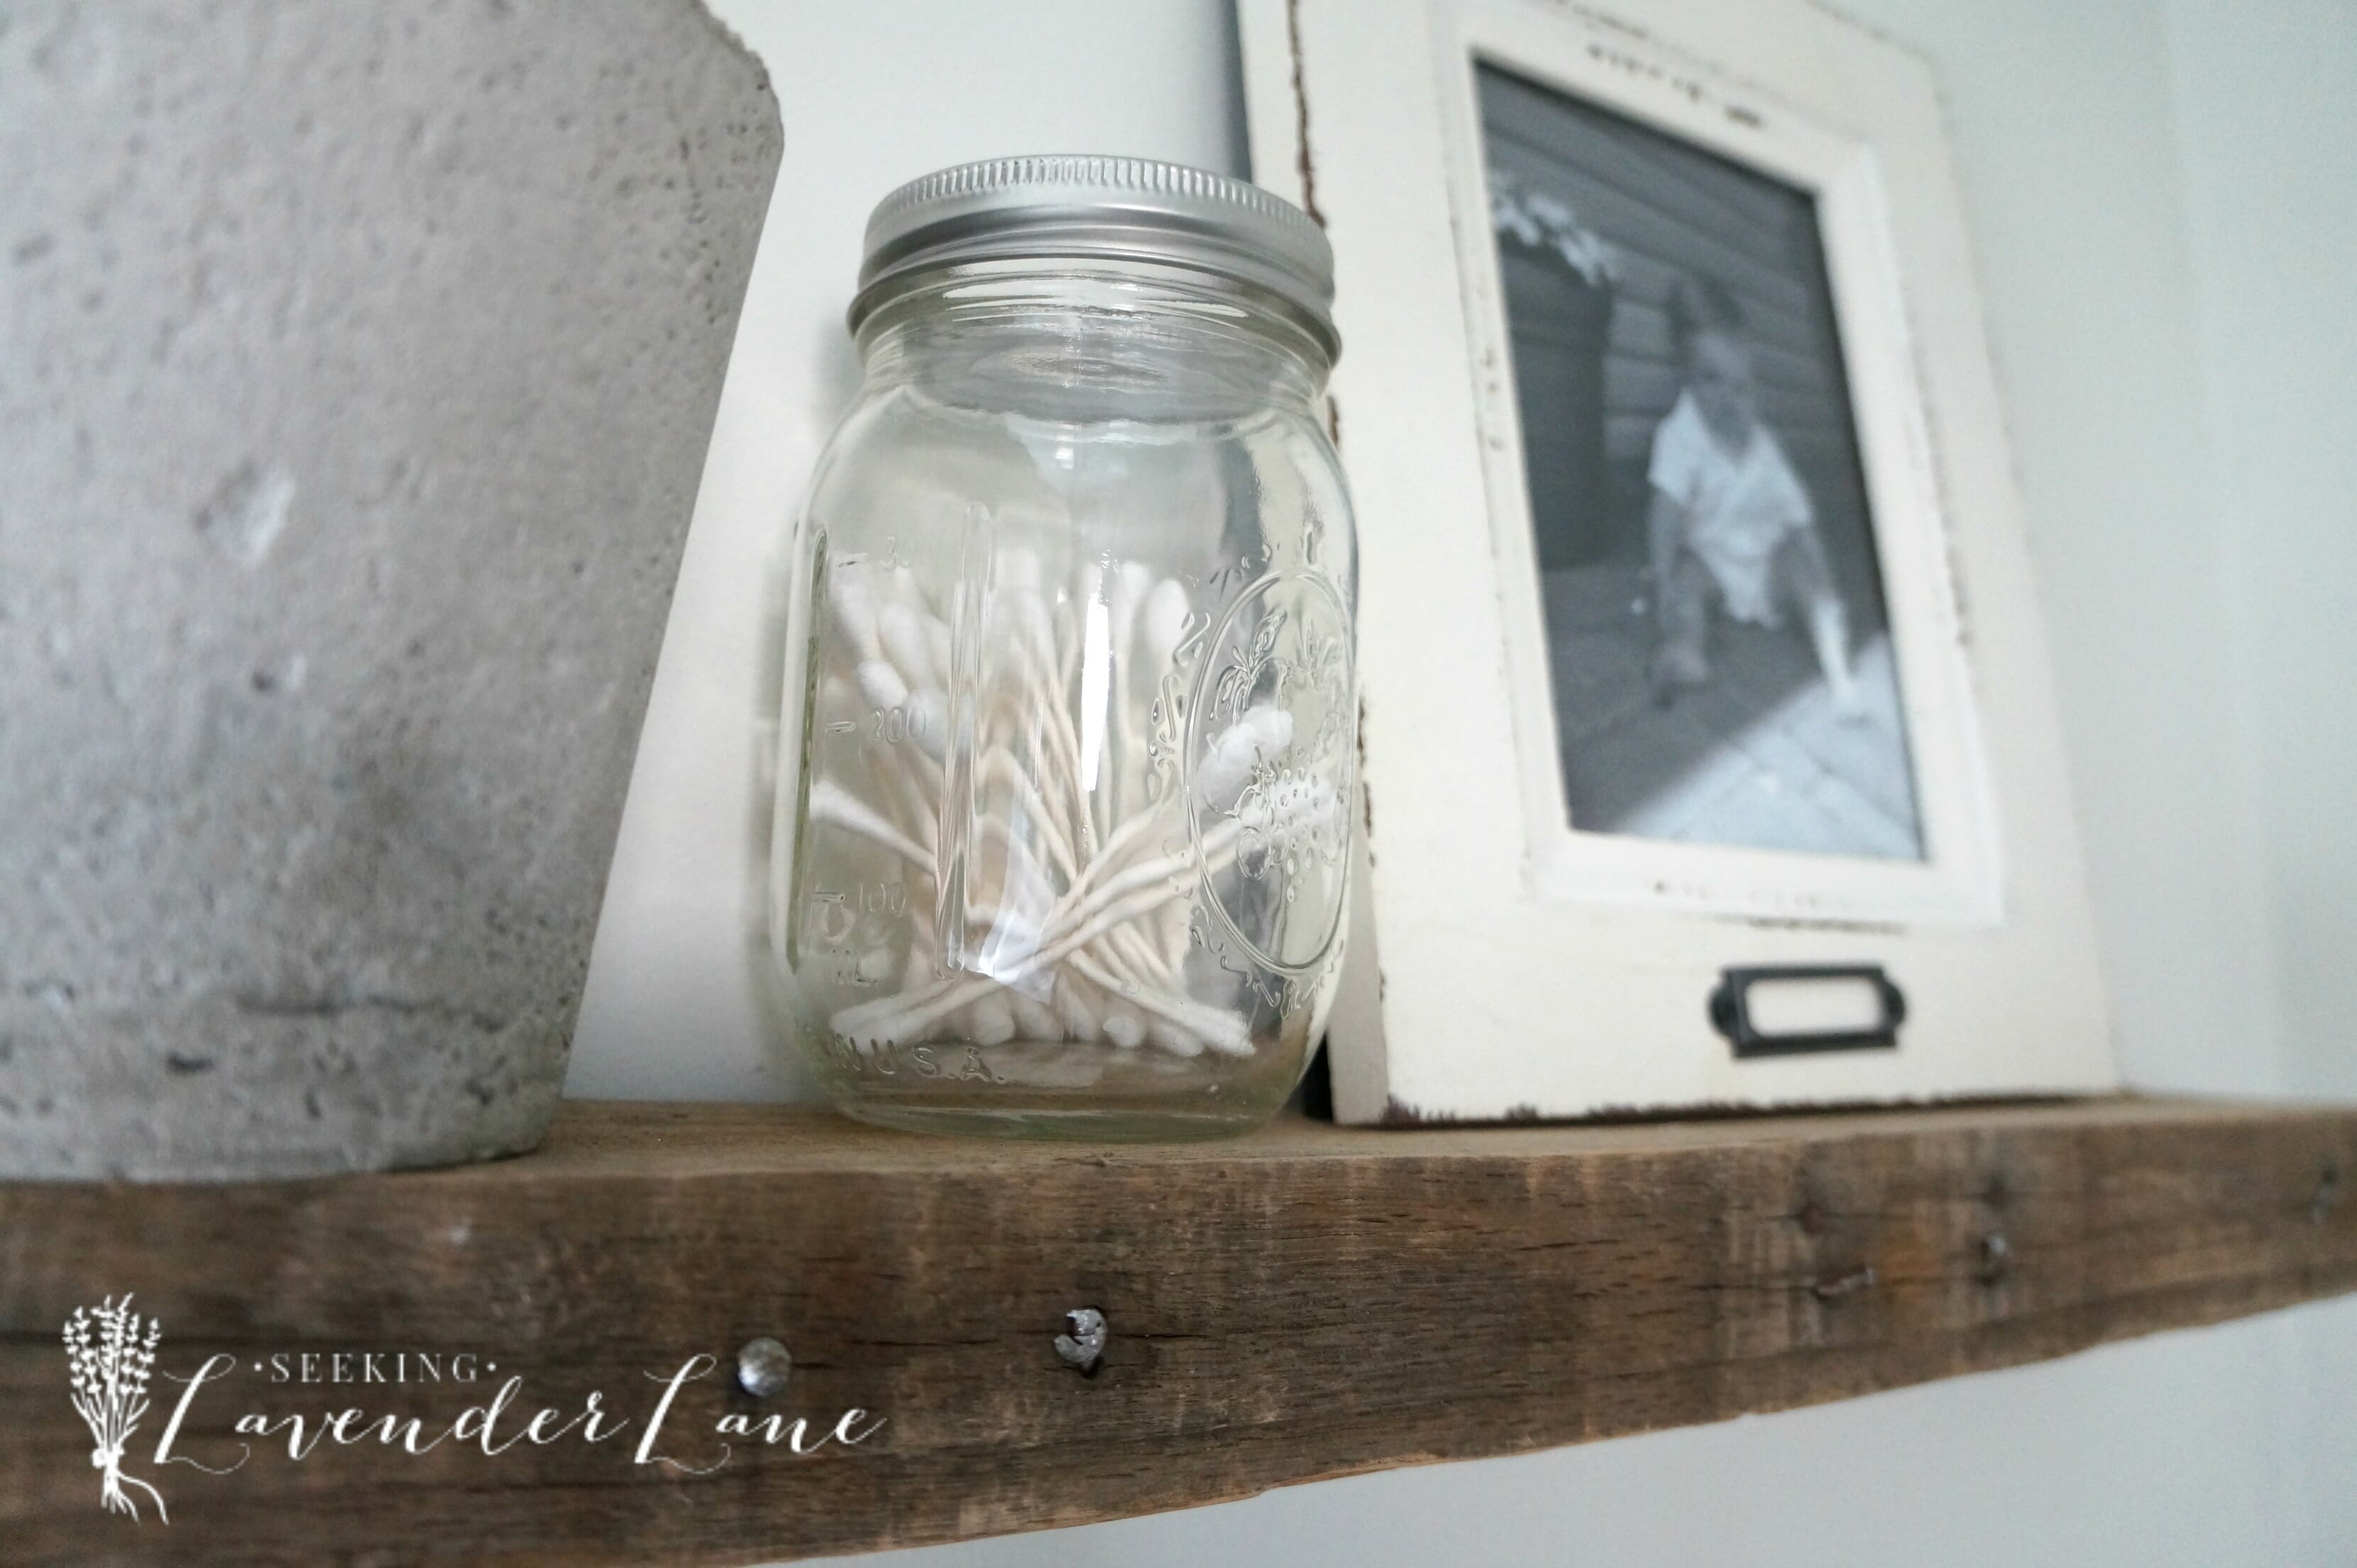
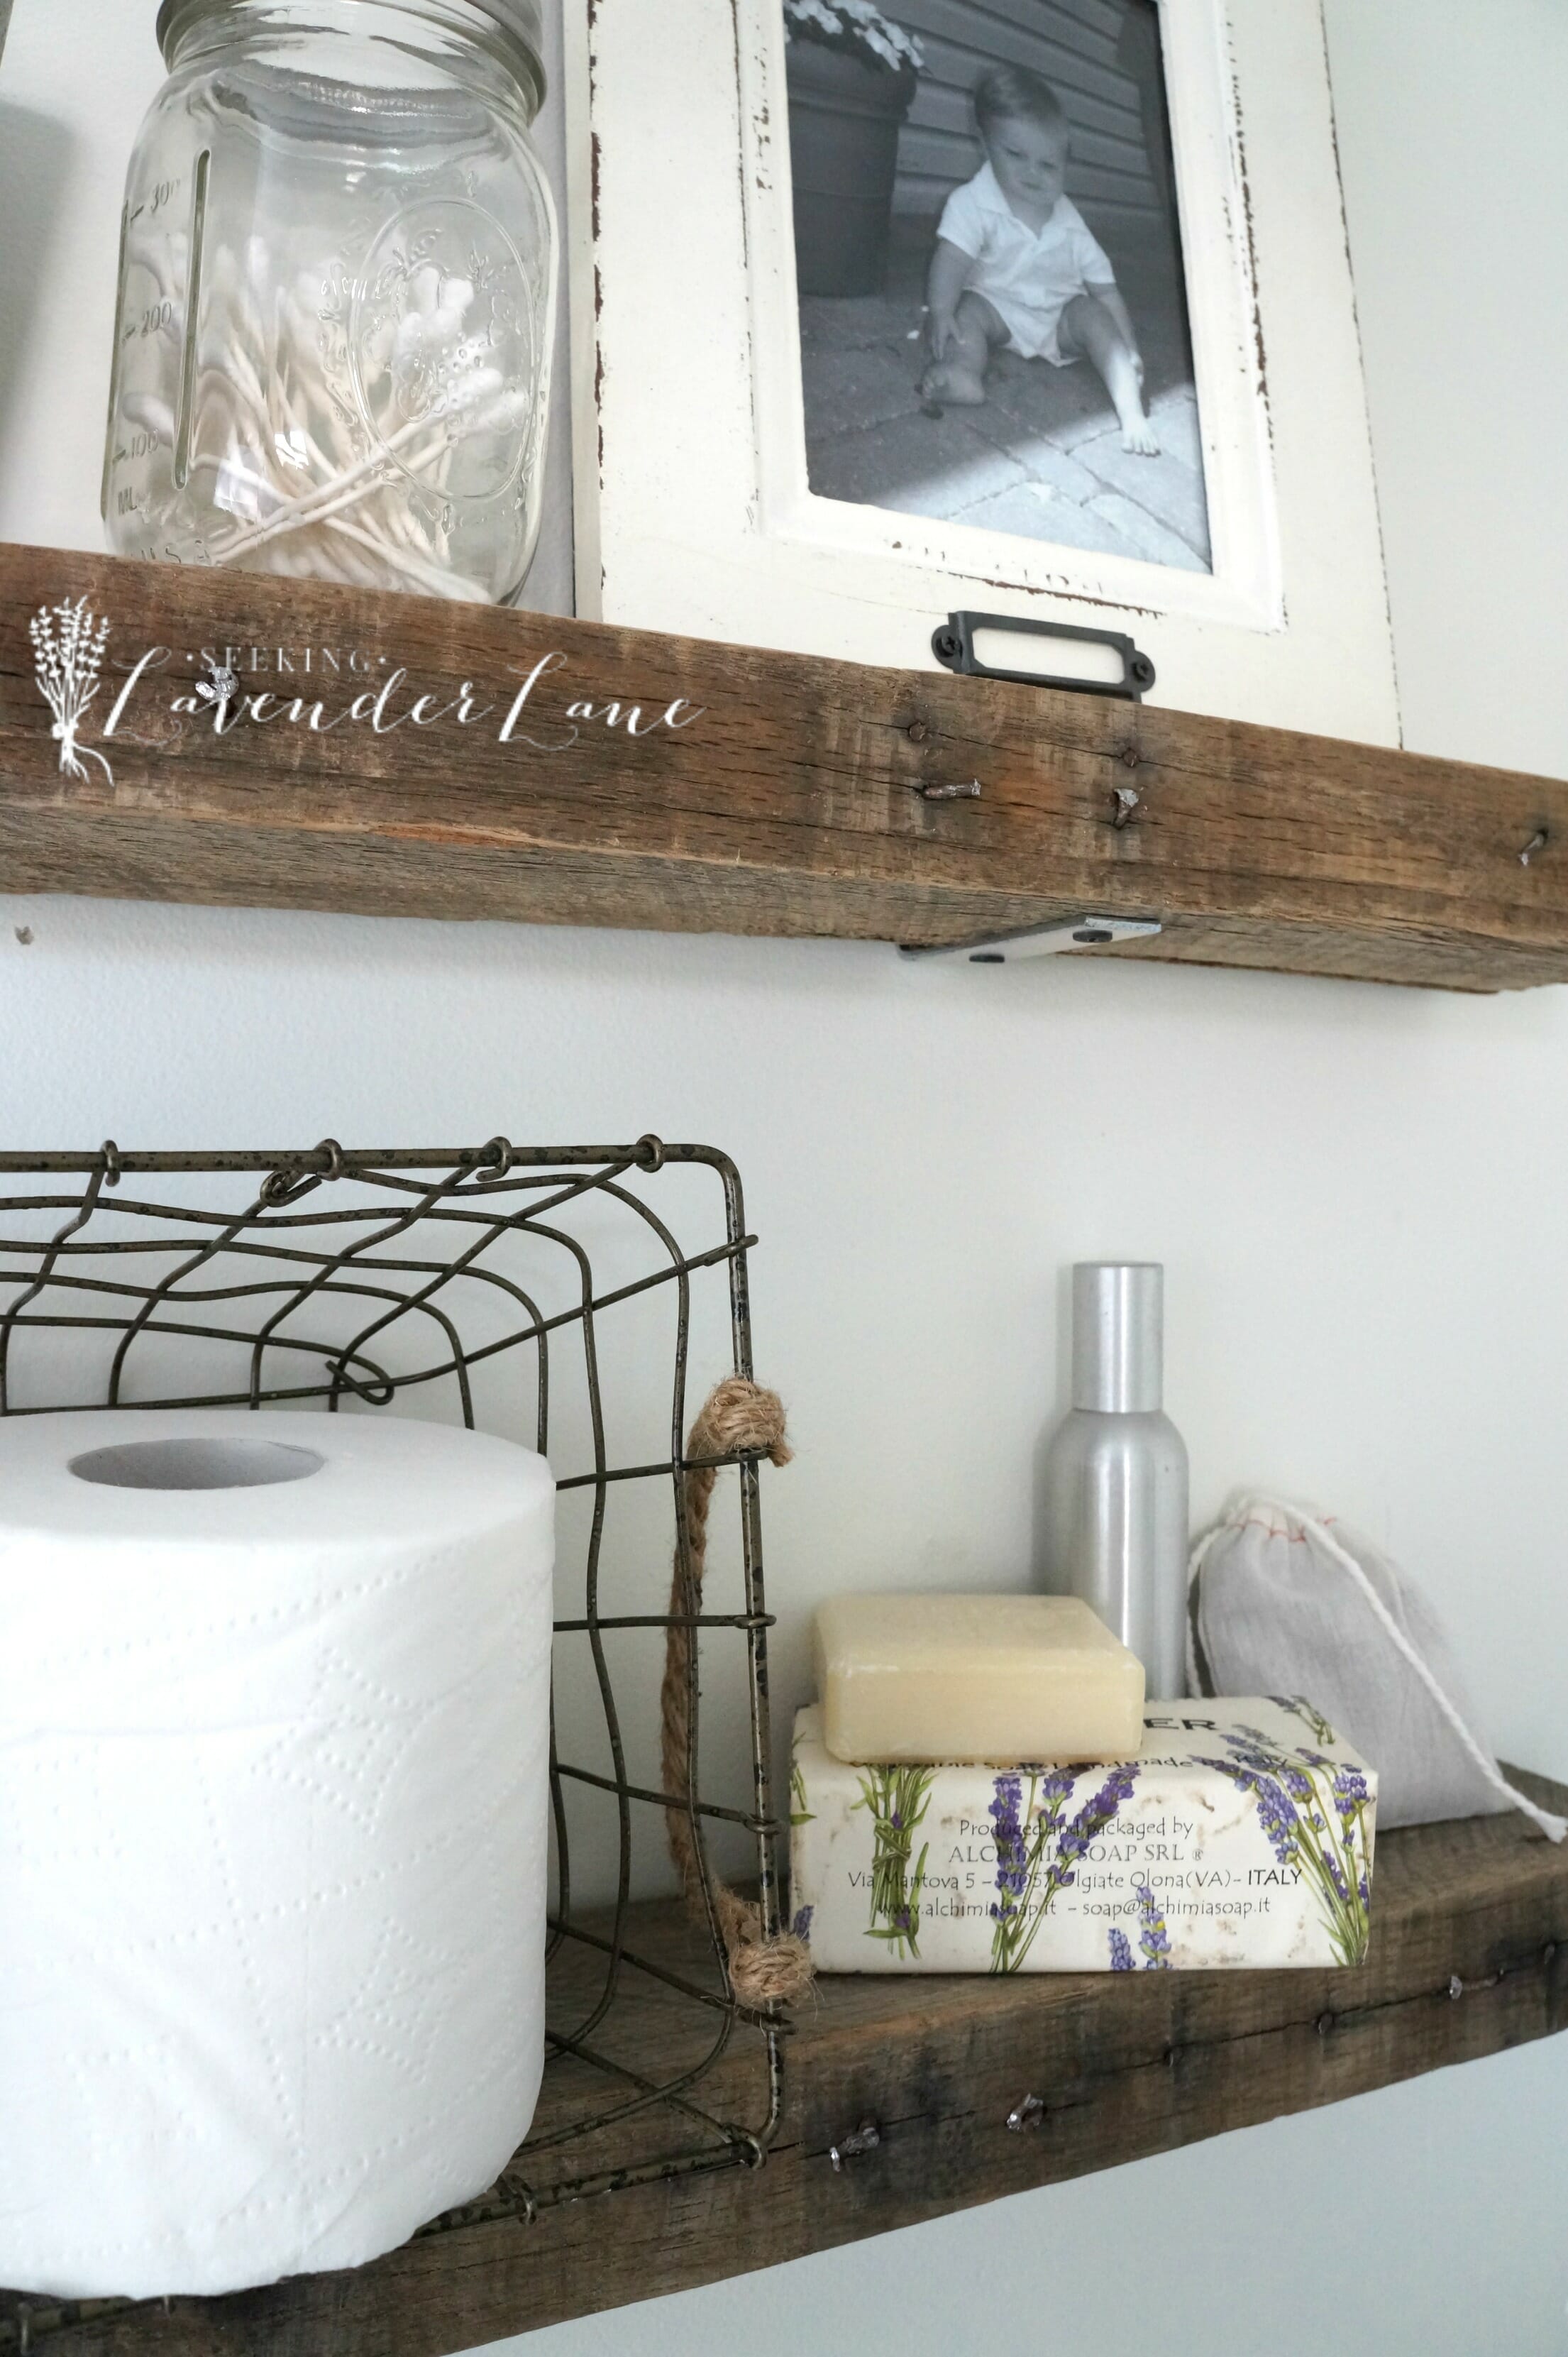
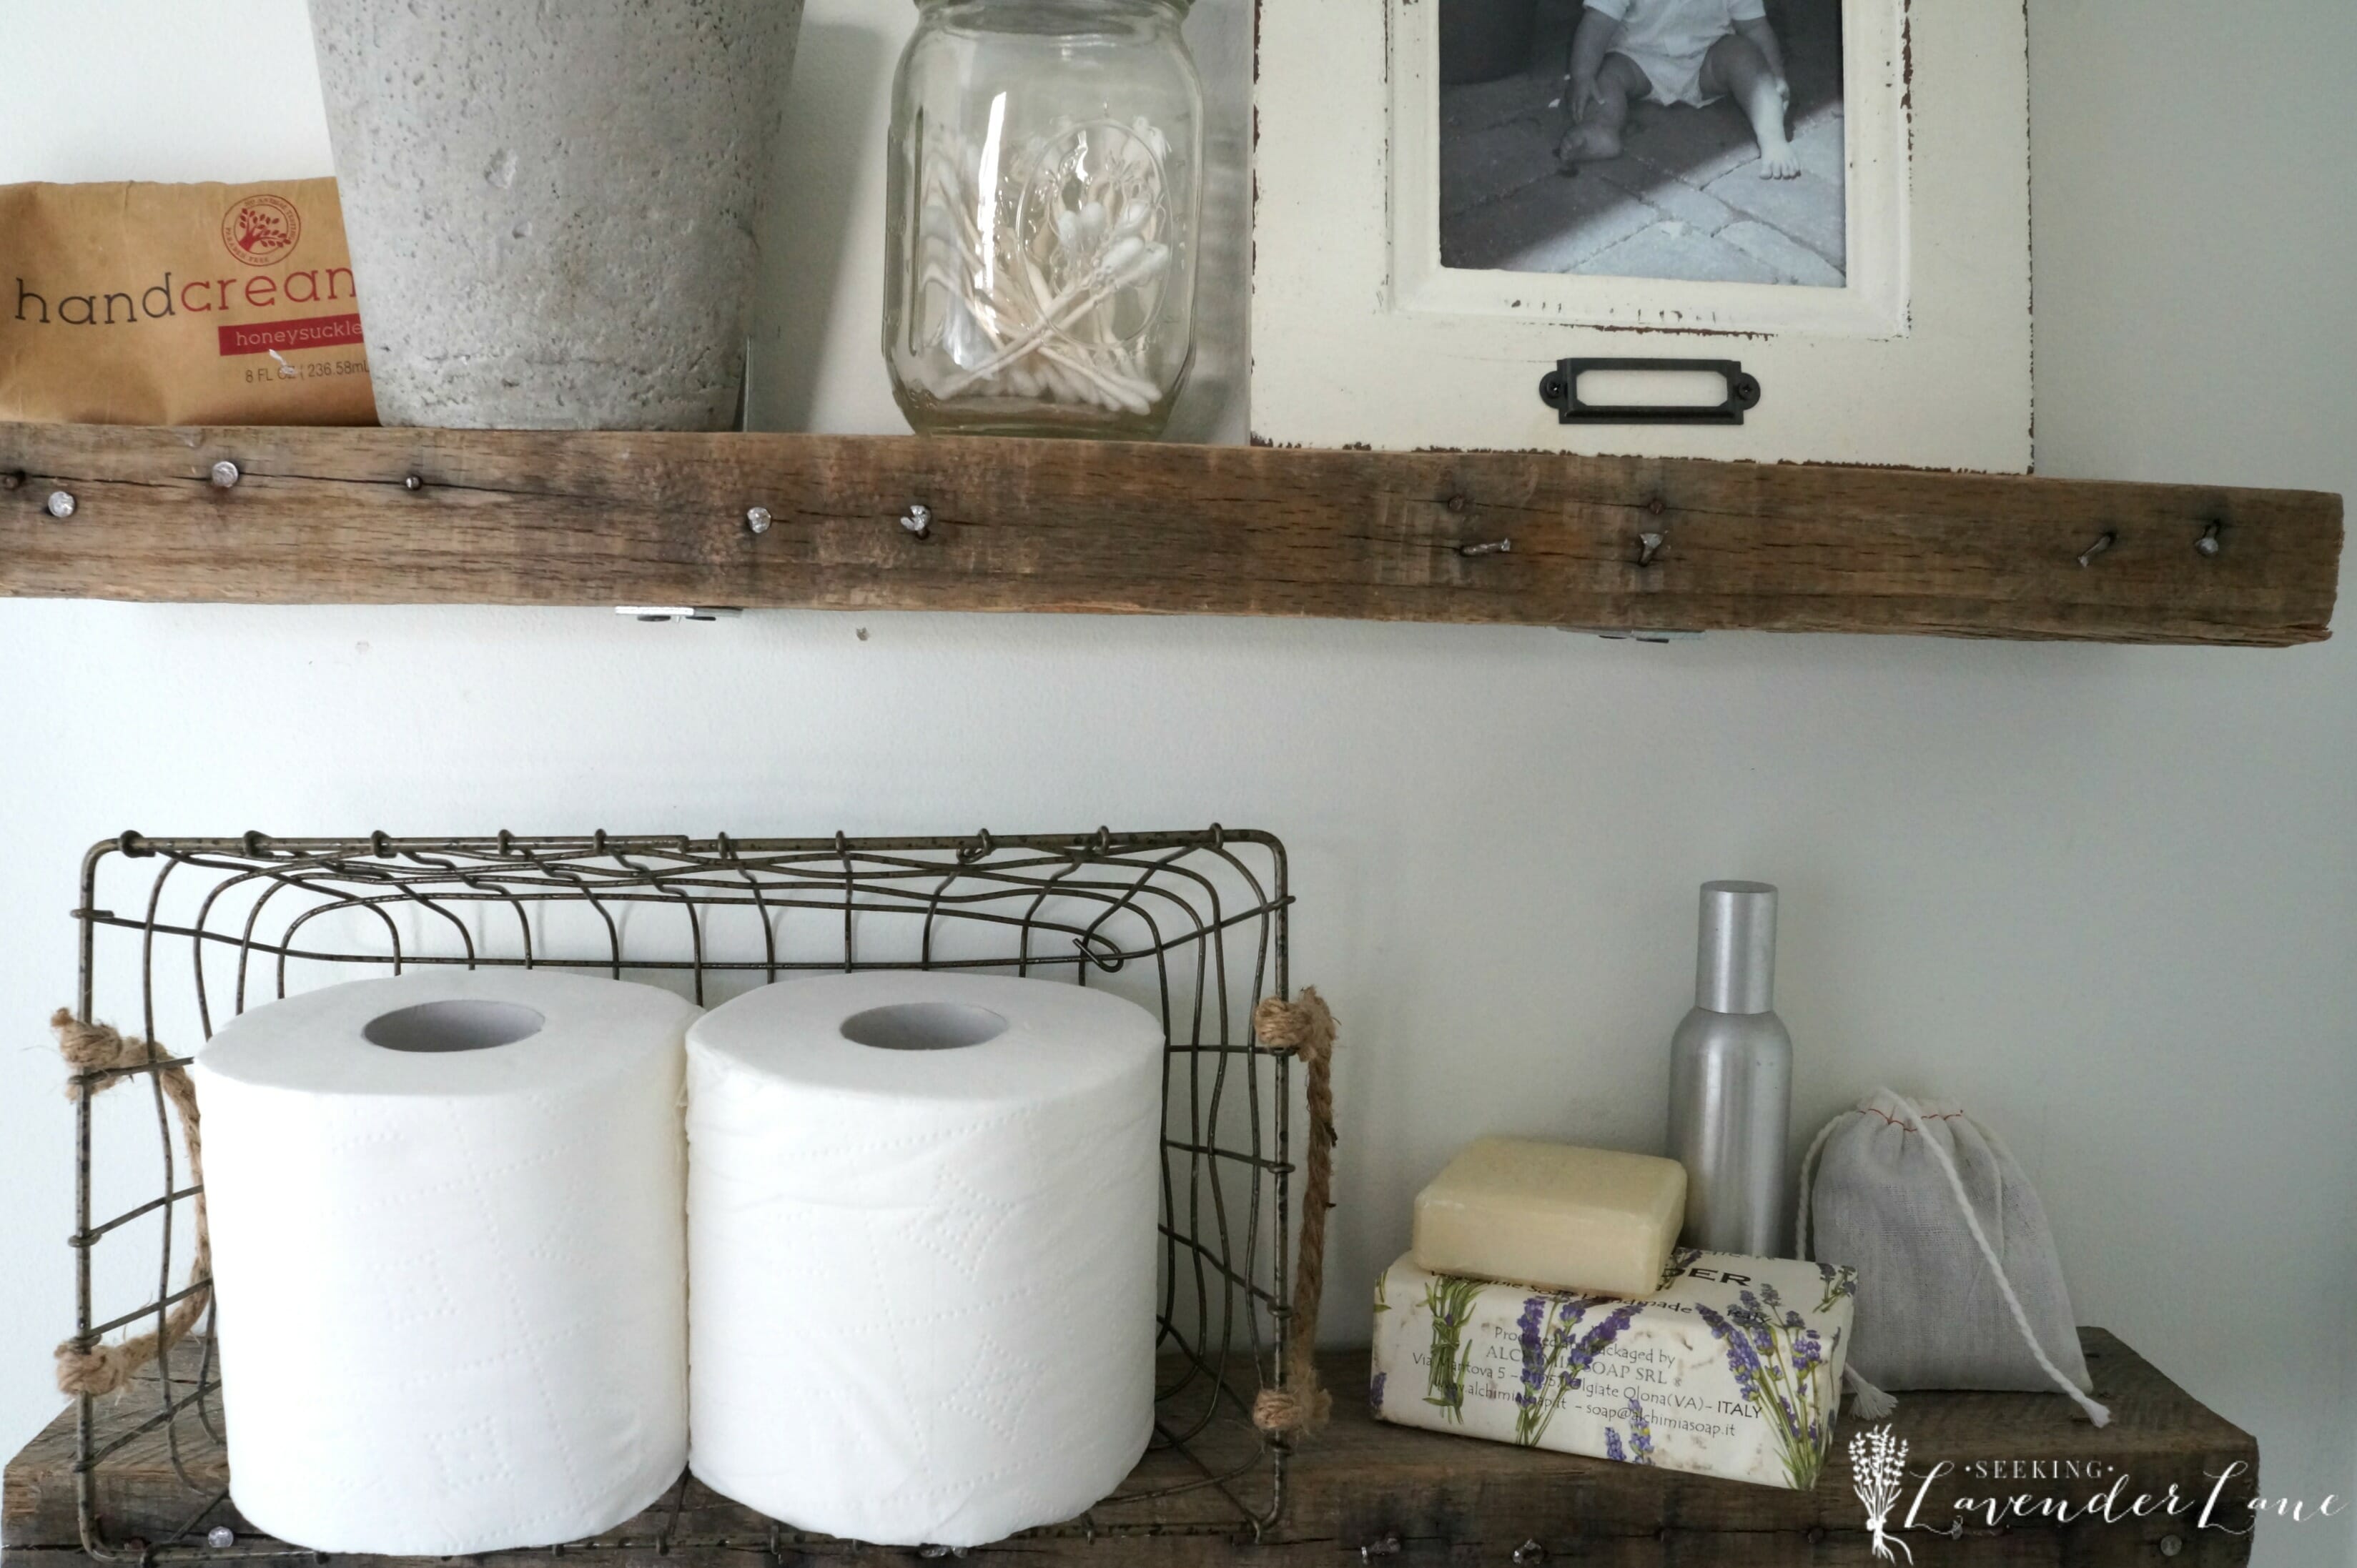
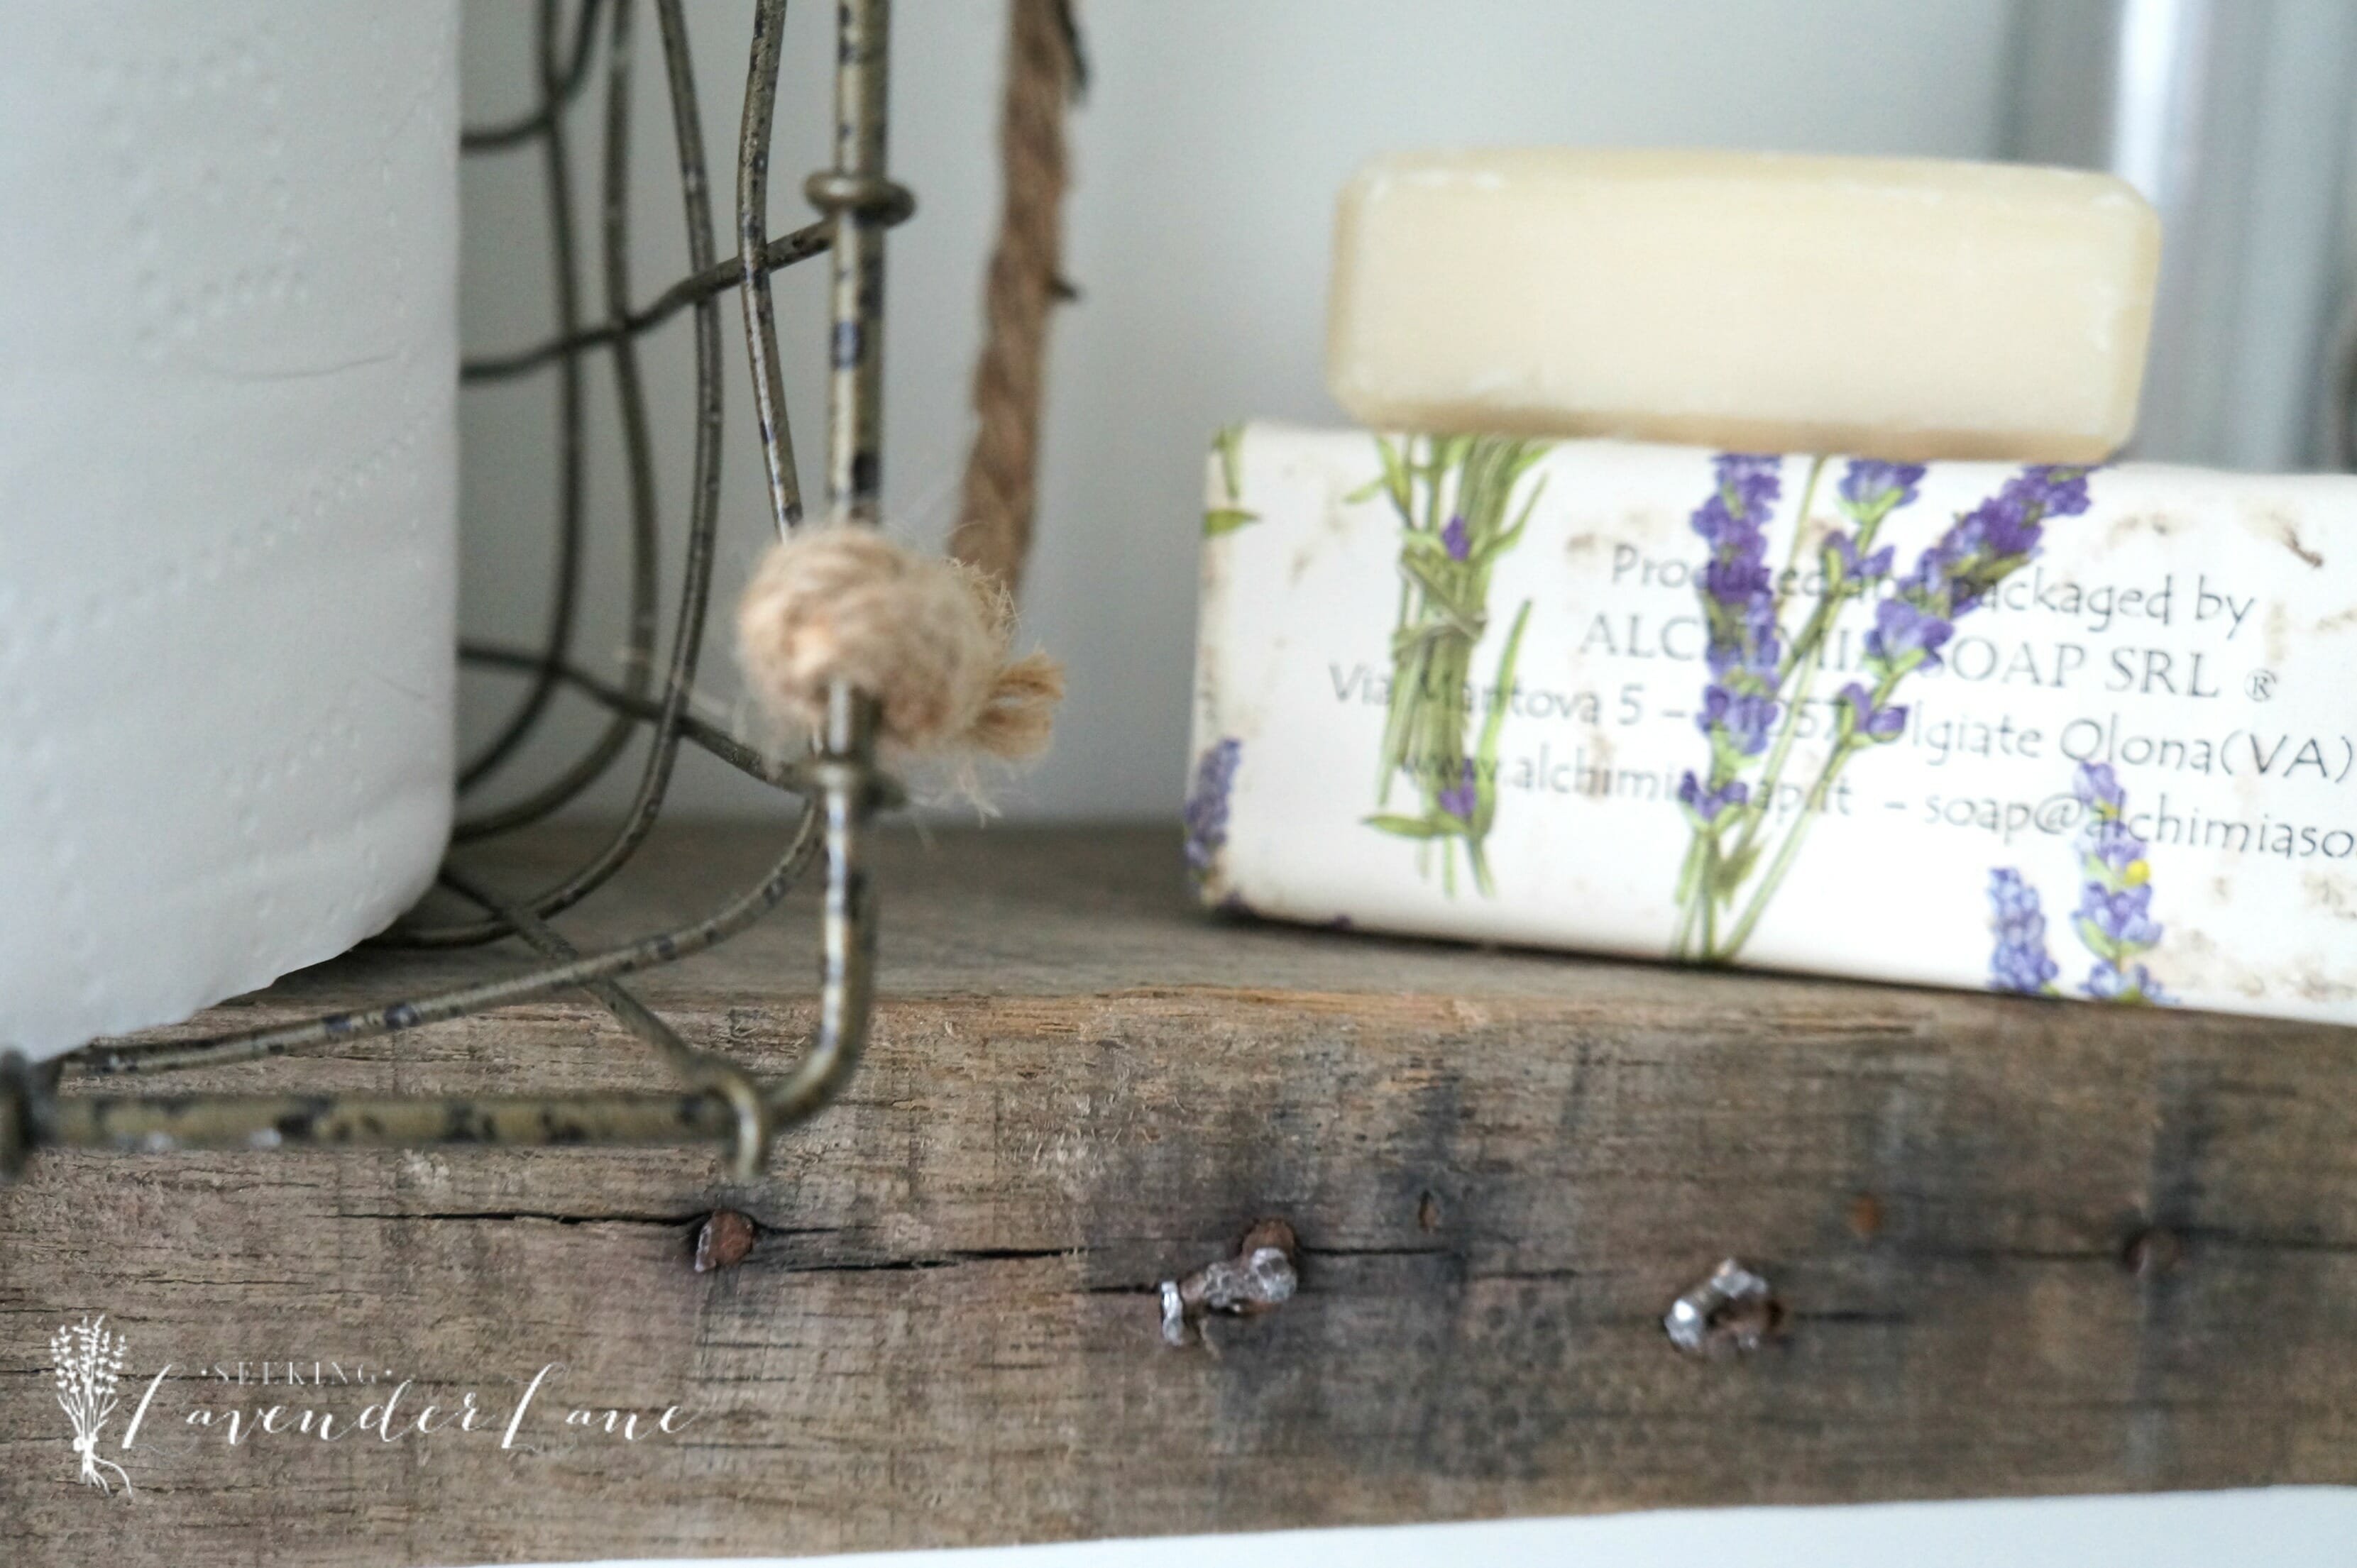
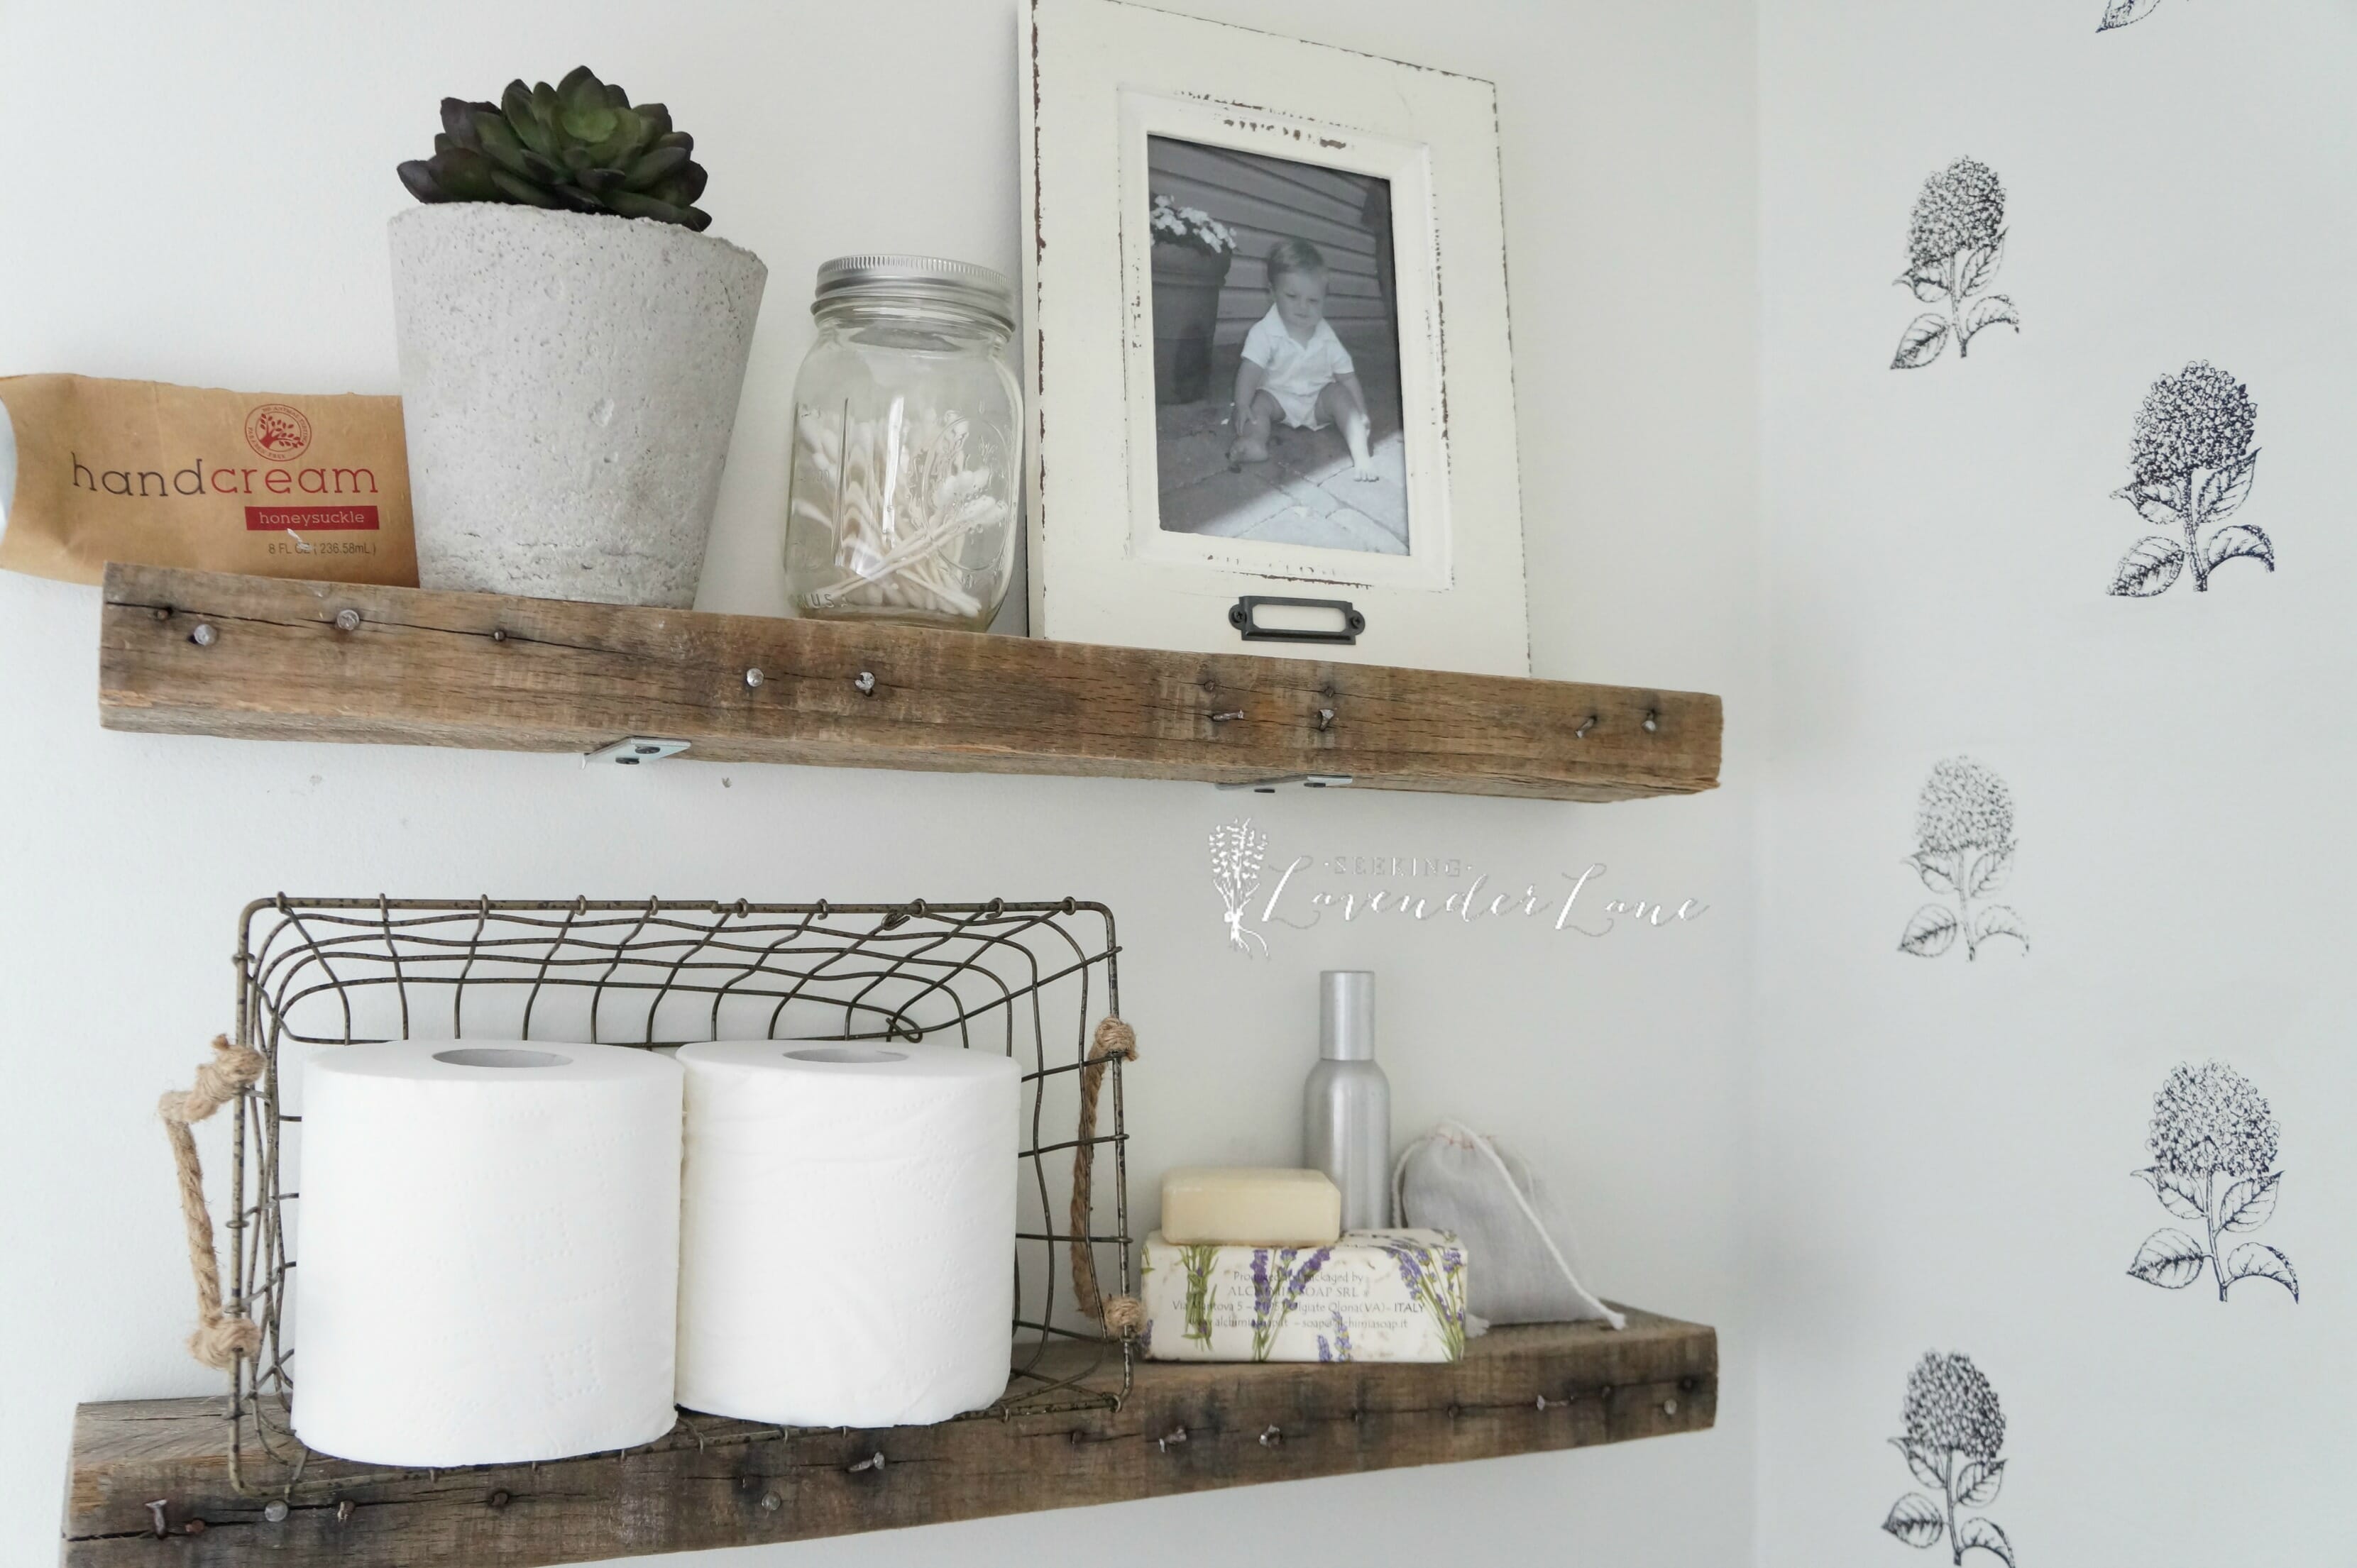
My favorite part to these shelves is that they still have the nails exposed. I just think that makes it so cool and industrial feeling. It may not be everyone’s cup of tea, but I think it just adds more character to the space.
Stop by next week and see the final reveal of the bathroom, including the before photos.
PLEASE STAY A WHILE
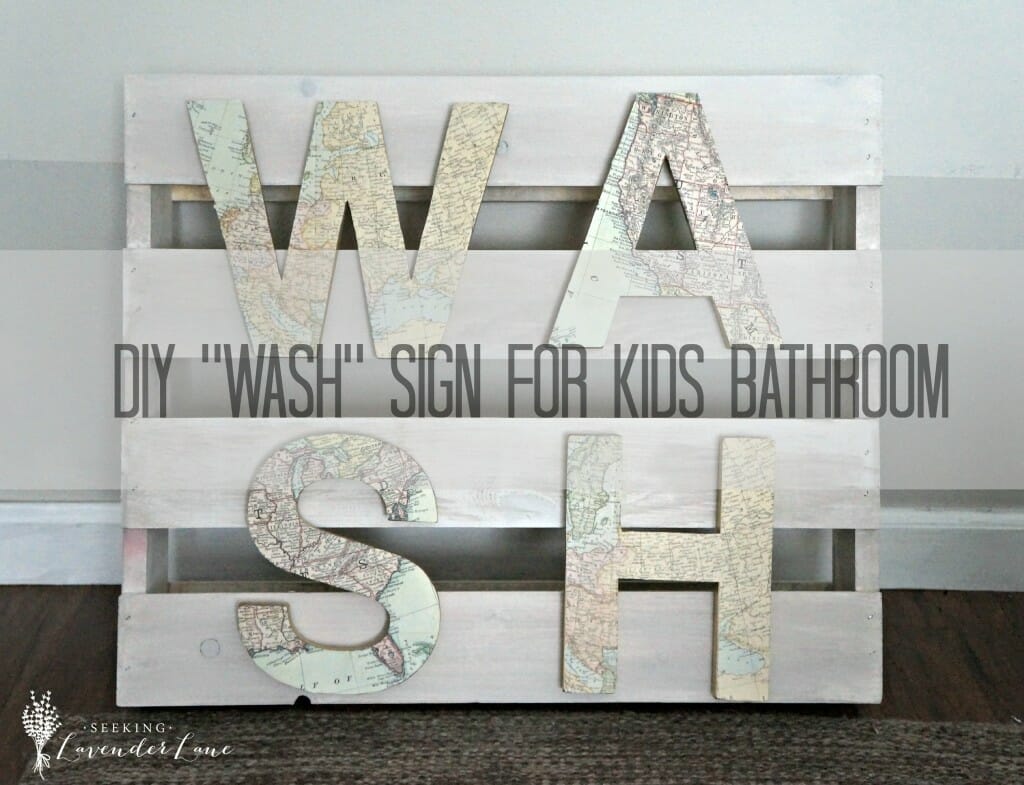
DIY “WASH” Sign for Kids Bathroom


14 Responses
LOVE, LOVE, LOVE how they turned out!
Thank you, thank you, thank you Kristi! : )
Those look AMAZING! I never would have known those were pallet boards! They totally look like well worn old barn wood! Great job 🙂
Christy * theharperhouse recently posted…Joanna’s Favorite Lights for Fixer Upper Style
Thanks so much Christy!
Drool worthy! I not only love your crafty skills, but your final product is gorgeous? Your styling of the shelves is perfect!
Thank you so much Suzanne! Decorating the shelves is the best part ; )
They look fabulous, especially with all the nails still intact. You put your magic styling touch onto them beautifully. Looking forward to the full reveal!
Marie, The Interior Frugalista recently posted…Creative Way to Repurpose a Wooden Flatware Chest
What a great project, they look great! I’m looking forward to seeing more. Have a great evening, Kelly.
Thank you Kelly : ) Yes, can’t wait to share all the photos next week.
These are awesome and your styling is spot on! LOVE them! Thanks for sharing at The DIY Collective!
Thanks so much Bre!
Your shelves turned out really nice, and your shelf styling is wonderful, as always. Also, it’s nice to know that I’m not the only one who snags a great find and then waits months before I actually do anything with it. 🙂
Rebecca recently posted…Planning a Kitchen Remodel
Hey Deb,
Those are some nice uses of wooden pallets and a great idea. I have never thought of something like that but you seem to be the queen of decor 🙂 Thanks a lot for sharing the inspiration, will think of using wooden pallets in something similar.
Cindy
Thanks Cindy! Good luck, such an easy and affordable way to add rustic shelves any where in the home.