


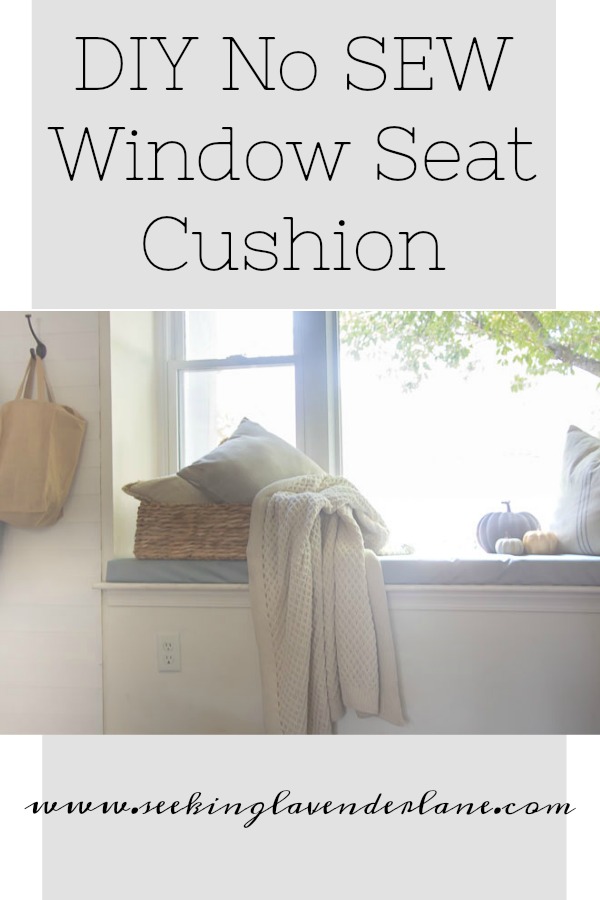
DIY No Sew bench seat Cushion for our Living Room window seat.
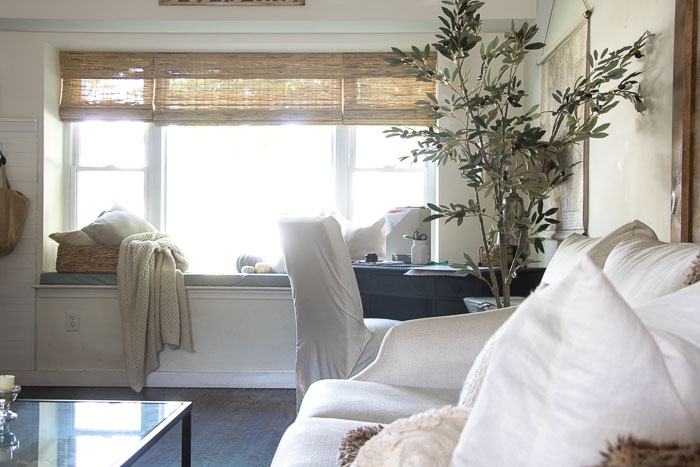
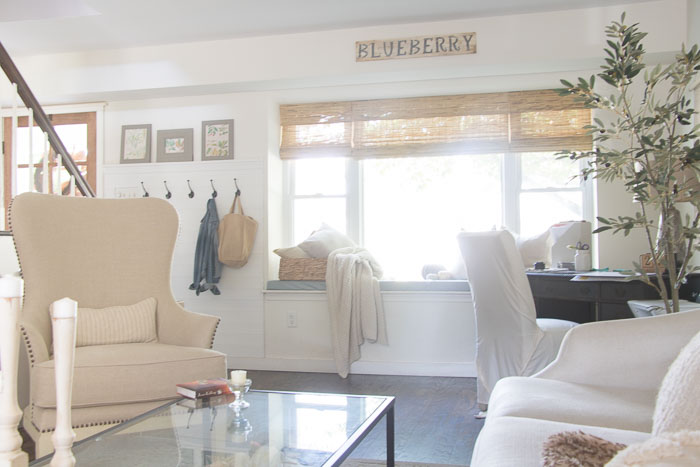
This poor widow of mine gets so beat up all the time from my crazy barking dog. Love him, but lets face it dogs can certainly take a toll on your house. Since this is at the front of our home…every mail truck, garbage truck, dog, human, bicycle, etc gets barked at in this spot. At one point it use to be a cute little window seat…and then with the muddy paw prints I had to remove it. I tried again with another fabric and day 1, it was destroyed! So I gave up for a while. Then when I knew we were getting new blinds for the space and giving our living room that European Farmhouse makeover. I had no choice, but to attempt to make it cute again. I thought about just painting over all the scuffs and scrapes, but I knew by the next week they would be back again. So, just as I was searching for durable fabric, I was contacted by the marketing team at BurlapFabric.com , and they must have read my mind that I was looking for fabric. After discussing some of the options on their sight with them, I found this fabric that was water resistant and seemed durable enough to wash off paw prints. I thought I would give it a try and create a bench seat cushion from it.
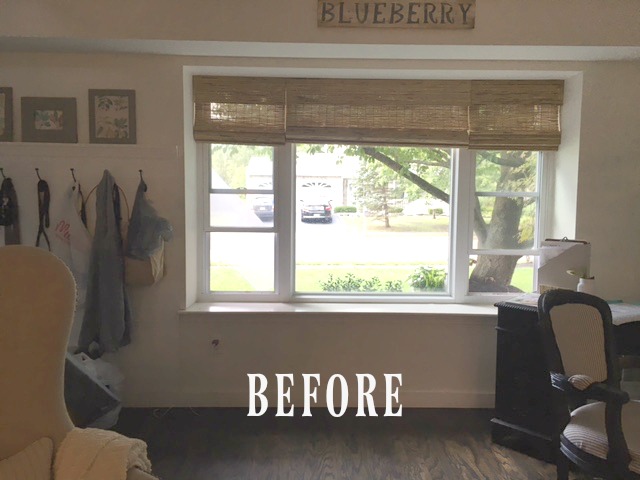
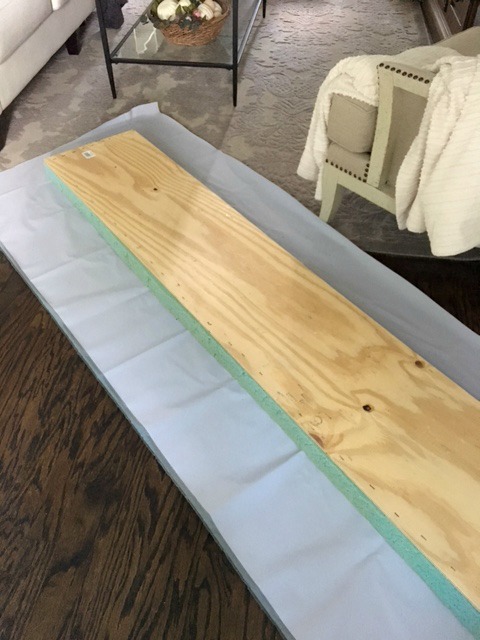
See, this pretty little window…just needed some love again. So, I decided to do as I had done in the past and staple the fabric to a piece of plywood to create the seat. This girl def can’t sew…so this was my best option. This is why it’s the perfect no-sew tutorial for all us non-sewing ladies. I had kept the prior wood and cushion that I had made in the past and just removed the dirty fabric and started with this new piece. I ordered 4 yards just in case…and had plenty of extra fabric.
MATERIALS
this post contains affiliate links for your convenience.
4 yards of fabric
Plywood
To create the base as I had done…you can get foam from a craft store (I had a mattress topper that we only used for a year that I cut up and made this with). Glue down to plywood (size of seat/window). Once that’s done then you’re going to cut fabric down to size of frame leaving about 5-6″ extra all the way around. See image below (I cut a little more off the one below) The fabric does not have to be perfect. If you are using a print you may need to be more exact when stapling.
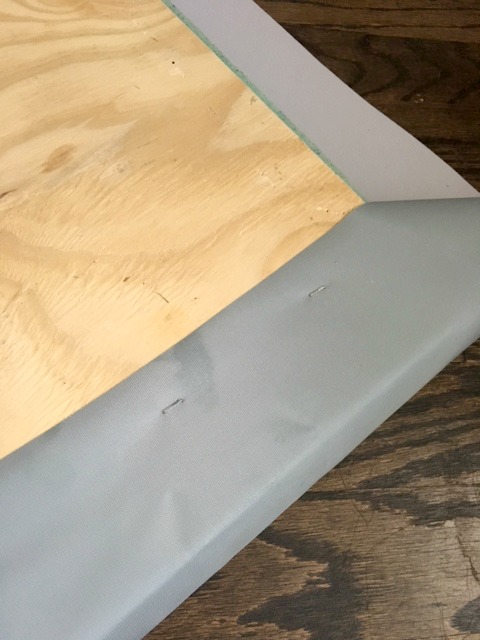
Next, fold up (long) sides and staple. Be sure to pull tightly for a nice edge.

Once, sides are stapled in place…wrap the smaller edges up (like a present). And staple!
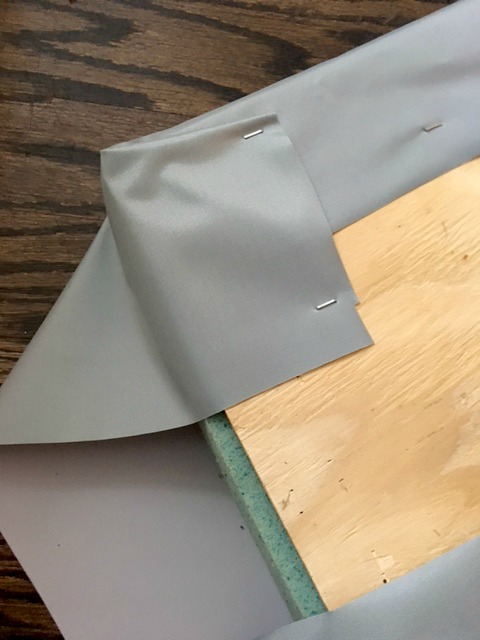
That EASY!!!
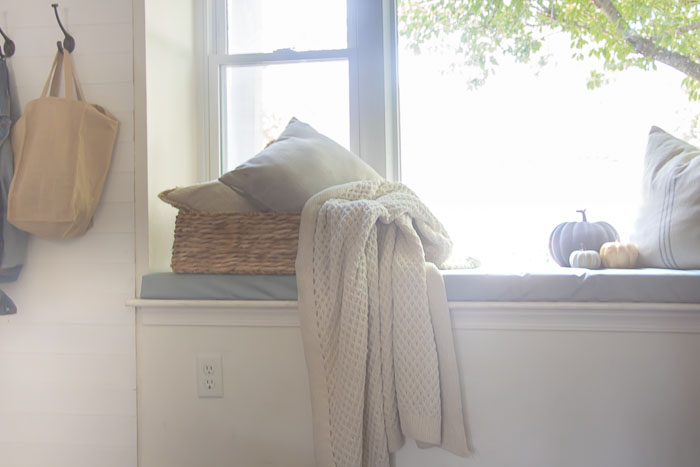
As for the fabric, it’s held up much more than the fabric in the past. I’ve used shout and magic erasers to try to keep it clean. I can’t say it’s going to last forever…but while I’ve got a young energetic pup…it should be the best option for this seat. Now if I did not have Mr. Luca jumping all over this bench, then I would have ventured for a pattern or different fabric from BurlapFabric.com options.
Please Pin
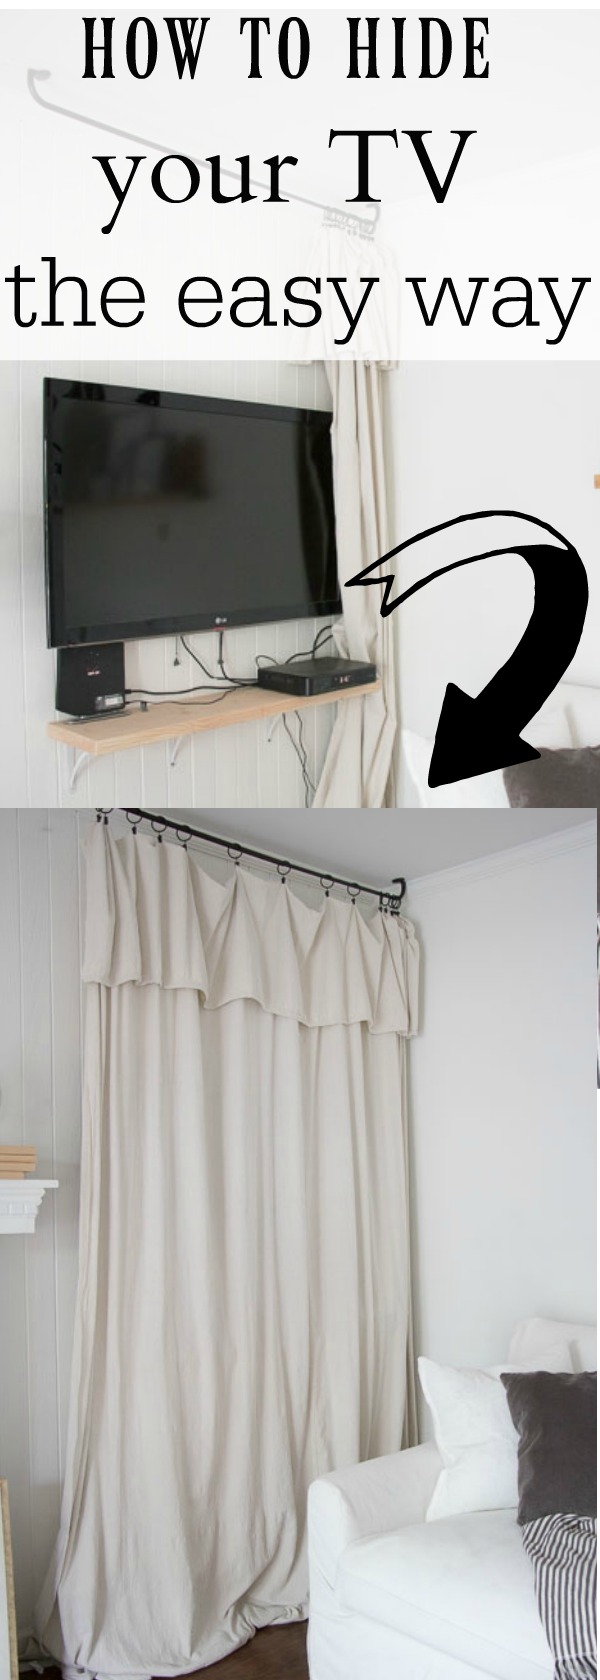
DIY No Sew Curtains

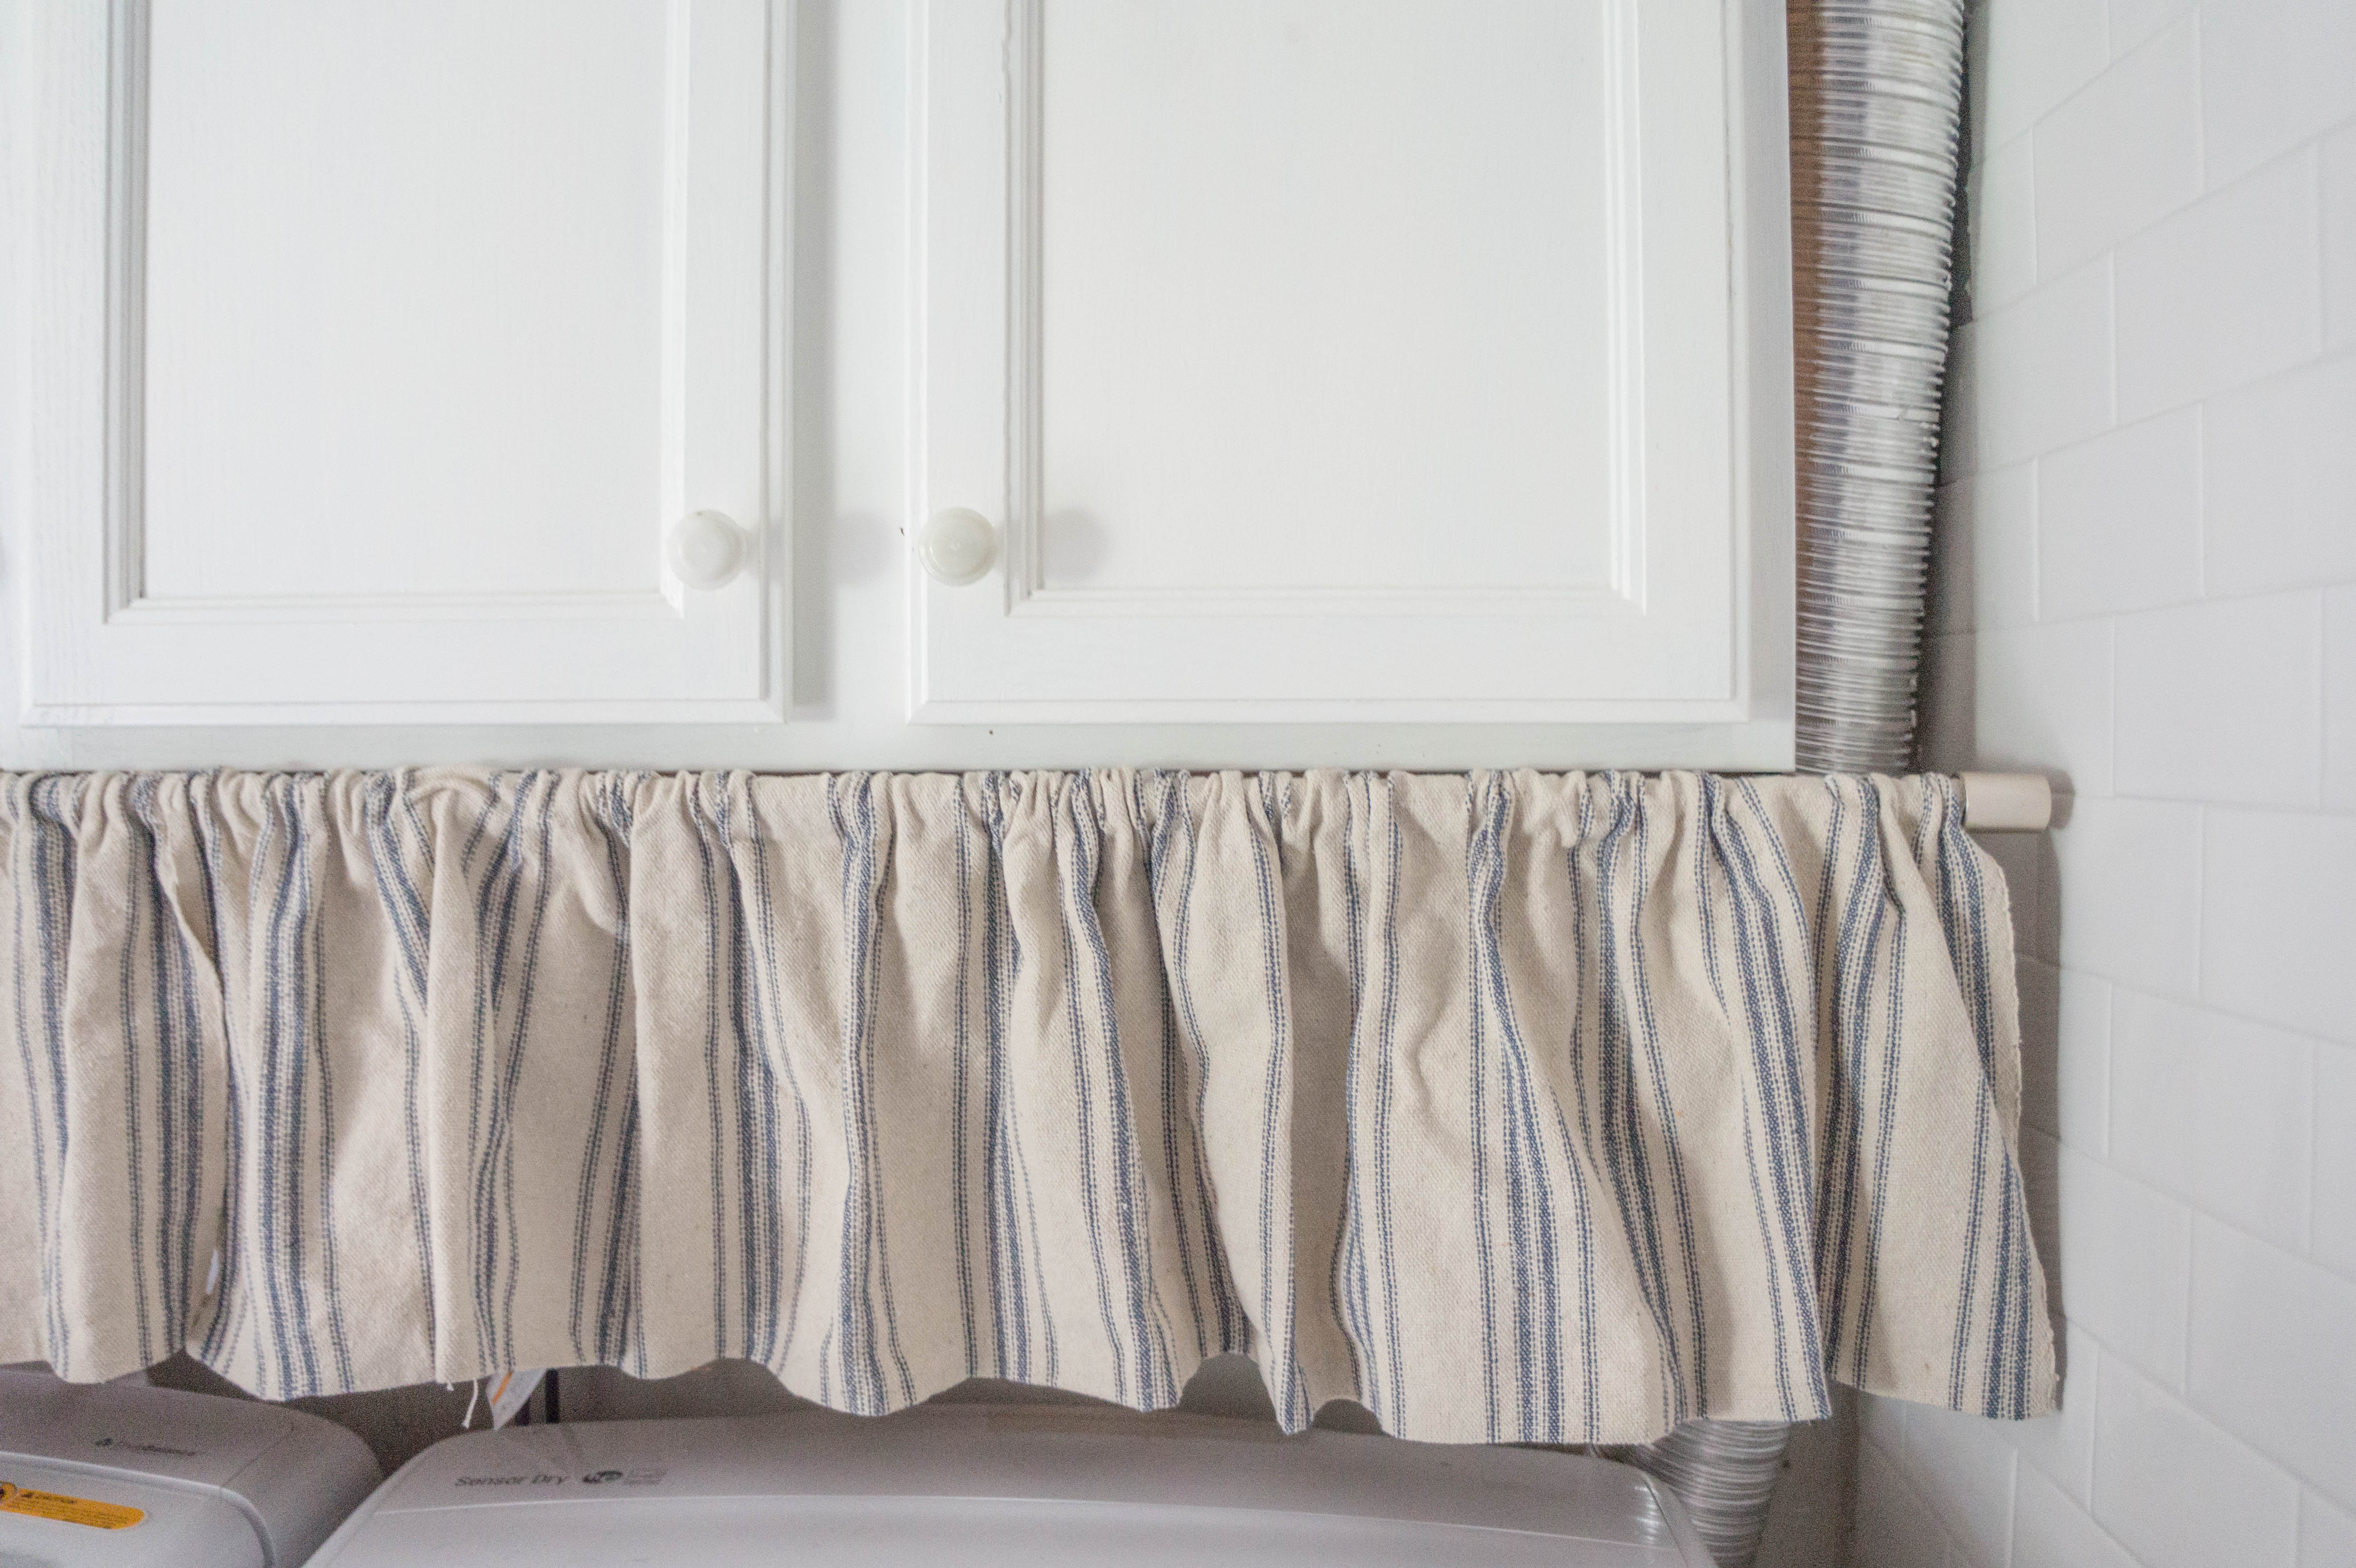
How to Hide Laundry Room Pipes


11 Responses
Hello! I stopped in for your Scoop feature and had a look around. You have done some really cute things to your home, and I love your creativity. I’ll be sure to tell my daughter/blog partner about your blog. It’s always nice to find some different bloggers to follow. If you ever are looking for bloggers to participate in any tour you put together, add us to the list.
Hi Janette, Thank you so much! I am so glad you stopped by. It’s wonderful to have you here.
I love a good window seat & this one is adorable! The fact that it’s a no-sew is a win!
Thanks Amanda! Seriously, so quick and easy to make.
I dream of a window seat some day! It looks beautiful!
Thanks Lindsay! I wish I could say I actually use it and sit there.
This is brilliant! I love the window seat ❤️
Thanks Ty!
So do I
What a great idea!
Thank you Laurie!