Step’s to Painting Kitchen Cabinets
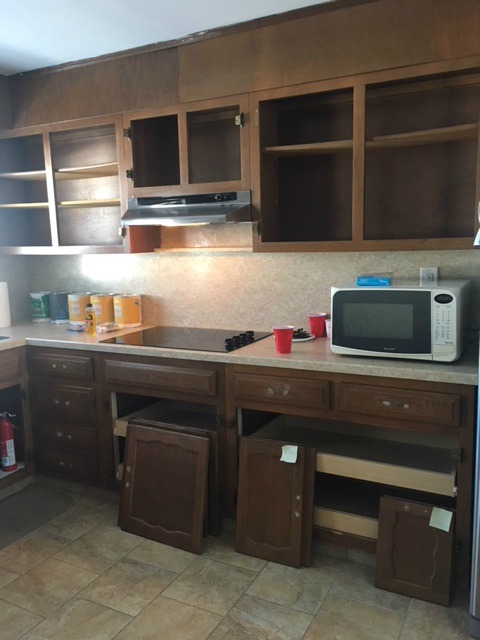
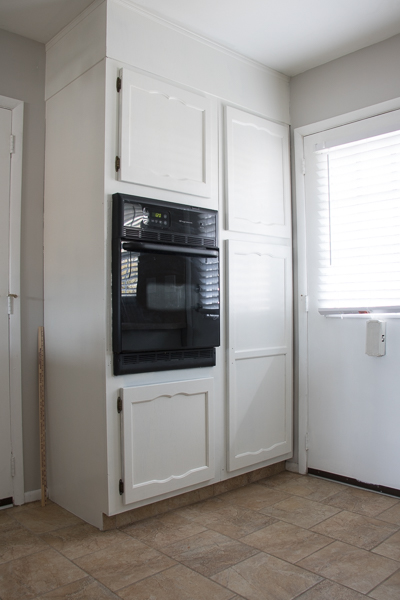
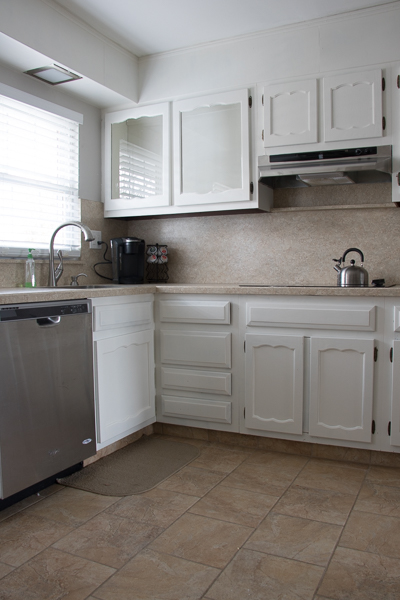
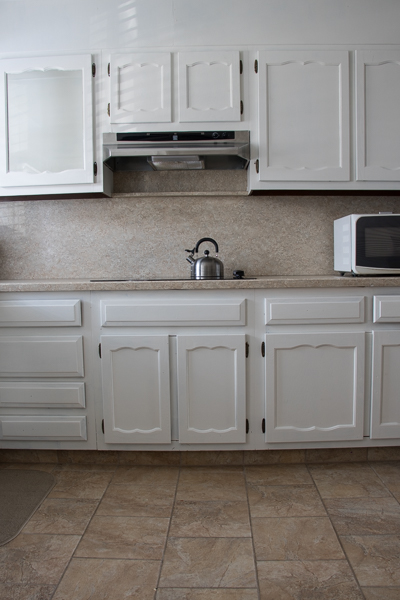
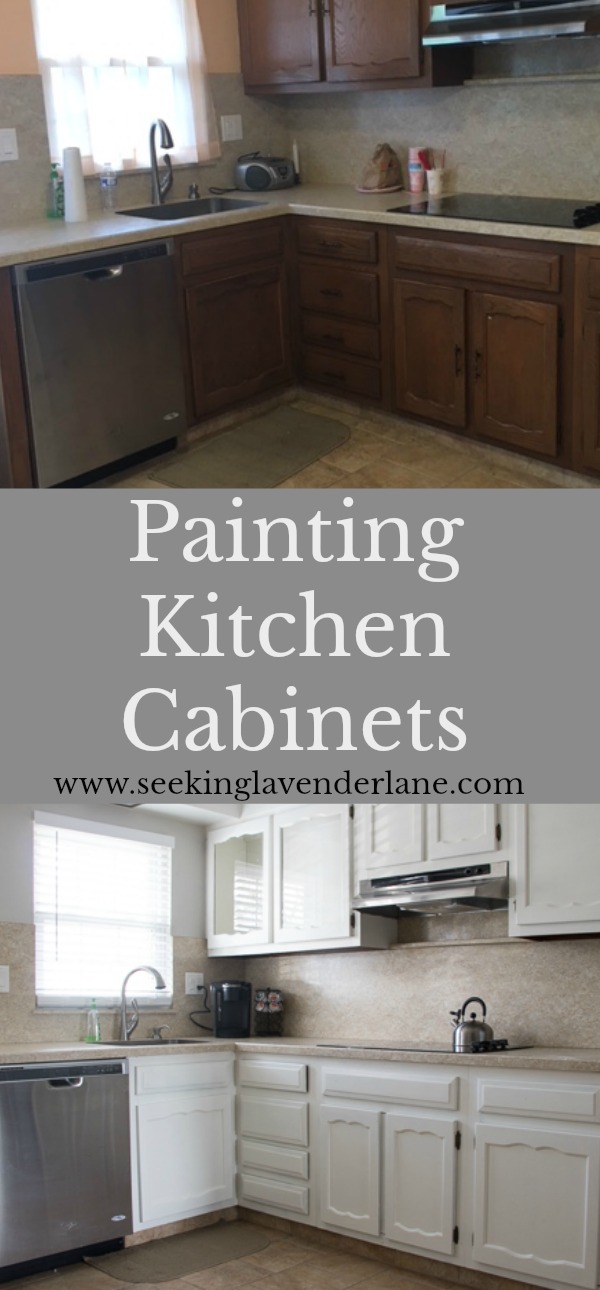
Painting Kitchen Cabinets is one of my least favorite projects to do and this was the third time I’ve taken on this kind of project. Though it’s annoying and time-consuming it’s definitely a project with a dramatic update for little $$$. I think that’s why I’ve taken on this project a few times now…I’m always on a budget lol. So with this recent makeover, helping my MIL update her Kitchen we decided painting would be best to keep costs down. She already has a nice size kitchen but just needed to make it a little more modern and fresh. We took on a five-week challenge hosted by Stephanie from Casa Watkins, for the New Year Room Refresh, and you can see our design plans for the space.
Materials
this post contains some affiliate links that I make a small commission from with no added cost to your purchase.
Benjamin Moore Advance Paint (dove white)
Paint Brush
Painters Tape
Steps to Painting Kitchen Cabinets
- Read about how to prep Kitchen Cabinets before painting here.
- Depending on your hinges you can decide to remove cabinet doors or keep on. Becuase these are exterior hinges we removed the doors and hinges to paint. I have in the past painted cabinets with the hinges on the inside and they are much easier to not remove and paint.
- I chose not to prime or sand my cabinets since they have worked in the past, but this doesn’t mean this will work for every cabinet and every kitchen.
- Use a foam roller for large surface areas and cabinet doors.
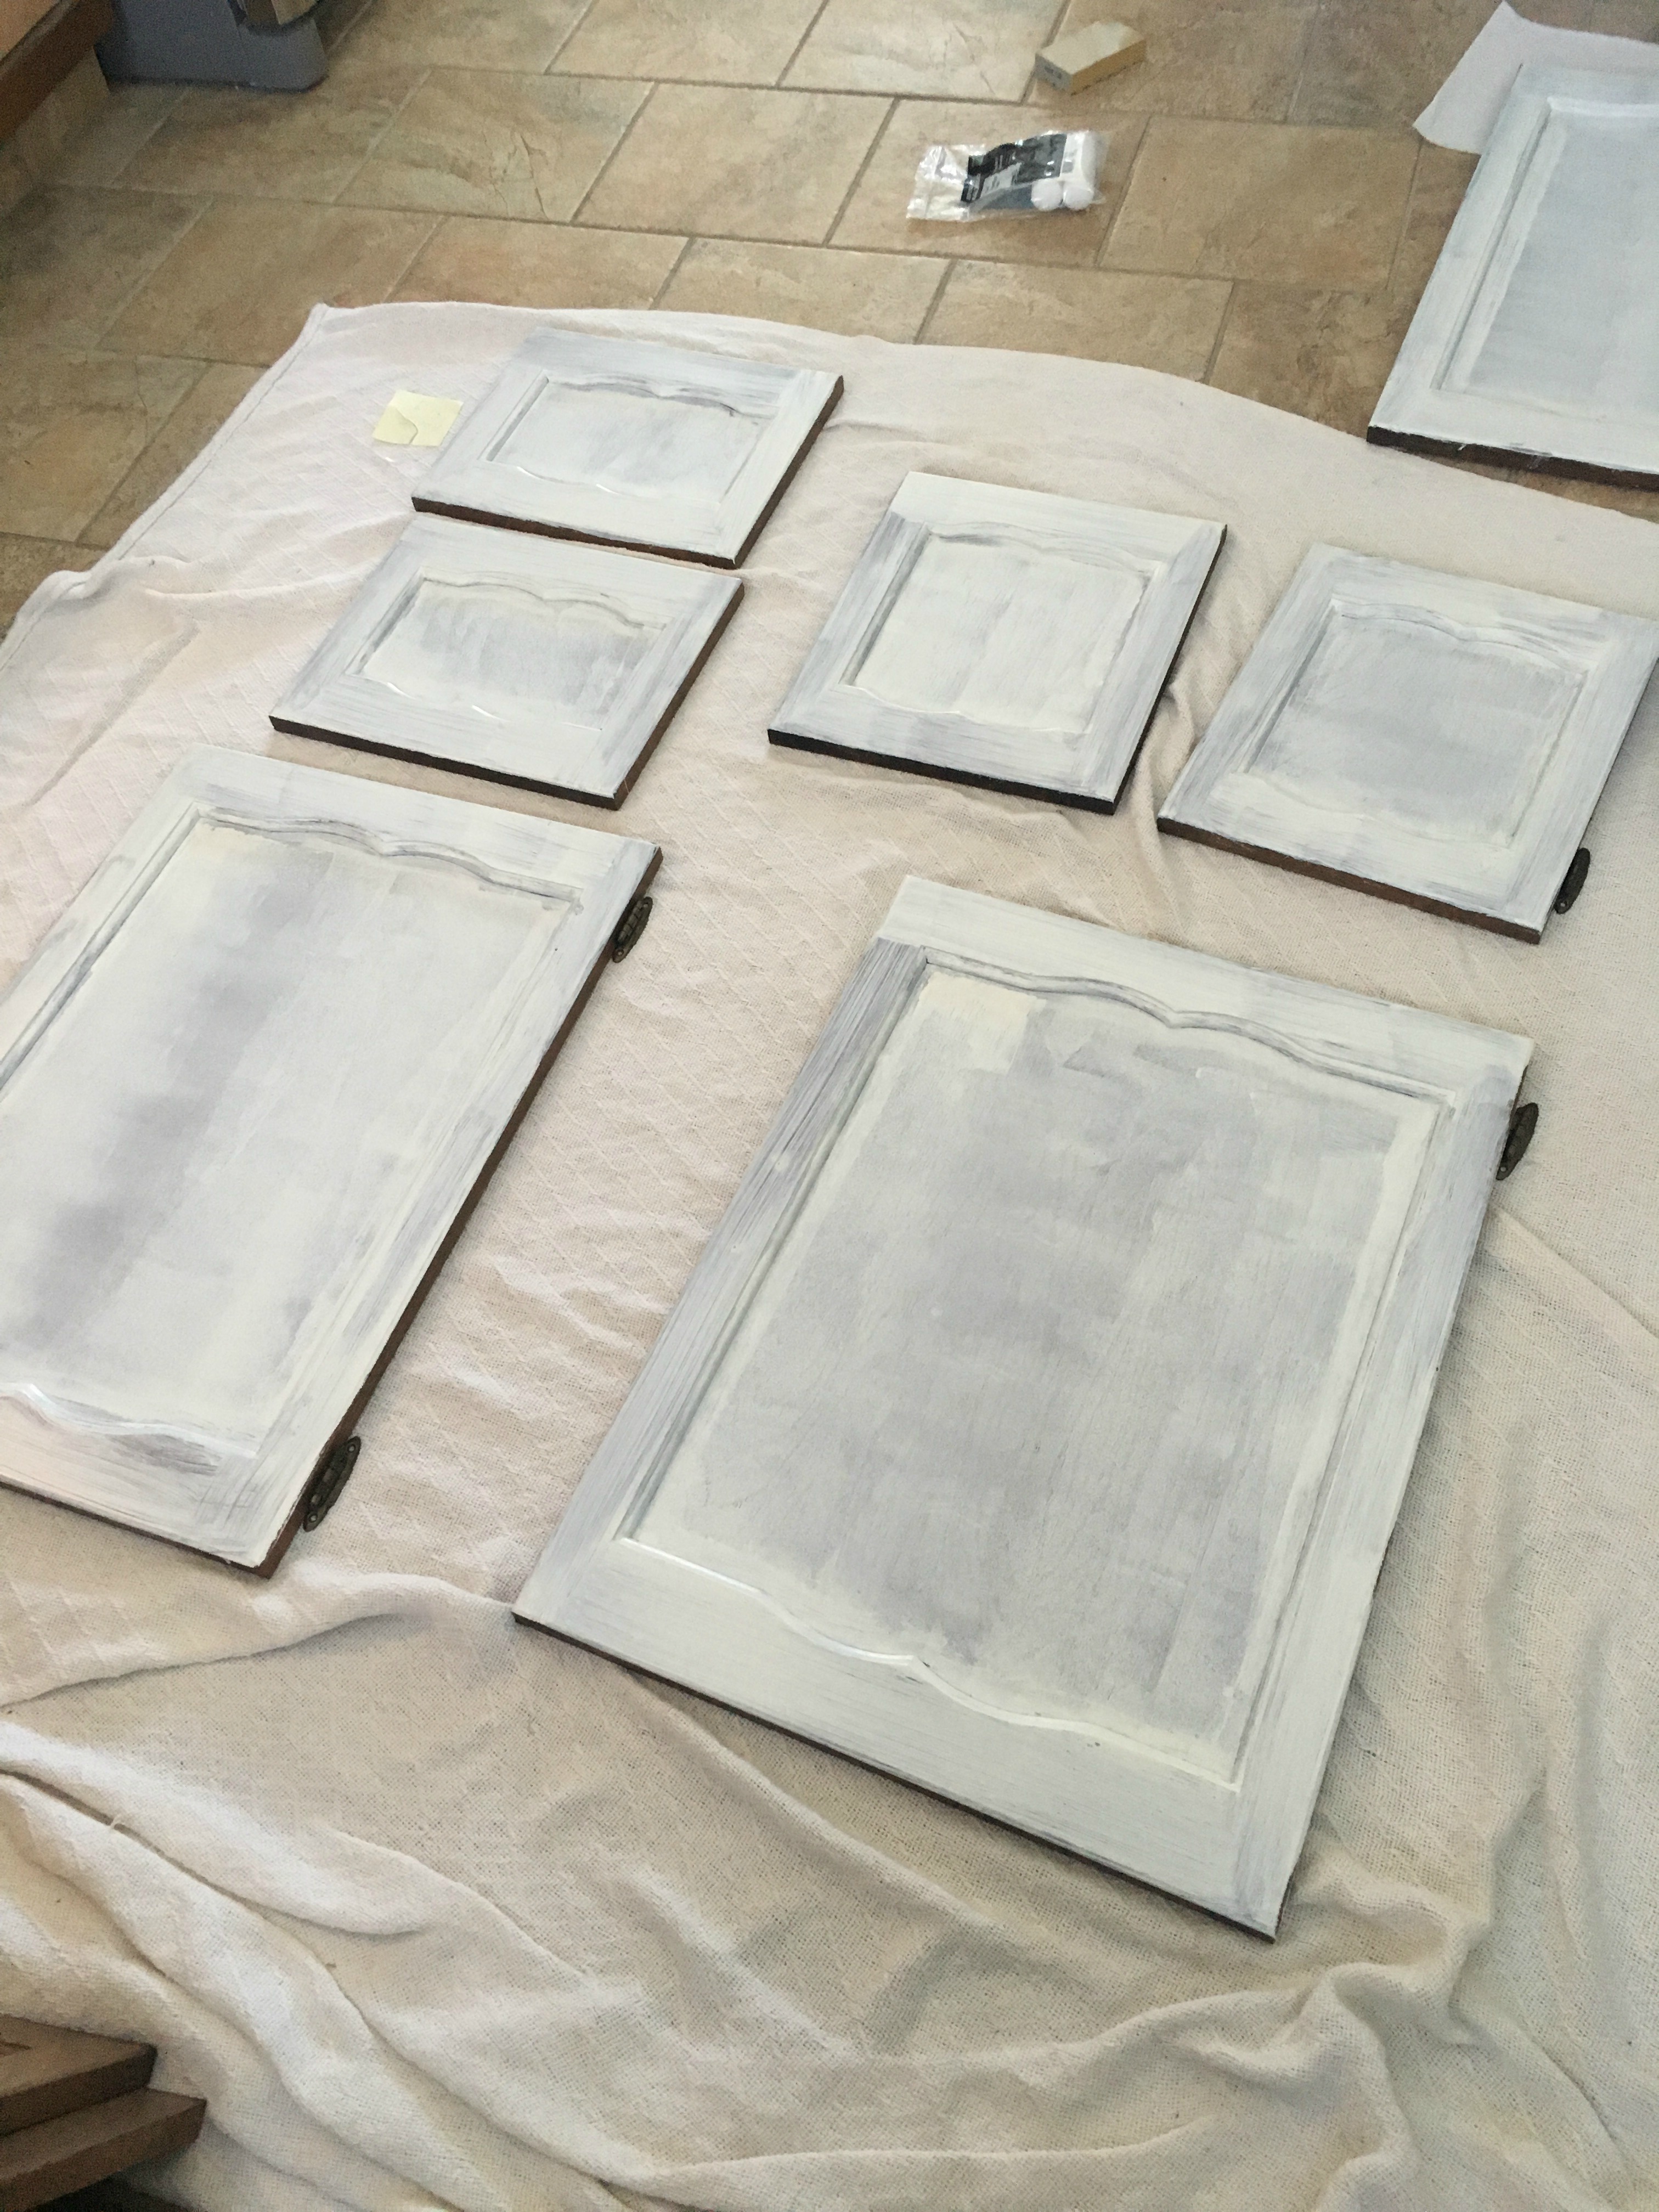
Remove Doors and use wood putty to fill in hardware holes.
Sand once dry.
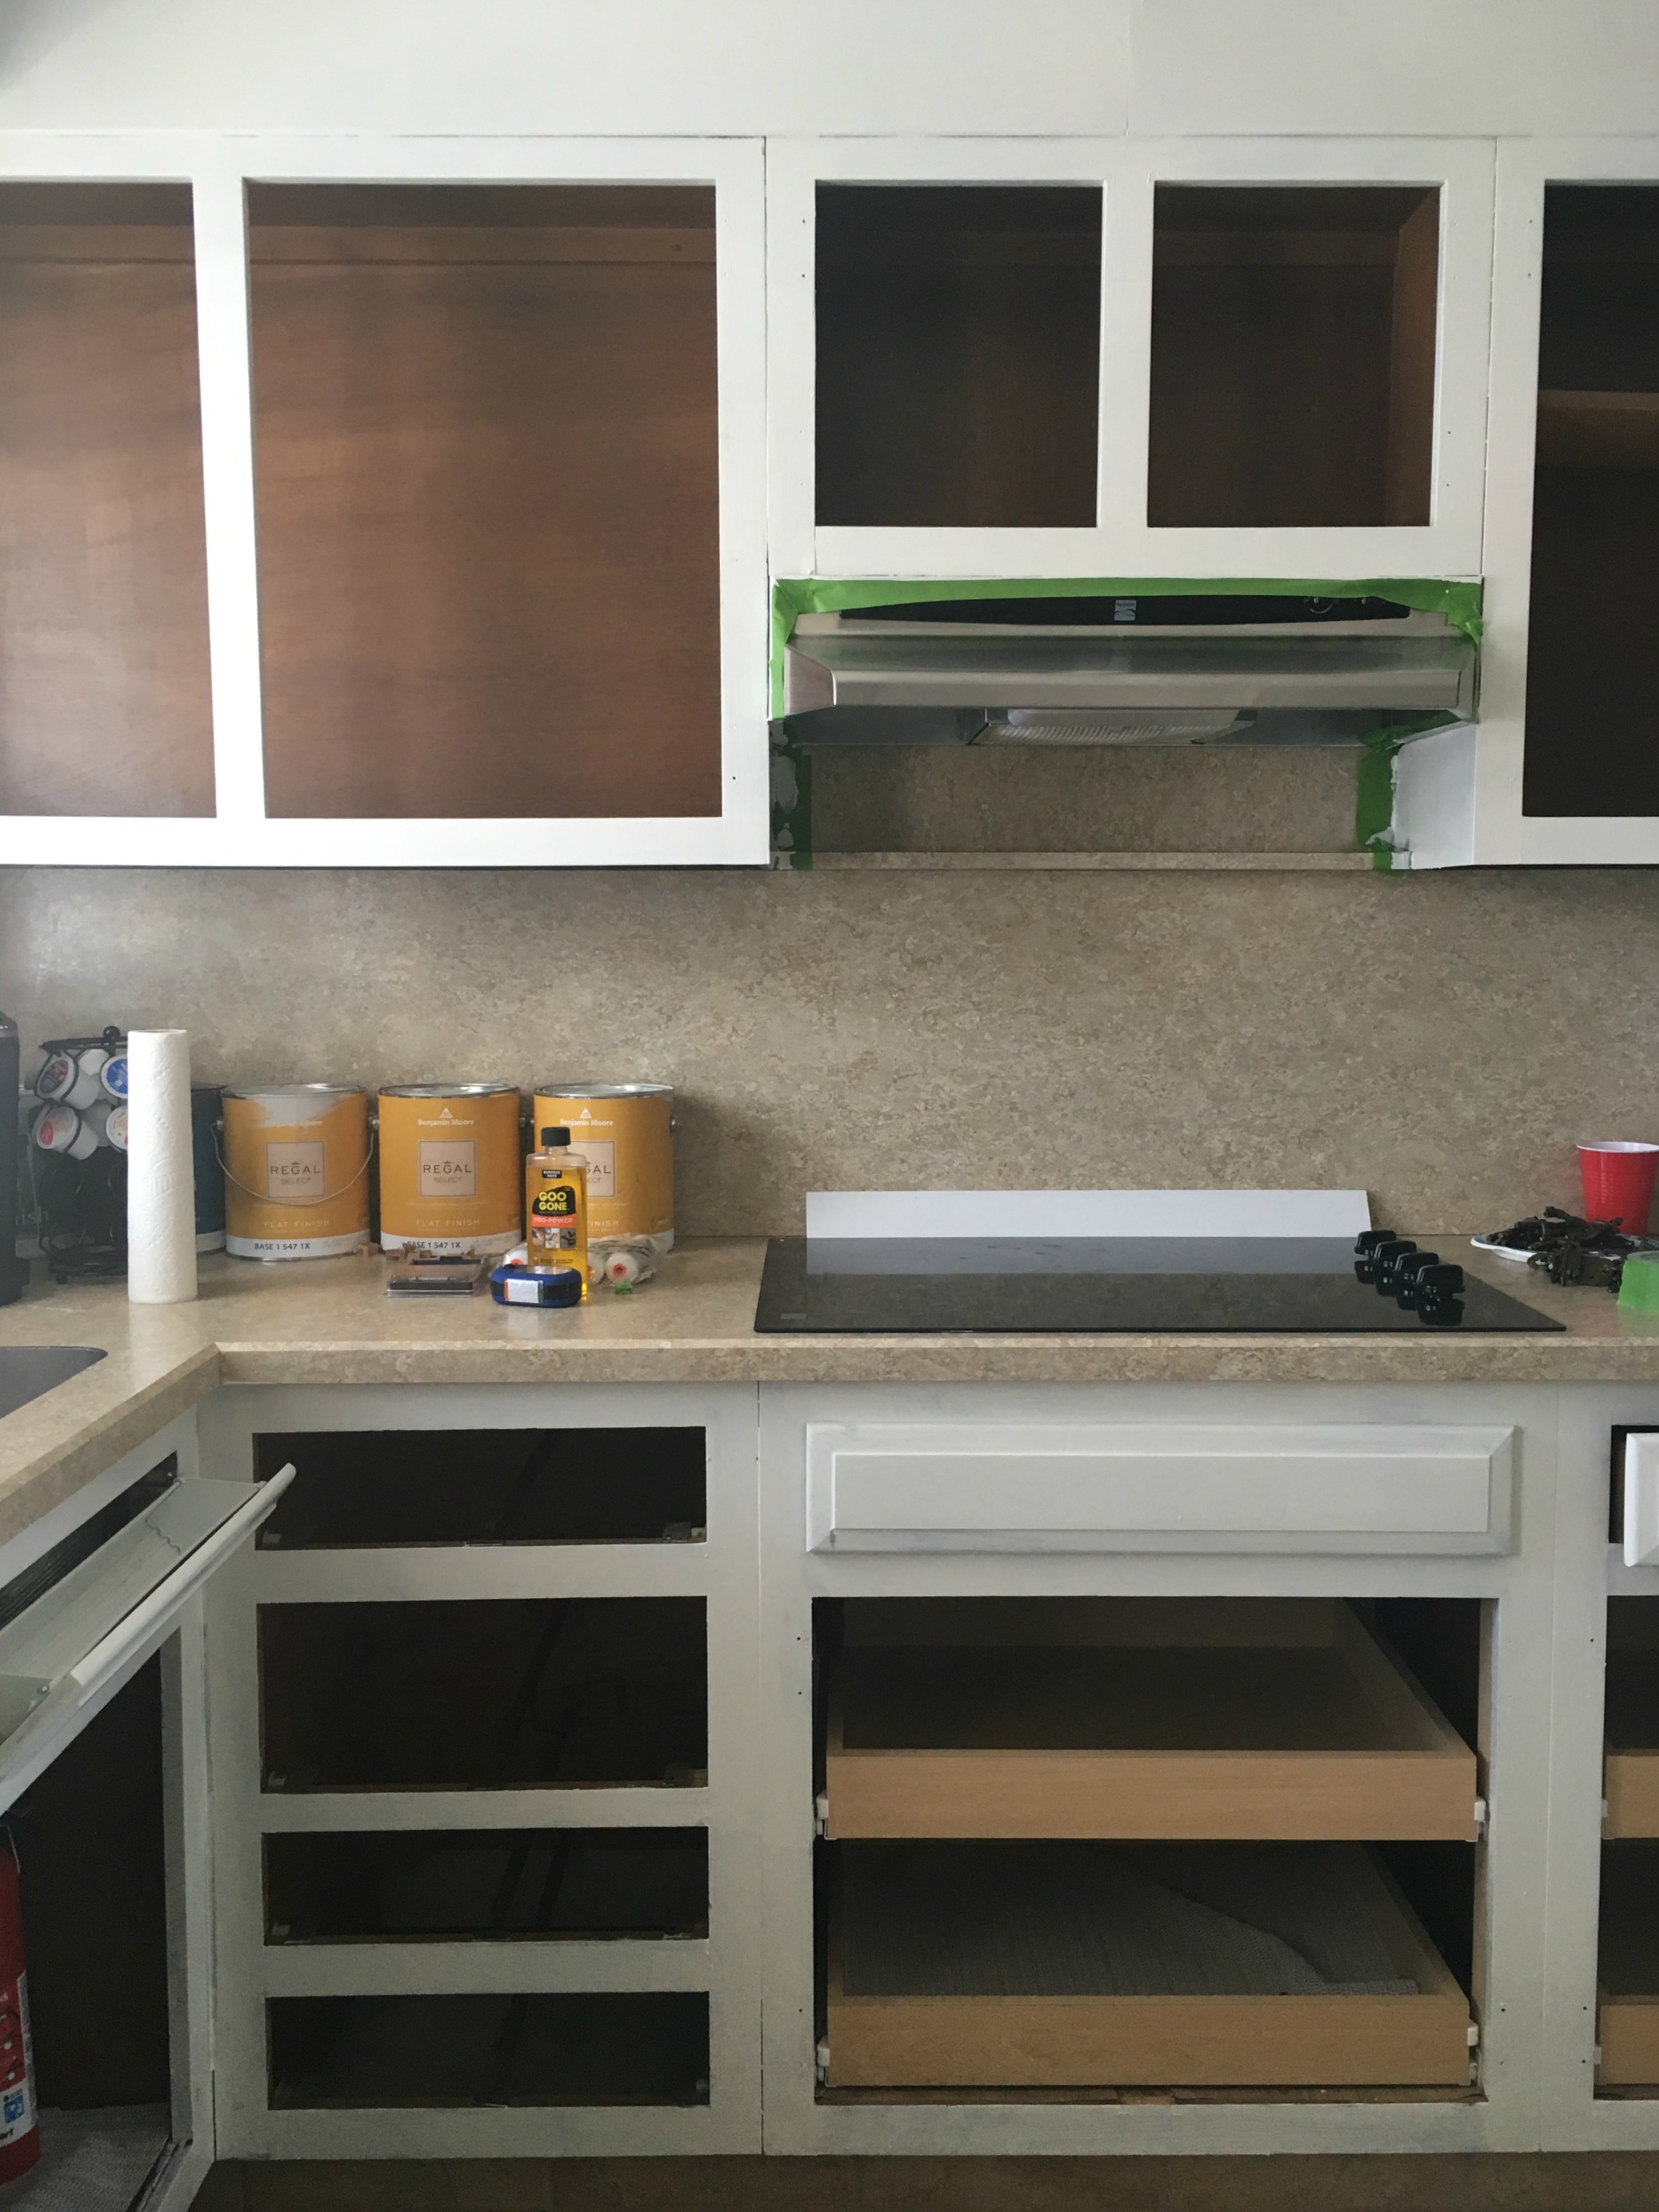
I removed the drawers that overlapped, but kept the others in place and just opened the drawer to paint.
Use paintbrush to get into grooves of the cabinets then go over with the foam roller and paint over the frame and inners.
Wait until one side dries the flip cabinets over and repeat on back.
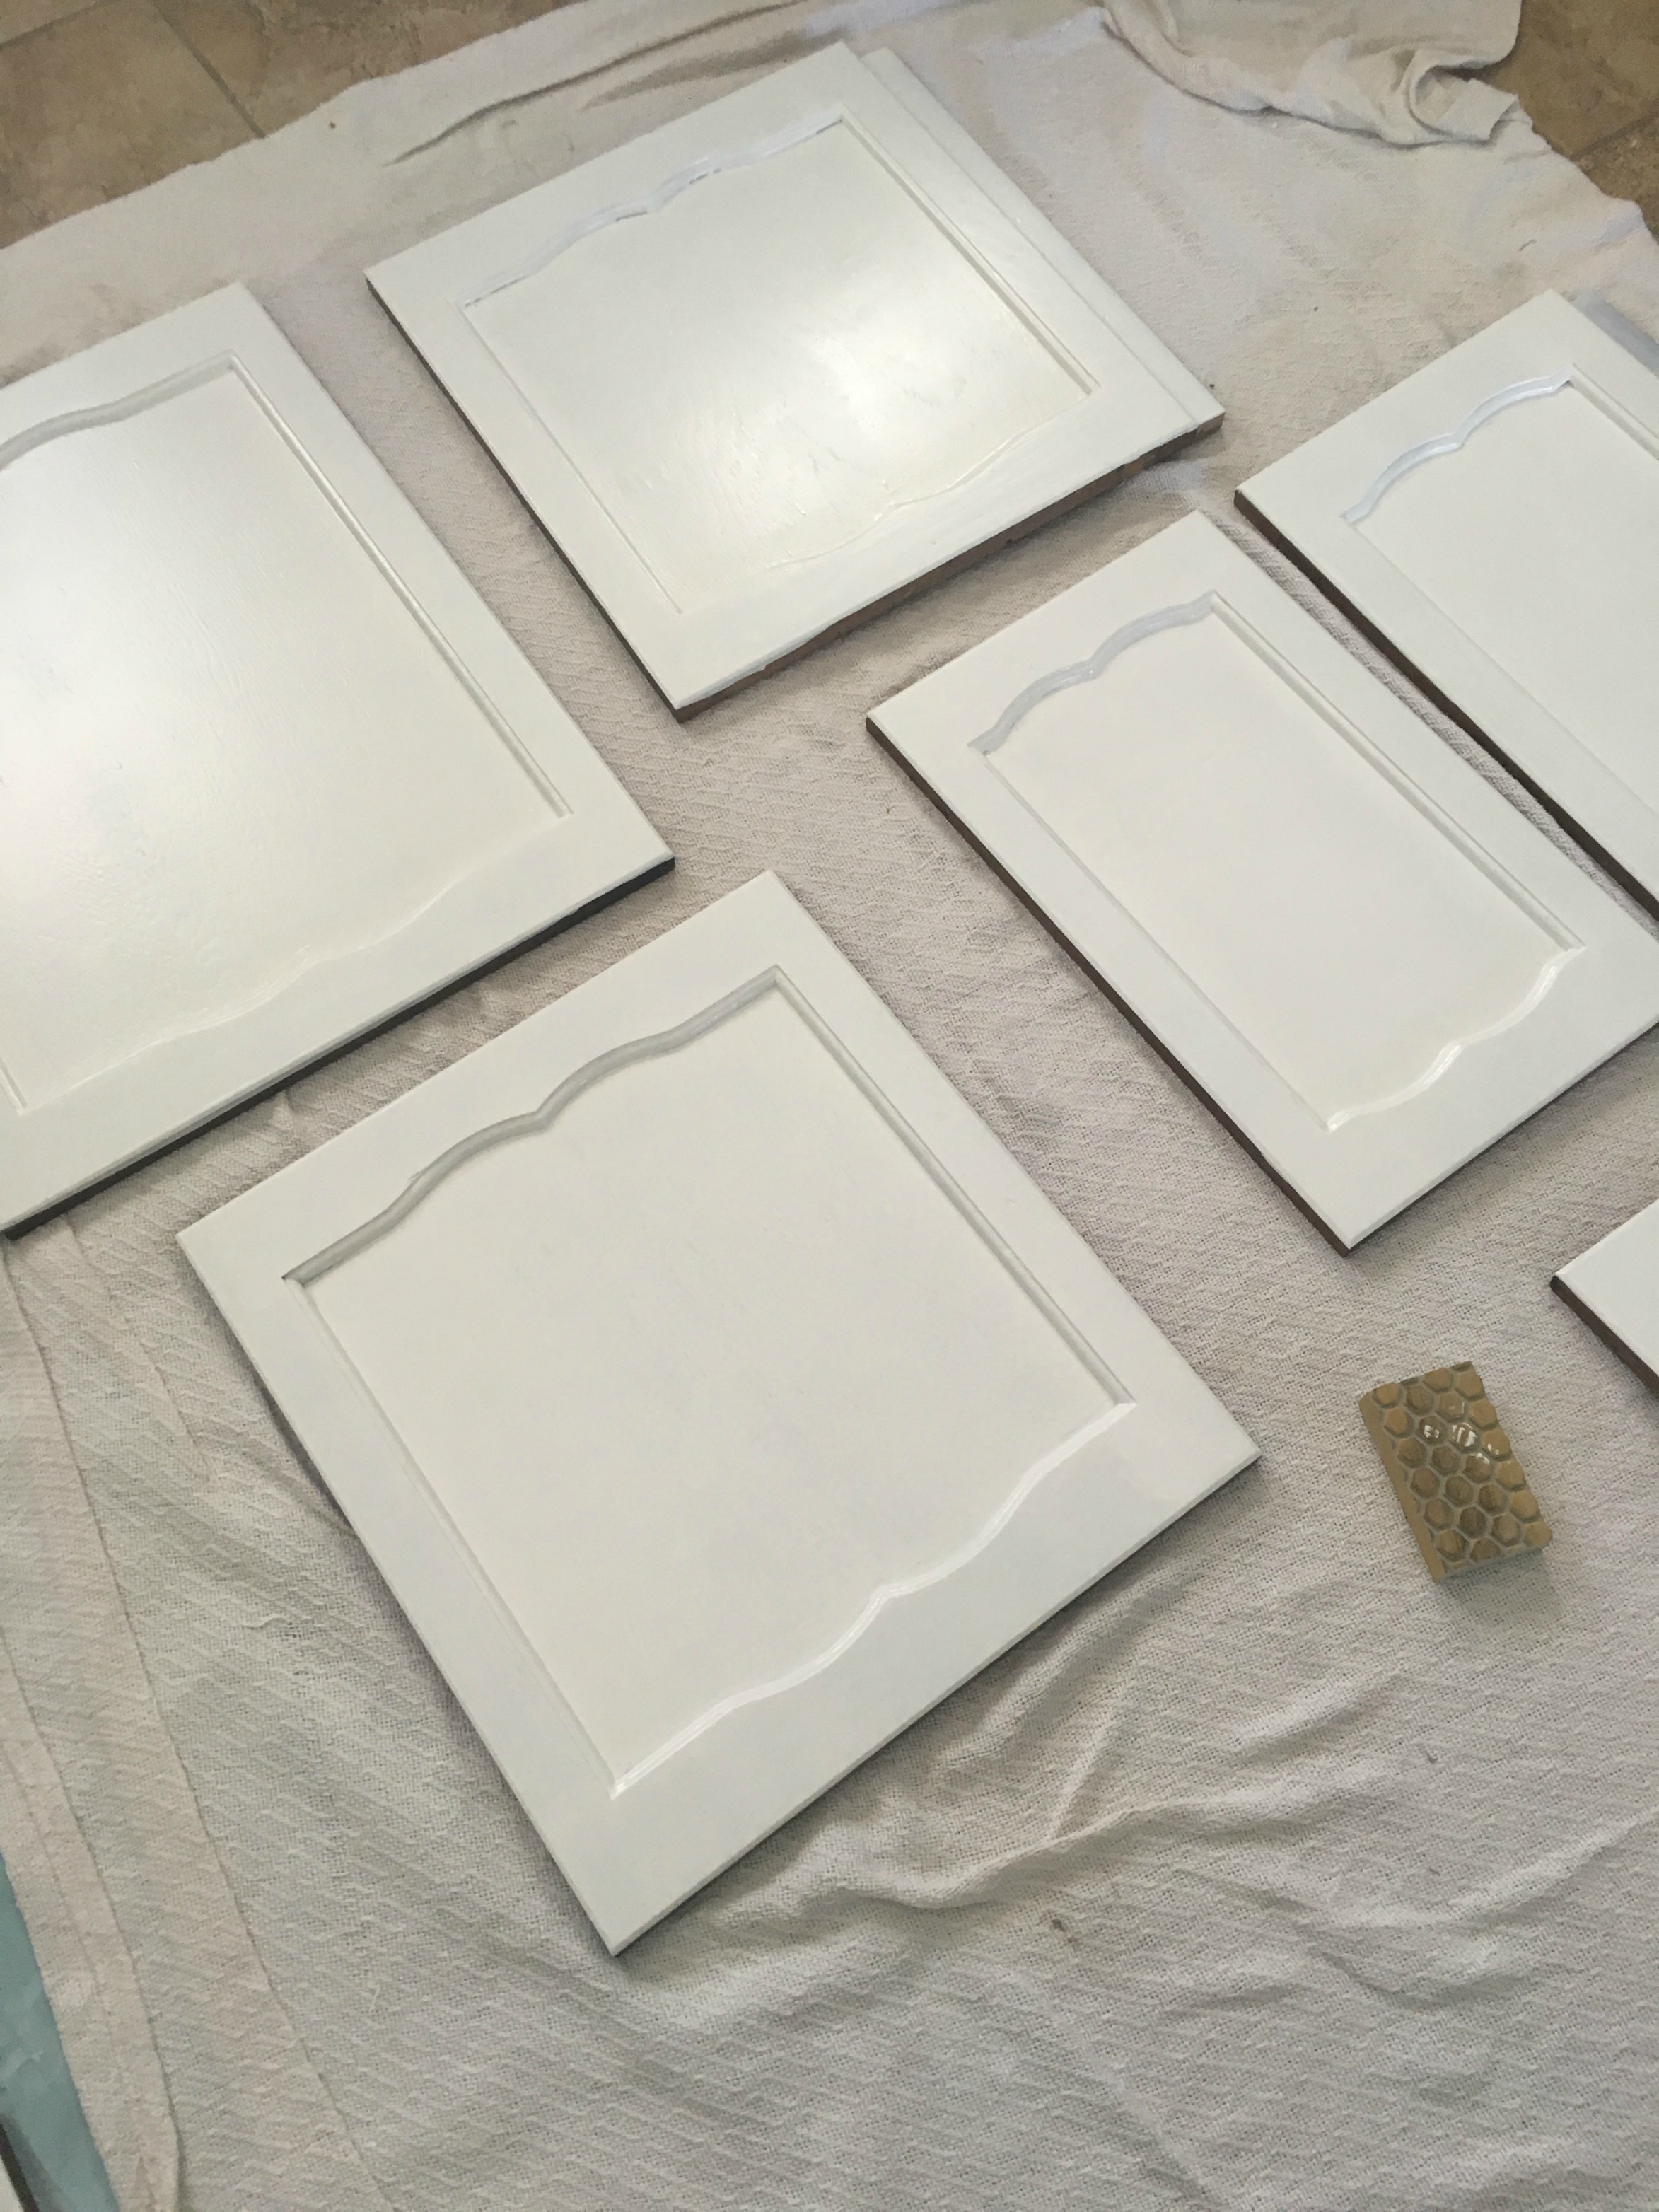
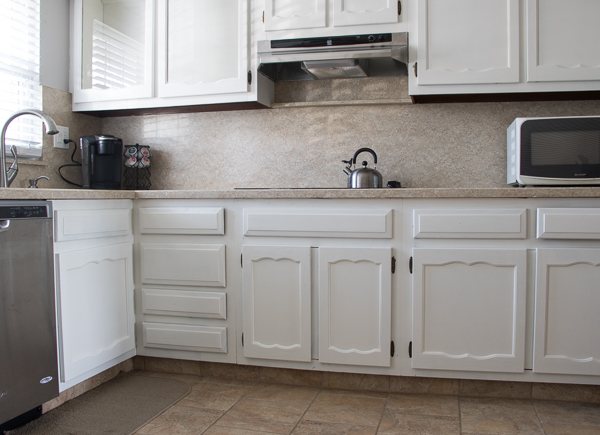
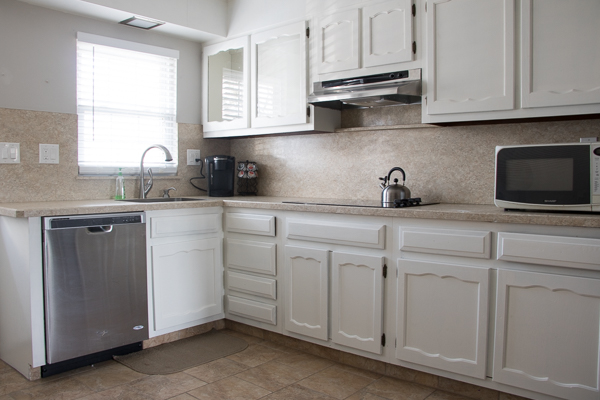
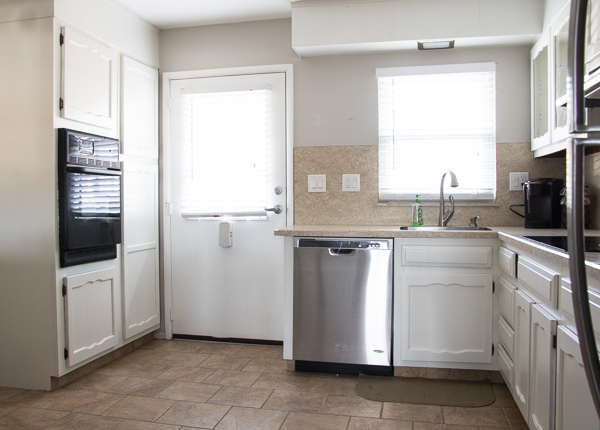
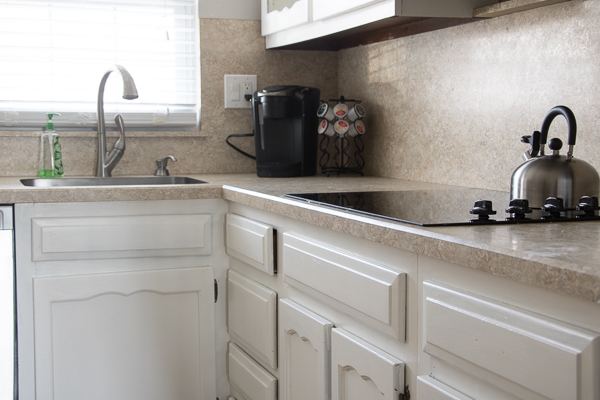
About 4 coats and a few touch ups later we officially finished the cabinets.
I would say the best advice for painting cabinets is being patient. It is definitely time-consuming and turns out to be a bigger job than you originally anticipated.
We are getting closer to the reveal!
What’s left to do
Hardware
Rug
Rolling Cart/island
stools
accessories
BE INSPIRED DAILY and FOLLOW ME ON FACEBOOK
Please Pin
More Posts Related to Painting Kitchen Cabinets
Painting Kitchen Cabinets the Easy Way
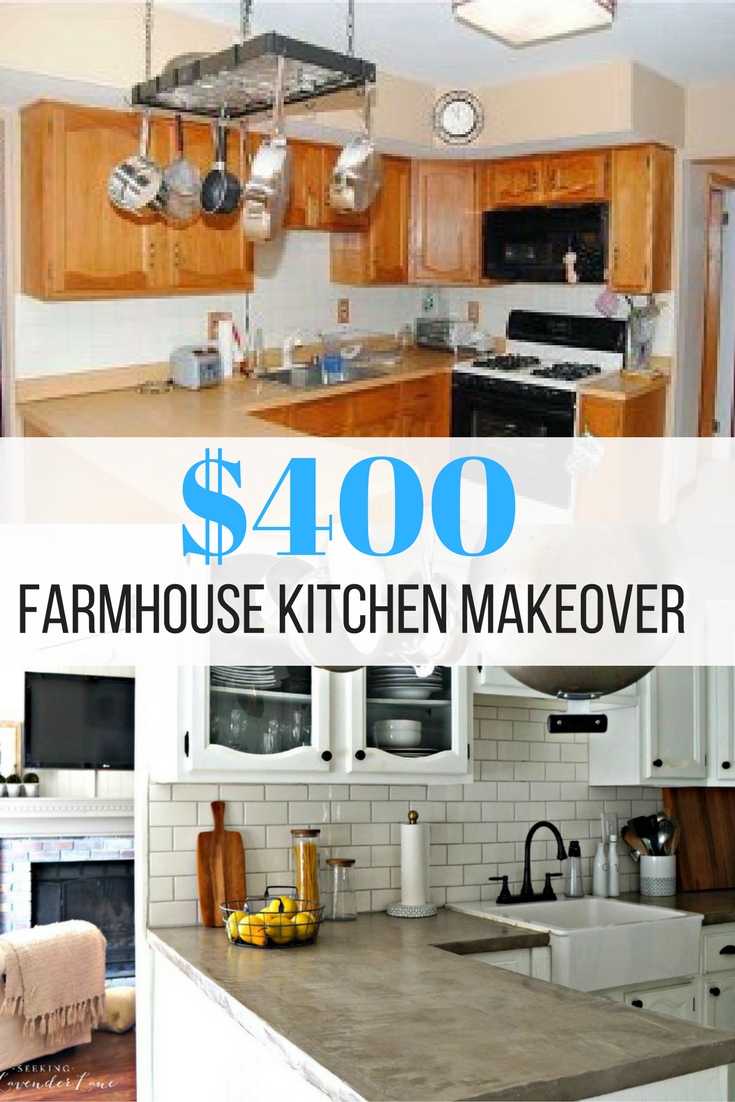
a $400 Farmhouse Kitchen Makeover
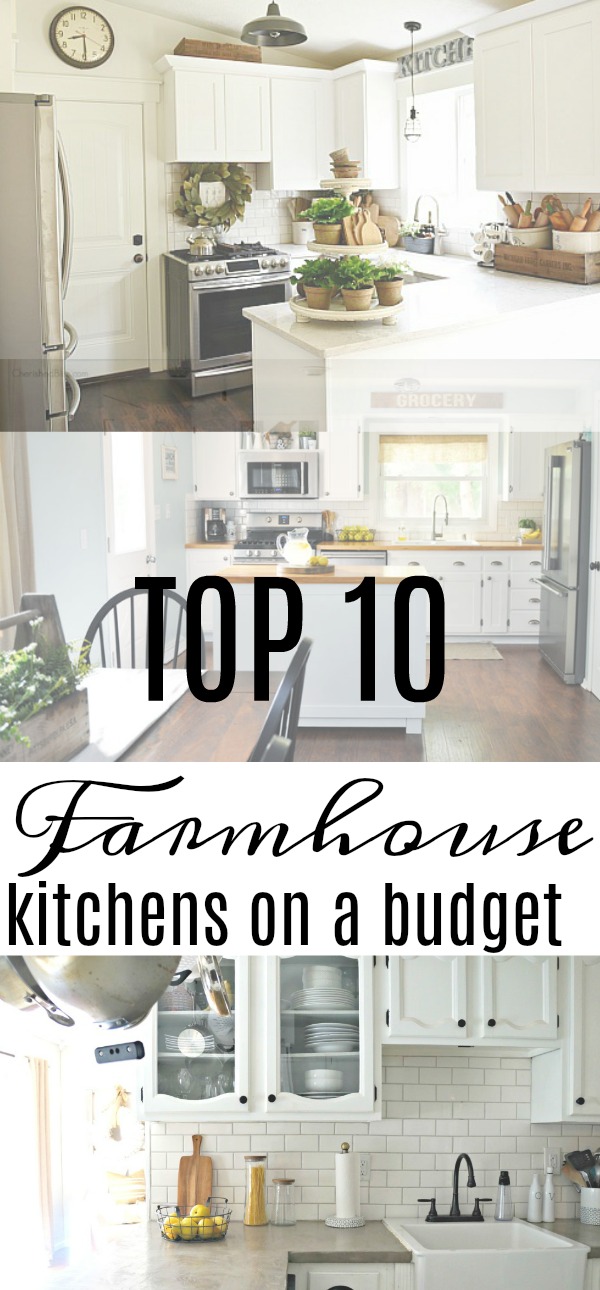
Top 10 Farmhouse Kitchens on a Budget
Stop by the Other Week 3 Refresh Projects

Casa Watkins Living // A Designer At Home // Seeking Lavender Lane // Domicile 37 // Iris Nacole // Pocketful of Posies // Monica Wants It // Up To Date Interiors // This Is Our Bliss // Vintage Romance Style
Don’t Forget to Link up your own projects



I already want your kitchen! Love the way the cabinets have come out.
Love the cabinets and it’s looking so great with the painted upgrade. Can’t wait to see it after the hardware is installed!
Oooh the new frosted glass panels is my favorite part!!!!
What are you thoughts on painting the inside of the cabinets? Is there a reason not to or do you feel it’s a personal preference?
To be honest, the work to paint inside the cabinets would be a lot! Alos, I would be afraid of them getting scuffed up over time with removing dishes all the tie. We did paint the inside of the cabinet with the glass though.
I love, love & love your transformation of old kitchen into a fabulous farmhouse kitchen. You nailed it girl.
Ivory recently posted…Painting Kitchen Cabinets
Thanks Ivory! : )
Wow! What a transformation! So much lighter and brighter!
Thanks so much Naomi!
Looks GREAT !!
I went to your BLOG (Instagram?) and found the update. LoL hugs☀️ ~Linda
Thanks Linda!
Fresh paint is always so dramatic!! Love the fresh update to the cabinets. I know they can be a pain but I always get pulled into it too because it’s so easy and cheap! lol Having a paint party makes it better. 🙂
Yes, this is true! I told my hubby tonight…I don’t think I ever want to paint cabinets again though lol. They really are quite the project.
In your starting blog you mention doing 1970’s cabinets but when I click to see how to prep it is 1980’s or 1990’s cabinets. Mine are 1970’s out of pine with a poly finish, do I have to remove it before they can be painted?
Hi Judy,
I’m sorry I actually linked to the wrong post initially. My cabinets were from the 80’s but the cabinets in the tutorial on Home Talk were from the 70’s. It honestly depends on the hinge. I’ve done cabinets with the hinge on the interior and left them hanging…with the hinge on the exterior you’re going to want to remove for a cleaner look. I hope that helps!